|
|
 Rank: Super-Elite       Groups: Registered
Joined: 27/01/2014 Posts: 5,060 Points: 14,980
|
Thought I would start my own build thread her for my Yamato, its a lovely kit for those that have not seen it.
I will just start by copying and pasting from my work in progress thread over on another forum to get things going.
I apologise if the pictures are too big, I have just uploaded them straight from my camera to my photobucket. If they are too big I will look at resizing them in future.
Enjoy
|
|
|
Rank: Super-Elite Groups: Registered
Joined: 27/01/2014 Posts: 5,060 Points: 14,980
|
Ive not introduced myself officially, so will do so starting this work in progress So I am returning to modelling after a 18 year break (I'm 36 now) and have got myself the new tool Tamiya Yamato, Tamiya IJN utility boats pack and detail up kits from Pontos, Lionroar and MK1. I purchased a house in September and just got the garage emptyed and setup 2 weeks ago to start getting back into modelling This is by no means going to be a quick build so settle in for the long haul, a few pictures of my current build area and the keel being laid, nasty seem to be filled already although as I understand it the rest of the fit should be very good. Apologies for anyone that has already read this on another forum Some pictures of the work bench as it is, I have a nail technicians 5x magnification table lanp for when I really get stuck into the PE 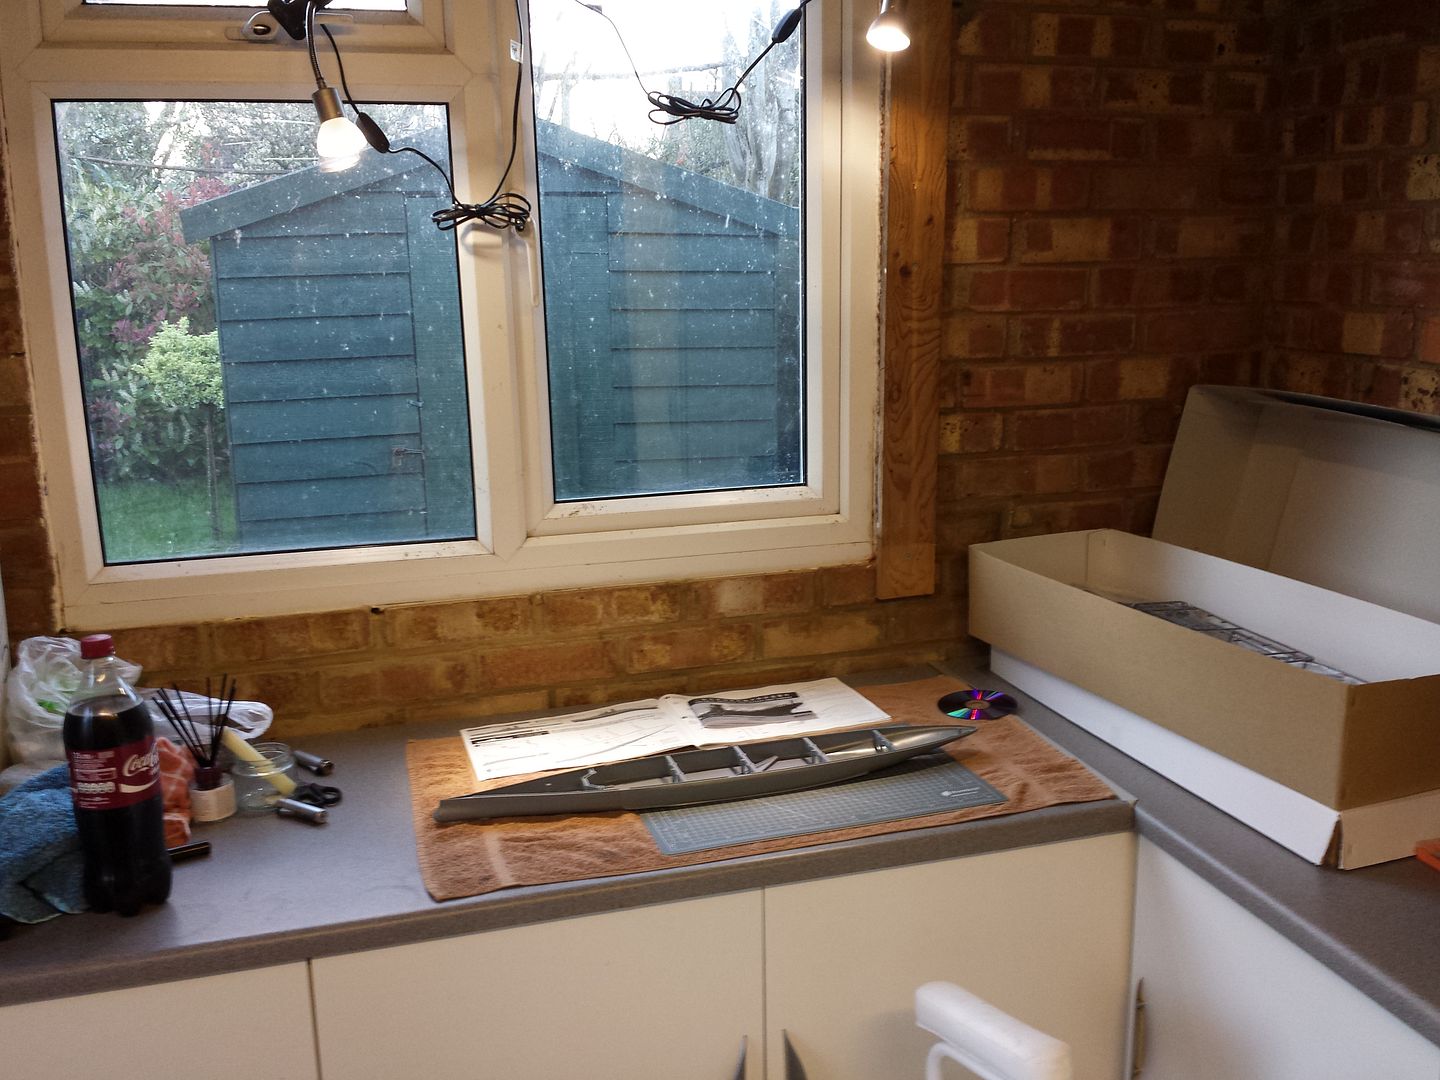 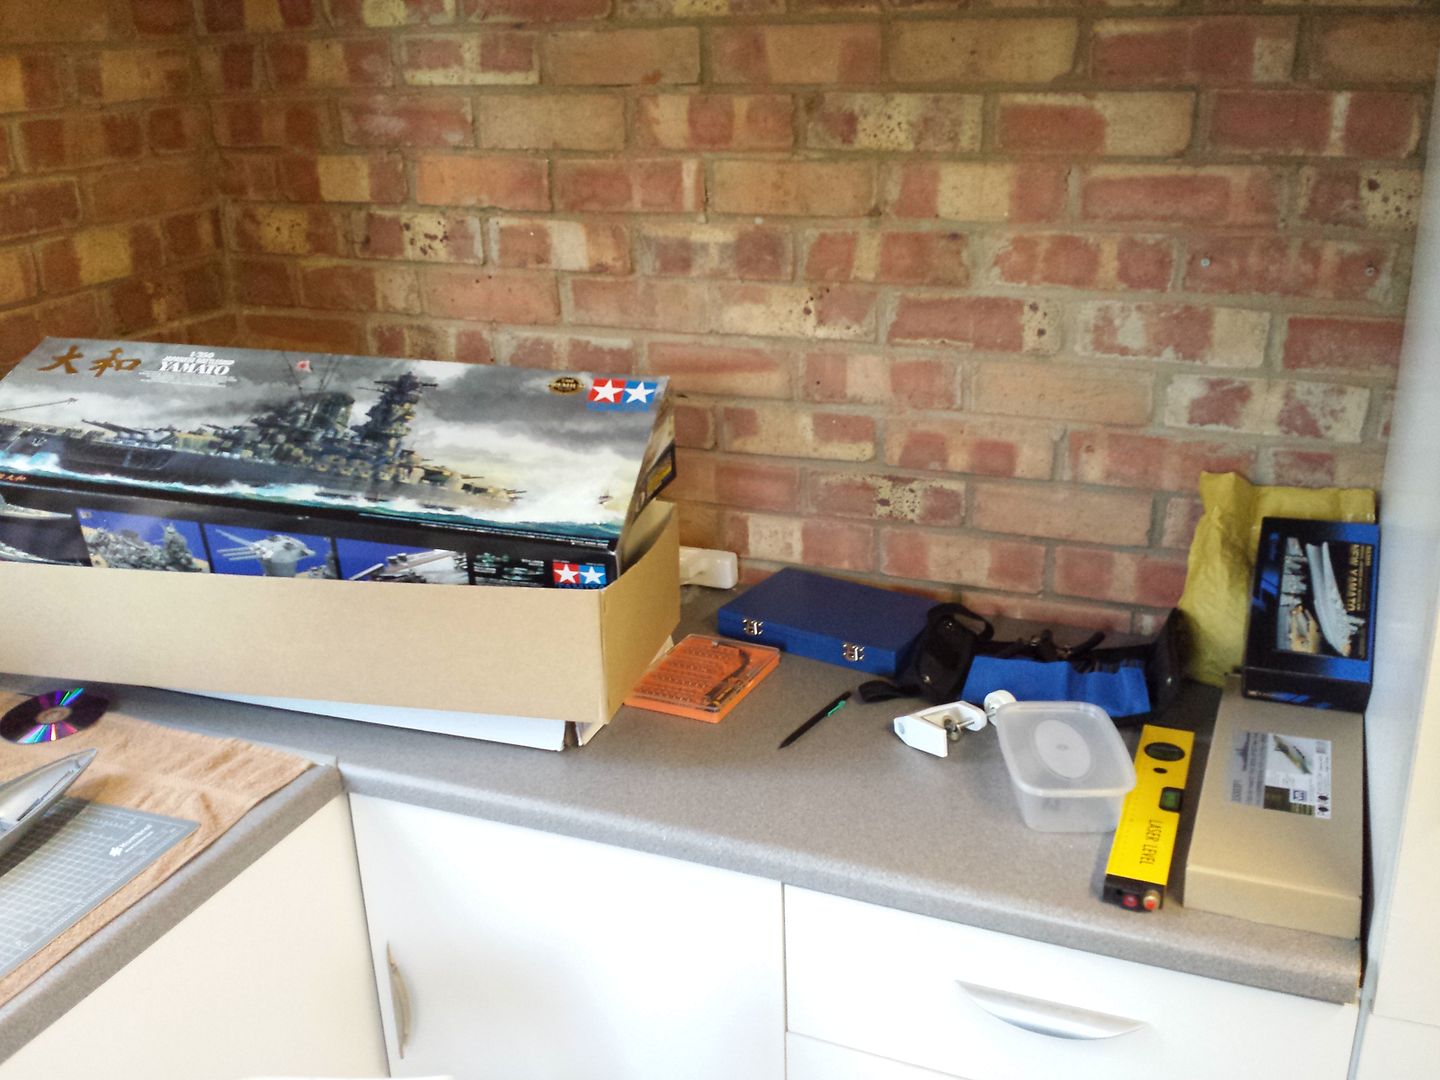   Really bad seem putting the hull together, the box is big enough for it to have been a single peice hull 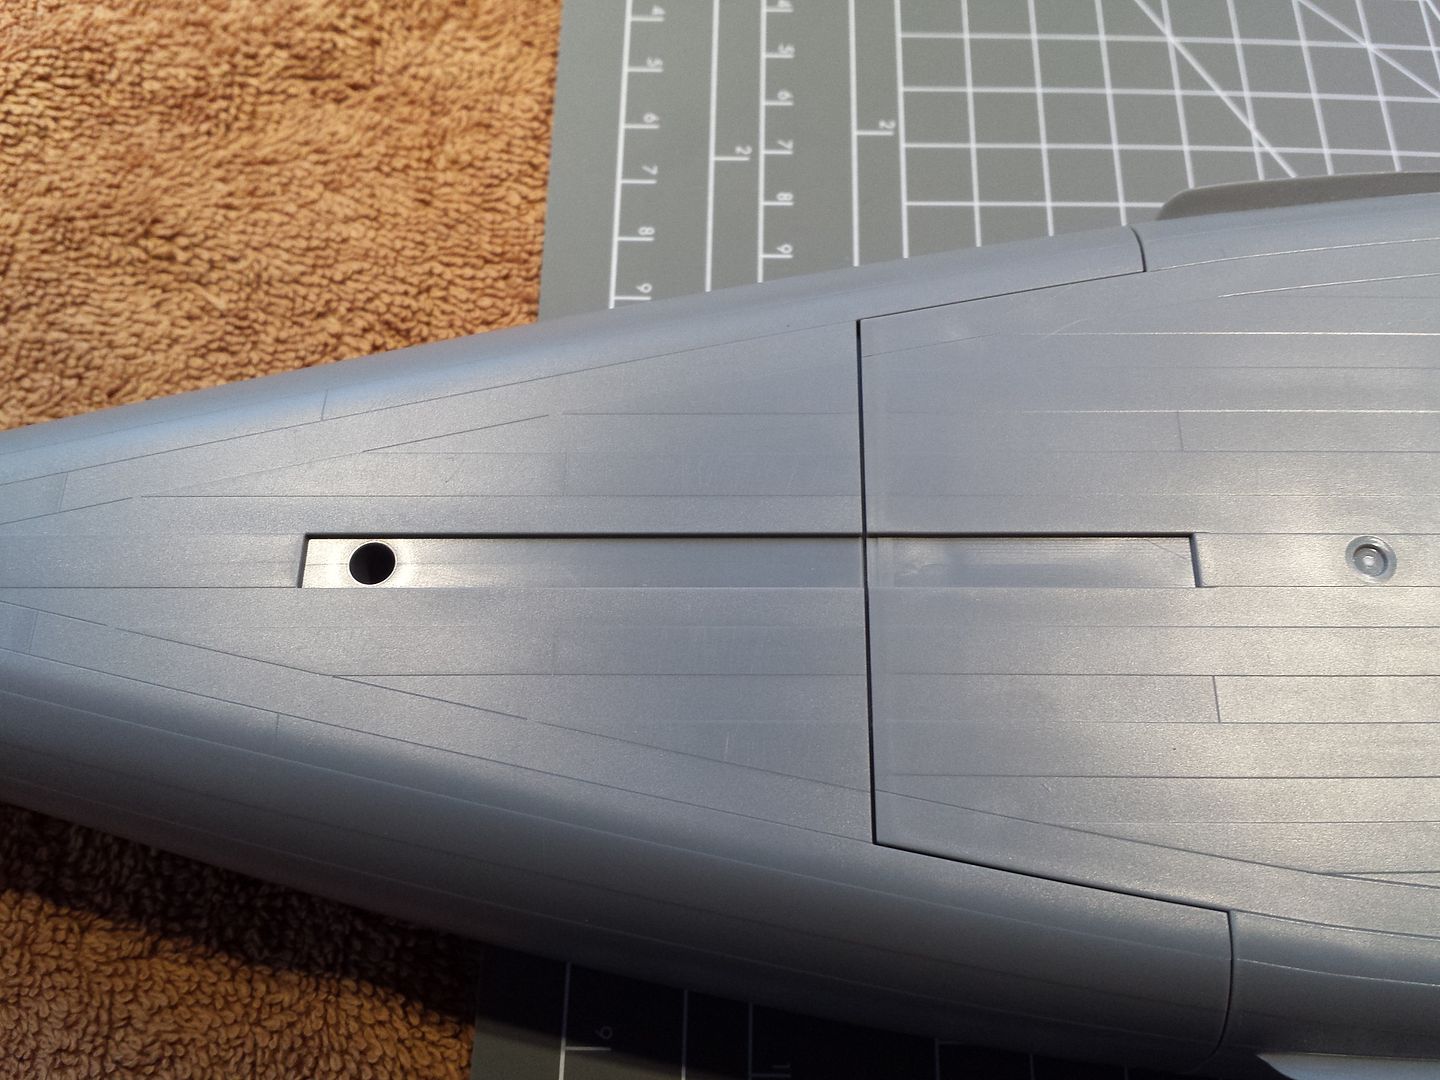
|
|
|
Rank: Super-Elite Groups: Registered
Joined: 27/01/2014 Posts: 5,060 Points: 14,980
|
Just some cutting, trimming and sanding here to get bits ready 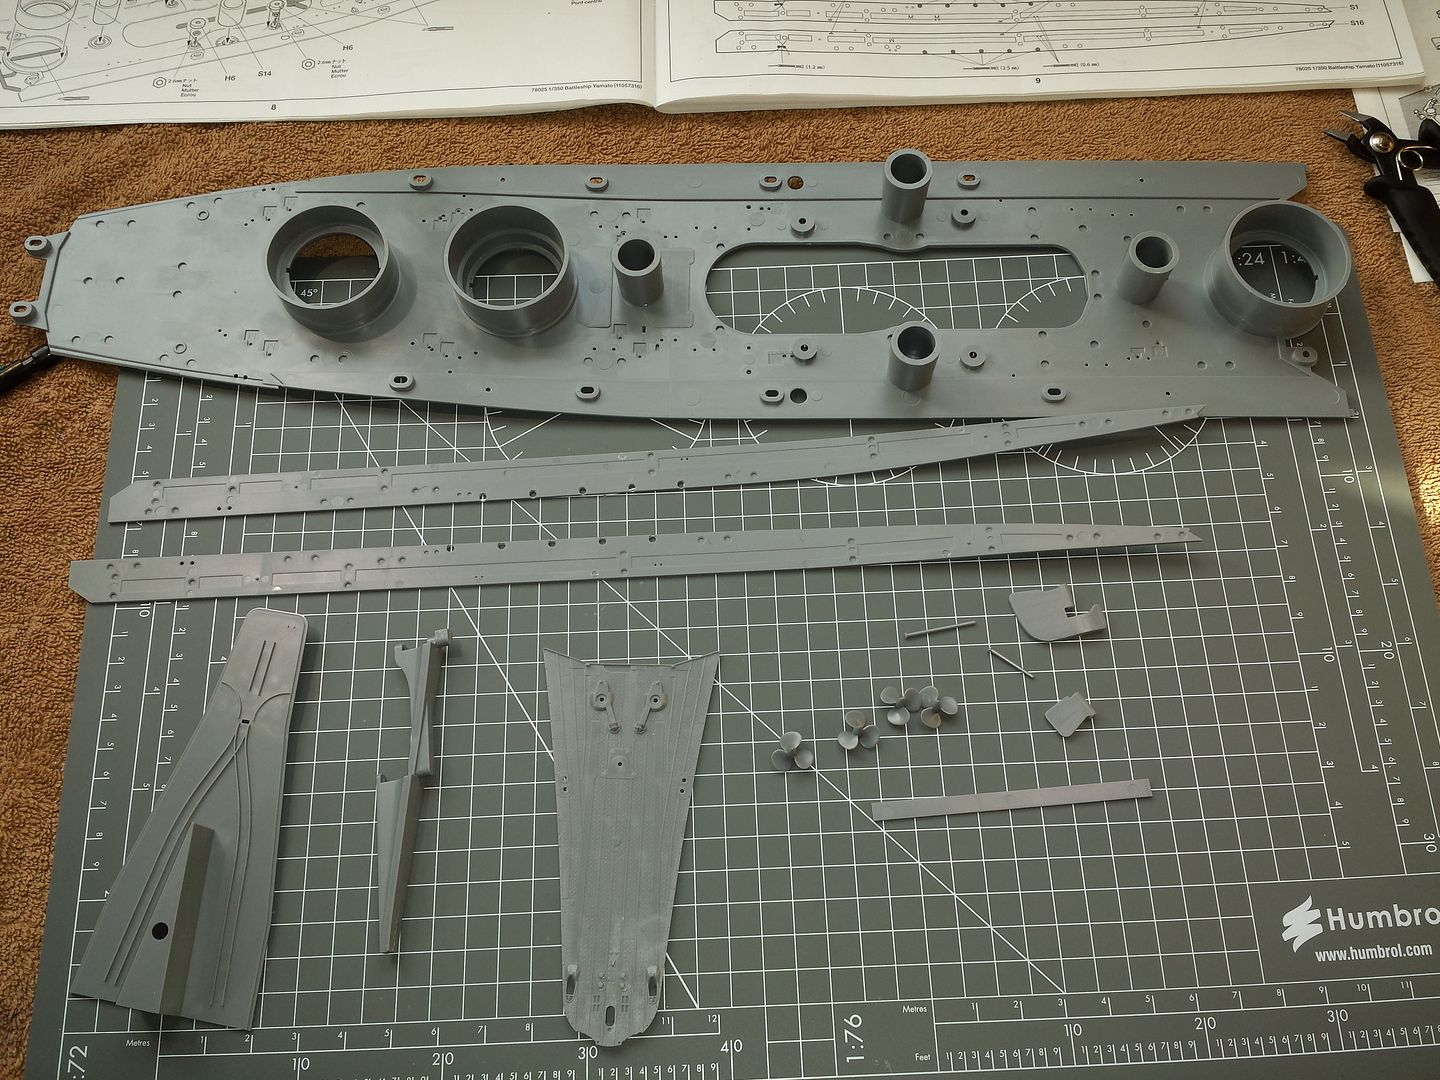
|
|
|
Rank: Super-Elite Groups: Registered
Joined: 27/01/2014 Posts: 5,060 Points: 14,980
|
As its been a lovely day today SWMBO decided she was going to spend the day sun bathing, so after I put together the new garden furniture I got to spend about 6-7 hours in the garage "playing with my boat" (as she puts it) I also got to play with an airbrush for the first time using Vallejo primer, got the hang of it pretty quickly so went ahead and primed up some small pieces, didnt get any pictures of these. All my pictures are taken with my Samsung Galaxy S4 mobile phone camera as I dont have a fancy camera. Although Im not goign for 100% accuracy I do have some reference material 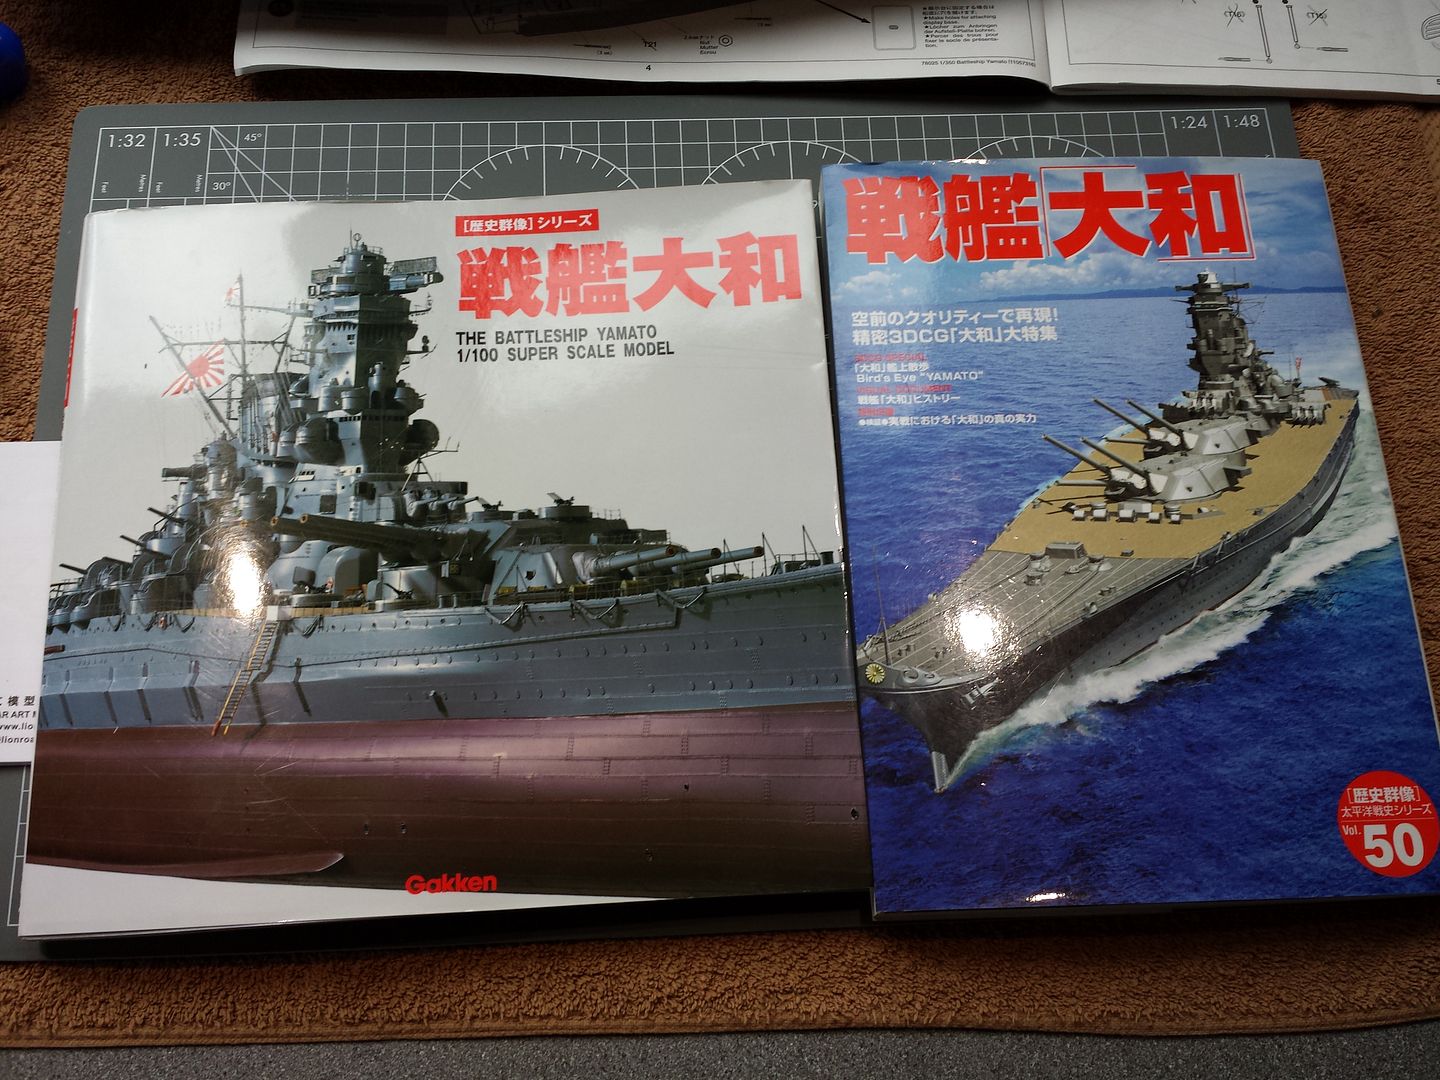 A little side project, I picked 2 of these up cheap as chips on fleabay so thought I would get them made up to hold my small bits, didnt take too long 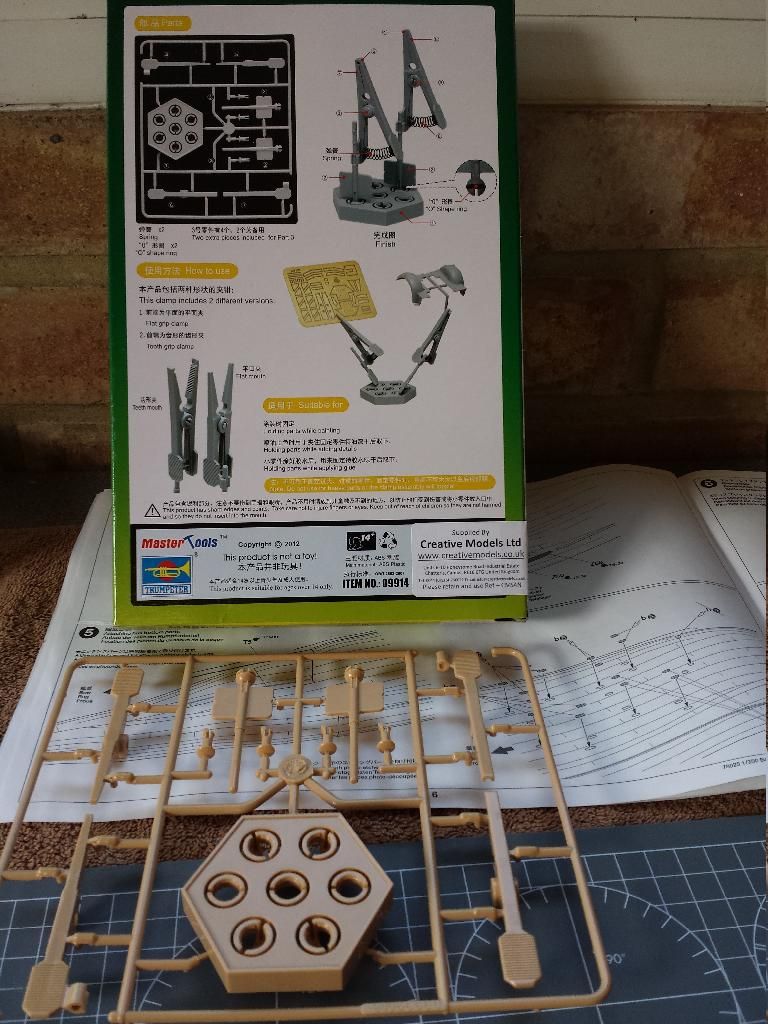 Seem all filled using perfect plastic putty, really nice stuff, had to build up numerous layers to get it right, perhaps that was just my technique as I havent used fillers before. 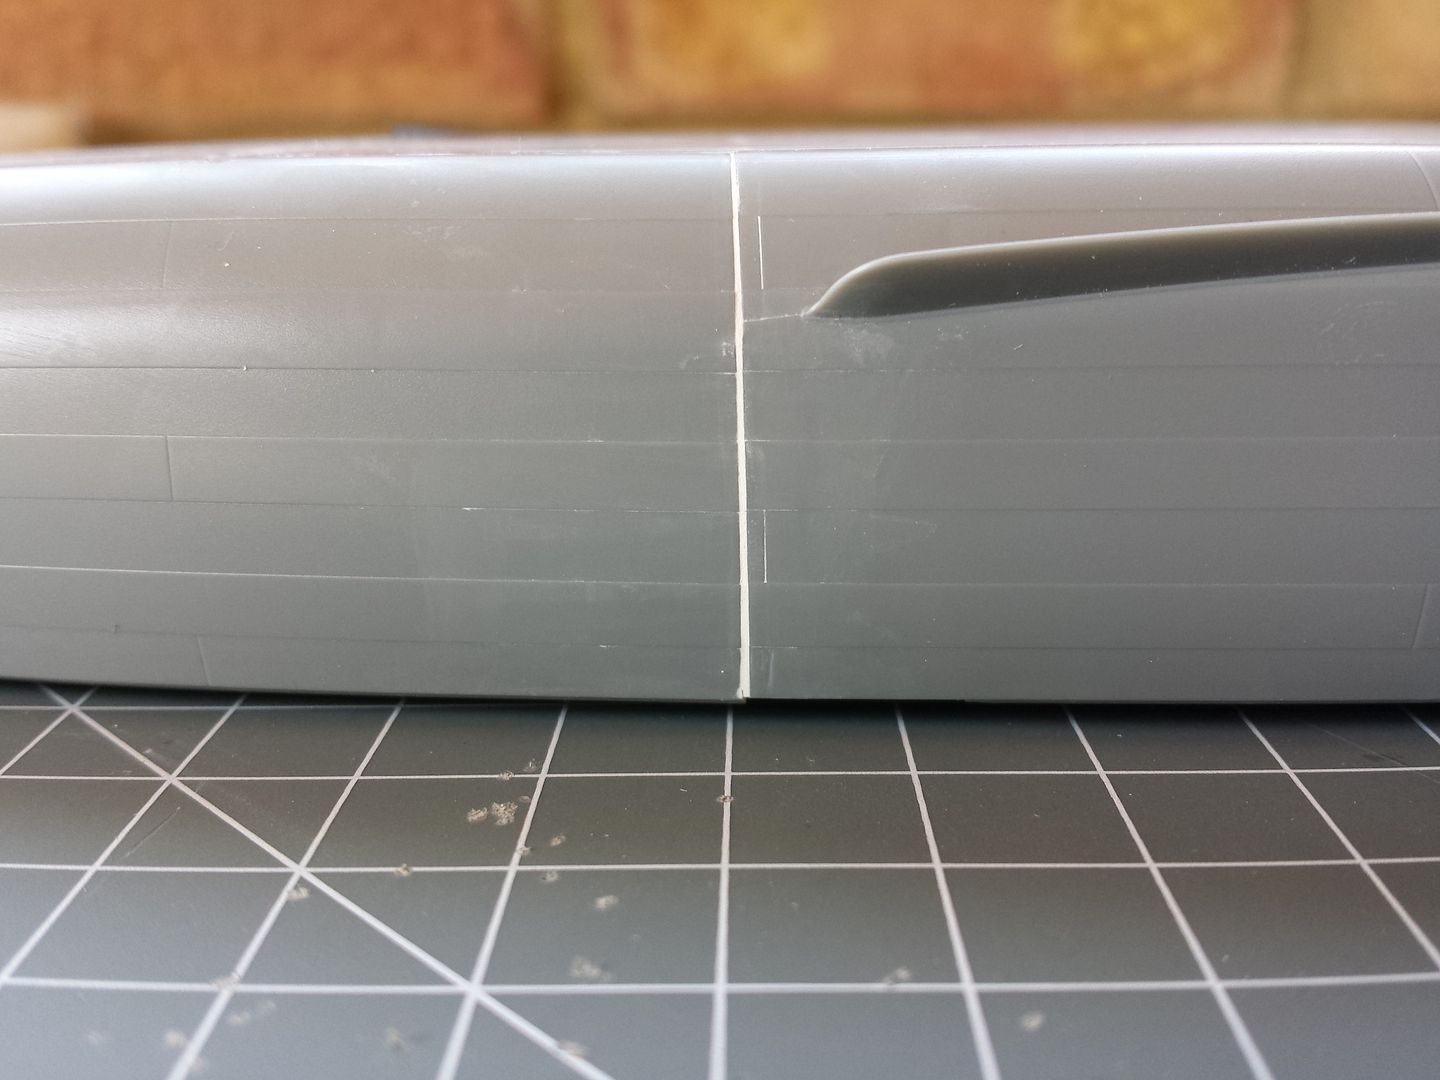 Seeing as I had previsouly spent a lot of time cutting, trimming, sanding and drilling I thought I would dry fit all those bits. Wooden deck dry fitted is the MK1, I will be using the Pontos one in the front of picture 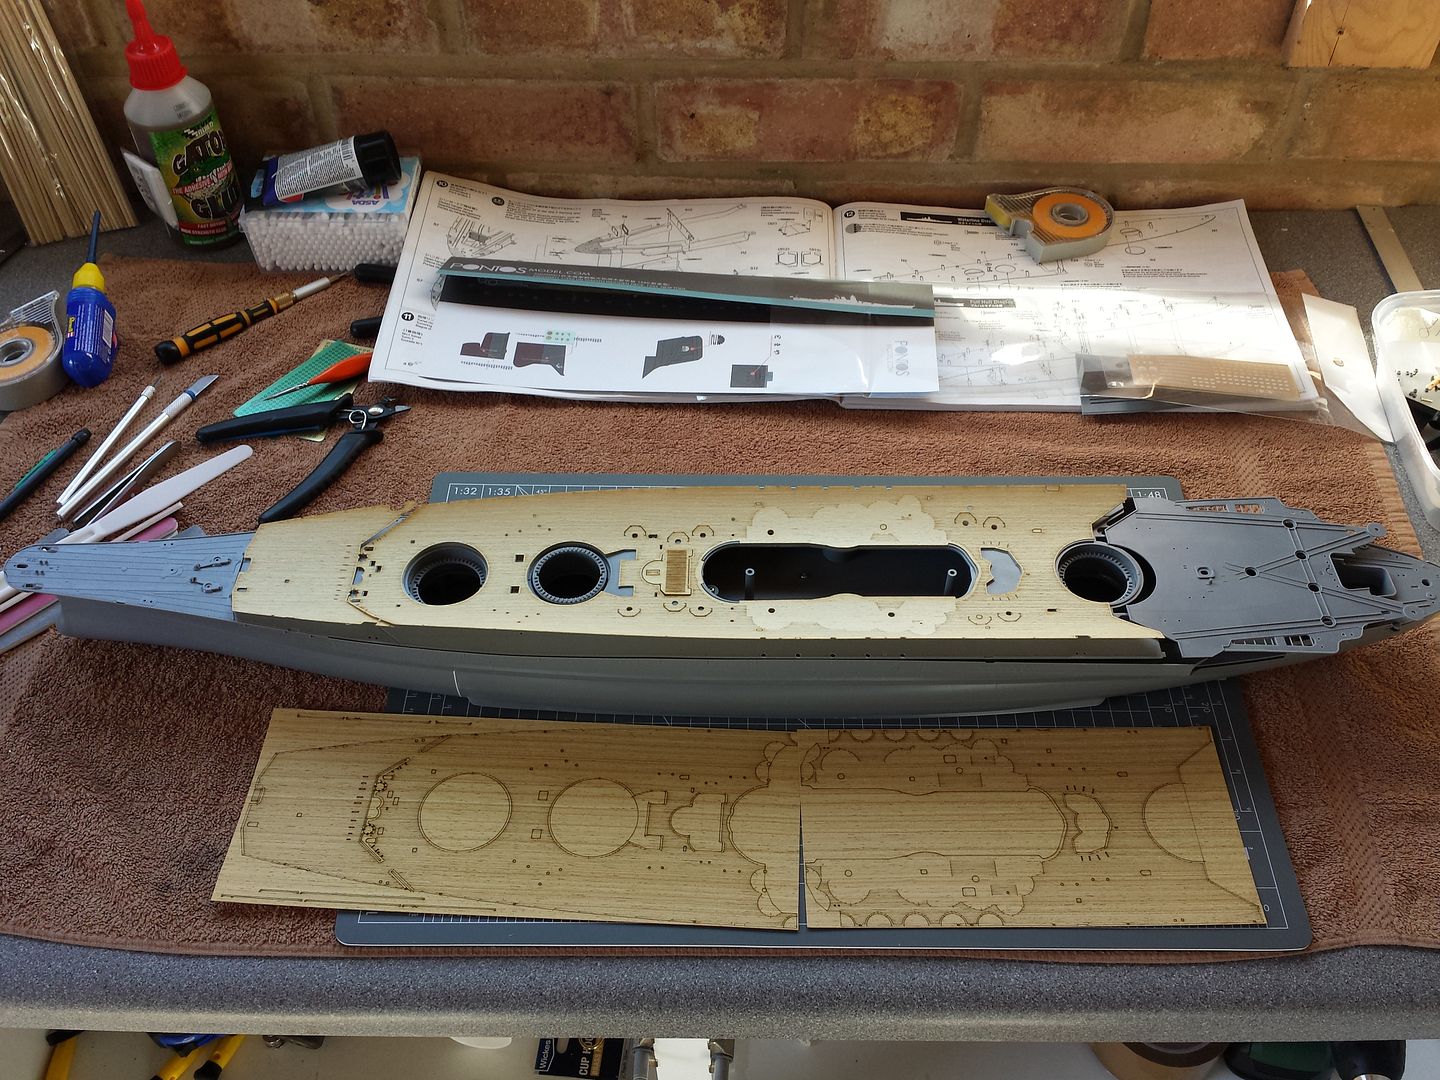 Hull and stand primed using Tamiya Fine Primer, I am going to finish the stand in a matt black, didnt like the plastic black of the stand. 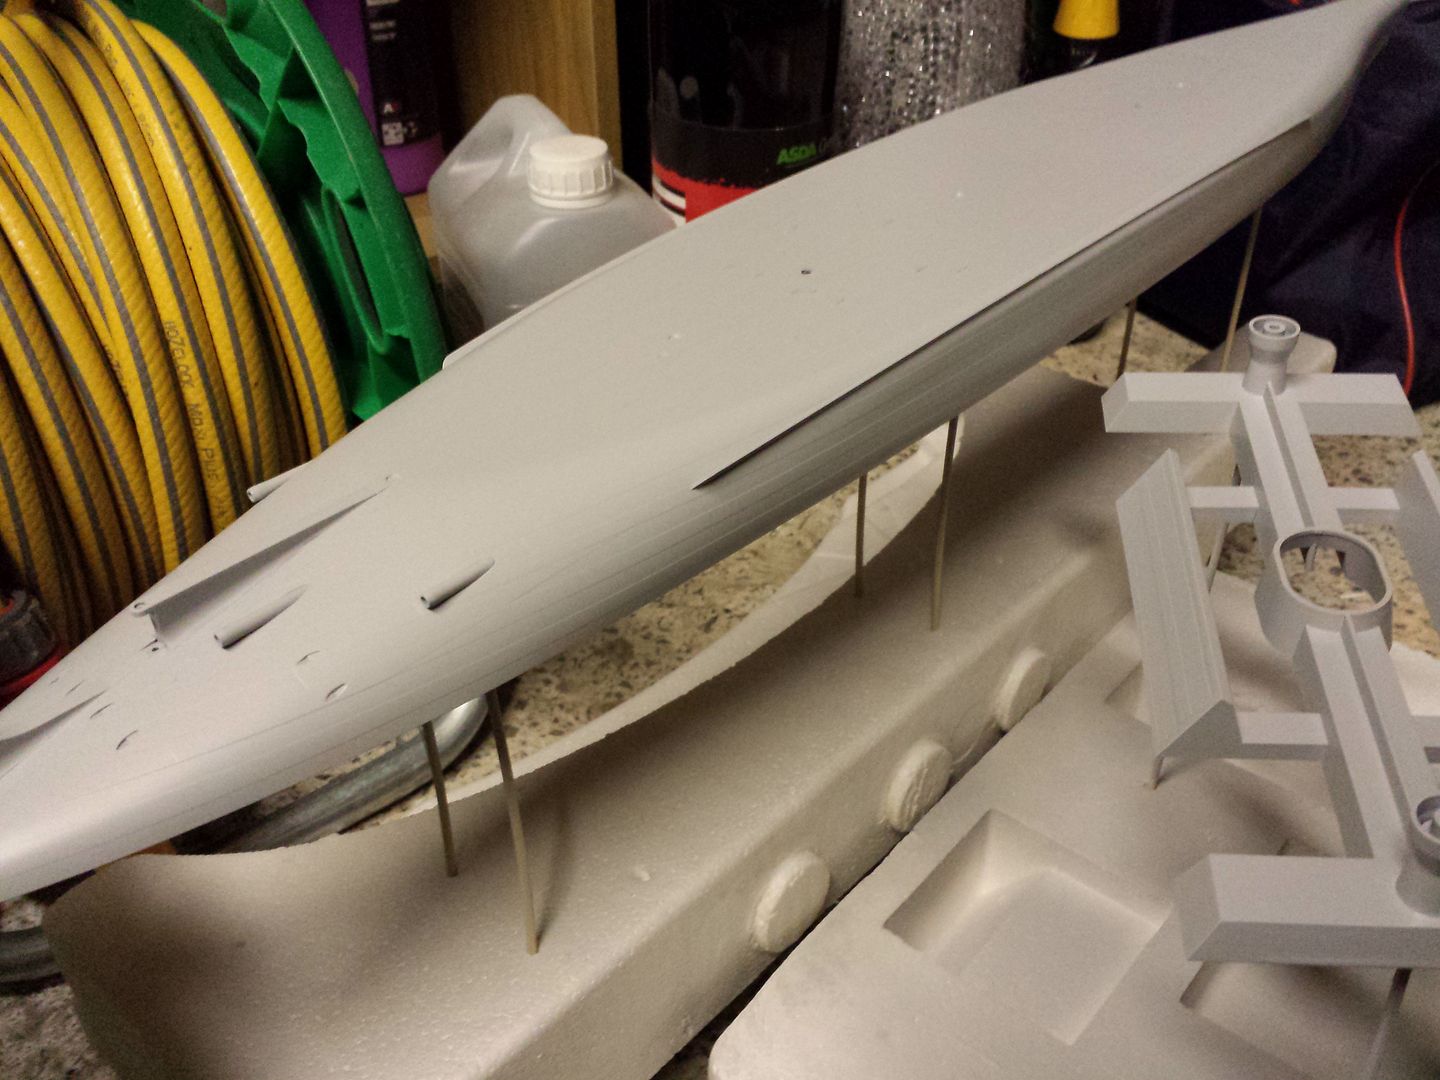 Time to tackle some of the PE, Ive kicked off fitting the deadlights from the lionroar kit, damn small and LOTS of them, there 660 supplied but I havent counted up how many are on the ship 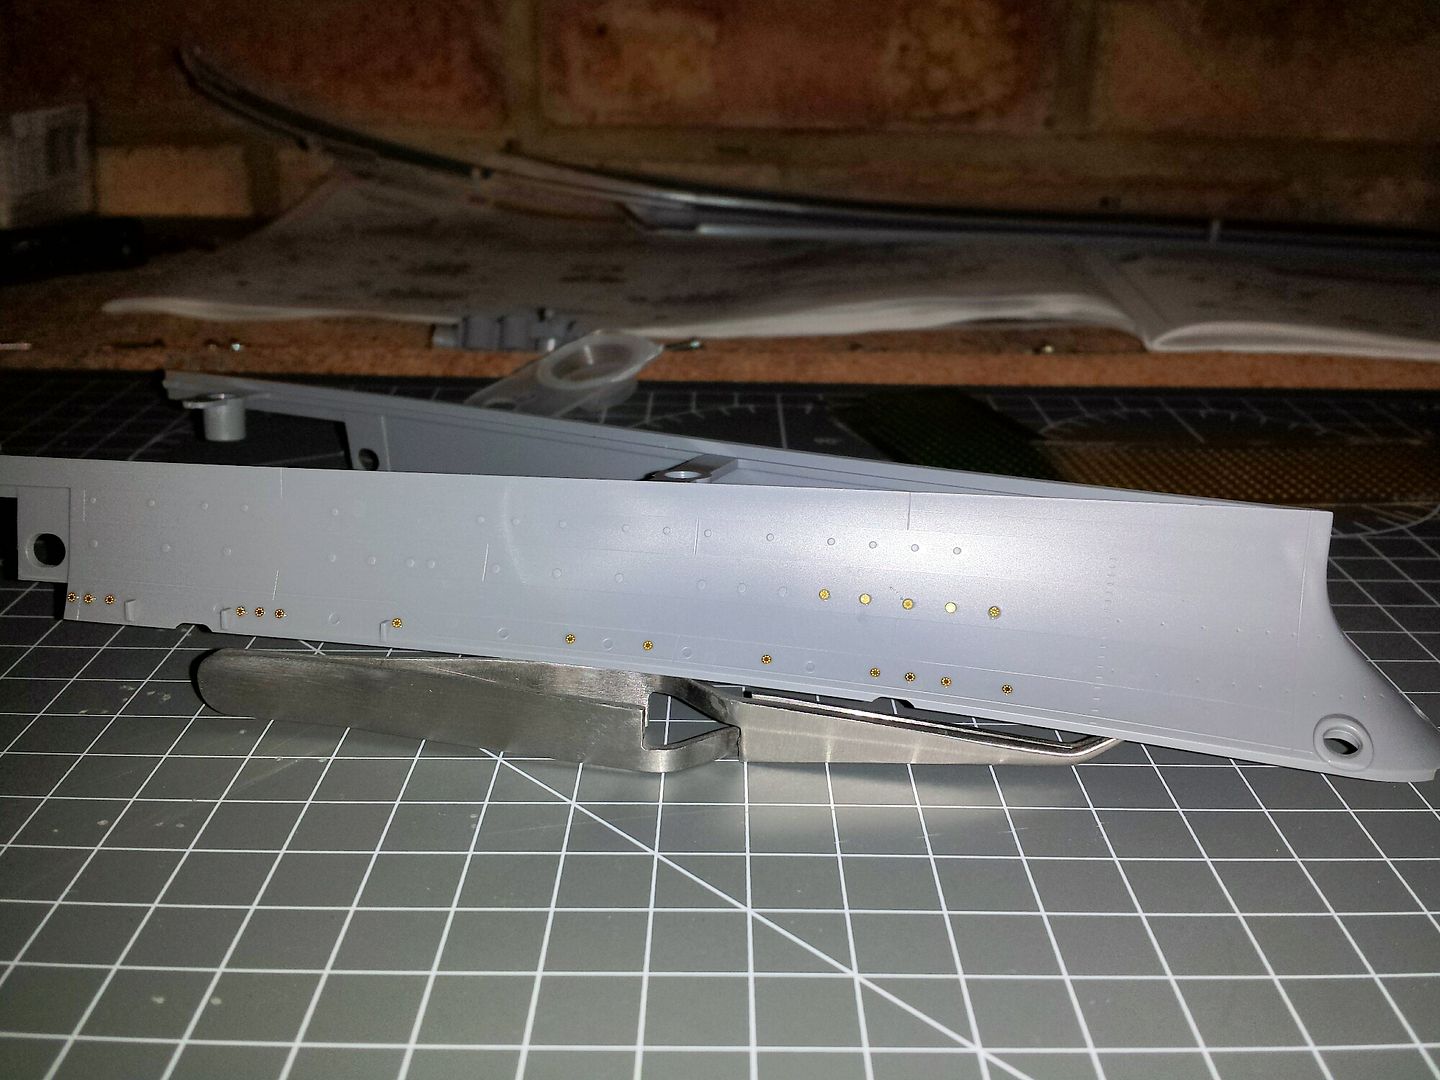  Thanks for viewing, as I have been out of the game for a while comments and criticism always welcome :thumbsup:
|
|
|
Rank: Super-Elite Groups: Registered
Joined: 27/01/2014 Posts: 5,060 Points: 14,980
|
have fitted some more deadlights as well as refining my technique making them much neater, now I have applied a small bit of blu tak to the pointed end of a pin for picking up and applying the PE. I am applying a small tab of gator glue with the end of a cocktail stick  Also had a total nightmare, went to pick up the hull to examine it to see if I needed to wet sand before applying final colour and the worst possible thing happened, I DROPPED it :banghead: This is a picture of the damage, could have been worse I suppose, down the local hobbybase today for some milliput. This will be a bit of a learning curve as I have never used milliput before or even had to make a repair like this, doesnt look to bad to putty up and shape so I am confident 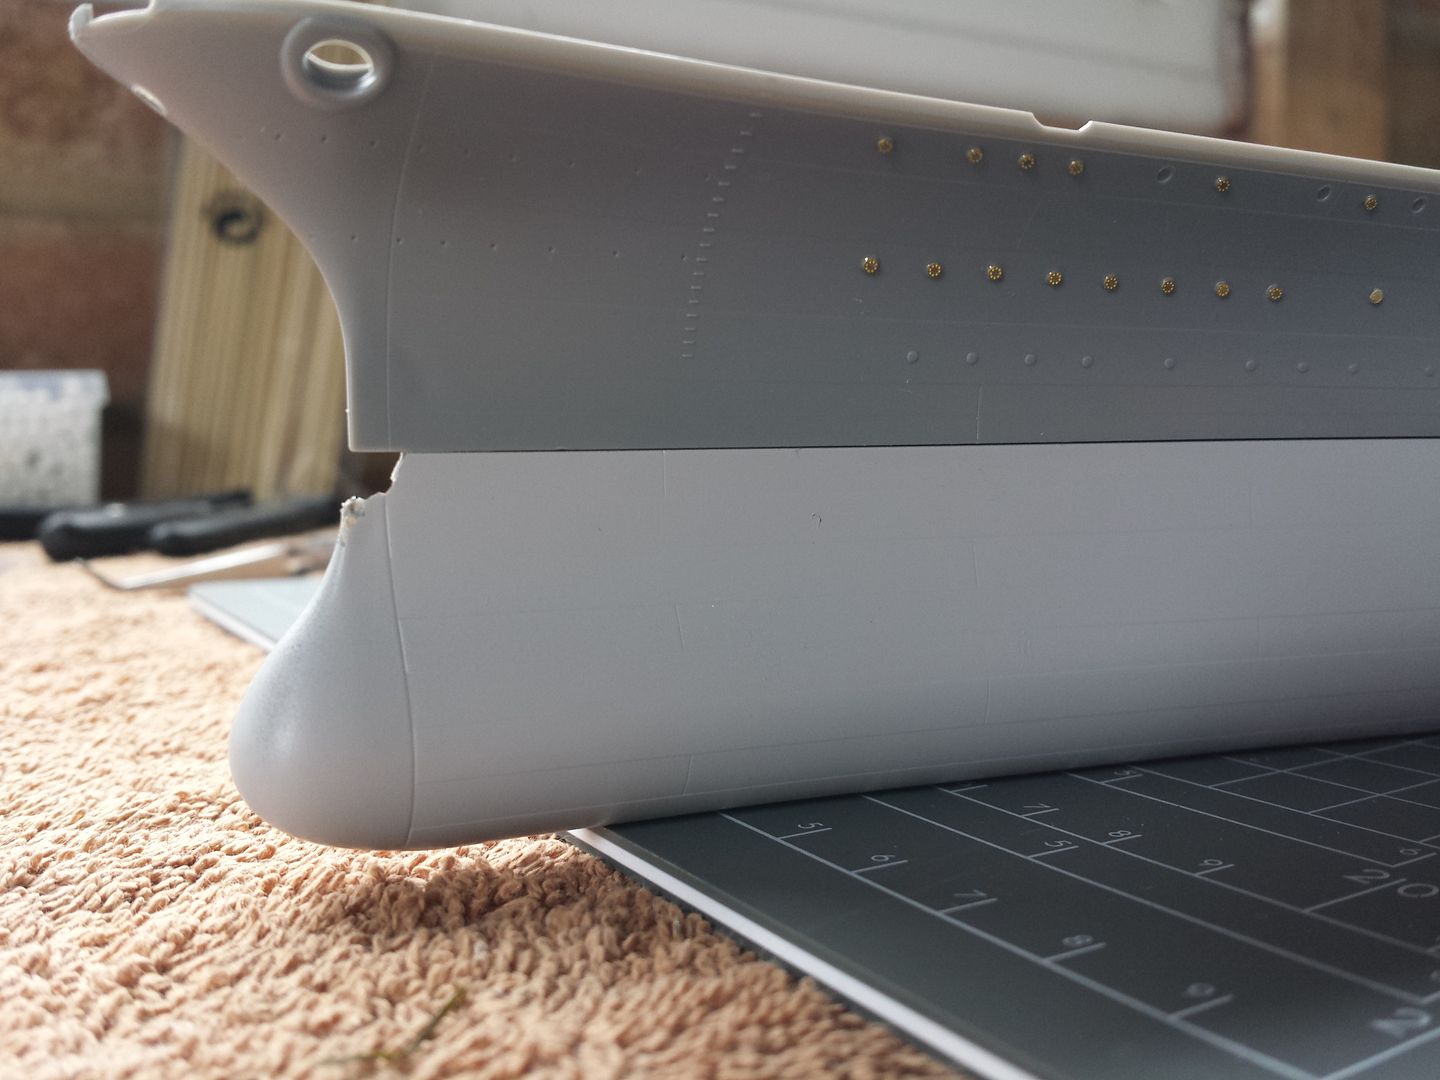
|
|
|
Rank: Super-Elite Groups: Registered
Joined: 27/01/2014 Posts: 5,060 Points: 14,980
|
Not been up to much as other things keep coming up that need doing. I haven't fixed the hull yet, perhaps will get on that tomorrow. Over the last few days I have been putting together number 1 turret. Cant believe how many parts are involved with this, about 40 used so far, most are internals. I also started on some real PE use, not just sticking flat bits on, this is my FIRST time and Im glad I've got a few different sets as I ruined a few ladders getting the hang of it. I have straightened the front ladder since this photo was taken after leaving the glue to dry) 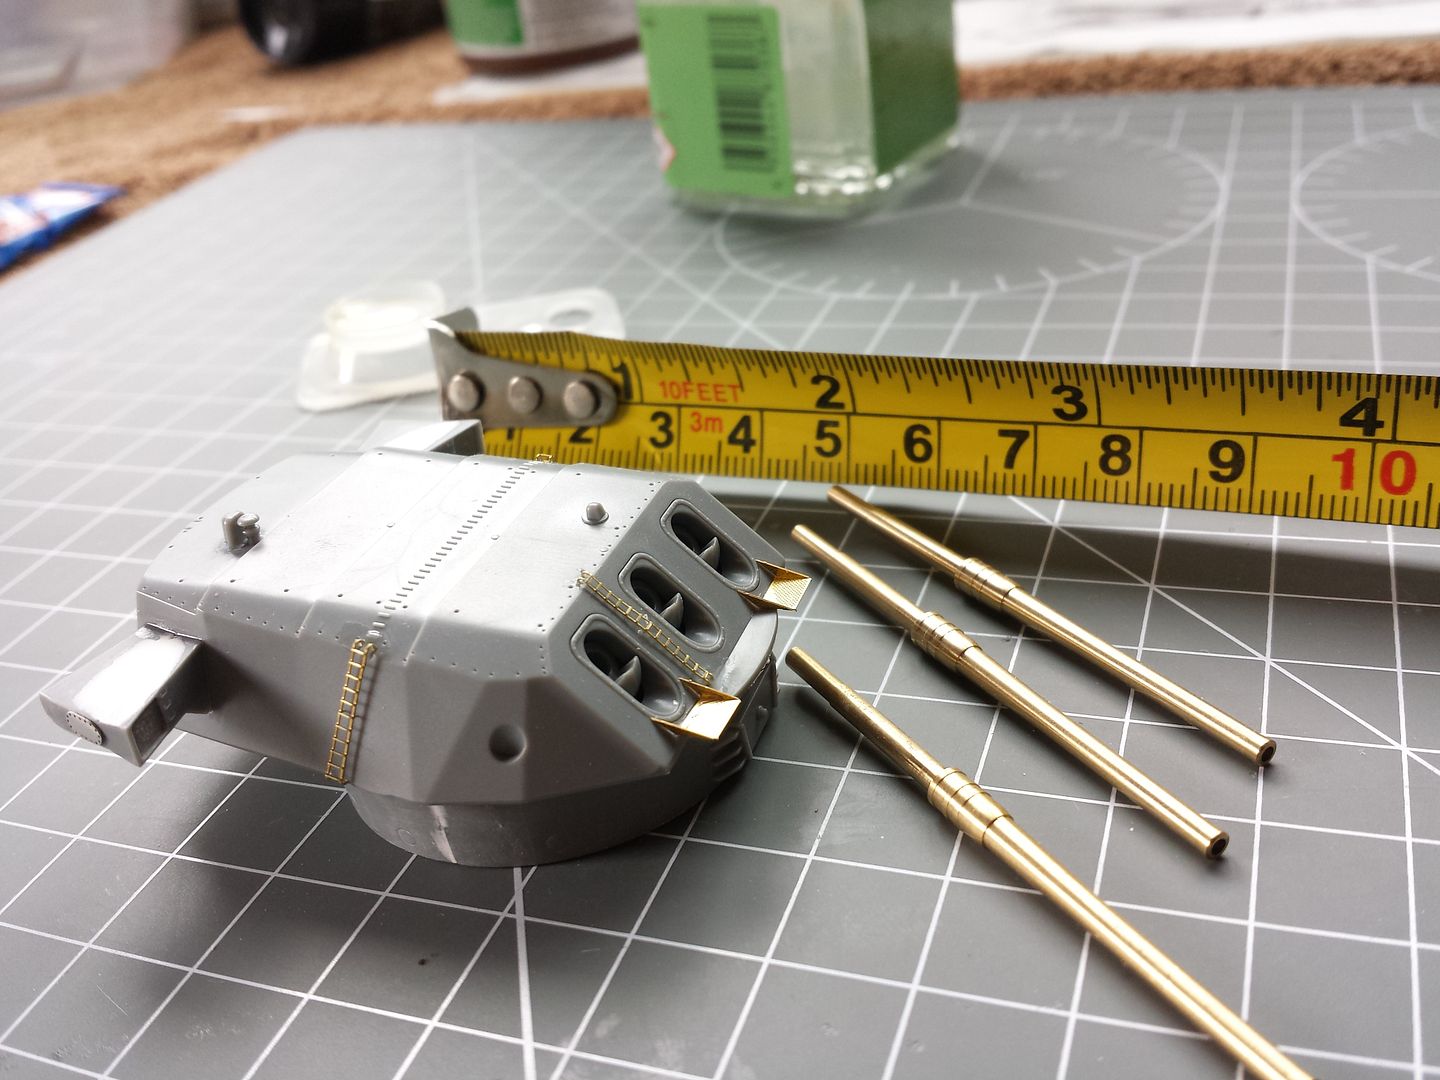
|
|
|
Rank: Super-Elite Groups: Registered
Joined: 27/01/2014 Posts: 5,060 Points: 14,980
|
An update of todays goings work, had the day off again. Primed all my blast bags and main gun barrels using panzer grey Vallejo primer, this sprays really nicely with now thinners and can just pour back what I didnt use. Stuck a bit of plastic in my chip ready for the milliput, now I have the plastic in it looks even less scary of a fix to make :speak_cool: 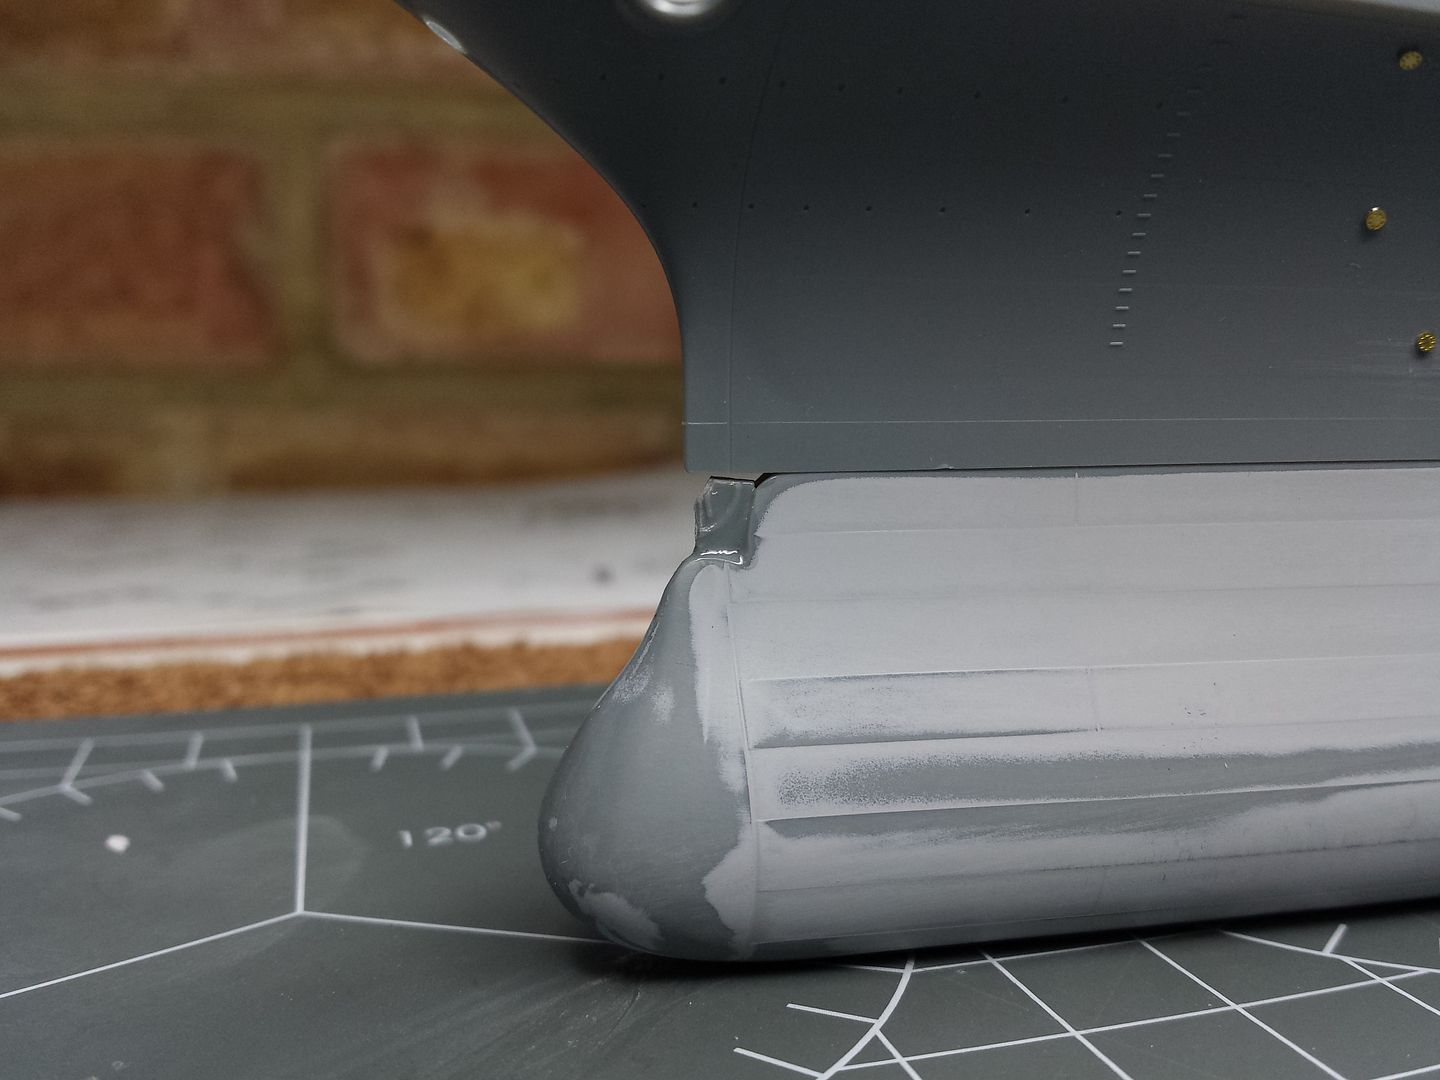 Seeing as I needed to fix this I decided to get more filler on the seam, its so much better than before, nice and smooth now, sides still left to sand and a bit of polishing to plastic before repriming. 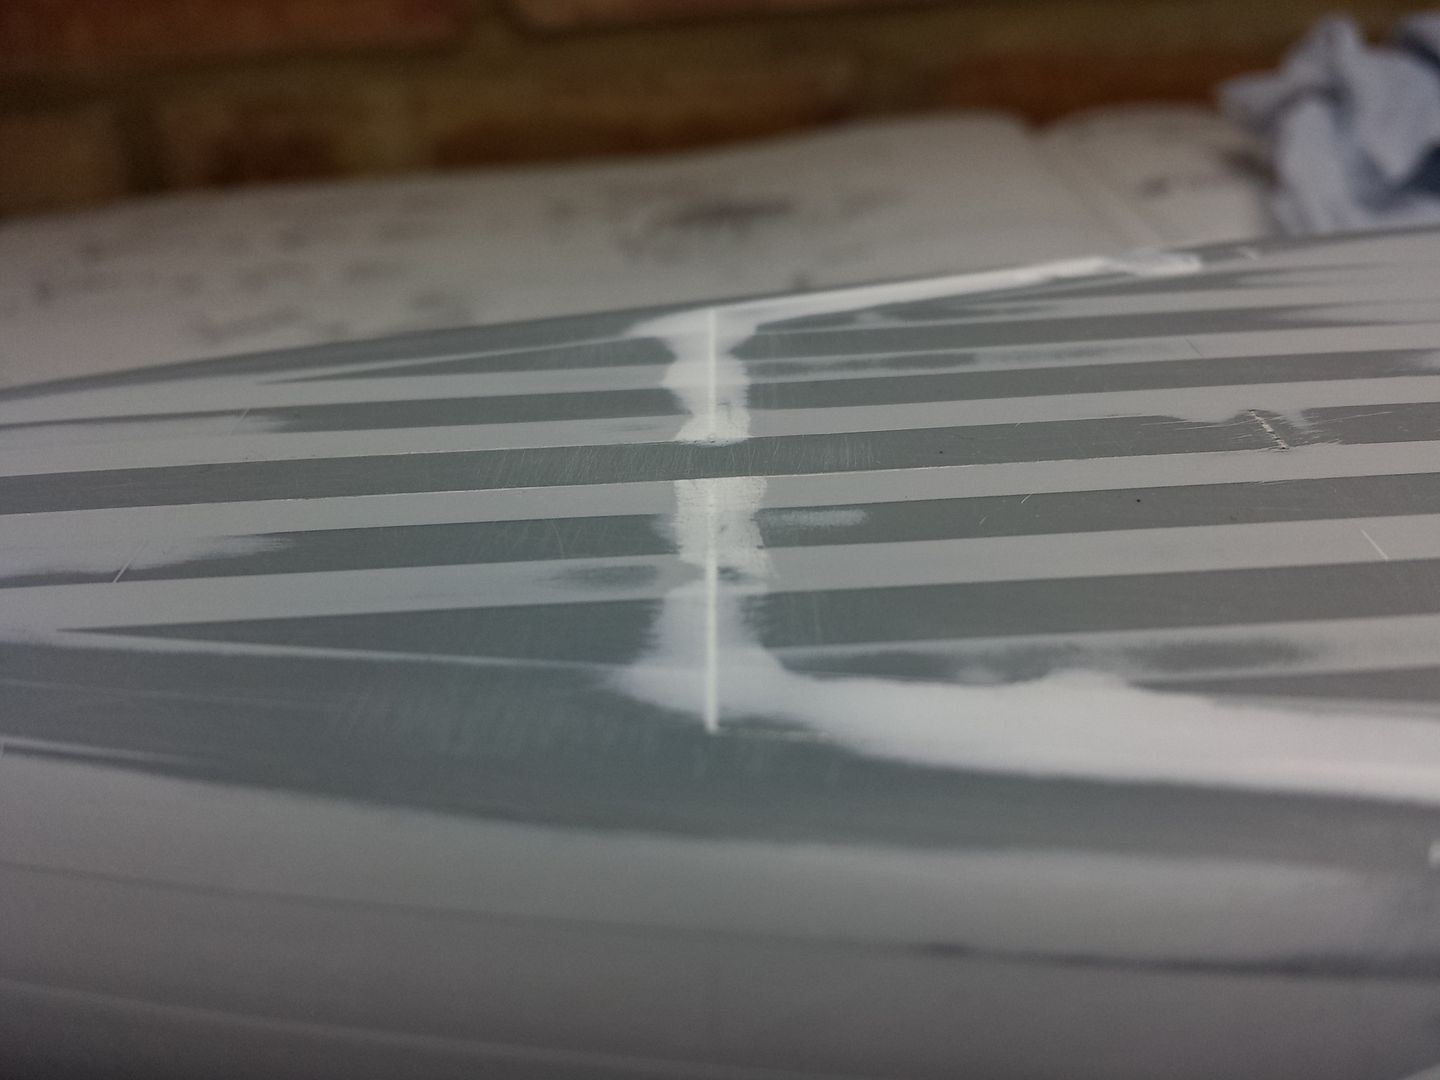 Another go at some PE, definately a lot of patience needed for these small rails but Im slowly getting there. Im hoping it looks a little bit better when the gator glue has dried, it does dry clear. 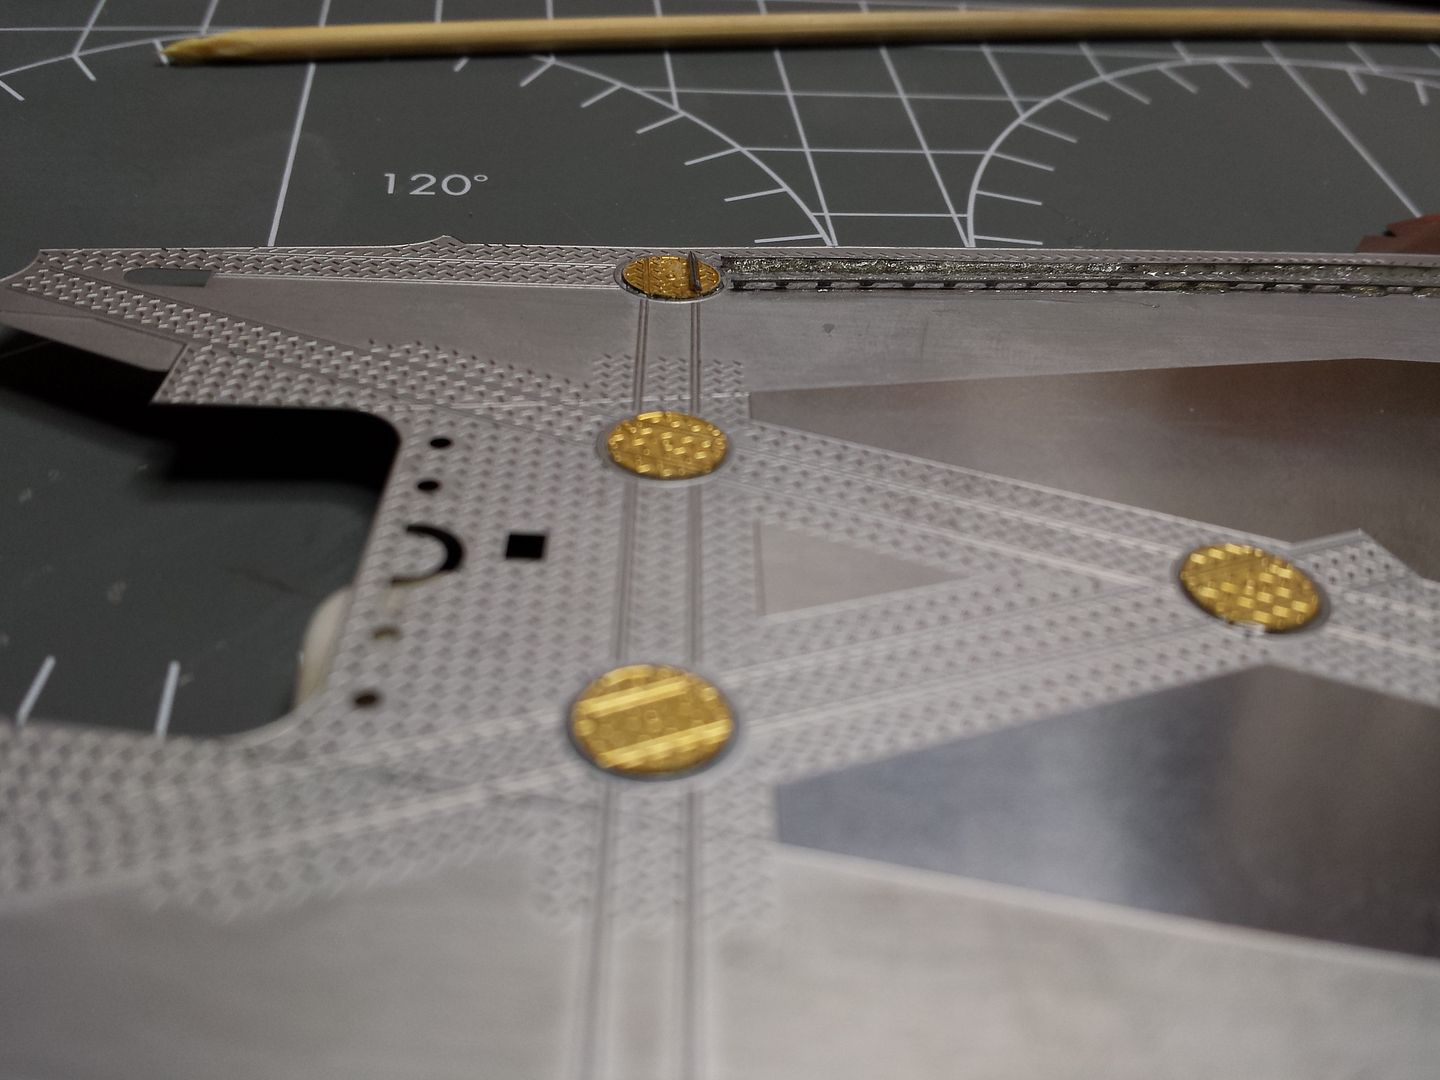
|
|
|
Rank: Super-Elite Groups: Registered
Joined: 27/01/2014 Posts: 5,060 Points: 14,980
|
Well I did say it wouldnt be a quick build. Here is a little update. Spent a bit of time playing with milliput to get the feel for it and must say I am really loving the stuff, wet your fingers and its almost like using clay. I've got the white milliput. So after having a play I made a first attempt at repairing my damaged hull and must say for the another first Im am quite impressed, I need to do a little more work then polish the plastic ready for repriming and painting. Yet another first was attempting to rescribe the lines. I also learnt that my digital camera has a macro mode and macro zoom mode so spent some time learning to use it so should be able to get some better close up pictures now What do you think 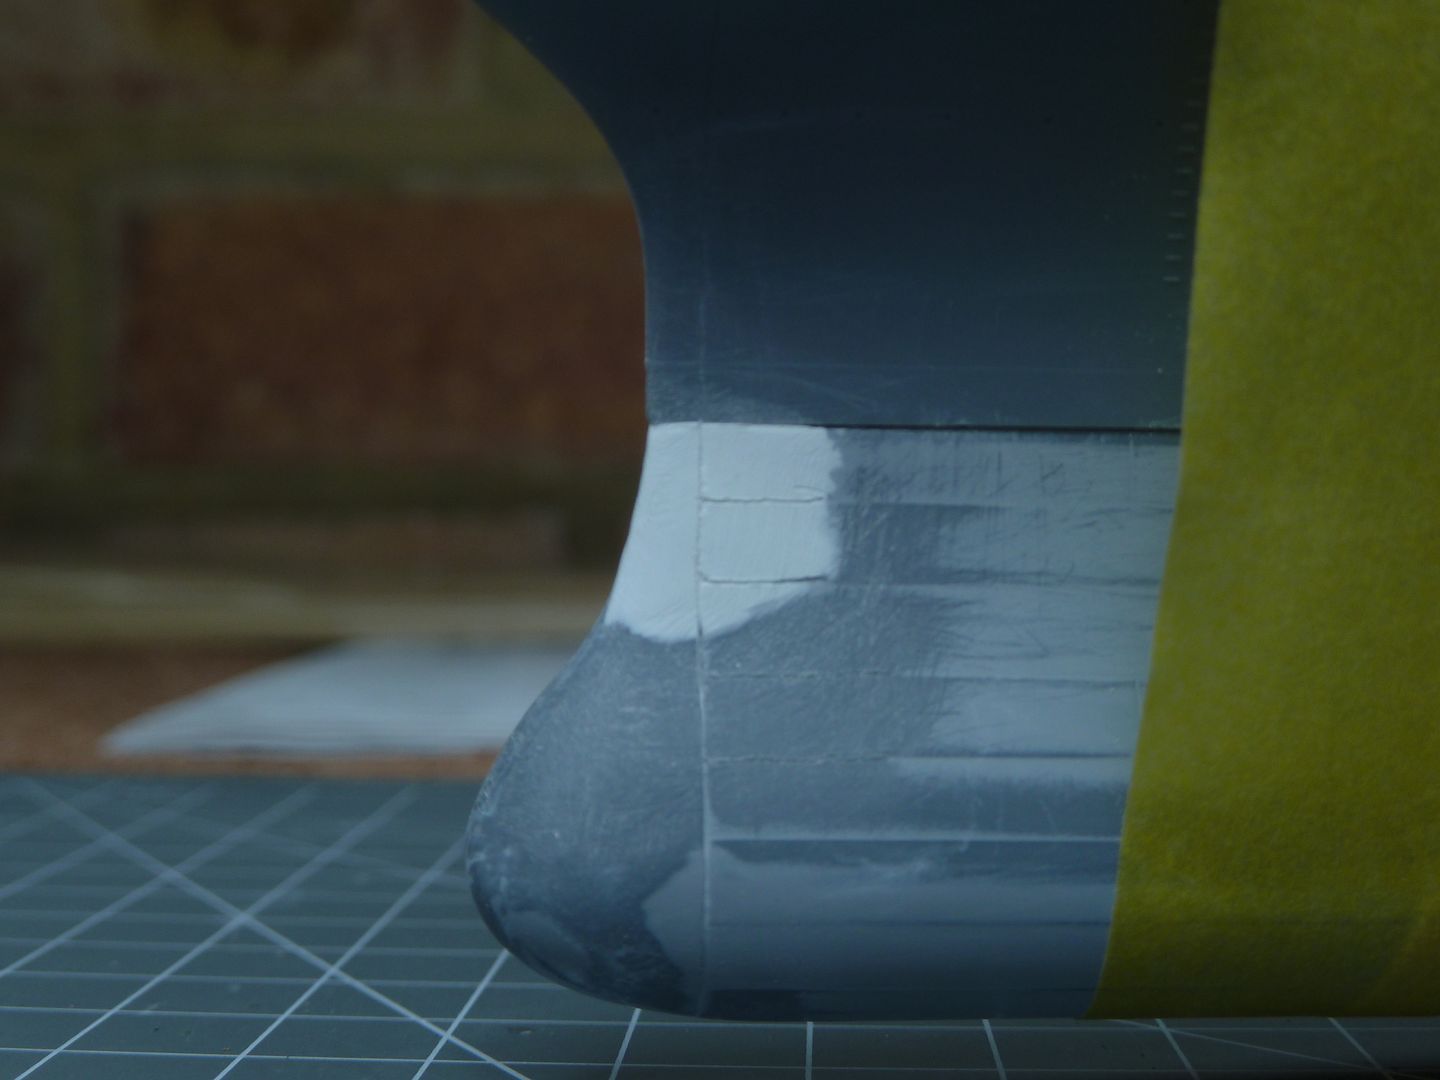 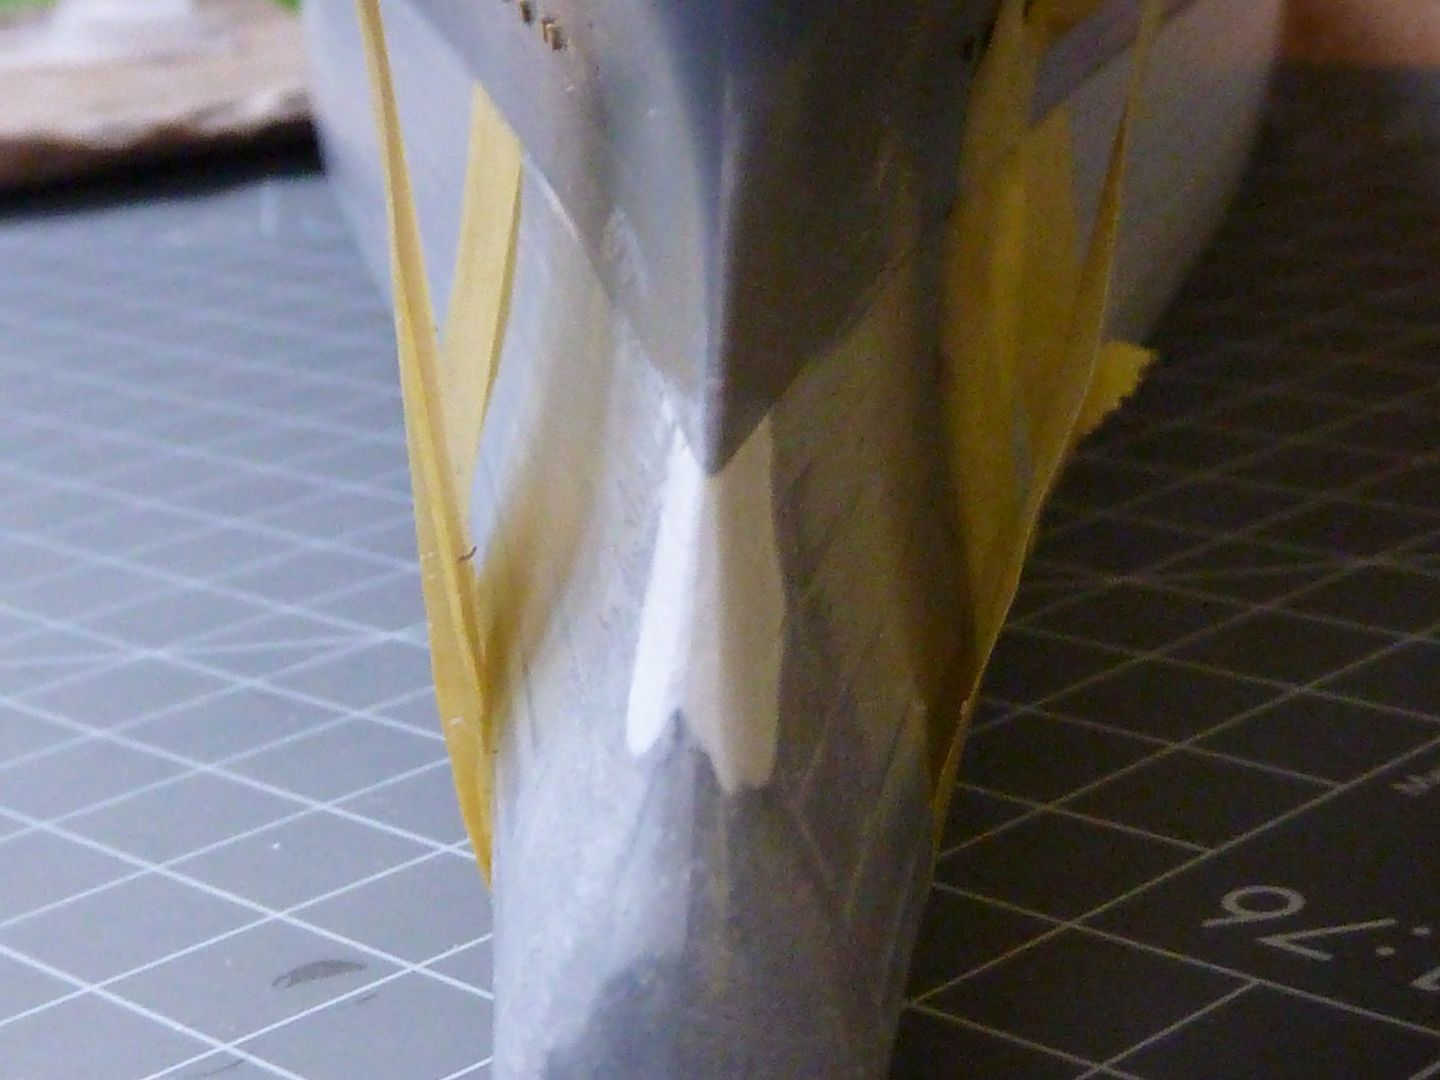 Flight deck completed, this took quite some time to complete but patience paid off, redid 2 rails as used the worng glue to start with which looked a bit messy 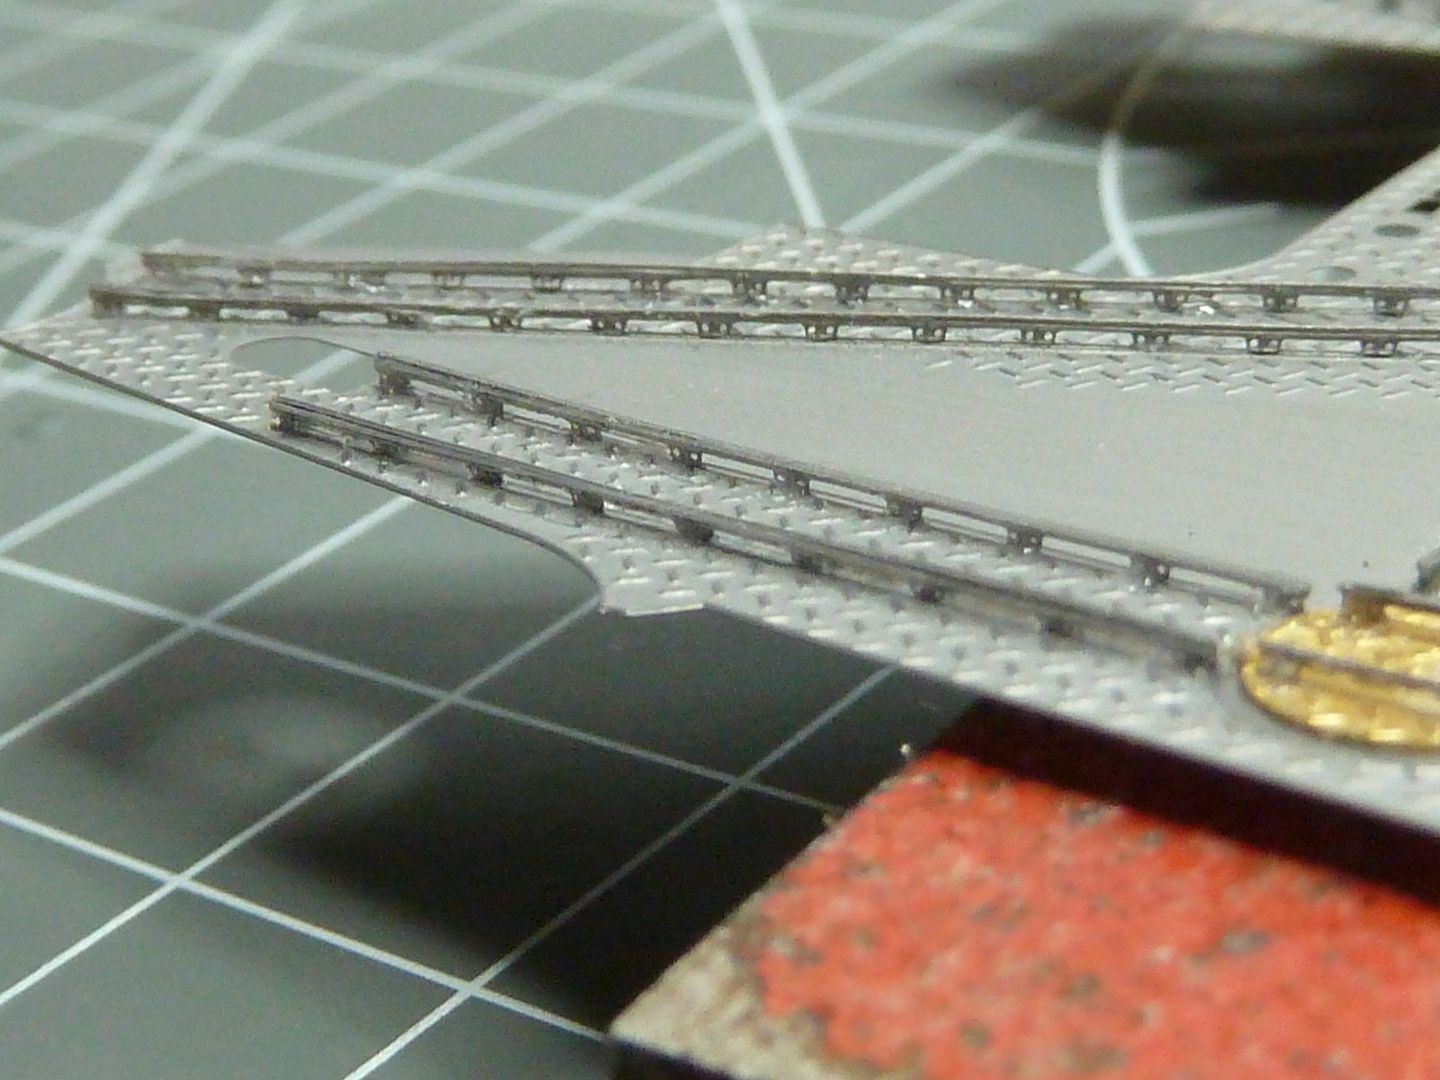 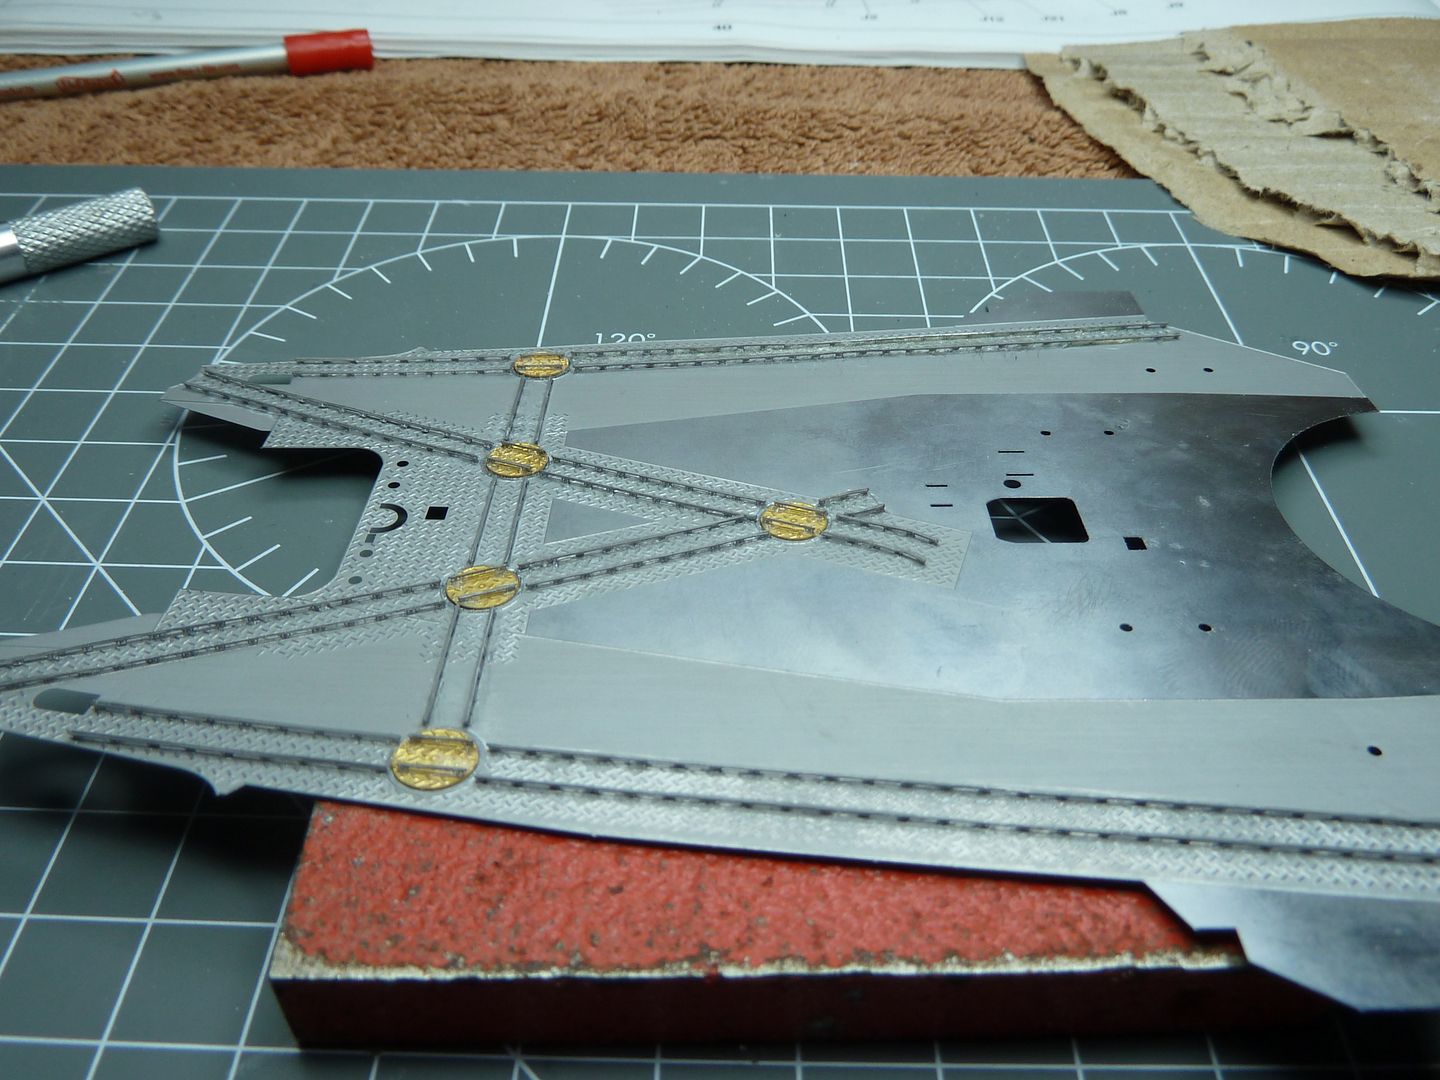
|
|
|
Rank: Super-Elite Groups: Registered
Joined: 27/01/2014 Posts: 5,060 Points: 14,980
|
Another small update, not lots done but thought I would add some pictures of what has been done. Hopefully im not bombarding you all with too many pictures too often. I am kind of jumping back and forward in the instruction manual rather than following their steps. Lots of little parts cut off, cleaned up and ready for spraying. Its amazing how long it actually takes to get all these little bits ready 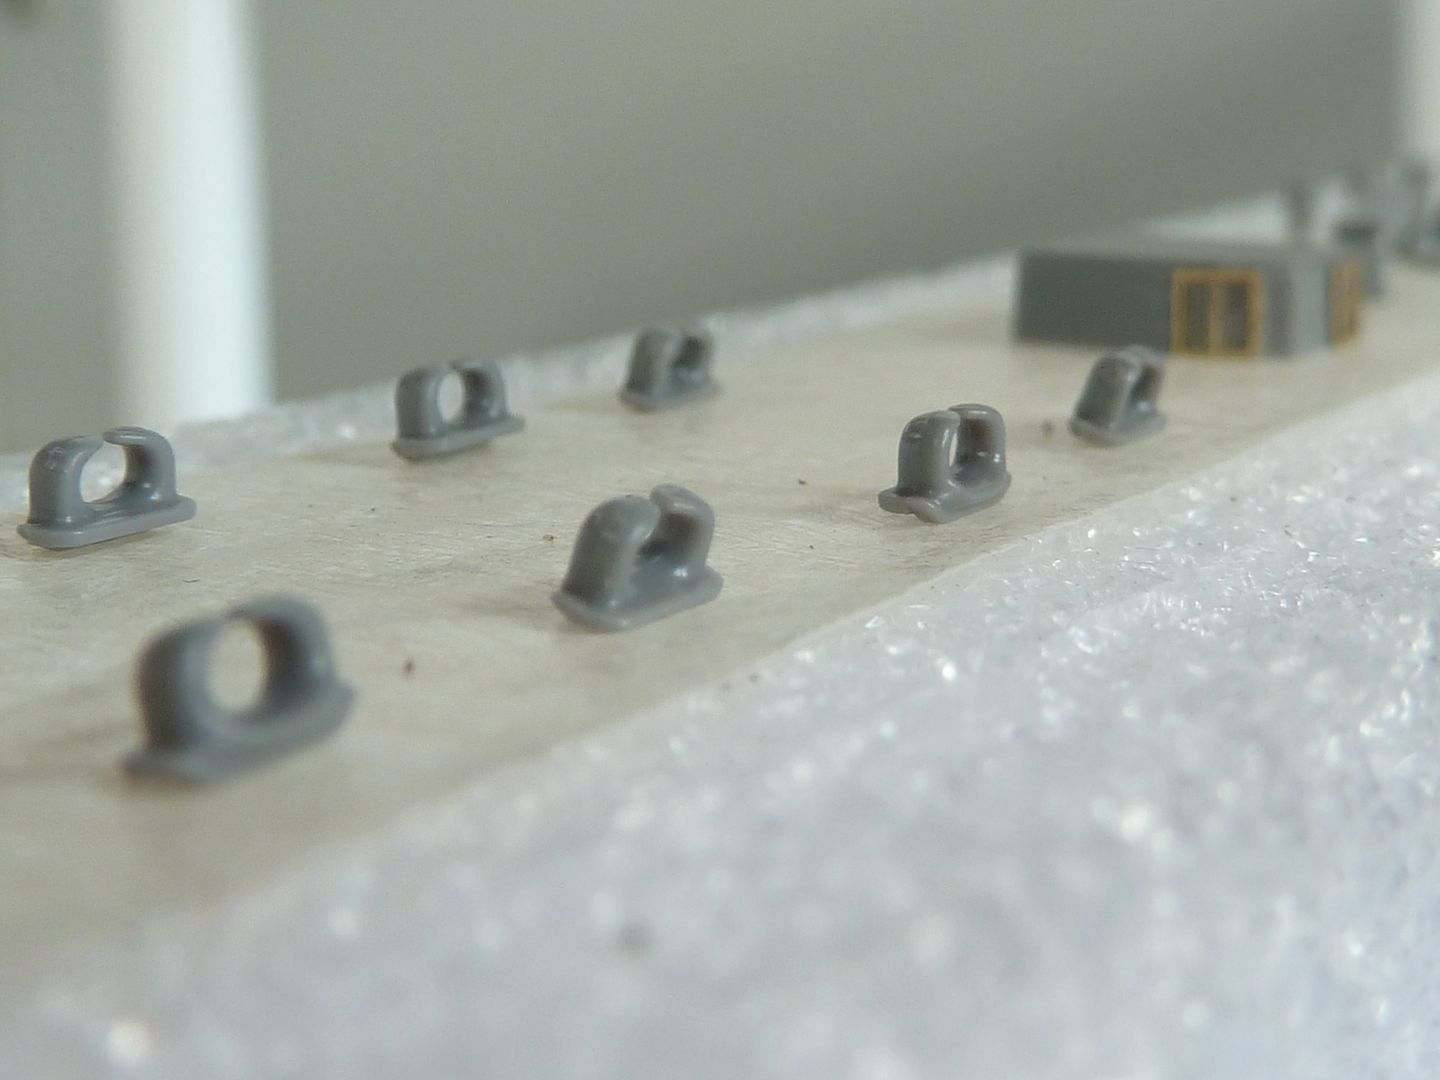 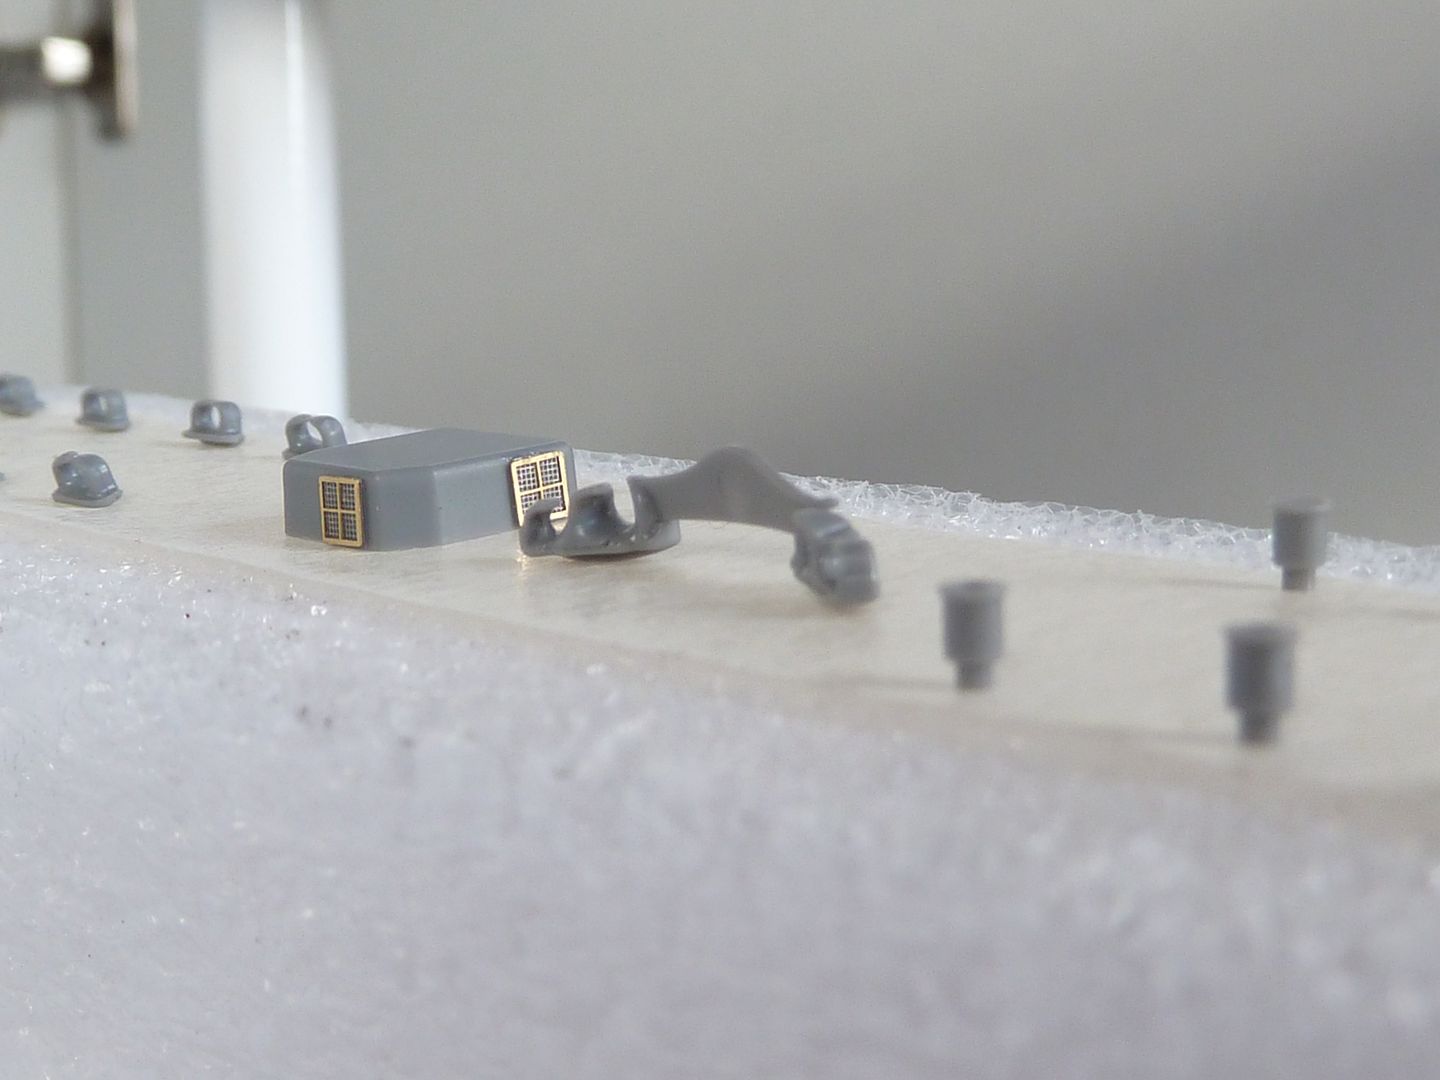 Bit of work on boat deck and more tiny bits added 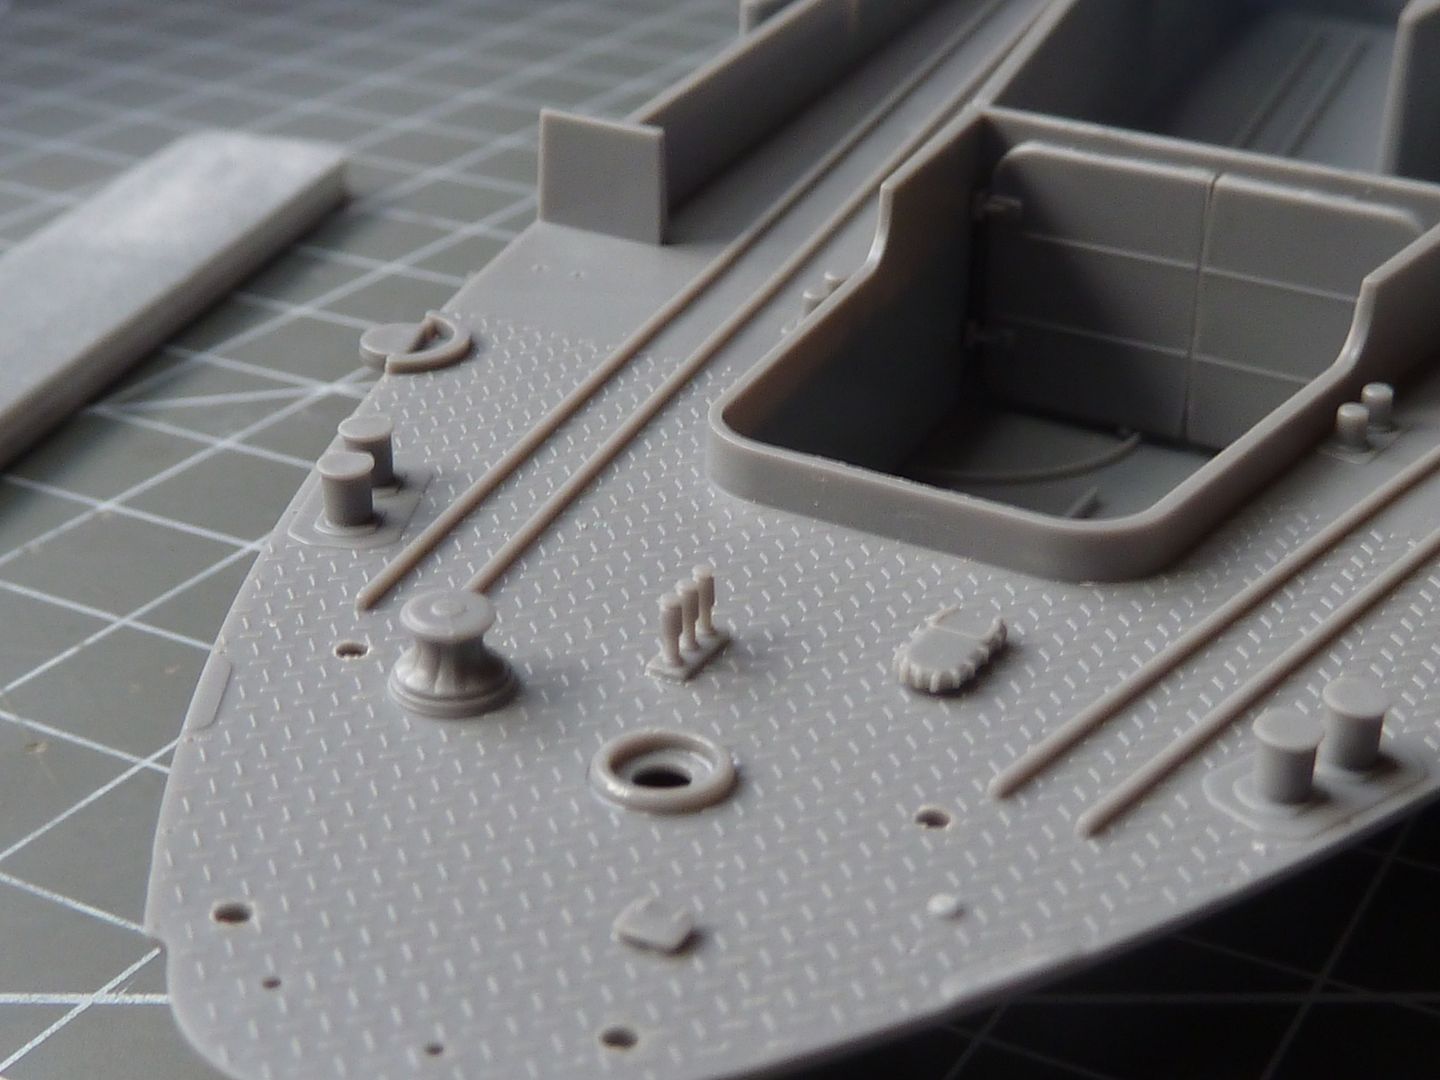 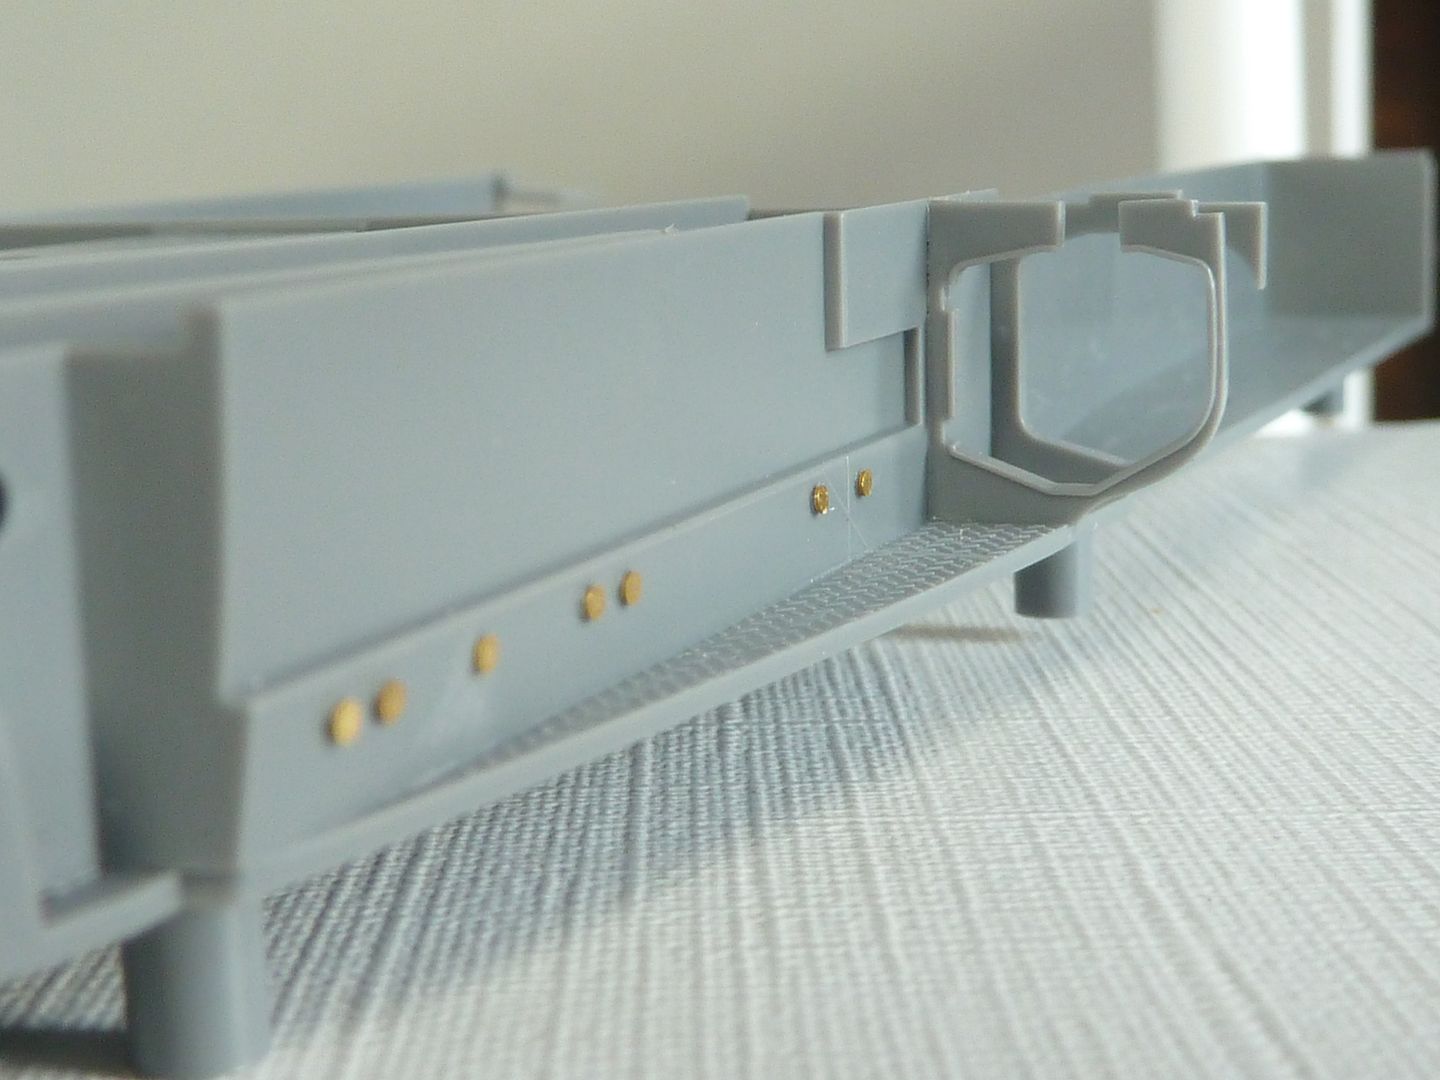 More photo etch added to flght deck  Turrets in varying degrees of build 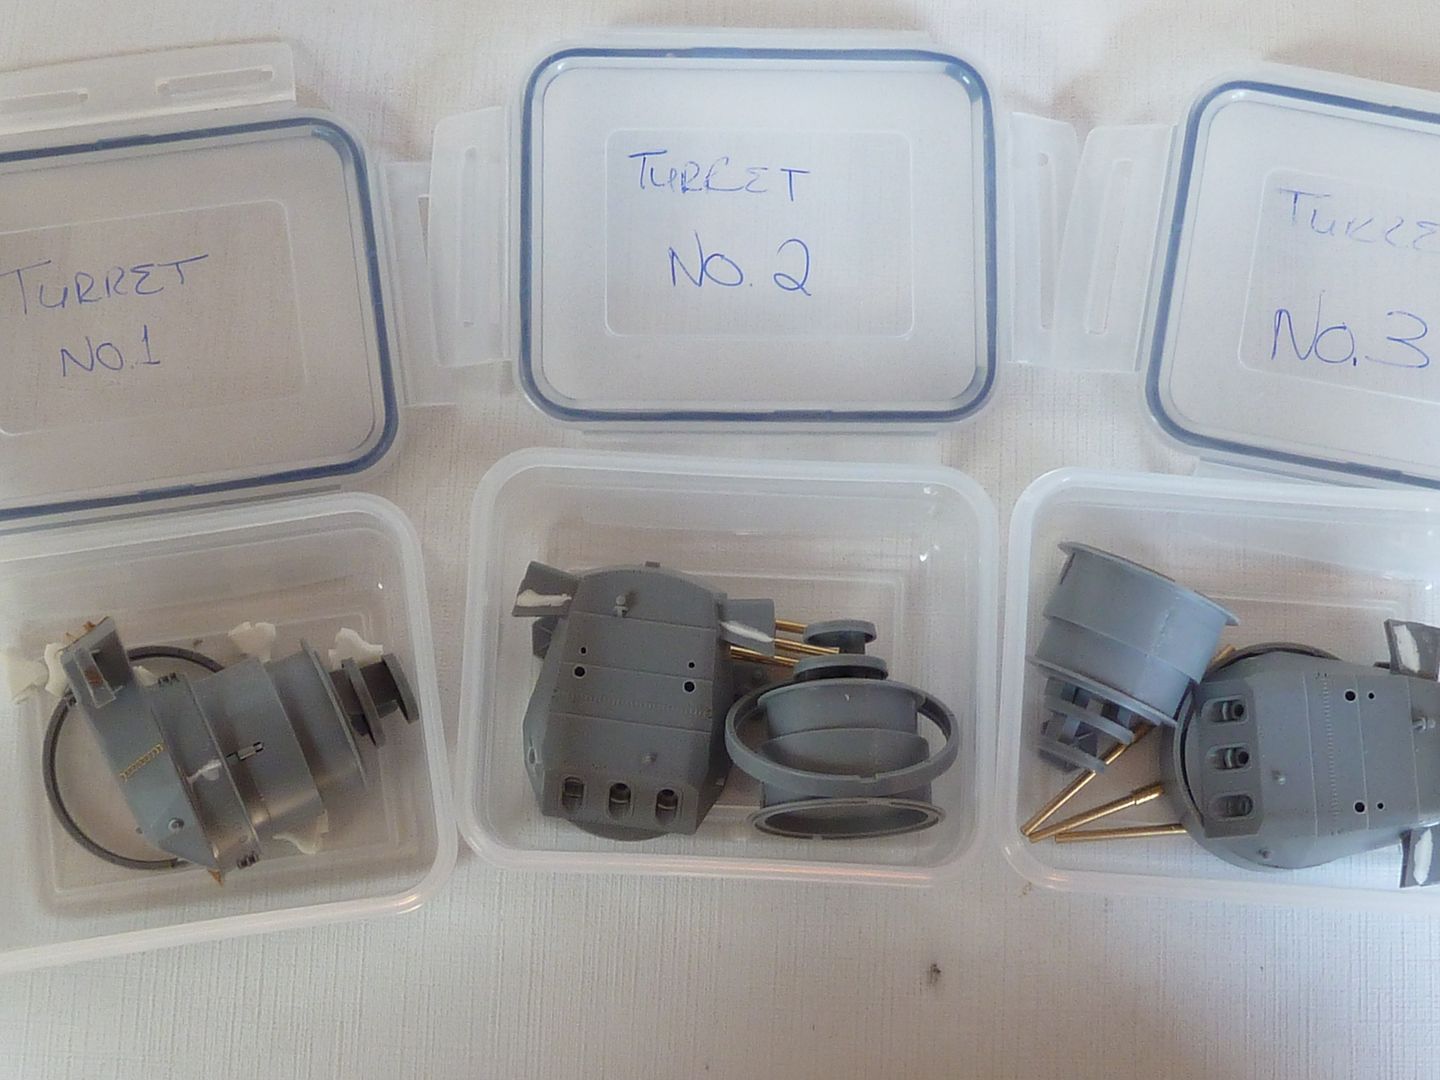
|
|
|
Rank: Super-Elite Groups: Registered
Joined: 27/01/2014 Posts: 5,060 Points: 14,980
|
|
|
|
Rank: Super-Elite Groups: Registered
Joined: 27/01/2014 Posts: 5,060 Points: 14,980
|
|
|
|
 Rank: Pro   Groups: Registered
Joined: 24/05/2014 Posts: 236 Points: 627 Location: North Wales
|
That's looking good and a nice size.Good job on the repair.Love your work station.  Built and building
All things Airfix & Revell.
|
|
|
|
|
She's looking fab Dave and excellent repair work on the hull, you wouldn't know there was any damage there in the first place.....  .. Well done... Regards Alan
|
|
|
Rank: Super-Elite  Groups: Registered
Joined: 30/01/2013 Posts: 4,604 Points: 13,607 Location: Monmouthshire UK
|
Lovely work Dave, so much detail to this one Steve
|
|
|
Rank: Super-Elite Groups: Registered
Joined: 27/01/2014 Posts: 5,060 Points: 14,980
|
Thanks for the comments guys. This is really turning into a labour of love for me. Its taken me since the start of April just to get this far, but as mentioned before its my first model in 18 years so Im not in a hurry. Being a shift worker some weeks I get hardly any time at all to work on her or sometimes I can be in the garage for a few hours and seem to not get anything done at all. The garage (workshop) was one thing I insisted on when me and the fiance purchased our first house together in September gone. It was my to be my man space for my car detailing stuff and to get back into modelling. The kitchen units were already installed in the garage by the previous owners. Behind me I have the Evoke DAP/Internet radio setup with extra speaker normally playing Kicking Country channel I have learnt a lot since starting work on her with lots of firsts, also still learning lots by reading everyone elses builds. I have already a Revell USS Voyager added to my stash, was a birthday present end of April. I am planning to attempt lighting this  . Not everyones cup of tea but I have also got on order some Chibi-Maru Ships, Akagi, Yamato & Kongo, for those that dont know what they are: Chibi-Maru
|
|
|
Rank: Super-Elite Groups: Registered
Joined: 27/01/2014 Posts: 5,060 Points: 14,980
|
Time for another update, Not a great deal of progress as working shifts and jobs left by SWMBO have limited my time. I have resized my images now so hopefully shouldnt fill your screens up I am probably not doing things in the most efficient way but I am really enjoying myself and as I have previously said am not in any hurry. This is showing the hull all assembled and screwed down rather than just dry fitted as in other pictures. Will finish the de-gaussing cable over the next few days then the upper hull is ready for spraying, then I can fit the wooden deck. 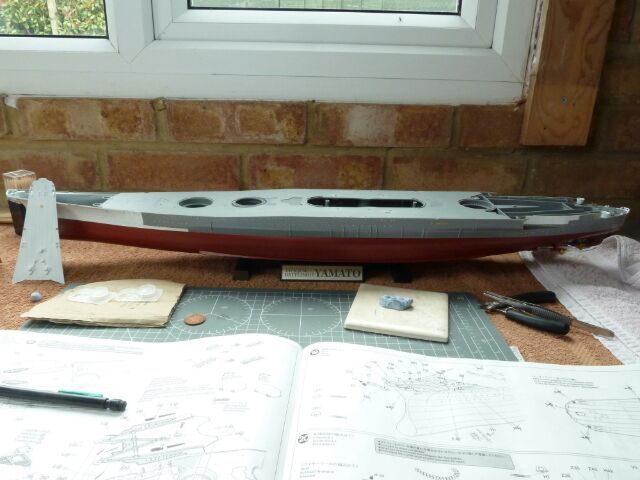 In the meantime I have started to prepare more small bits ready to spray and stick on after the deck has been applied. This has involved more PE work, starting with the rear gun platform which has had sandbags from the MK1 PE kit added as well as MK1 rails, their rails are really nice giving a chain effect. This was the first time doing rails and just these rails alone took me hours. I think they came out pretty good. They do look a bit rough in some areas but this is full zoom on macro zoom mode. 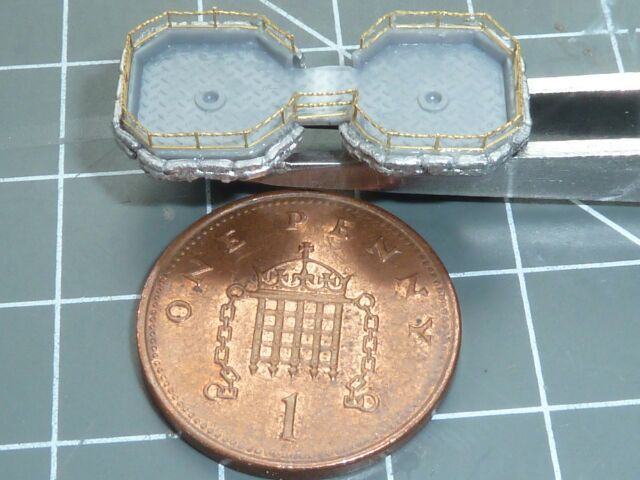 One hose real completed 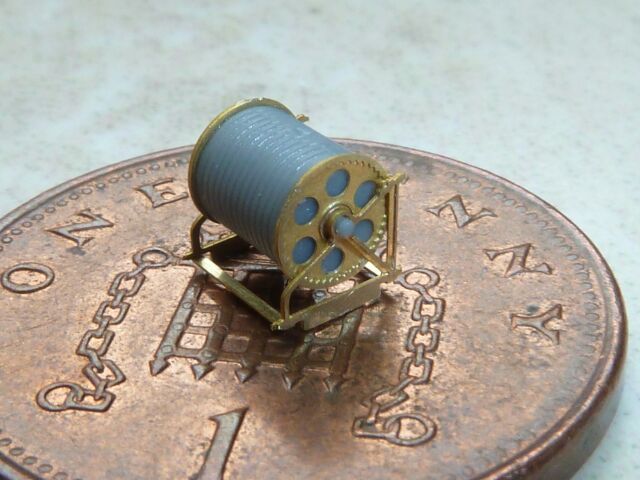 3 hose reals completed 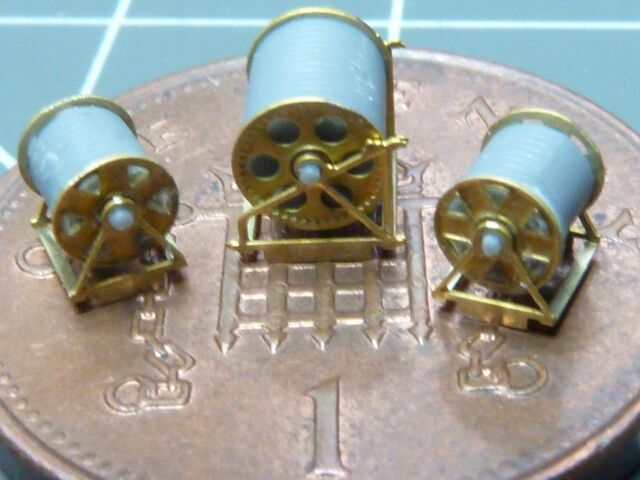 More railings, this one was a bit easier 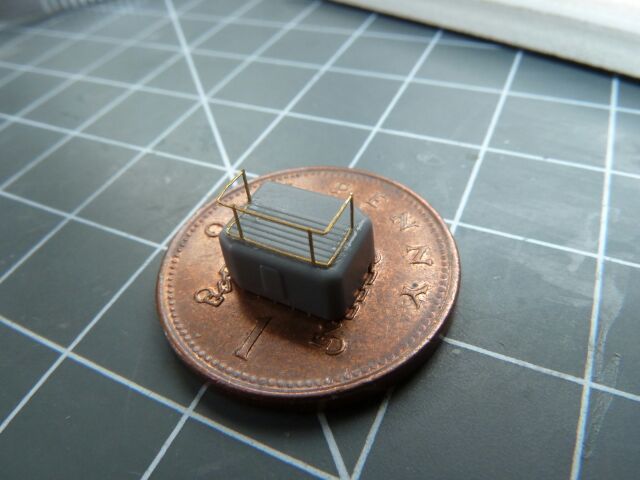 Finally all the little parts ready for spraying 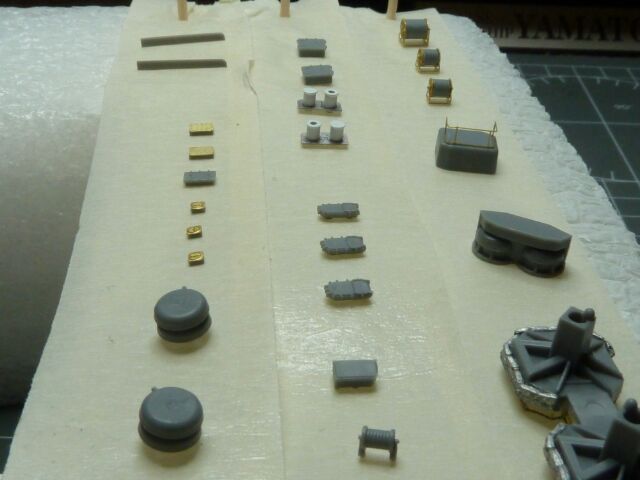 All comments and reccomendations welcome
|
|
|
Rank: Super-Elite Groups: Registered
Joined: 27/01/2014 Posts: 5,060 Points: 14,980
|
Another small update. I have deflated myself a little bit since my last upate. When I sprayed up the upper hull and small little bits I made a bt of a mistake and have been pondering what I should about it. The issue is that I read that airbrush cleaner sprayed on the model is good for cleaning any finger grease off before spraying so i gave the parts a once over with this. My problem being that I thought that the cleaner wouuld evaporate quicker, so I didnt leave it long enough to dry out. When i started spraying the primer (Vallejo) it was watery due to the airbrush cleaner still on the model, I then made a further mistake of just spraying some more not thinking at the time it was the cleaner. The end result is that the primer is a little too thick and in the out area it has pooled. It sounds worst than what it actually is and you need to get really close to see it, I am thinking about just leaving it as is and spraying the top coat as due to all the little details added to the upper hull it would be extremely difficuly to sand down. If anyone can offer any advice with regards to removing Vallejo (Acrylic Polyurethane) primer easily and safely withough affecting the lower hull I would consider it to get a better job on the upper hull. In the meantime I have assembled a couple more small parts, I am really getting the hang of this PE work now :D 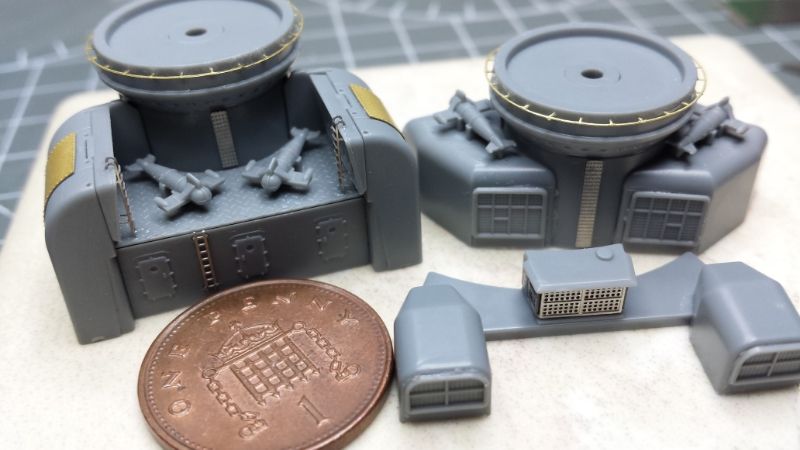 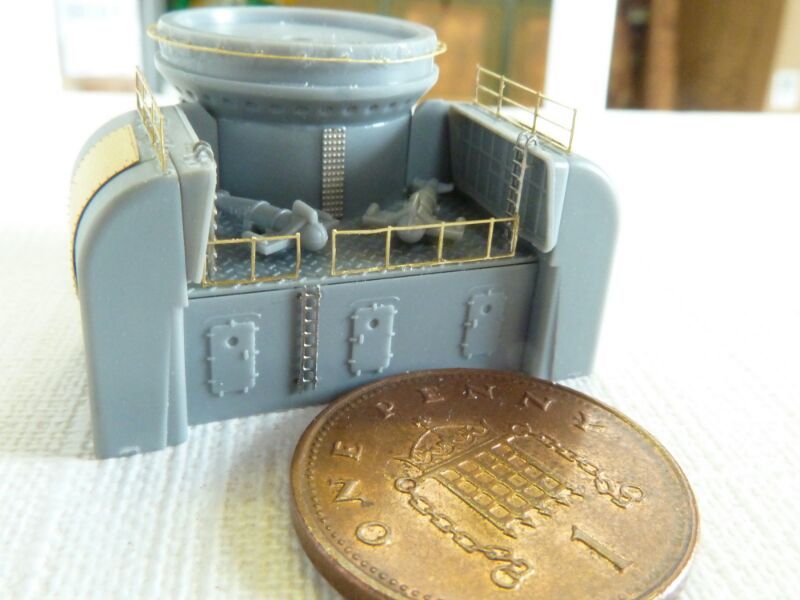
|
|
|
Rank: Super-Elite Groups: Registered
Joined: 27/01/2014 Posts: 5,060 Points: 14,980
|
Not had much time to get much modelling done due to family life getting in the way, here is a little update as to what I have been doing All the little bits in post 16 have been stripped back from when I put the primer on too thick and are now ready for repriming. Been doing a bit more PE, first picture shows the external boat housings (not sure of the correct name), PE ladders, railings and boat winch thingie attached to both sides. Excuse the shiney glue marks. 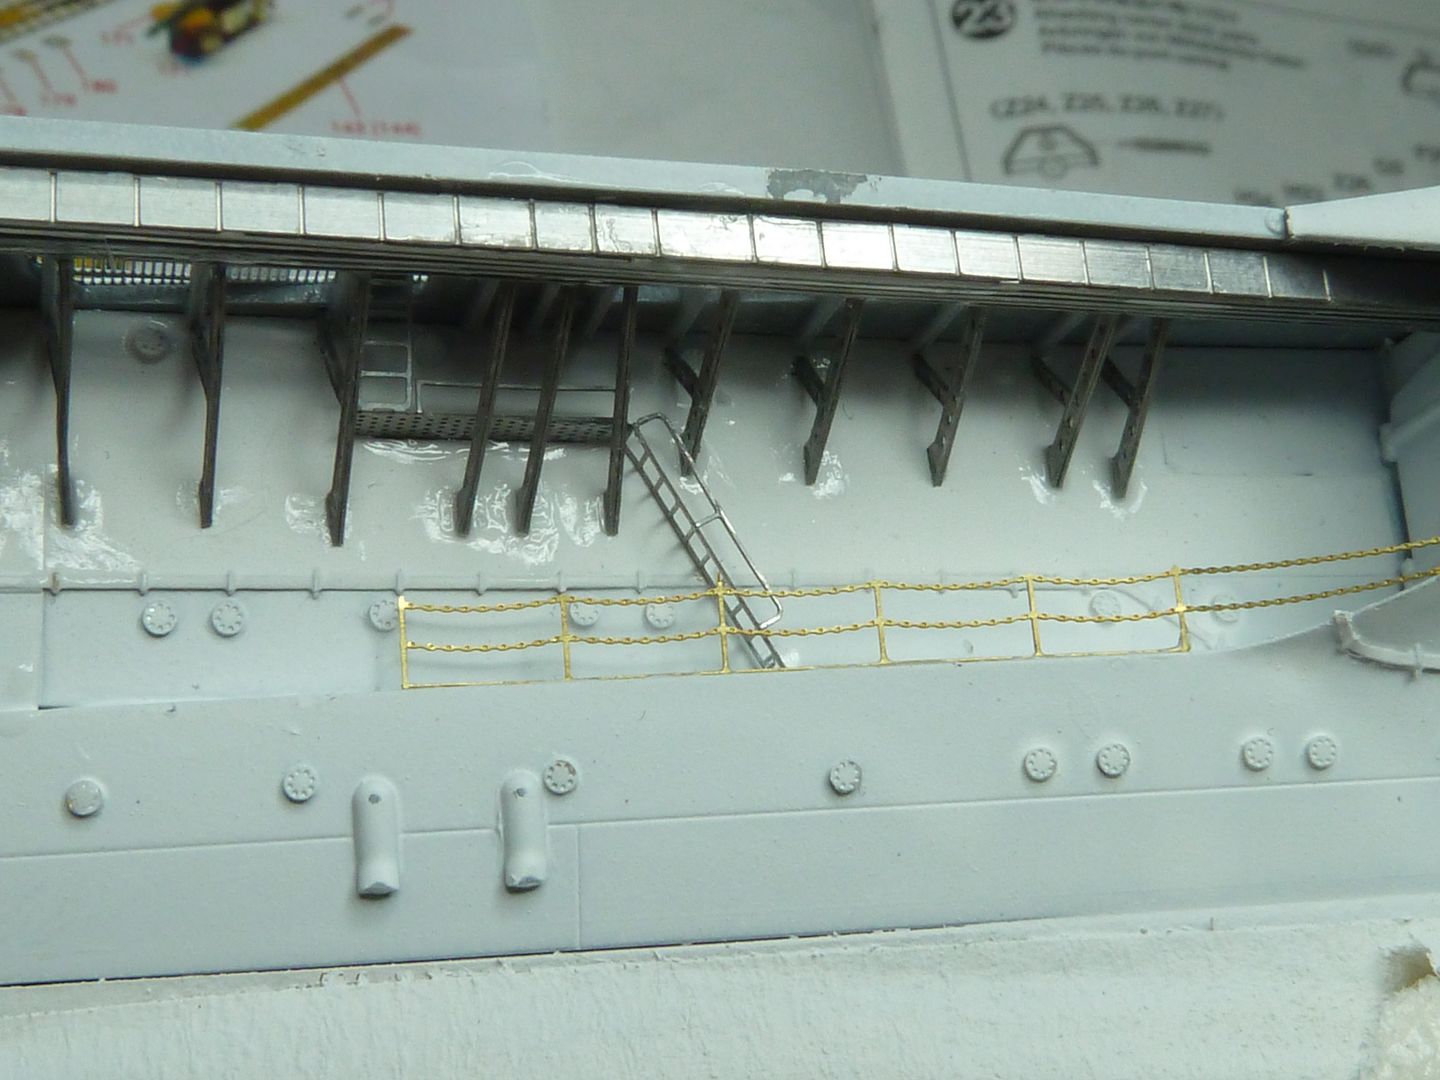 Turret number 1 finished and ready for painting 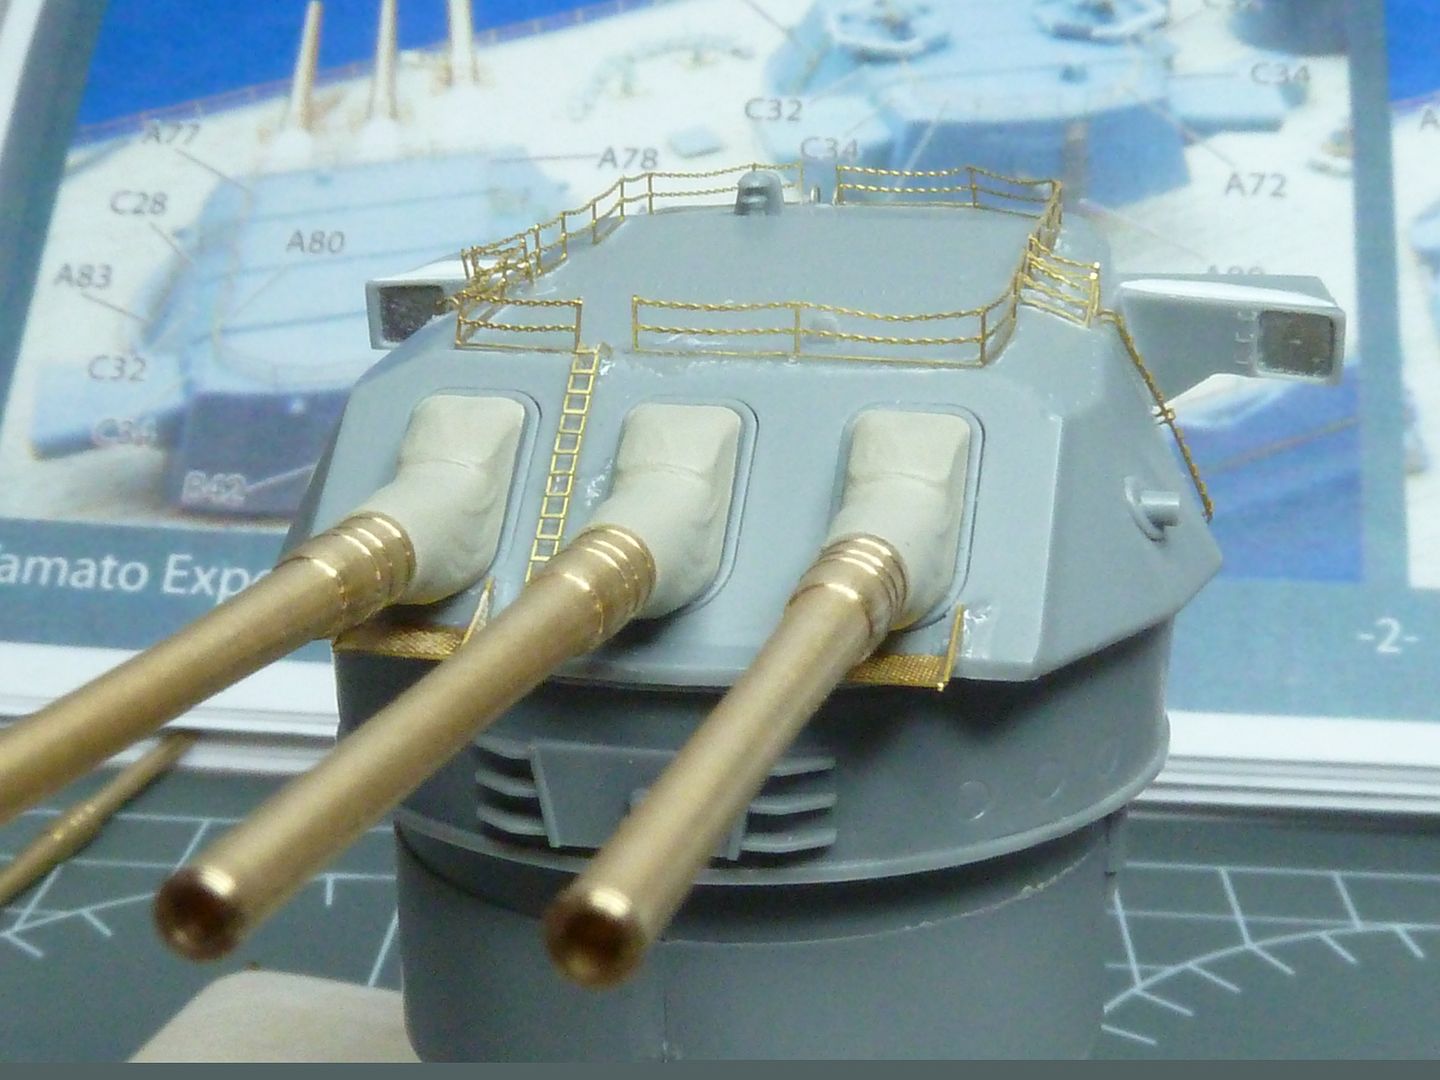
|
|
|
|
|
Looking good Current builds:-C57,Zero, Lamborghini Countach, Caldercraft HMS Agamemnon,Robi,R2-D2, MFH Cobra .
|
|
|
|
|
Some seriously good work, enjoying your build keep the pics coming Jase “Whenever you find yourself on the side of the majority, it is time to pause and reflect.”
-Mark Twain
|
|
|
|
Guest (3)
|
 US
US

