|
|
 Rank: Pro   Groups: Registered
Joined: 20/04/2010 Posts: 141 Points: 426 Location: Worthing, United Kingdom
|
I've been sharing my build progress with some friend's on Facebook, but thought it a shame not to do the same here on the actual Victory forum. I've enjoyed modelling for much of my life. I started with Airfix aeroplane kits in my childhood, before progressing to tank dioramas with Tamiya kits in my early teens. Then I hopelessly regressed to Games Workshop for much of my teenage life. I lapsed completely when I hit twenty. Kits have been dabbled with since, but nothing on the scale of the Victory. I've always had an interest in the vessel, but I only started to read up on it proper in the run up to Trafalgar 200. I'm going to be painting my HMS Victory using the Vallejo acrylic range. I became quite a dab hand (if you don't mind me saying so) with GW acrylics, however most of mine dried up in the intervening years of non-use. I haven't used Vallejo before, so have bought up the range suggested by Capt Stedders. All photos (unless indicated) are taken with a Panasonic Lumix GH1. Anyway, enough of all this - on with the build!  :edit - changed the title to what I meant it to be in the first place.
|
|
|
 Rank: Pro   Groups: Registered
Joined: 20/04/2010 Posts: 141 Points: 426 Location: Worthing, United Kingdom
|
The first cannon! Unfortunately I didn't get any shots of the unpainted building process, but here are a few images of the painting process. Cannon mount in ochre. Only the light shading has been done at this point. 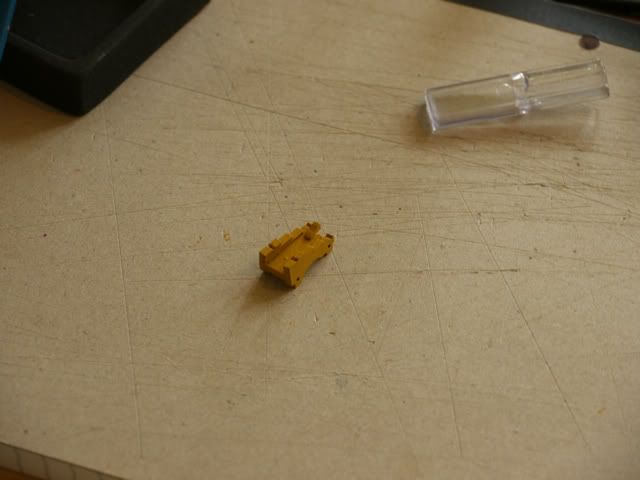 Barrel and wheels added. Highlighting completed on the mount. 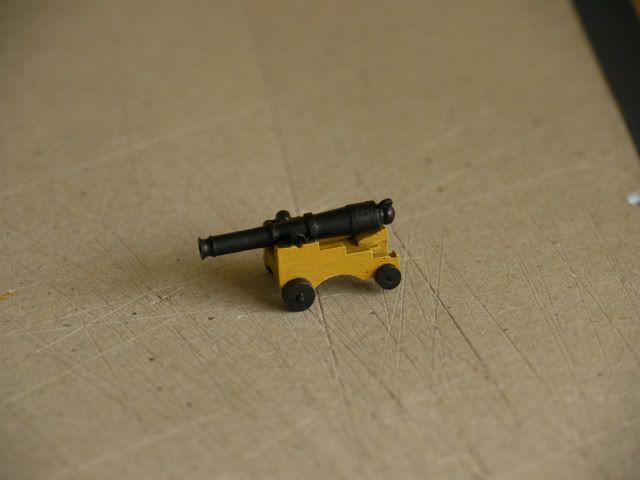 You'll notice that it sits slightly off my custom cutting pad (an A4 notepad). This is due to the rear axle holes being drilled too high in the supplied parts. I tried to alter it myself, but there's only so much wood to drill. I've added some black paint to all black parts, but will redo the barrel as I'm now in possession of Capt Stedders' wonderful Cannon Crest Stamp. You can also see from the cannon that the barrel was miscast, meaning that the ring at the back is at a 45 degree angle instead of being upright. I considered removing it a fashioning my own, but decided that I'd do too much damage to the barrel itself.
|
|
|
 Rank: Vice-Master      Groups: Registered
Joined: 23/03/2010 Posts: 507 Points: 1,571
|
very clean cannon, keep the pics comming.
Willz
|
|
|
 Rank: Pro   Groups: Registered
Joined: 20/04/2010 Posts: 141 Points: 426 Location: Worthing, United Kingdom
|
Thanks Willz! I think I need to work on the wheels though, as all photos I've seen show them as being a beige colour.
Currently working on my shiny white launch, though the carronade images will be up next.
|
|
|
 Rank: Pro    Groups: Registered
Joined: 02/04/2010 Posts: 491 Points: 1,460 Location: Poole
|
First off; AWESOME build diary title!!!  Now.. your cannon.. A very nice, very smooth, crisp finish. I like that. The highlighting on the edges is very crisp too. I would suggest, although I cannot be sure due to the way photography sometimes plays with the colours, that going a bit brighter on the highlights would have more impact - but like I said, it could be the photographs. Nice plug for the crest tool too.  I notice that the thimble to your cannon was, like many others, glued on at a funny angle - simply twist it off with a pair of long nose pliers, clean up the crater and glue it back on again, its a nuisance to have to do this but it needs to be done nevertheless. A good, promising start. I look forward to seeing the finished piece. Schnellboots on back burner
Tools.
|
|
|
 Rank: Pro   Groups: Registered
Joined: 20/04/2010 Posts: 141 Points: 426 Location: Worthing, United Kingdom
|
Thanks Capt Stedders, and no worries on the plug!  I was thinking - I could probably saw the back end off very carefully, wouldn't necessarily need to snip it off? Then rotate and reattach...
|
|
|
 Rank: Pro   Groups: Registered
Joined: 20/04/2010 Posts: 141 Points: 426 Location: Worthing, United Kingdom
|
For the carronade, I noticed that the part to attach the barrel to the mount was completely inaccurate to the actual thing ( link). So I got hold of some very small pieces of wood and fashioned my own mount. Here's the carronade in it's initial primer and shading glory: 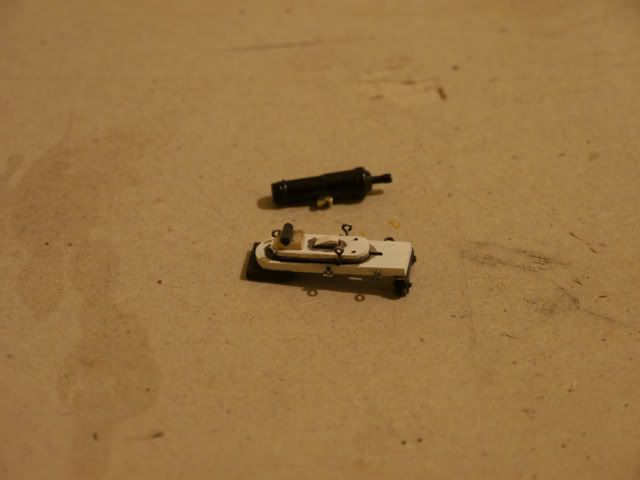 Mount painted: 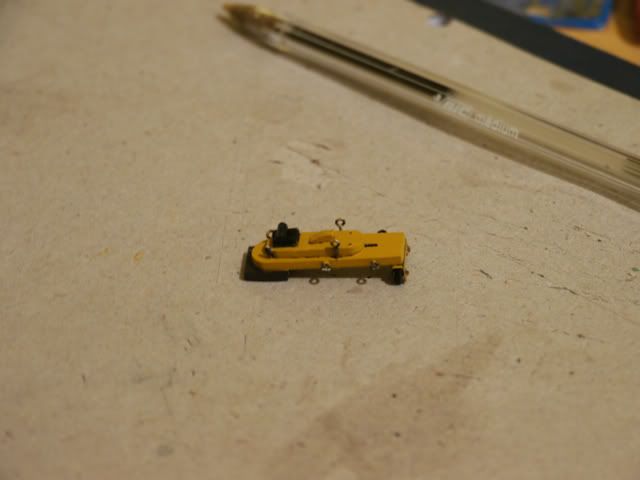 Completed article. Note how the back wheels are larger than the block at the front, making it sit at an odd angle. 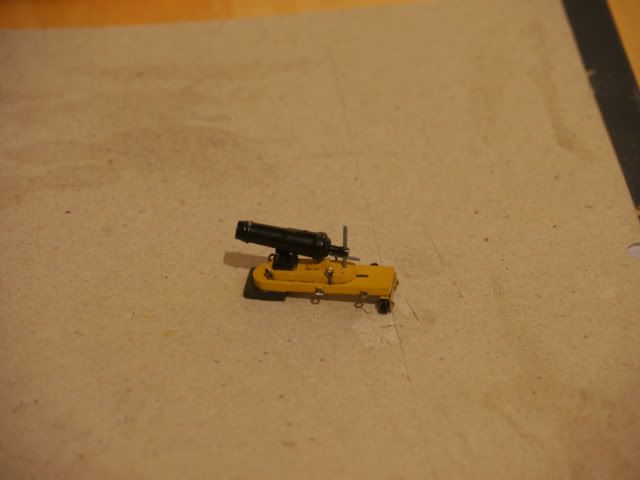 I've made a new block for it, just need to work out how to remove the original one without busting up the carronade in the process! Once this is done, I'll attach the ropes and ensure all the black is uniform (plus get the crest on the barrel).
|
|
|
 Rank: Pro    Groups: Registered
Joined: 02/04/2010 Posts: 491 Points: 1,460 Location: Poole
|
You could..But that sounds like a lot of hard work compared to simply snapping the bit off (they do come off quite easily) and glueing it back on in a more appropriate spot. Entirely down to you. A pity though that the honourable Chinese workers seem to have a different idea of what a right angle is to the way that we understand it. That's communism for you. Schnellboots on back burner
Tools.
|
|
|
 Rank: Pro   Groups: Registered
Joined: 20/04/2010 Posts: 141 Points: 426 Location: Worthing, United Kingdom
|
Onto the launch build! I've got the next couple of weeks off work, so I'm taking my time on this. Just to forewarn you, this is a huuuge post. Consider this part 1! The ribbing went together rather well, but I got a bit too over-enthusiastic when it came to filing the ribs smooth: 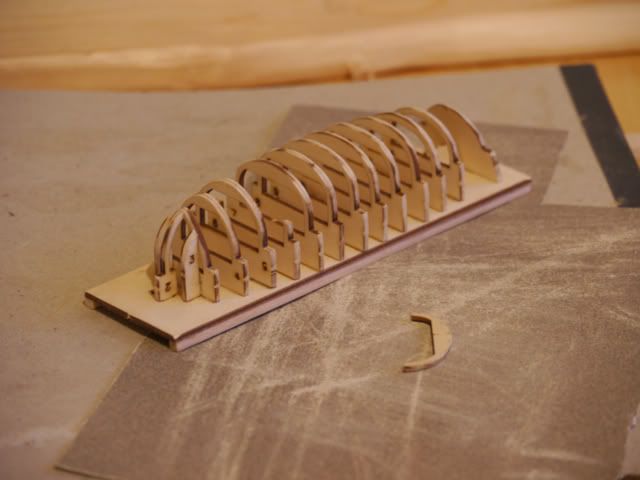 Still, it was easily fixed with a dab of PVA and a bit more care! Now a few shots of the planking going into place: 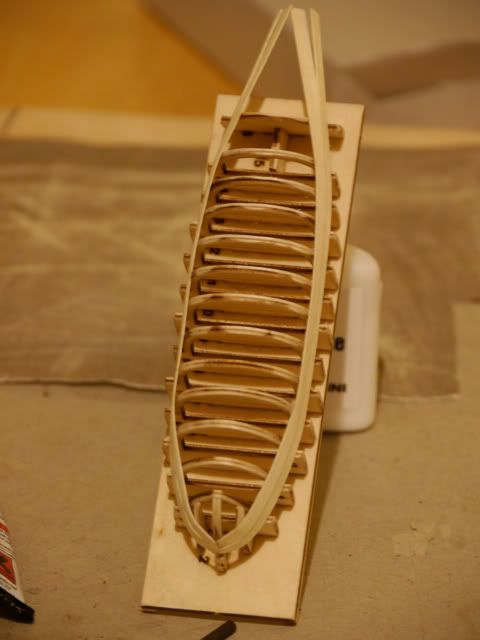 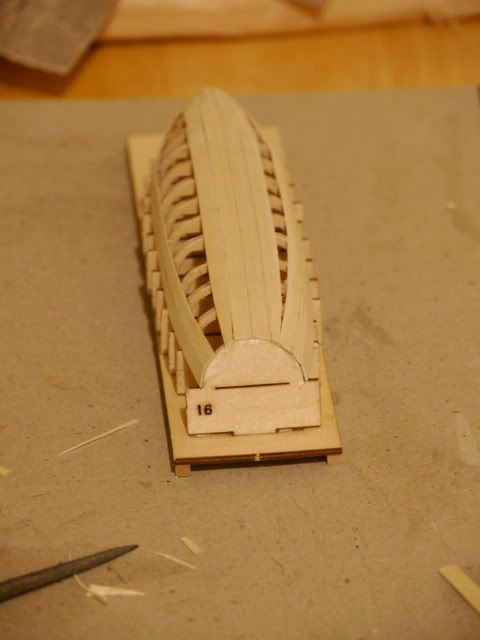 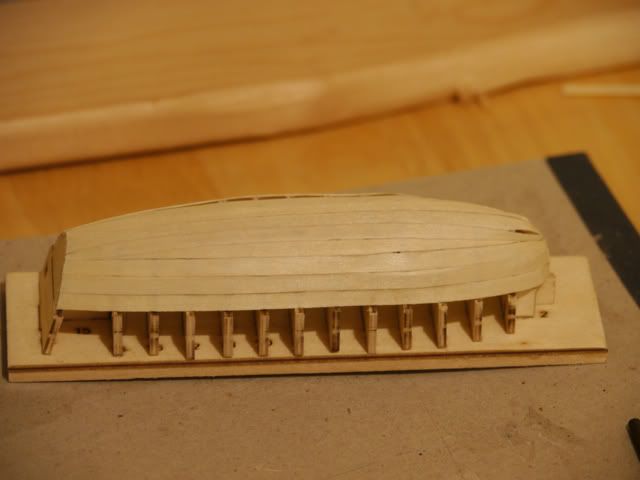 I used the kettle-method to bend the planks into place - worked rather well I thought! Bit painful on a couple of occasions though, so watch out! I found that using needlenose pliers helped avoid injury. Though the magazine recommends that you use PVA, I found this too slow drying to prove useful. Instead, I used small amounts of superglue, then added in PVA once it was firmly in place. Once this planking was in place, I did a bit of light sanding before applying a thin layer of PVA across the launch in order to fill the gaps between the planks. I waited a few weeks before continuing as there were a few large areas that didn't run smooth enough with the rest of the hull. I bought some filler from Cornwall Model Boats. When this arrived, a painted the entire hull in Vallejo white primer. Once dry, I gave it another light sanding using a block. This revealed any low-lying areas that needed filling. Unfortunately I have no photos of this process. Once I was happy with the hull, I removed it from the former, then fitted the extra planking at the top, as well as the keel: 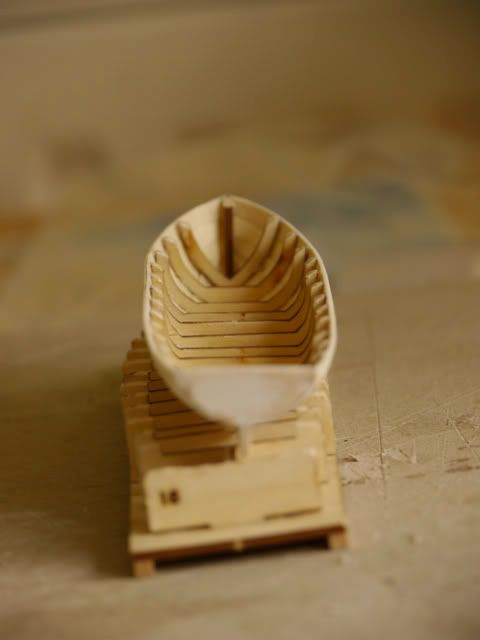 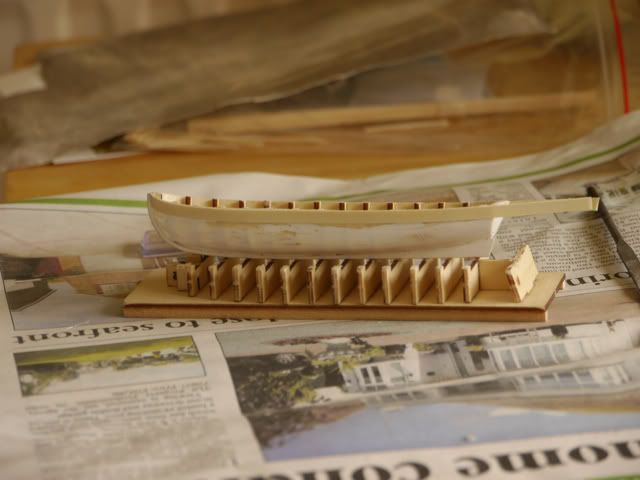 This was followed by fitting the runners. A very fiddy process, but thankfully they supply you with enough extra pieces of planking to get it right through practise! Once these were firmly attached with PVA (and a dab of superglue) I filed the oar slots: 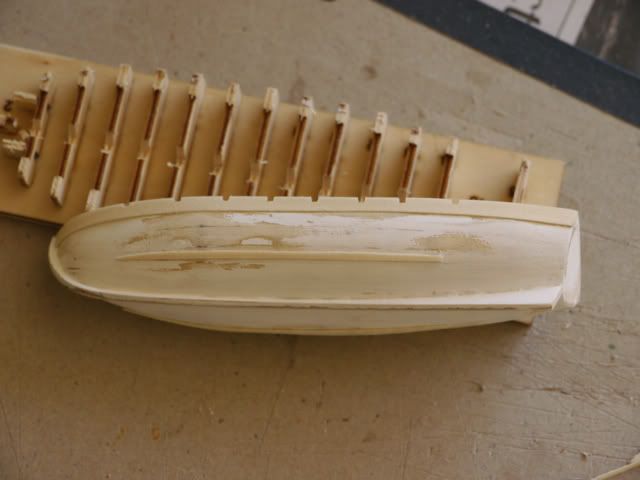 The interior has now been given a coat of primer, and the hull has a uniform covering of Vallejo white: 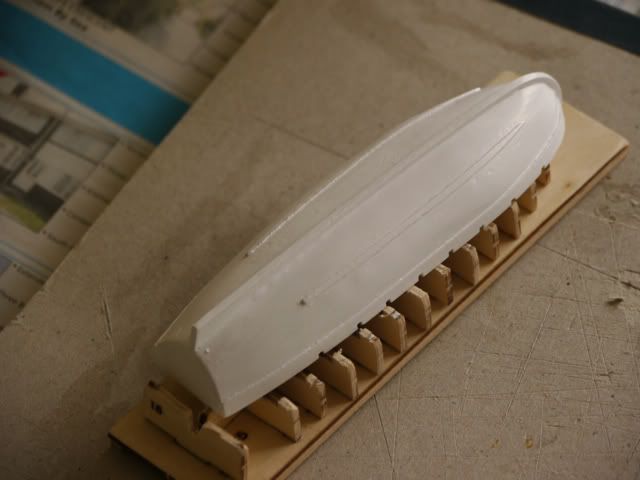 I'm progressed beyond this, but will save the rest for another time!
|
|
|
 Rank: Pro   Groups: Registered
Joined: 20/04/2010 Posts: 141 Points: 426 Location: Worthing, United Kingdom
|
The launch - part 2I started painting the launch by adding the shading component, in this case Vallejo Flat Brown: 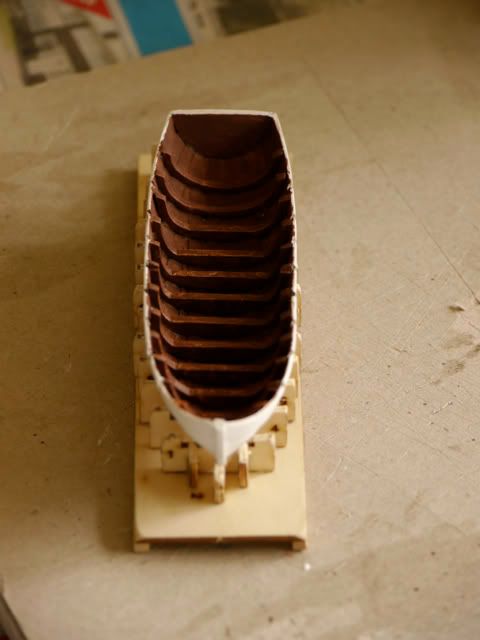 Once this had dried, and I was happy with the consistency in the shading areas, I painted the ochre. This is a 50/50 mix of Goldbrown and Yellow Ochre: 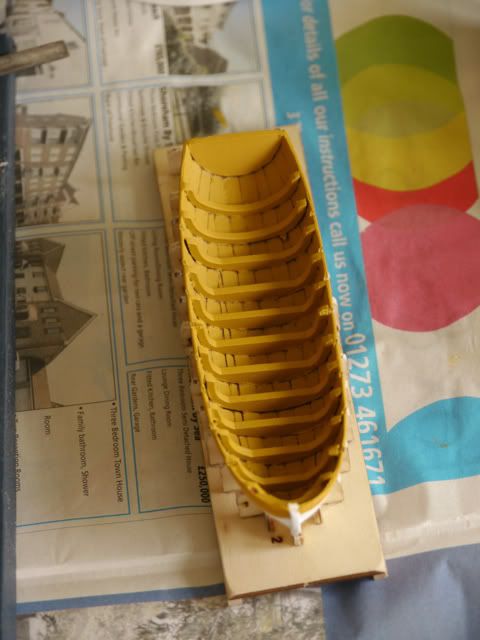 After a few light coats, I realised that a lot of the ochre was ending up in the crevasses courtesy of capillary action. This is not what I wanted. So rather than take my time carefully running a fine brush between the cracks to darken them, I "went nuclear" and flooded most of the interior of the launch in very watered down Flat Brown. Unfortunately this meant that it looked like it had been sunk in sewage, which I knew would happen. I soaked up as much of it using kitchen towel, then waited for the whole thing to dry out before reapplying the Victory ochre mix: 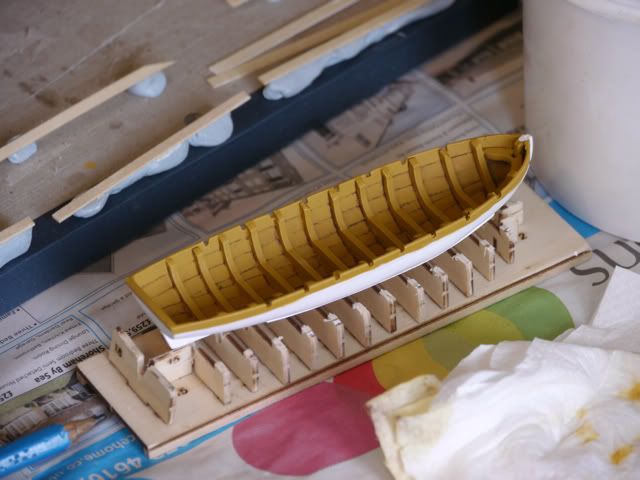 When I was happy once more with the ochre, I added some Vallejo Beige to the Victory ochre mix and highlighted all edges. I then proceeded to measure, cut and paint the interior boards: 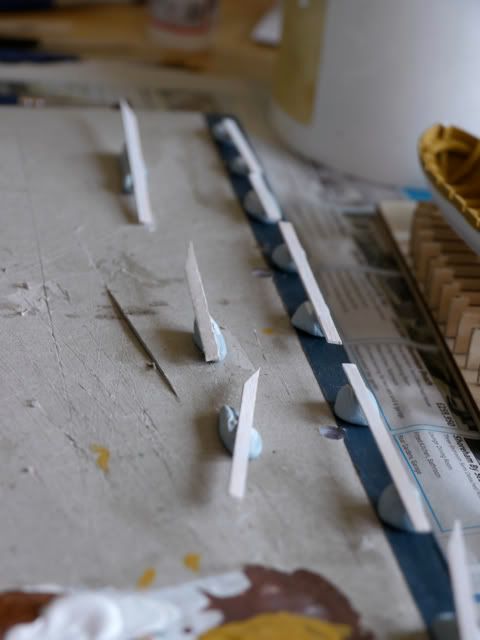 I'm not sure I used the right parts for this, as the boards seem a lot wider than the magazine showed. So much so, that I didn't get in as many boards as the mag, and the outer ones I had to cut to fit the ribbing. Not very accurate, but they fit at least: 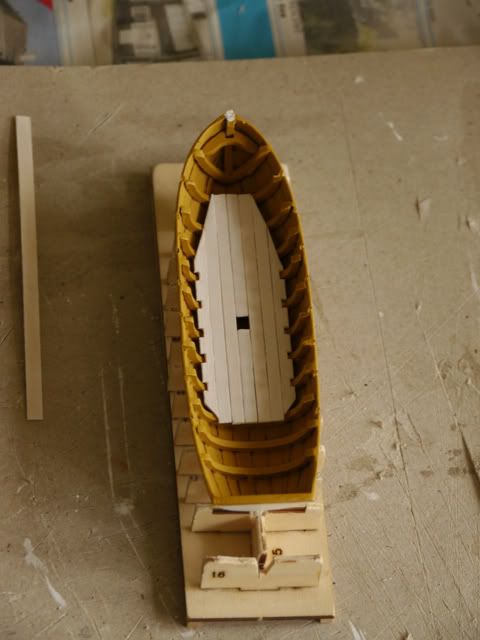 I bent and painted the thwart supports Victory ochre prior to fitting. Again, I wasn't sure I was using the right bits for them, so ended up using extra planking sections. Once again, thank you for supplying so many extra - they're life savers! I applied PVA to all the ribs that the supports would touch, then used my Kustom Bilt clamps to hold them in place until they were dry: 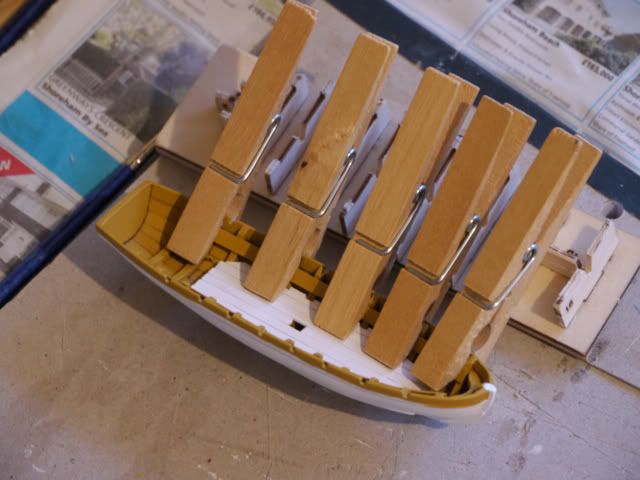 The duckboards were next, and I chose to go the magazine way for fitting these. To get the black for the duckboards and exterior, I made a 50/50 mix of Vallejo Black and German Cam Black Brown. This meant that it wouldn't be too stark once next to the white and ochre. While I waited for the duckboards to dry, and masked up the exterior of the launch and applied the Victory black mix. Unfortunately my masking never works as planned, and I always end up with leakage: 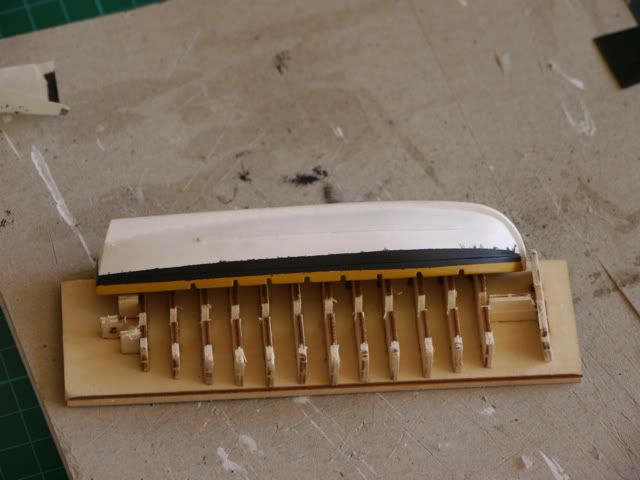 Still, I managed to get it parallel: 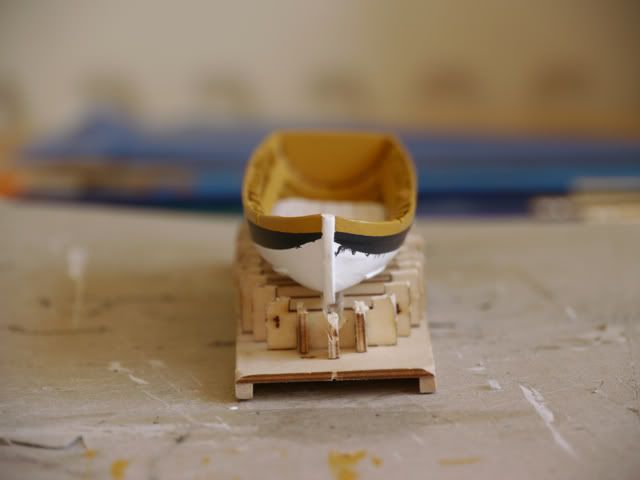 I've since cleaned up the bits that made they're way past the masking, but I'd love to hear any tips for perfect masking prior to working on the actual Victory! Once the duckboards looked black from as many angles as possible (the damned brass kept flashing through), I fixed both pieces to their respective ends with PVA, and not too much either: 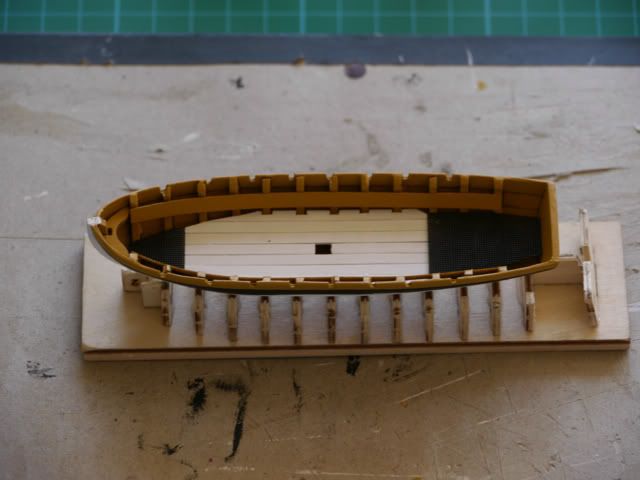 That wraps up this part of the launch!
|
|
|
 Rank: Vice-Master      Groups: Registered
Joined: 23/03/2010 Posts: 507 Points: 1,571
|
After masking if you then paint the the masking tape line with the base paint it will seal the tape and any bleed will be that of the base paint, i.e in your case the bottom tape should be sealed with white and the top tape should be sealed with yellow
like the way you cut round the ribs for that extra detail.
|
|
|
 Rank: Pro   Groups: Registered
Joined: 20/04/2010 Posts: 141 Points: 426 Location: Worthing, United Kingdom
|
Thanks for the masking tip willz, I shall try that in future! 
|
|
|
 Rank: Pro   Groups: Registered
Joined: 22/03/2010 Posts: 369 Points: 1,150 Location: Broadstairs
|
looking good regardless Amipal, keep it up.
TIS
|
|
|
 Rank: Pro   Groups: Registered
Joined: 20/04/2010 Posts: 141 Points: 426 Location: Worthing, United Kingdom
|
Thanks Tiswas!  I'll be posting another launch update later on this week as I've made substantial progress.
|
|
|
 Rank: Pro Groups: Joined: 24/08/2009 Posts: 48,827 Points: -13,348
|
Excellent diary, it appears as an honest work in progress feature. If only some other contributers  could be more honest in there experence efforts.
|
|
|
 Rank: Pro   Groups: Registered
Joined: 20/04/2010 Posts: 141 Points: 426 Location: Worthing, United Kingdom
|
farrabass wrote:Excellent diary, it appears as an honest work in progress feature. If only some other contributers  could be more honest in there experence efforts. Thanks farrabass! Just trying to keep mine as brutally honest as people so that it can assist anyone reading it from making the same mistakes as me! For instance, the thwart support I fitted shouldn't be a piece of planking, as it mounts the thwarts too high. Having a heck of a job getting the supports in place for the windlass.
|
|
|
 Rank: Pro   Groups: Registered
Joined: 20/04/2010 Posts: 141 Points: 426 Location: Worthing, United Kingdom
|
I've recently had two weeks holiday off work, which gave me ample opportunity to complete the launch. Well, almost. I'd say I'm 99% complete - only waiting on the additional oars and fitting the anchor. First things first, I worked on the thwarts and mast. In order to properly size the brass supports for the mast on the thwarts, I used the mast itself as a guide: 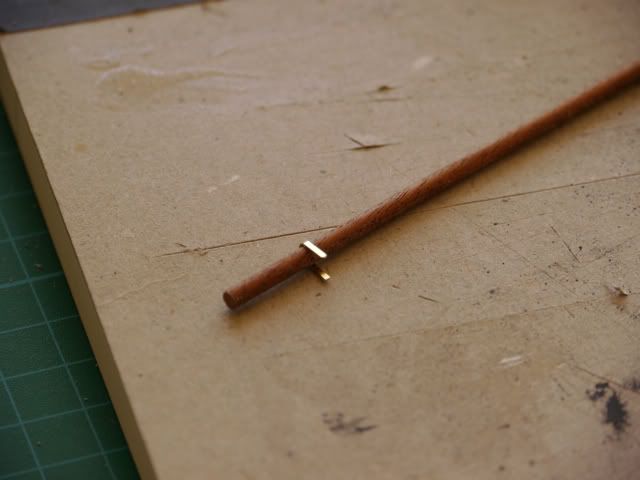 I had to sand the thwarts quite substantially due to an error in my build - I used planks instead of the supplied parts for the thwart supports. This meant that most of my thwarts are thinner at the edges than the middle, but it worked out okay in the end. Here's any image of them painted and fitted: 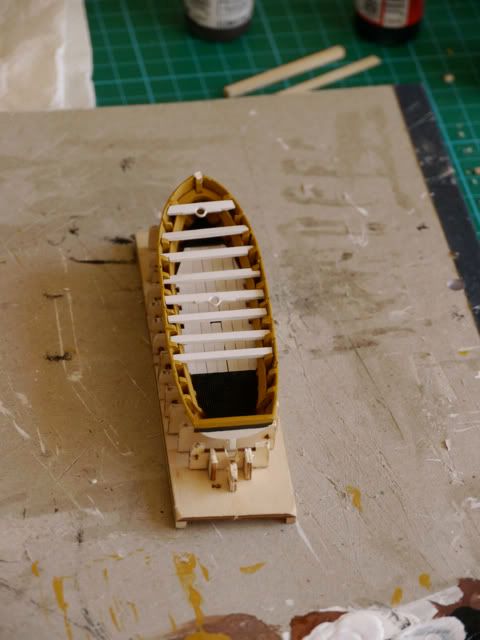 I did the same with the detail pieces at the rear, painting before fitting. And once again, due to the additional height given by my errored thwart supports, I had to do some sanding to get them fitted. The following image also shows the shaped mast: 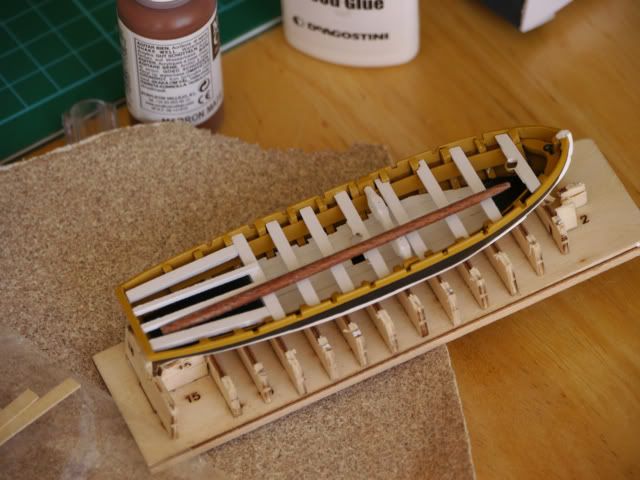 The rudder proved a bit of a problem, mainly due to the wood cracking in two whilst I was man-handling the brass into place - you'd think I'd have learnt from the earlier problem with the launch jig ribbing!  A dab of superglue and a bit of sanding later, and after it was painted you can't even see the join: 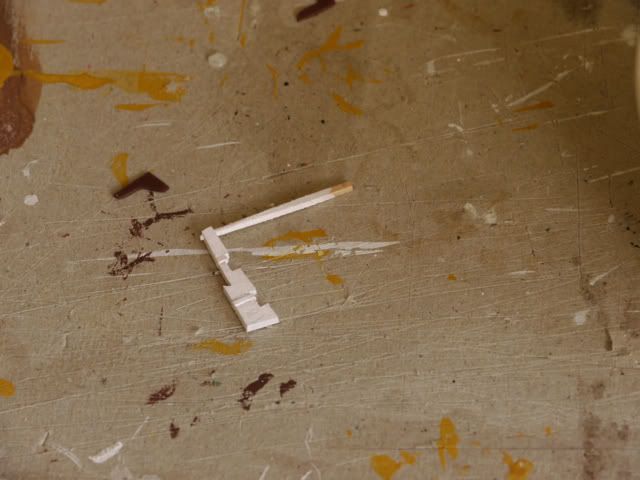 The anchor rope was produced exactly as the instructions said, and I didn't suffer any problems - aside from not reading the whole lot. This meant that I had to unwind it a bit before it would fit into the bottom of the launch. I decided to die the anchor rope in tea. It took a number of dips and dries before it took on the colour I wanted, though I'm not entirely sure of either its historical accuracy or whether the cotton will last: 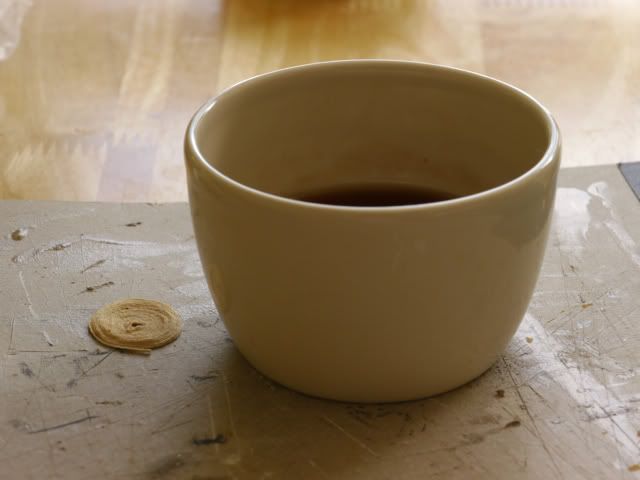 The mast wasn't a huge challenge to paint, as all it needs is a knob of white at the tip. I did this by eye. Then it occurred to me that I'd need to hold it until it dried, so came up with this solution to prevent the paint pooling to one side: 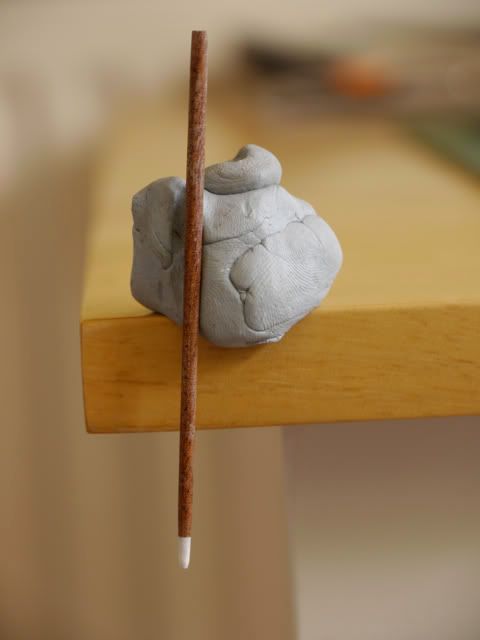 Here's a picture of the almost complete launch, including mast, rudder, rudder supports, and anchor rope: 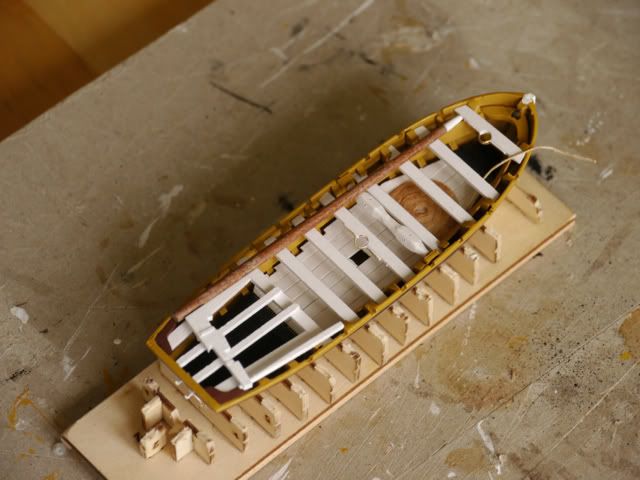 And that's it for now. Hopefully my next update will include some work on the Victory herself! Looking forward to that muchly after following the official build diary. Onwards! 
|
|
|
 Rank: Pro   Groups: Registered
Joined: 22/03/2010 Posts: 369 Points: 1,150 Location: Broadstairs
|
Another nice job there, I'd say the colour of the rope works well, must remember.
Well done.
TIS
|
|
|
 Rank: Pro   Groups: Registered
Joined: 20/04/2010 Posts: 141 Points: 426 Location: Worthing, United Kingdom
|
Tiswas wrote:Another nice job there, I'd say the colour of the rope works well, must remember.
Well done.
TIS Thanks Tiswas! The next stage for me is to get the rope threaded through the hook at the front of the launch, then attach it to the anchor.
|
|
|
 Rank: Pro  Groups: Registered
Joined: 20/03/2010 Posts: 226 Points: 647 Location: Merseyside
|
Re your query about masking tape. I use Tamiya masking tape, available from model shops. You can get it in different widths. It's not cheap but you get a perfect straight line everytime. Hope this helps. Dave H
Current builds :- Hachette 1/16 Tiger Tank
H.M.S Victory, Santisima Trinidad (Section), 1/8 scale Aston Martin DB5, 1/8 scale McLaren, YNWA
|
|
|
|
Guest (2)
|