|
|
 Rank: Pro    Groups: Registered
Joined: 05/09/2012 Posts: 198 Points: 596 Location: Location
|
Yes, me again. Here's somthing id wanted a while ago but the £80 price tag put me off. I bought the much maligned 1/48 Tamiya Sea Harrier to get myself back into model making then quite unexpectedly spied the 1/24 on ebay. I won it for £29.... I really wanted to try my hand at really going for it on the 1/24 but my skills are maybe not quite up to it and circumstance means the heritage stuff for this kit was out of reach this month. At £60 i couldn't justify it so i thought id have a go at 'scratching' things myself which ive never done before..... Heres the 1/48 Tamiya FRS1 i did OOB but in full Falklands warpaint and i used the xtradecal set to finish it off. its not 100% accurate but you get the idea..  And onto the 1/24th...this kit is HUGE!! 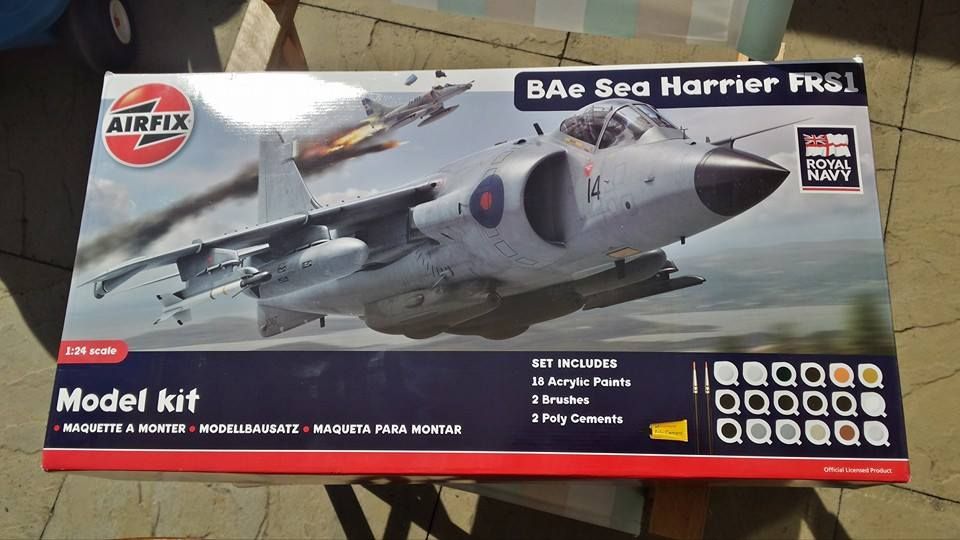
|
|
|
|
|
Another great Airfix kit, hope to see your diary on this one.....
Regards
Alan
|
|
|
 Rank: Super-Elite      Groups: Registered
Joined: 31/05/2010 Posts: 5,679 Points: 17,011 Location: Wiltshire
|
Hope you have some great fun with this one. You have to cut the front section off this one in order to create the FRS1 so best bet is that old saying "measure twice cut once". Been some very good airfix offers about over the last few weeks. Happy Modelling
BUILDING: Hachette Spitfire Mk 1A, Constructo Mayflower
SUBSCRIPTION COMPLETE (Awaiting building): USS Constitution, Sovereign of the Seas, 1:200 Bismarck (Hachette)
COMPLETED: Porsche 911, E-Type Jaguar, Lam Countach
|
|
|
Rank: Pro Groups: Registered
Joined: 05/09/2012 Posts: 198 Points: 596 Location: Location
|
thanks guys, yeah im already past the 'nose cutting dilemma' and it seems to have turned out ok...anyway i digress.... I started with the engine, and built various sub assemblies separate not following the instructions sequence as the engine and various other bits are almost kits in themselves... 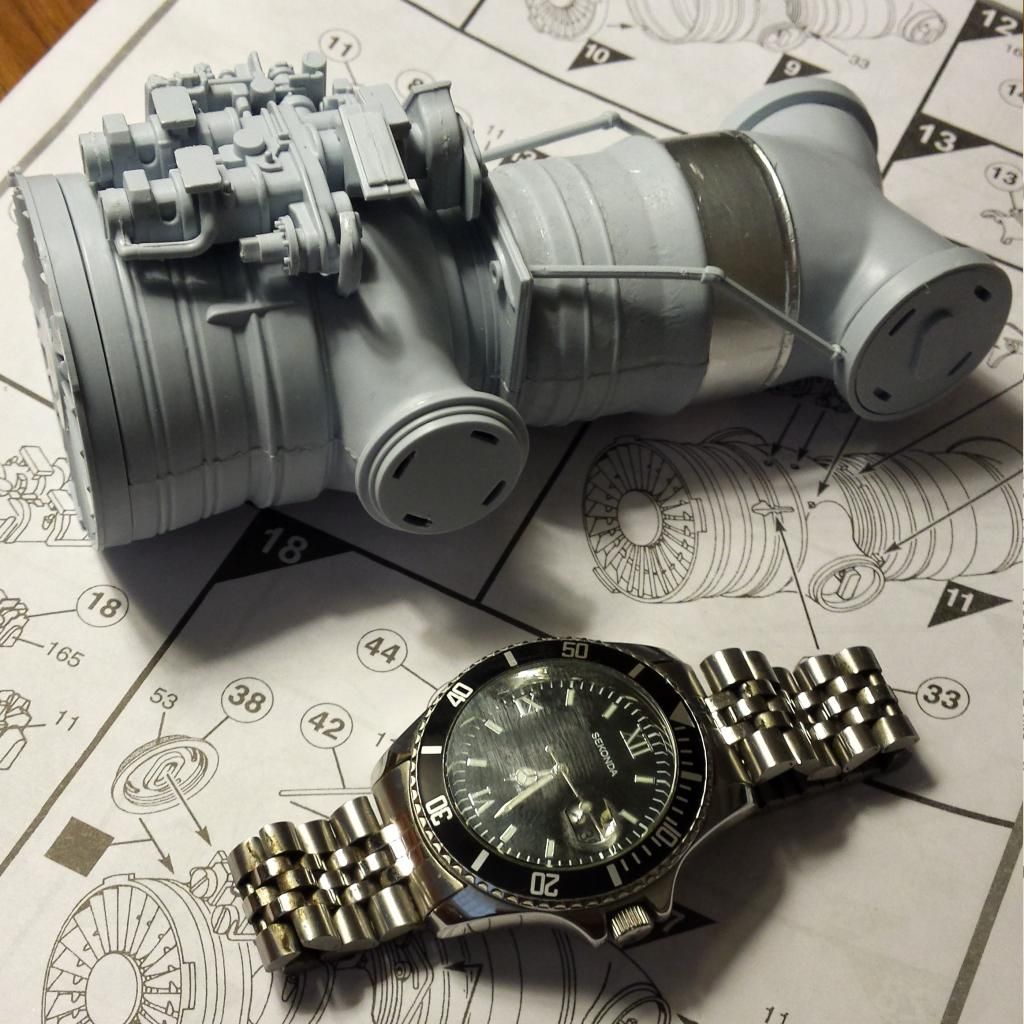 As you can see, its quite...large. I also tried out some tin foil on the engine case and was quite happy with the result. It also has some gubbins inside which make the nozzles rotate and all this was quite simple to construct.
|
|
|
Rank: Pro Groups: Registered
Joined: 05/09/2012 Posts: 198 Points: 596 Location: Location
|
|
|
|
|
|
Some really nice detailing there, nicely done....  .. Will be following... Regards Alan
|
|
|
Rank: Pro Groups: Registered
Joined: 05/09/2012 Posts: 198 Points: 596 Location: Location
|
...And so onto the cockpit. Built as per the instructions although i added some detail to the bulkhead with scrap and paperclip wire. Same for the seat, i made some belts with cut-out stella tin. They are not perfect and not that accurate but this was a first for me so please be kind!! I made some 'buckles' from wire. I also added detail to the cockpit sides with plastic card and wire. I picked out detail on the IP and cockpit side panels with various colours and dry brushing. Its not brilliant but i like it!!! After assembly and first paint 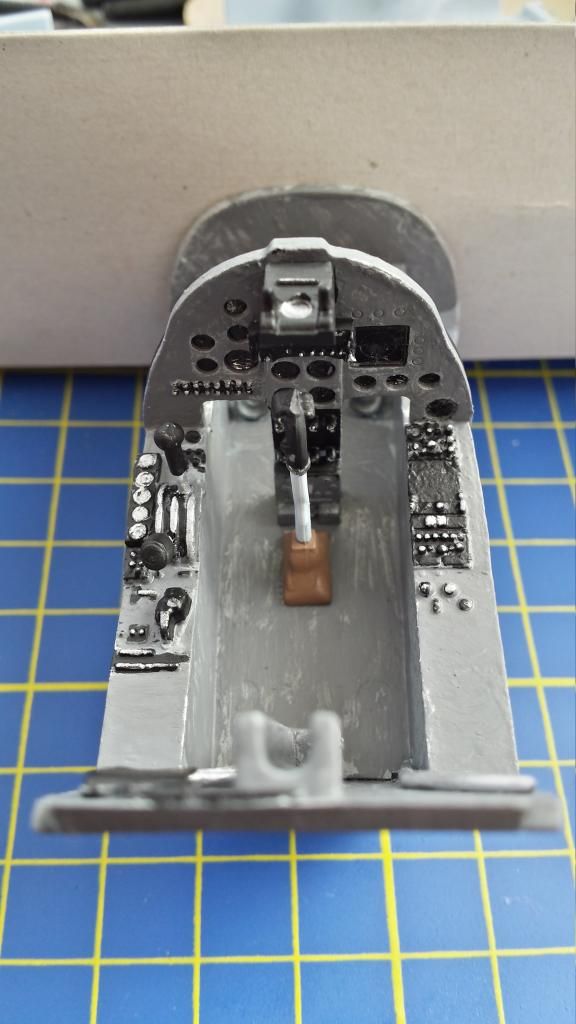 Bulkhead detail 
|
|
|
Rank: Pro Groups: Registered
Joined: 05/09/2012 Posts: 198 Points: 596 Location: Location
|
Dry fit 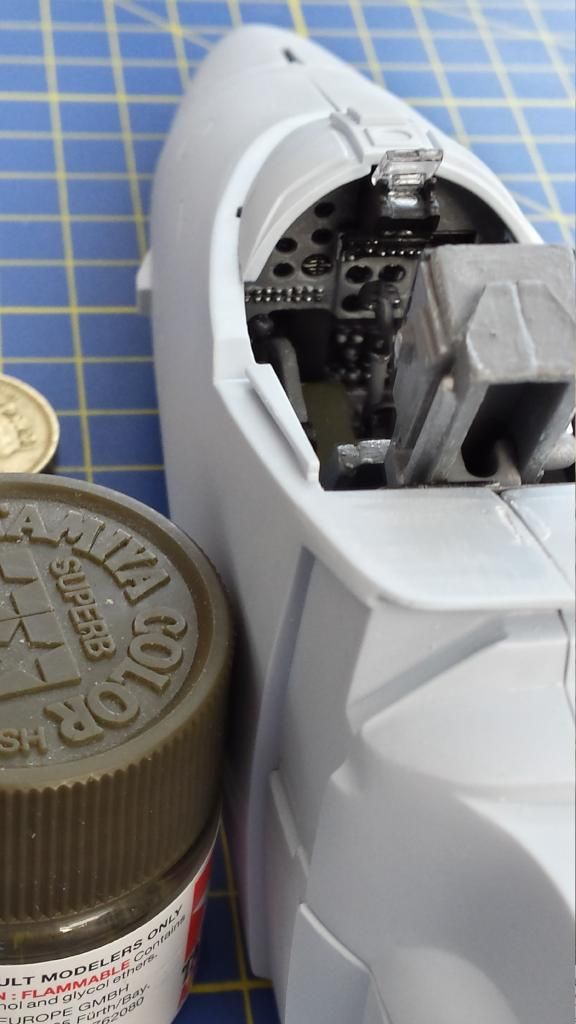 After more detail painting and a tidy up 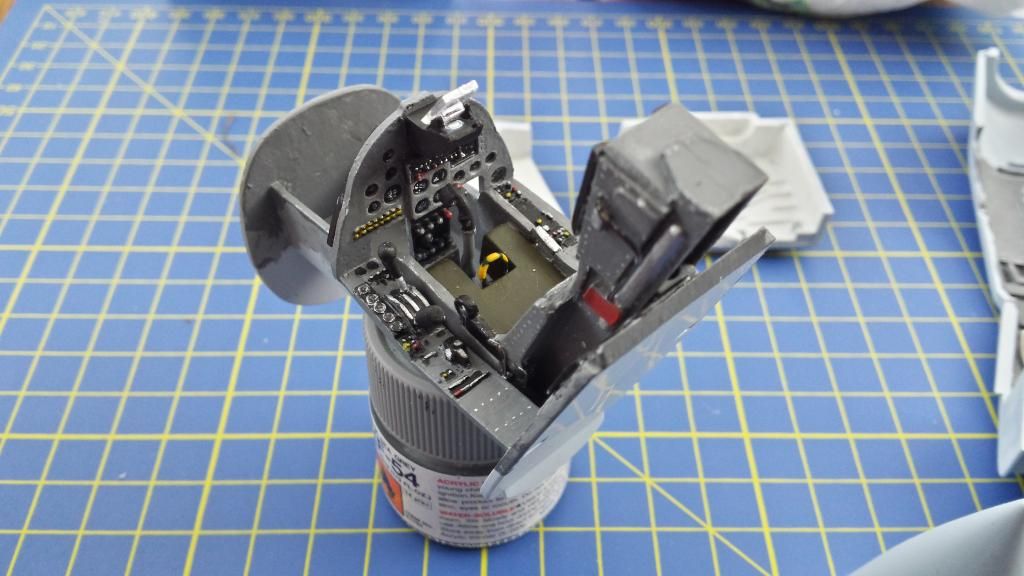 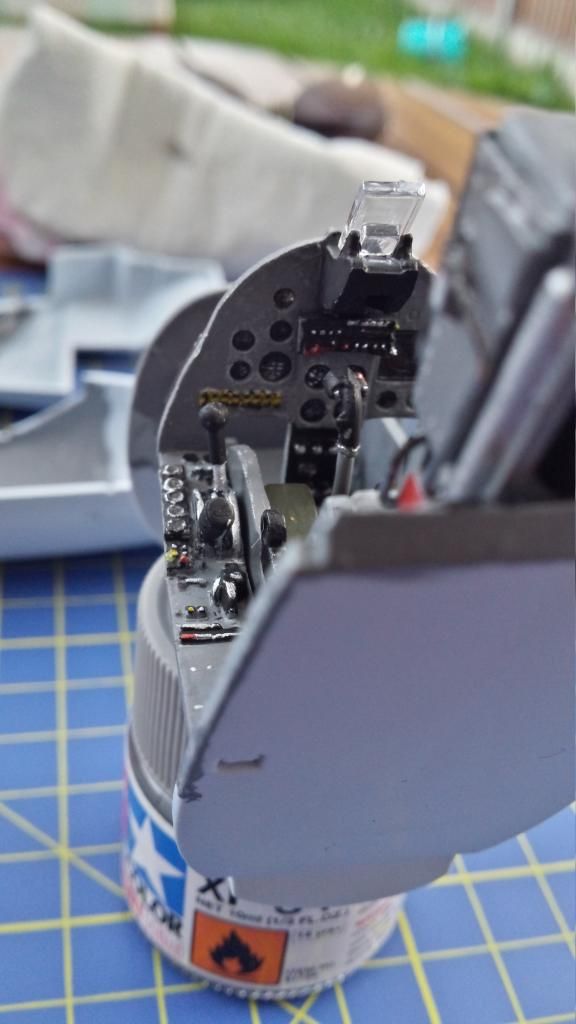 With my stella tin belts and cockpit sides detail - i know, quite funny!! But hey - this is my first time 'scratching!' 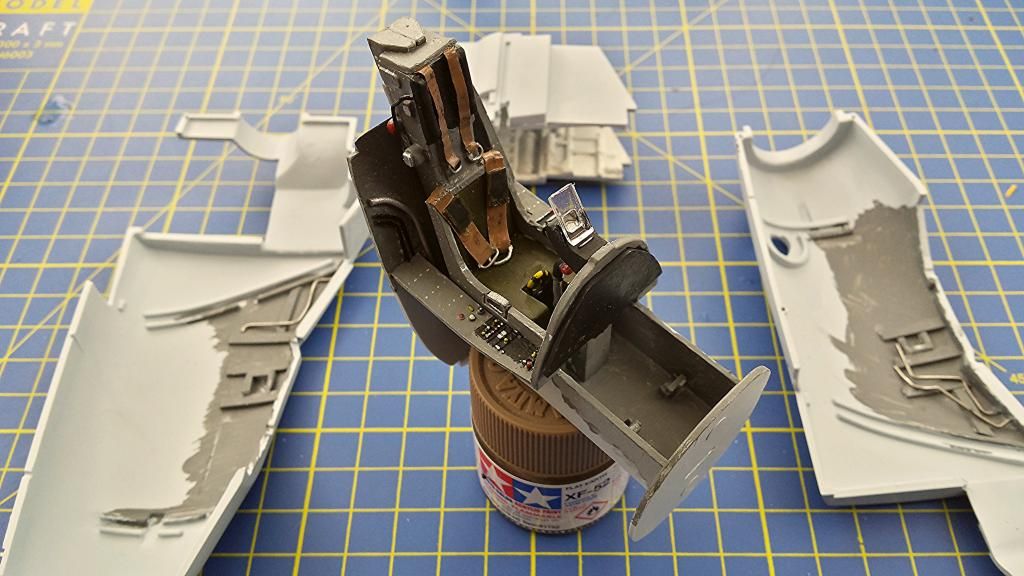
|
|
|
Rank: Pro Groups: Registered
Joined: 05/09/2012 Posts: 198 Points: 596 Location: Location
|
And finally all brought together. im quite happy with the look so far. 
|
|
|
Rank: Pro Groups: Registered
Joined: 05/09/2012 Posts: 198 Points: 596 Location: Location
|
Cutting off the gr1//3 nose or whatever it was worried me in case i messed it up, but all went ok. Here you can see just how big this kit really is. No idea where i will put it if i ever finish it!!!  Theres a lot of flash and things on the fuselage, in fact on a lot of the parts. Some things are also not the best fit ive noted as ive dry fitted the wings and wing box so im going to need some filler so do it properly. Its also covered in rivets apart from the nose, the real thing does appear to be like this but much more subtle in various areas. From what ive read a few coats of primer and a good sanding can make it look a lot more 'real'. It will need some scribing also which ive never done but i picked up some sharp needle like tools from the local hardware shop for this very purpose. There's also the blow in doors on the nozzles, undecided what to do with these - i did do one side of the Tamiya FRS1 but on somthing this size any errors will be glaringly obvious. I note i can buy a set already cut for 10 quid however. Anyway heres the full lot together bar the tailcone. It really is impressive in size and quite intimidating!! 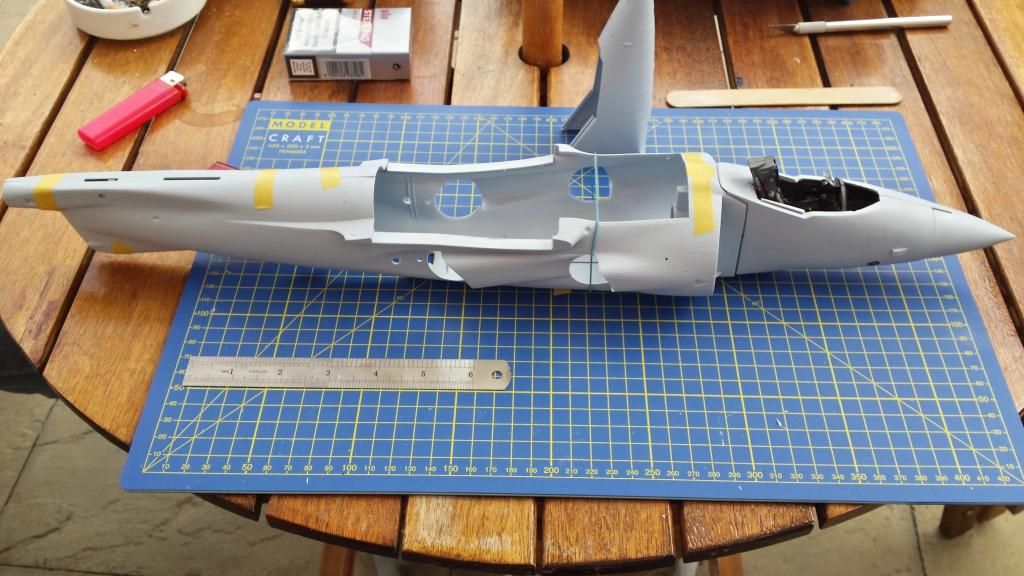
|
|
|
|
|
Looking good, coming along very nicely..... Regards Alan
|
|
|
Rank: Super-Elite  Groups: Registered
Joined: 27/01/2014 Posts: 5,060 Points: 14,980
|
Looks like you have made a great start, will be following
|
|
|
 Rank: Elite Groups: Registered
Joined: 13/02/2011 Posts: 2,243 Points: 6,849 Location: Sussex
|
Looking good thanks for posting any more pictures. Regards Trev Work in progress: Tombstone (Scratch) - San Francisco 2. -The Mayflower ( scratch by plan).
OcCre- Santa-Maria (Kit).
|
|
|
|
Guest
|
 US
US

