|
|
 Rank: Semi-Pro Level 1  Groups: Registered
Joined: 10/02/2014 Posts: 63 Points: 189 Location: uk
|
Thanks for the positive replies guys, really appreciate it.
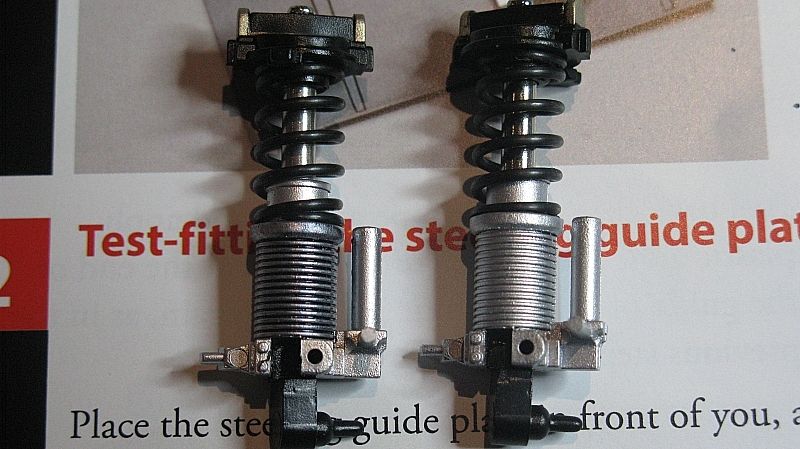
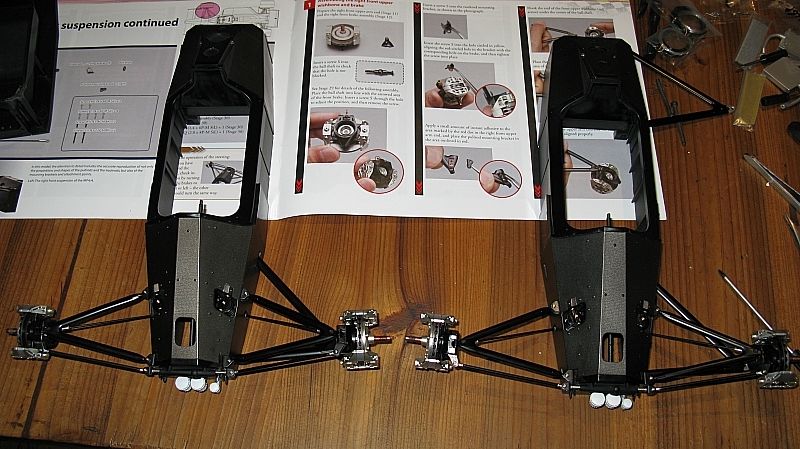
Next up is the front springs, I coated the left one with Alclad smoke as I had it in front of me at the time just to give it the used look if you like.
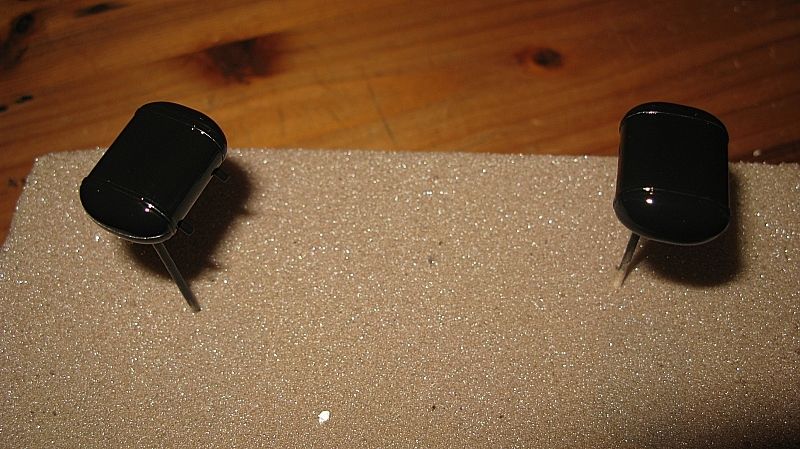
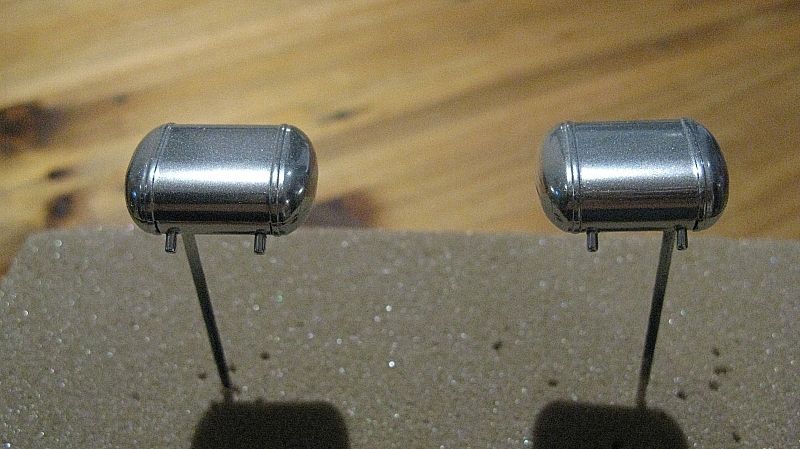
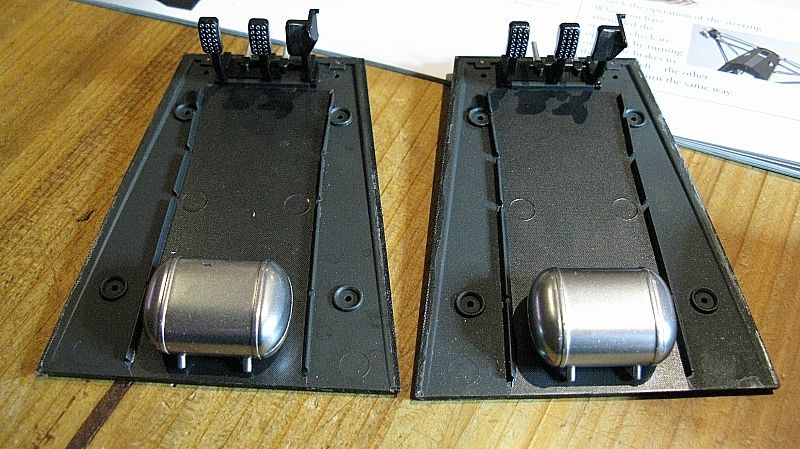
I decided to chrome the extinguisher tanks so coated them with Halfords gloss black and then over the top with Alclad 2 chrome and then Alclad 2 klear cote gloss lacquer, it’s a shame it has to be lacquered as it just takes the chrome down a little but if you don’t it easily rubs off.
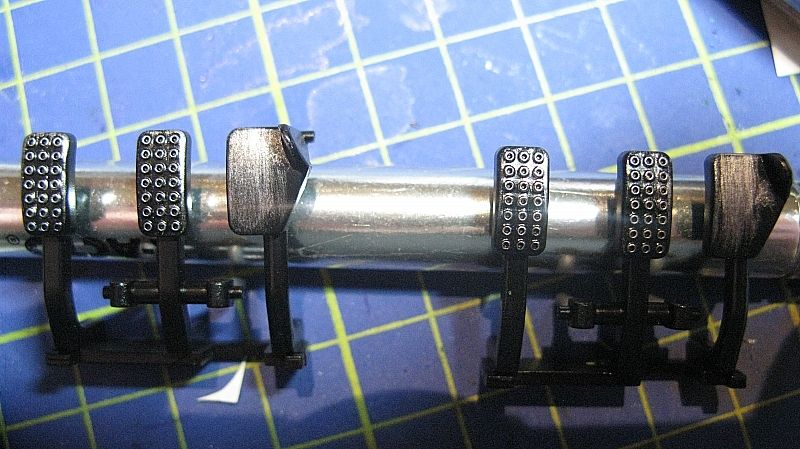
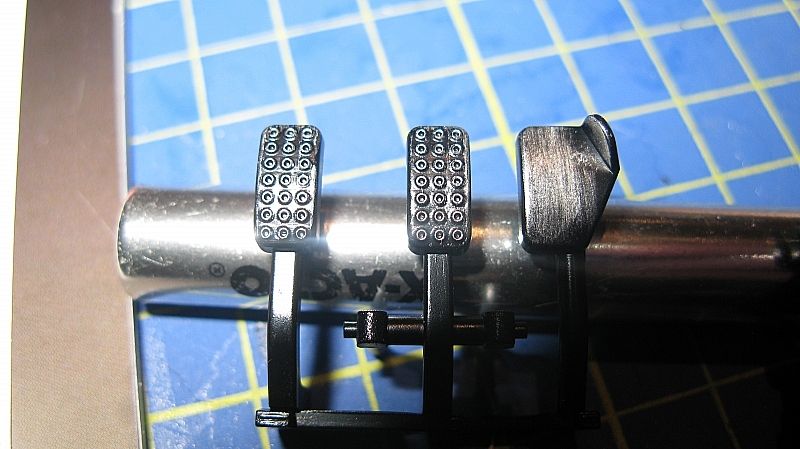
Then I took the pedals and dipped a q-tip into some Tamiya silver and just brushed over the top to make them look a little used.
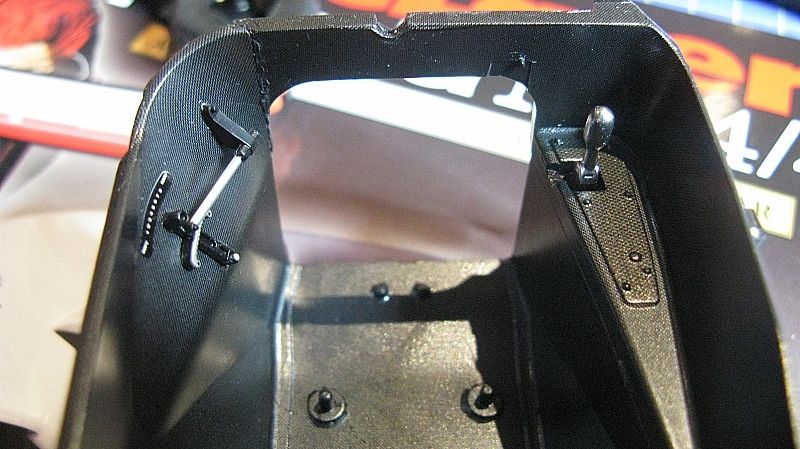
next up I had a bit of a dilemma, I wanted to do something with the inside of the cockpit but there's no way I could make it look like it really was or anything close other than use duct tape or something like that so I decided to coat it with some fine carbon decal as I didn't want to leave it as is. Using the number gauge decal from the Museum collection set.
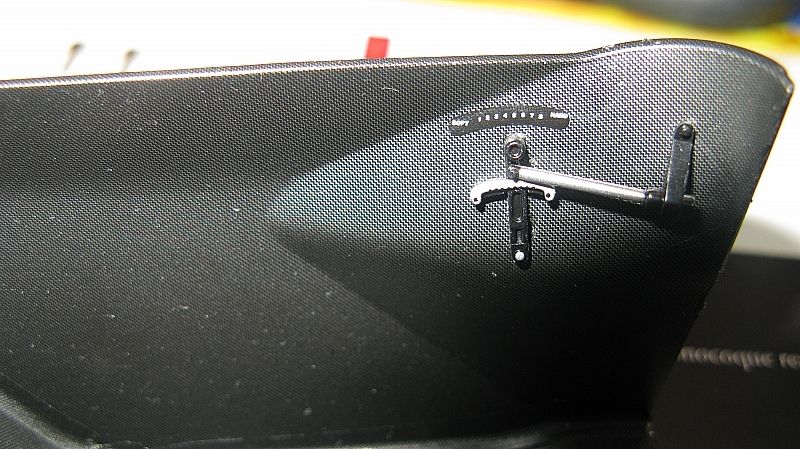
now what I done with the gear shift side was to cover it in the same carbon decal pattern but then cover the section around the gear knob with a different carbon decal pattern and I chromed the gear knob the same way I did the extinguisher can.
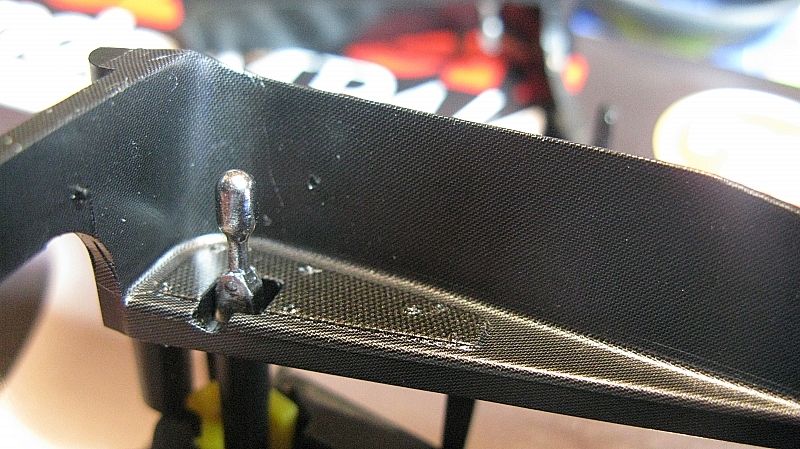
Dusted over the skid tray with Tamiya gold the same as the monocoque and coated with Museum collection clear carbon decal and finished off with a little Alclad 2 smoke and Alclad light sheen lacquer.
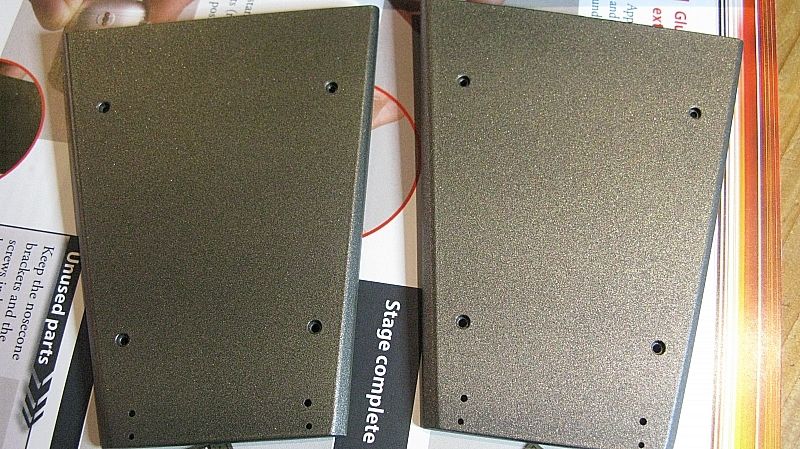
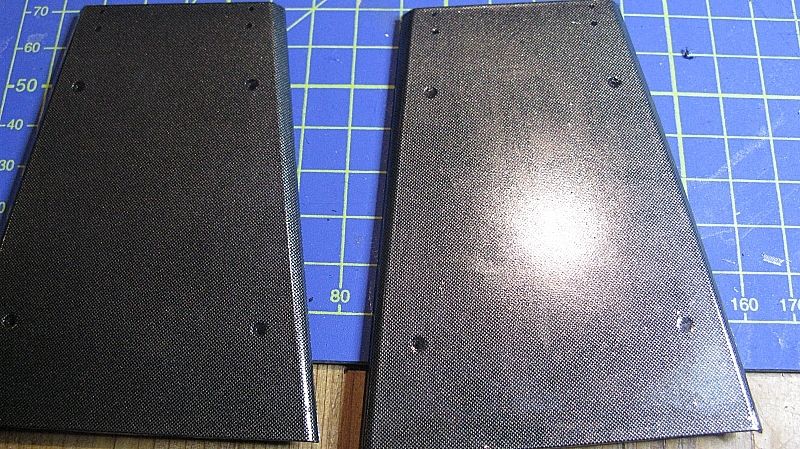
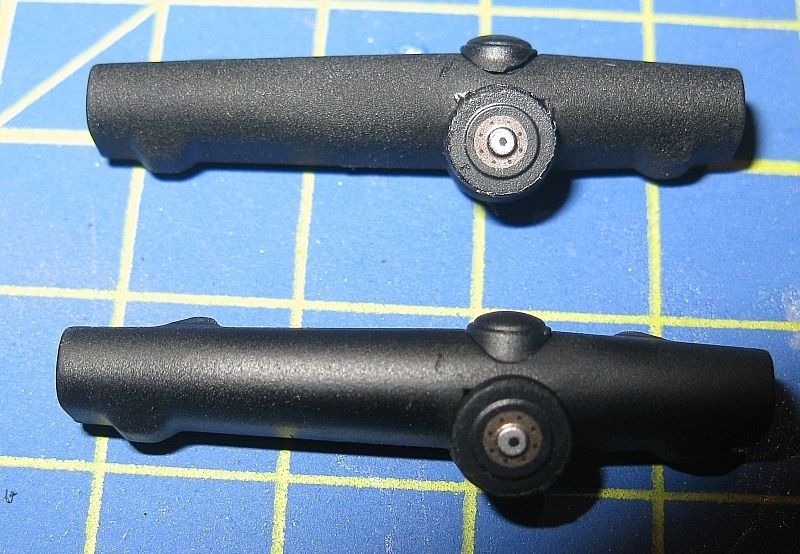
The steering rack I coated with Halfords matt black which I thought gave it a better look.
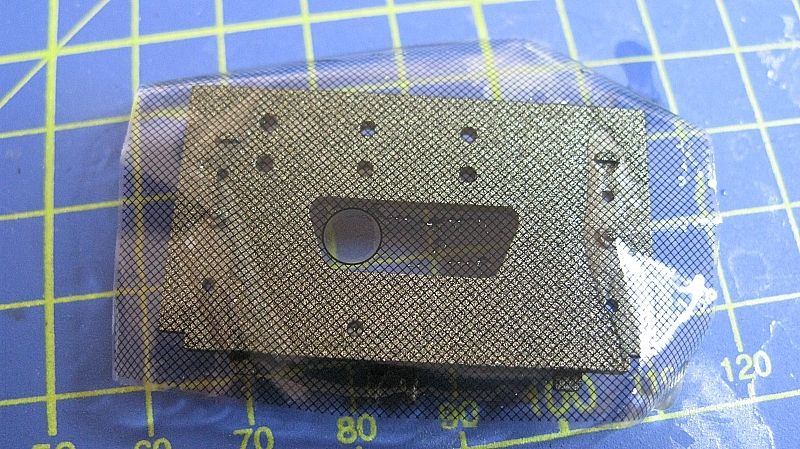
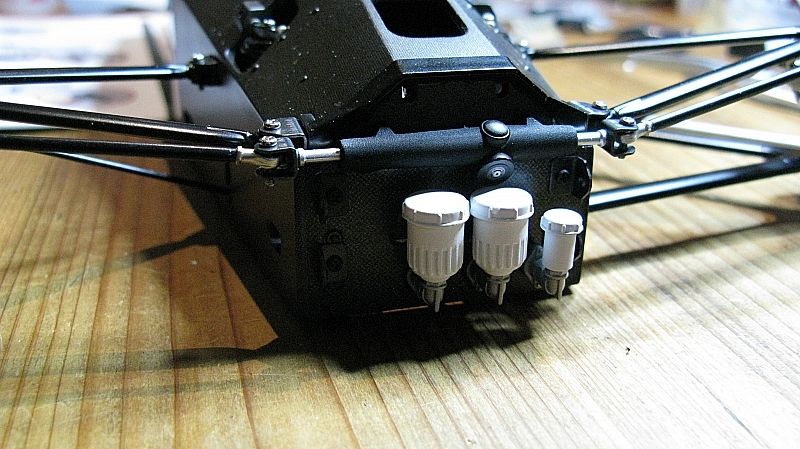
The front monocoque plate that takes the brake fluid bottles I dusted with Tamiya gold and added the spare side pod Museum Collection mesh decal, added smoke and light sheen.
|
|
|
 Rank: Semi-Pro Level 1  Groups: Registered
Joined: 10/02/2014 Posts: 63 Points: 189 Location: uk
|
installed the steering column and put vaseline on all joints inc the wishbones etc.
Coated the centre of the skid tray with the same carbon decal as the cockpit.
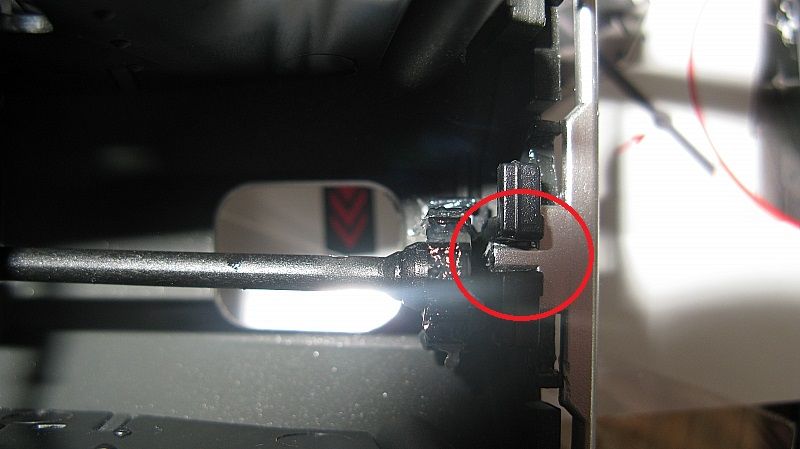
I relly don't like the way the steering rack cover fits over the column as the column ends up way to loose and i think its poorly made/designed unless i have done something wrong, its just to loose, i wasn't impressed with the way the steering rack glued into the steering column sprocket rack (in red circle), you will see when you get round to it.
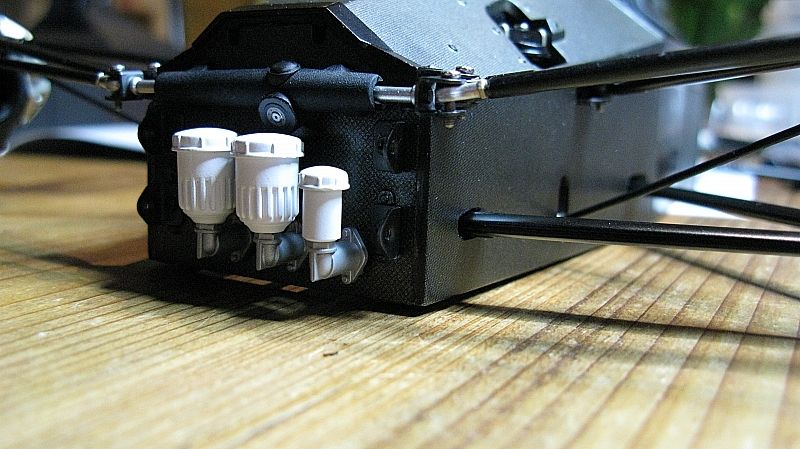
|
|
|
 Rank: Pro Groups: Joined: 24/08/2009 Posts: 48,827 Points: -13,348
|
Very nice work Chris and some nice enhancements. All of those little extras will give you a stunning model when it's finished and one which will be totally unique to you - well done you for putting in the effort!!   
I suspect this is a labour of love for you Chris judging by the work you are putting in?
Kev 
|
|
|
 Rank: Semi-Pro Level 1  Groups: Registered
Joined: 10/02/2014 Posts: 63 Points: 189 Location: uk
|
cheers Kev for sure i'm enjoying putting this together, not sure the wife is to happy though  oh well. c
|
|
|
 Rank: Pro   Groups: Registered
Joined: 01/12/2014 Posts: 102 Points: 312 Location: Chicago, IL
|
Probably one of the best builds on here!
Besides paintwork, do you have any plans for other detailing? Add more to the engine, hoses etc?
|
|
|
 Rank: Semi-Pro Level 1  Groups: Registered
Joined: 10/02/2014 Posts: 63 Points: 189 Location: uk
|
hi NSXKid thank you for that  to be honest i am making decisions as i go along but yes i would like to do something more to the engine but not sure what yet. as for the painting side i'm not going to re-paint, what i would like to do is when the back issues become available i would like to order 2 more sets of bodywork and completely carbon one set as i have the white marlbor0 decals and paint the other just to see what they look like. the only mod at the moment i have in mind and have purchased is on the original calipers they have the brake hose going from the inside to the outside joining the hose mod i have already done, or at least looking like they are joined. the current spec just supplies the brake hose from the inside of the calipers and along the wishbones, hope that makes sense but i don't think i'm aloud to post images i don't own but when done i'll drop an image on here. the other thing i notice at the moment is the front disc air ducts don't fit, or at least you can't fit them as the cross brace is in the way so i'm not sure if they ask you to remove something later on to enable the fitting but at the moment the cross brace is in the way. i've just finished off the carbon decal inside the monocoque so this will now allow me to glue in the cockpit and base. we'll see. forgot to mention that one car will be for Mr Prost so i have 2 figures and a minichamp Prost helmet that i am hoping i can stick on the body but we'll see as i have got round to doing it yet. C
|
|
|
 Rank: Semi-Pro Level 1  Groups: Registered
Joined: 10/02/2014 Posts: 63 Points: 189 Location: uk
|
ok, i did actually finish the car a while a go, or one of them anyway so i am going to try and update my build as its been a couple of light years. gear box i painted matt black with halfords matt black 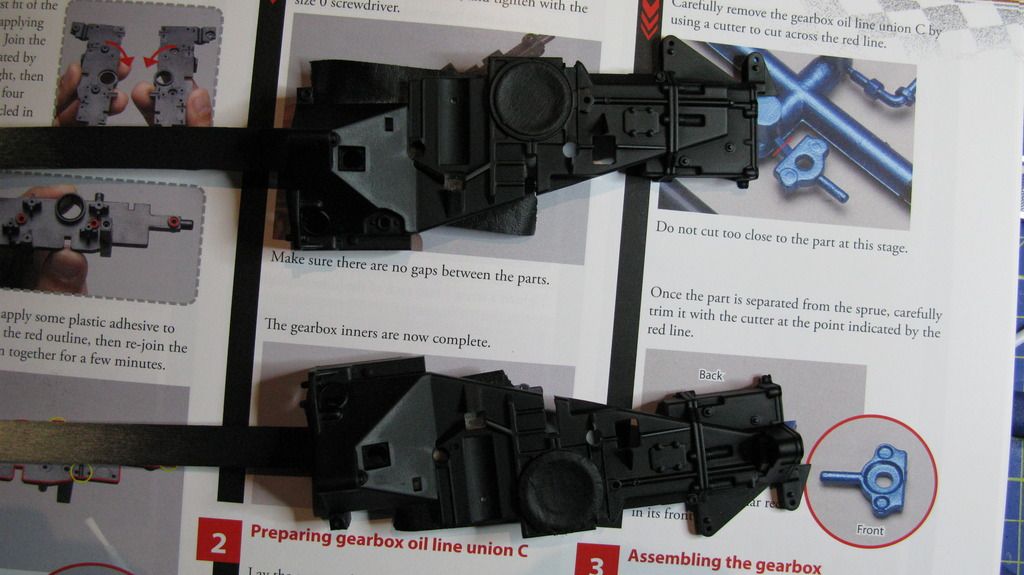 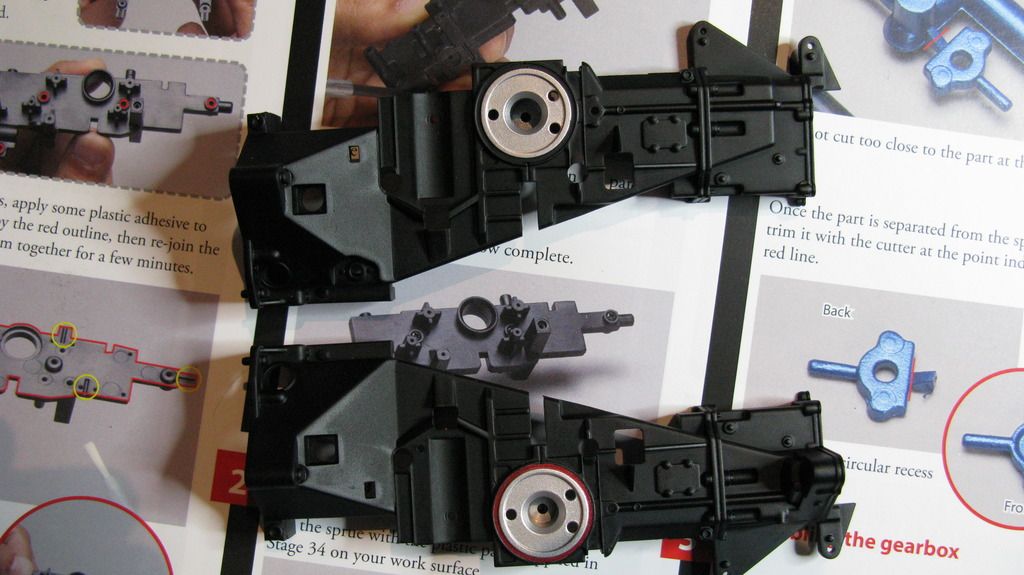
|
|
|
 Rank: Semi-Pro Level 1  Groups: Registered
Joined: 10/02/2014 Posts: 63 Points: 189 Location: uk
|
gear box built up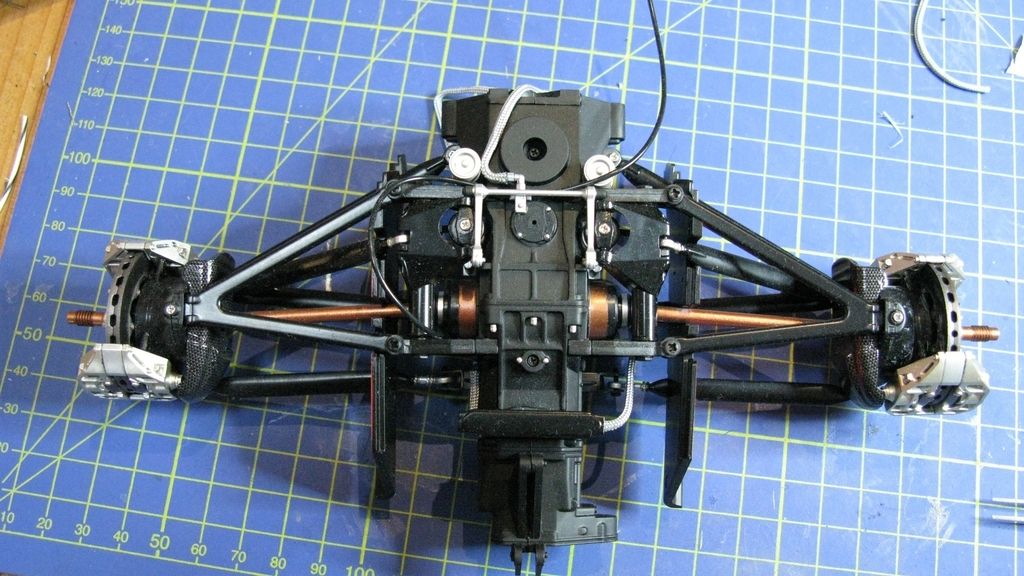 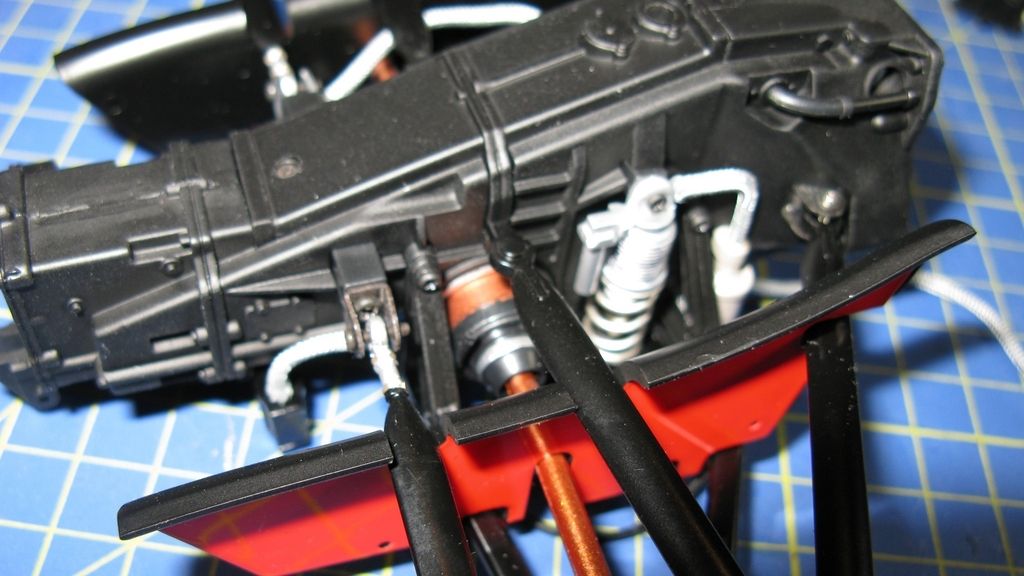
|
|
|
 Rank: Semi-Pro Level 1  Groups: Registered
Joined: 10/02/2014 Posts: 63 Points: 189 Location: uk
|
|
|
|
 Rank: Semi-Pro Level 1  Groups: Registered
Joined: 10/02/2014 Posts: 63 Points: 189 Location: uk
|
again painted matt black
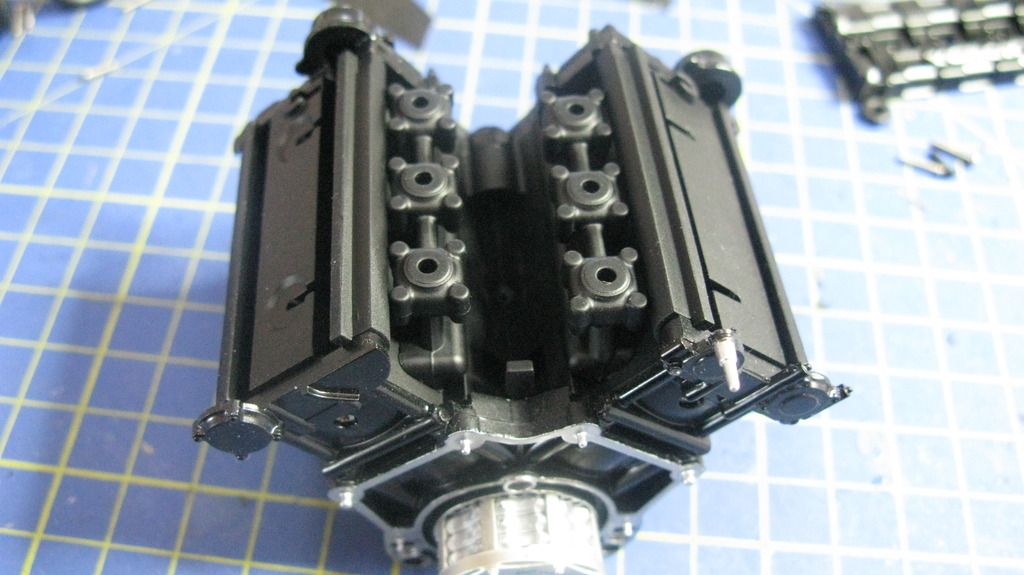
honda covers were not painted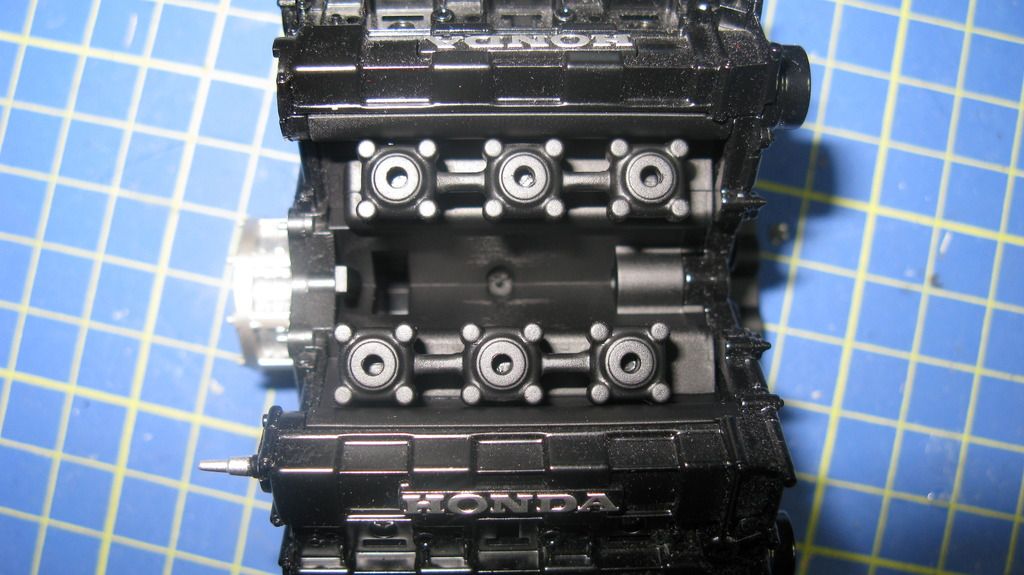
|
|
|
 Rank: Semi-Pro Level 1  Groups: Registered
Joined: 10/02/2014 Posts: 63 Points: 189 Location: uk
|
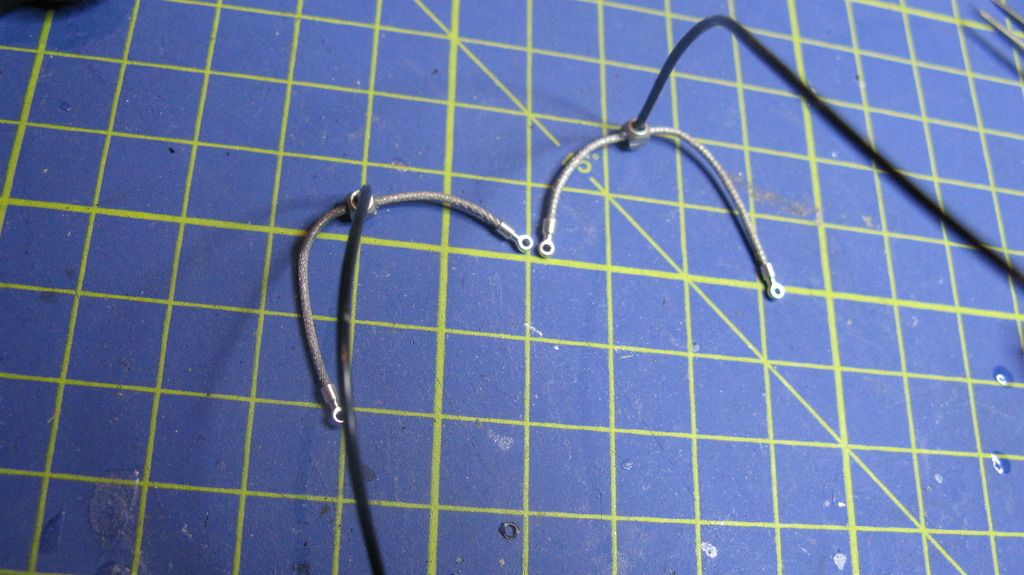
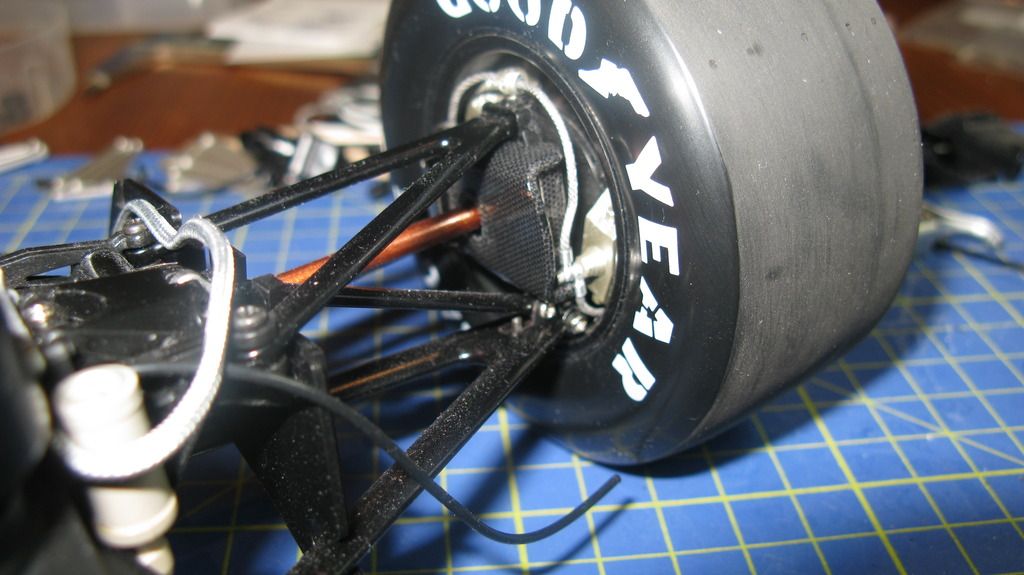
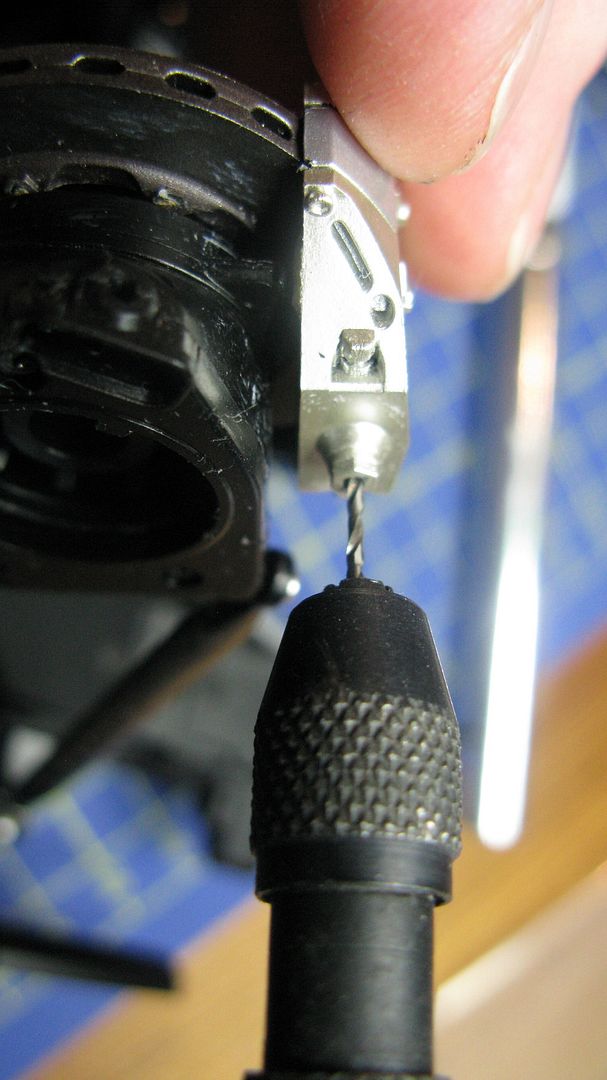
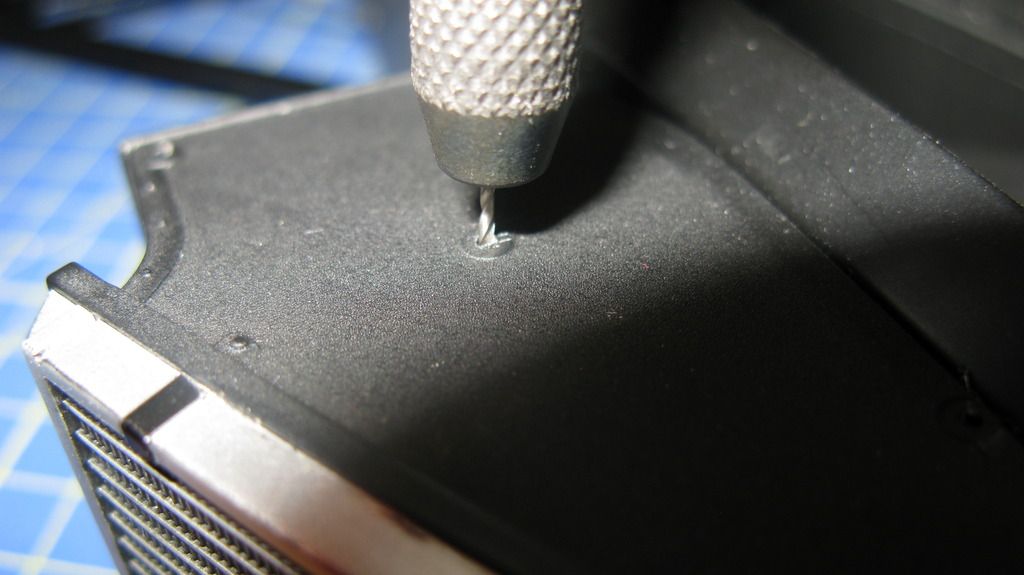
break hoses, what i did with these is cut the supplied ones as shown in the picture and drilled a hole through the center block, i think i use 1mm solder and rolled it with a medium file to get the breaded look. this enables me to bend the pipe where i want it to be without breaking. i glue a banjo fitting on the end which i got from RB Motion. i cut the lengths of solder to the same length as the original hose lines before i cut them off so thats key.
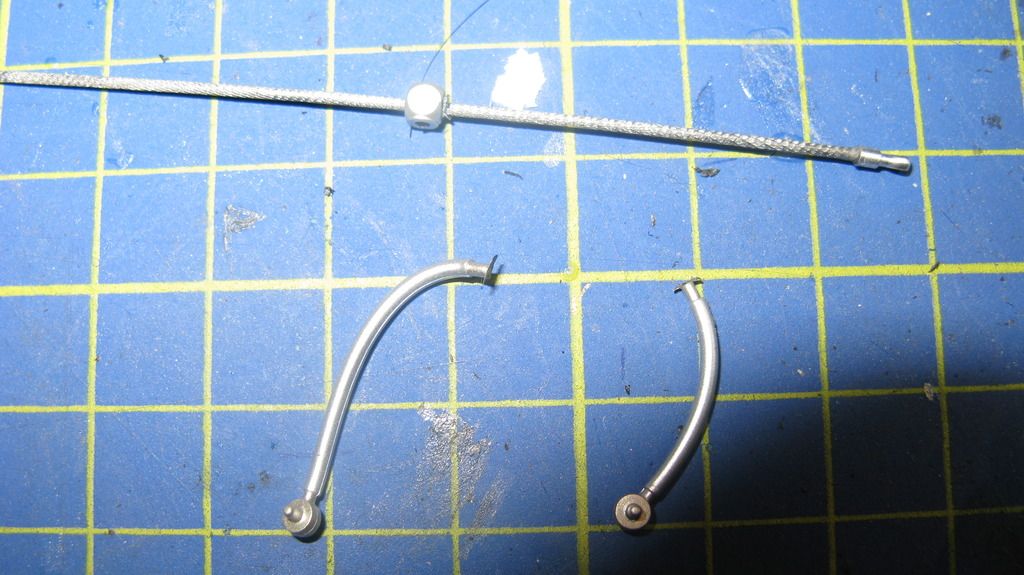
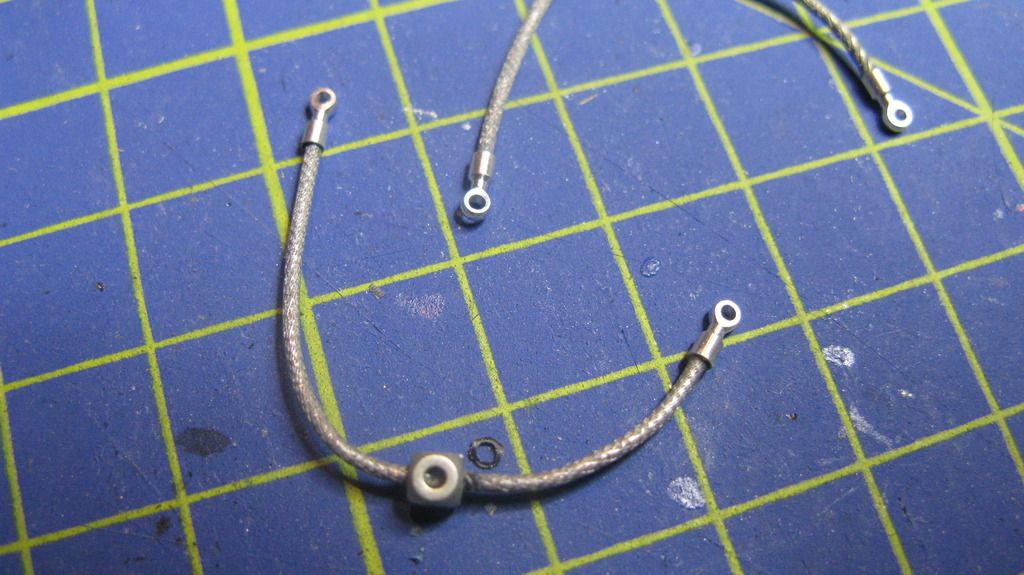
Glued the black supplied hose into the centre where it is supposed to go
i did have to cut a little bit of the break duct away to get them to sit home properly
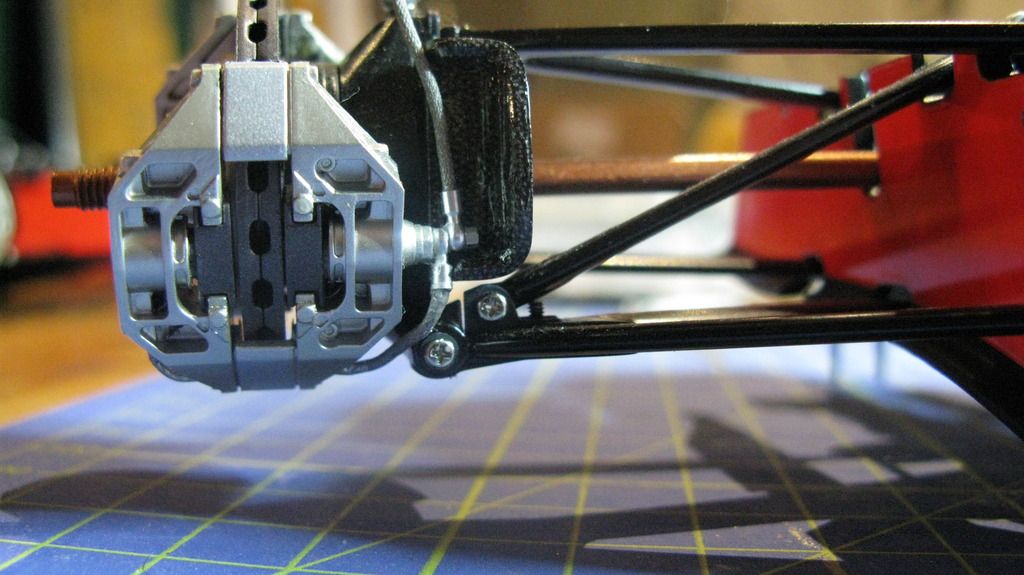
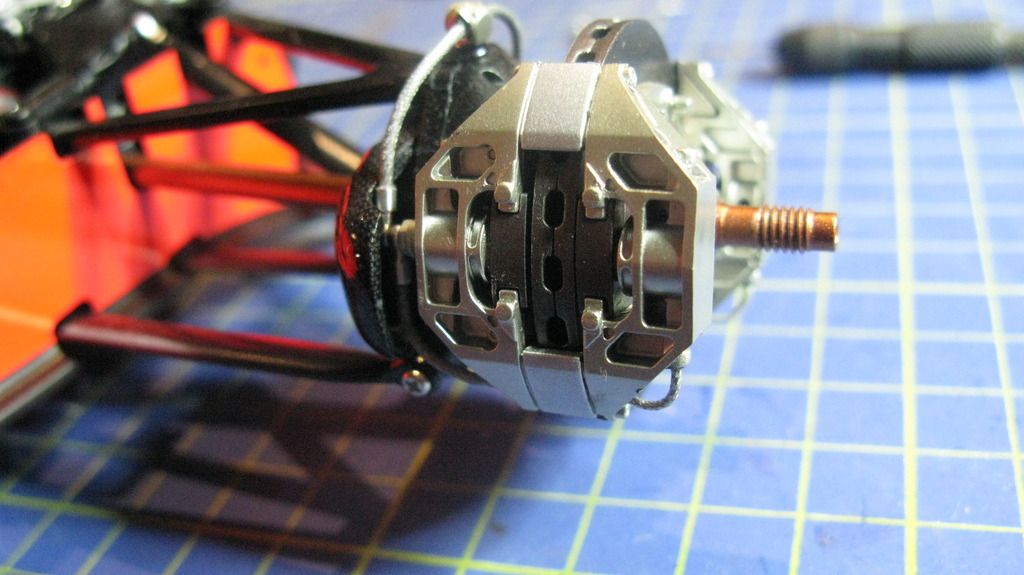
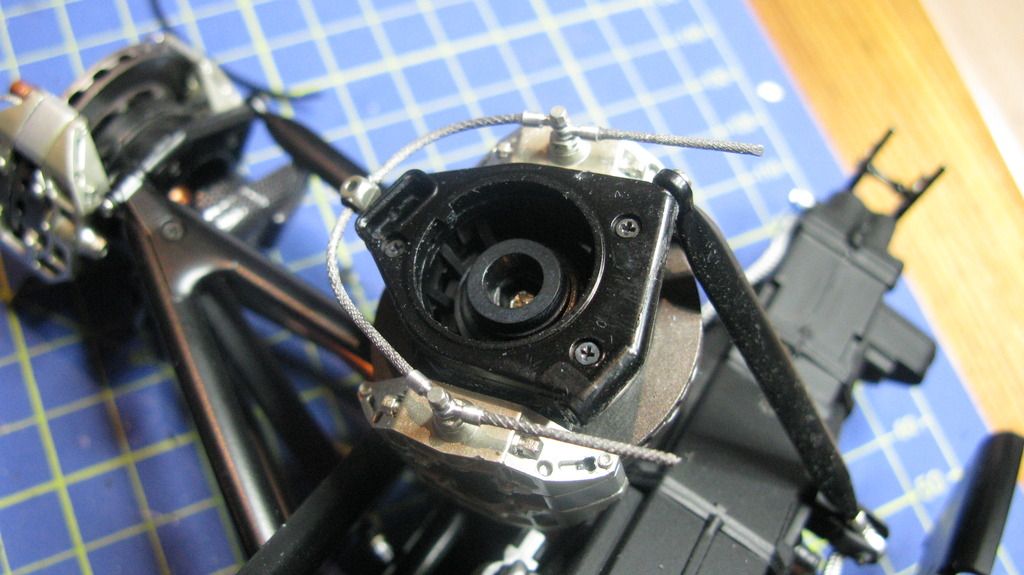
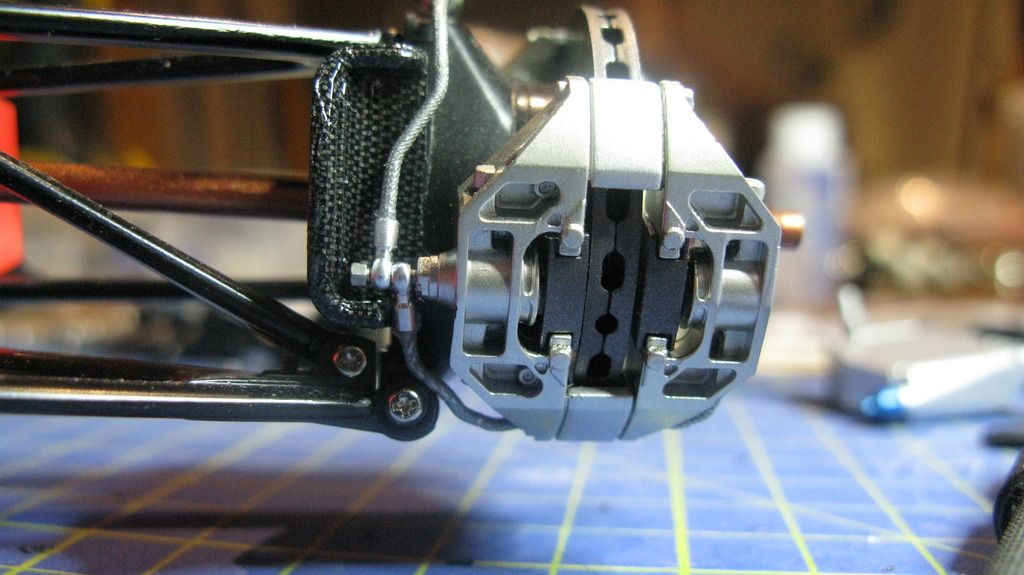
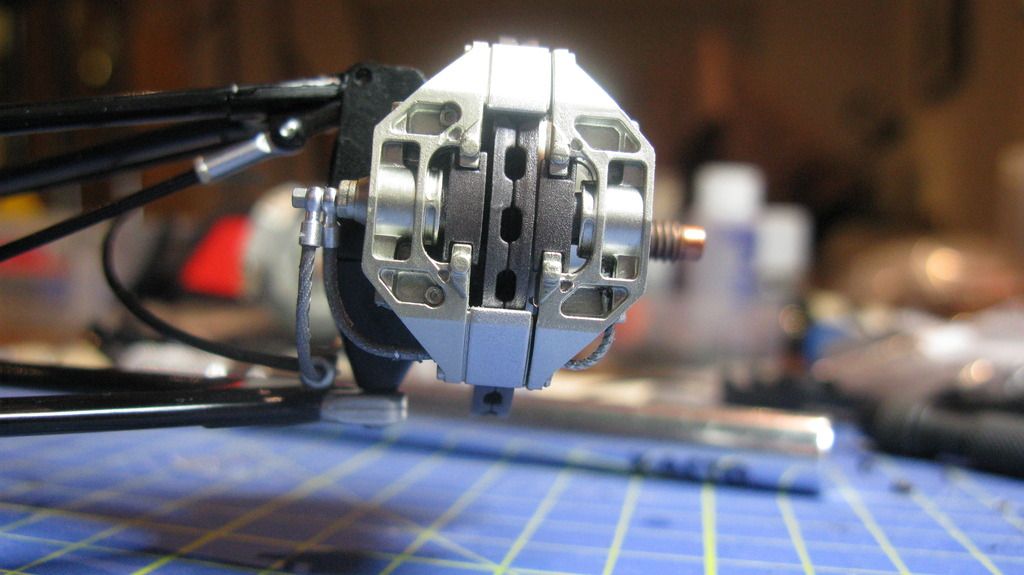
i drilled the end of the caliper ready to be glues in.
the bolt i used to secure these was the same as i used for the break discs and the retaining wire.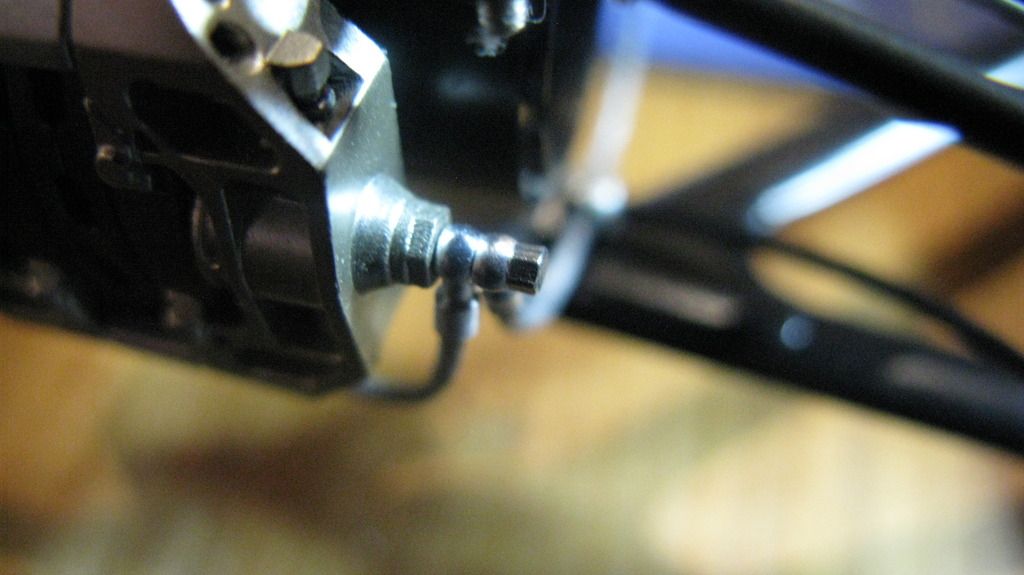 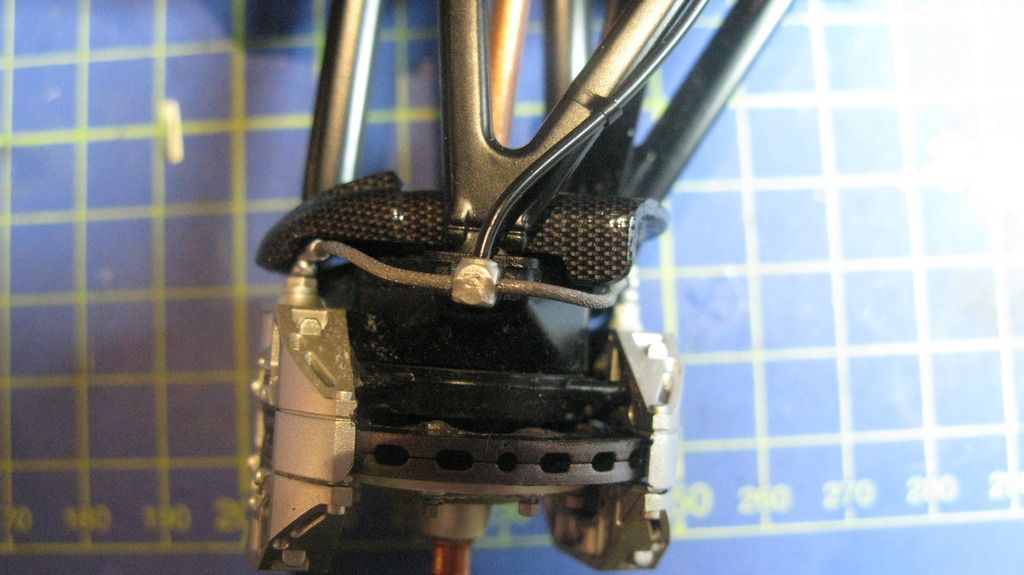
|
|
|
|
|
Very nice work, and some excellent mods. Will be pinching some ideas when I finally start mine.  
|
|
|
 Rank: Pro    Groups: Registered
Joined: 27/06/2011 Posts: 437 Points: 1,321 Location: milton keynes
|
some great work their Casino, really enjoying your build Regards Dan Built - Deagostini MP4/23, deagostini Zero, Deagostini Falcon, Deagostini R2D2, Model Airways 1903 Wright Flyer, Deagostini Senna Mp4/4.
Entex Mclaren M23 1/8th scale to complement the Deagostini MP4/23 & Mp4/4, deagostini Ferrari 312T4, Pocher lotus 72D, Pocher porche, Deagostini Lotus 97T
on the bench, Model Airways Sopwith Camel, HK Models B-17F flying fortress, Galactica Viper, Stap droid
|
|
|
 Rank: Super-Elite       Groups: Registered
Joined: 27/01/2014 Posts: 5,060 Points: 14,980
|
Beautiful work Casino, it's coming along really nicely 
|
|
|
 Rank: Semi-Pro Level 1  Groups: Registered
Joined: 10/02/2014 Posts: 63 Points: 189 Location: uk
|
thanks for the comments guys.
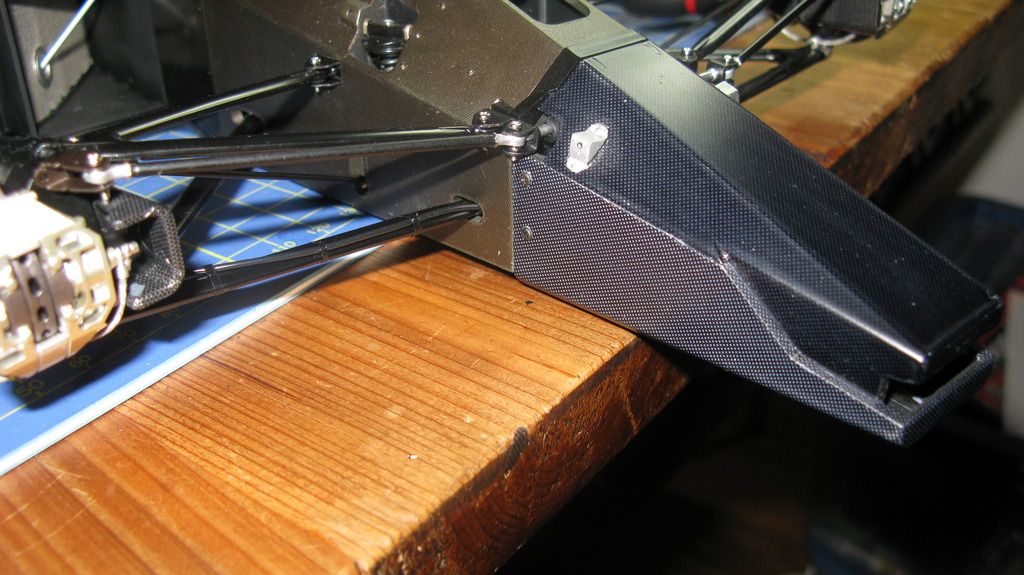
nose was done in two tone with the top half slightly darker than the bottom, i think i actually sprayed this grey then added the mesh decal and dust coated over the top in transparent smoke.
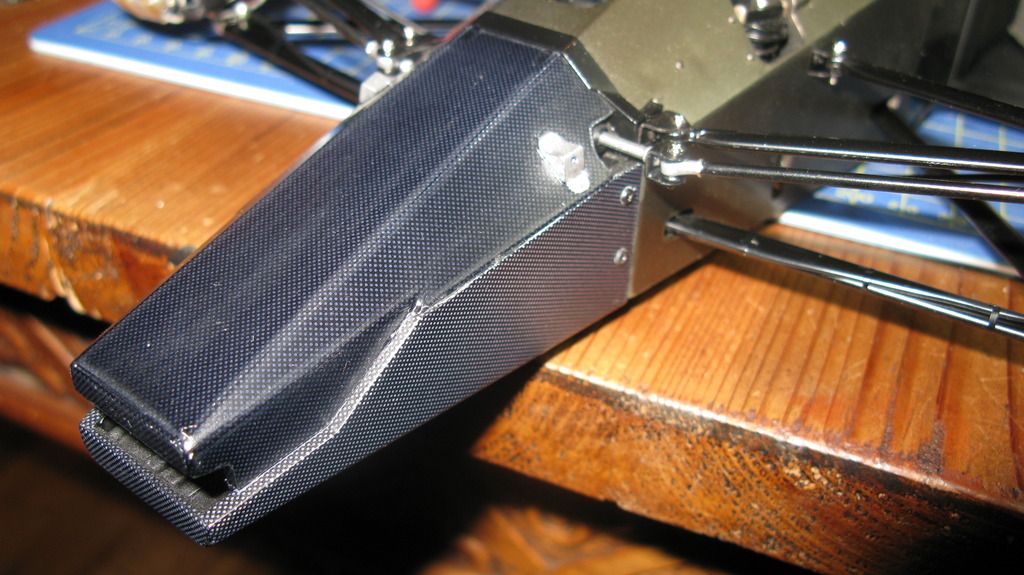
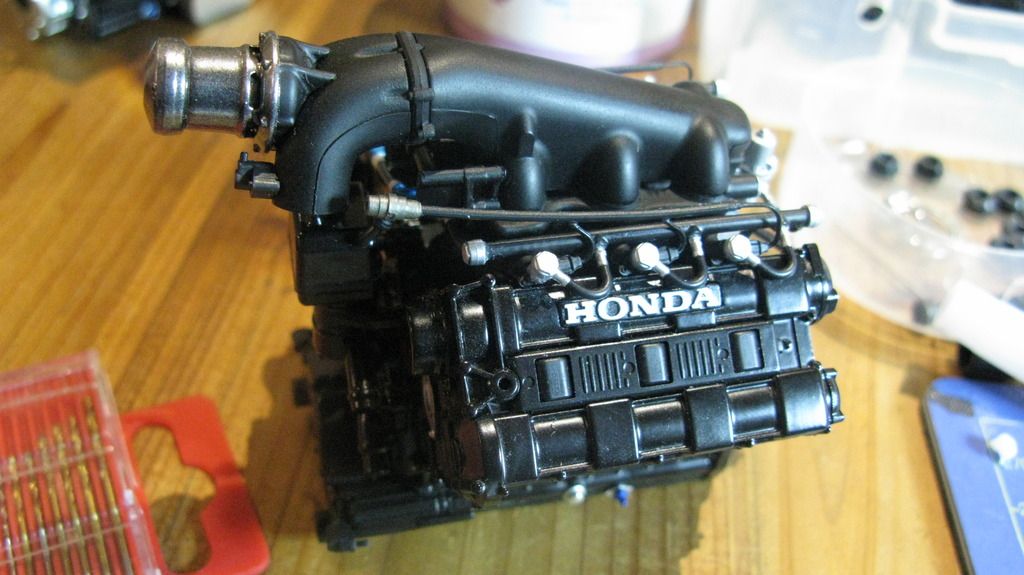
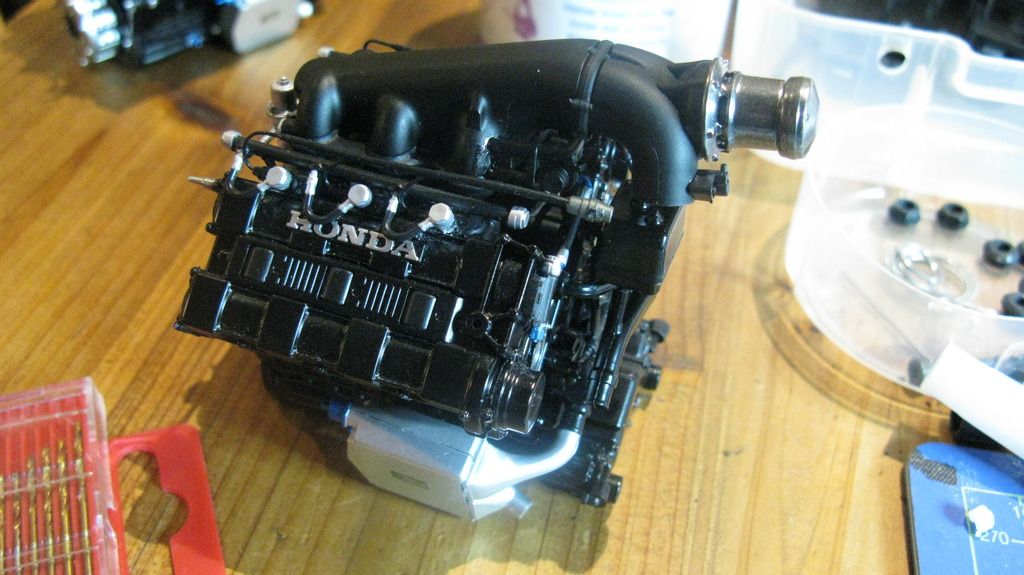
engine so far at this point, the silver part at the top (not sure what thats called) was chromed with Alclad 2 chrome.
|
|
|
 Rank: Semi-Pro Level 1  Groups: Registered
Joined: 10/02/2014 Posts: 63 Points: 189 Location: uk
|
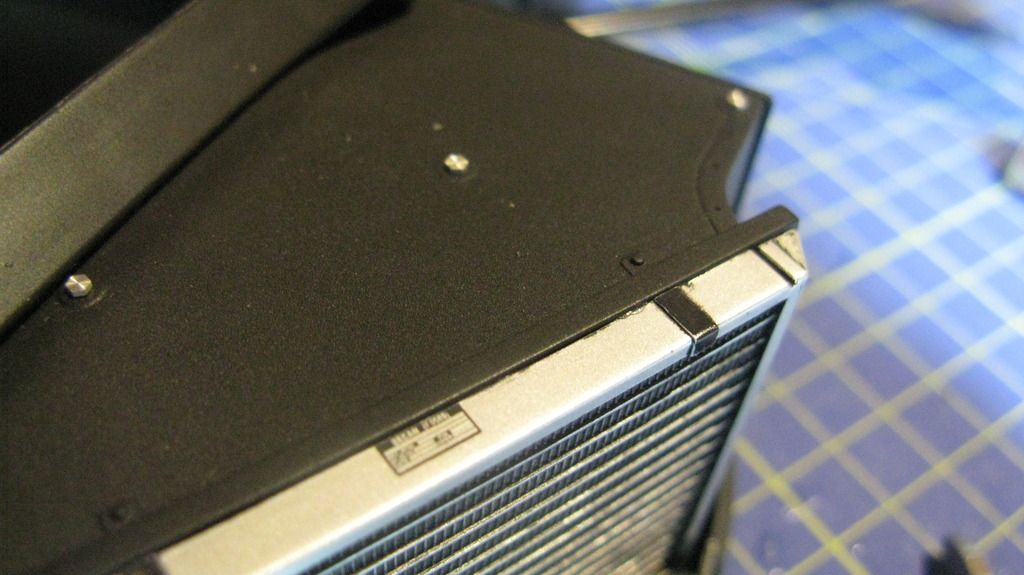
I had some bolts left over from my brake cable banjos as i never used them so i put them in the rad air intakes
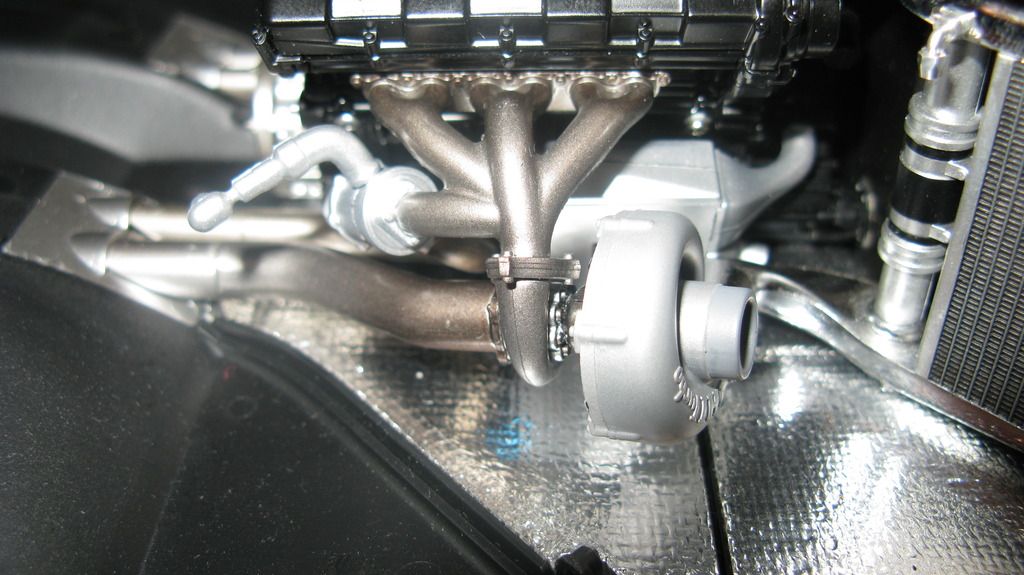
i did create some light and dark areas on the manifold with different Alclad 2 lacquers
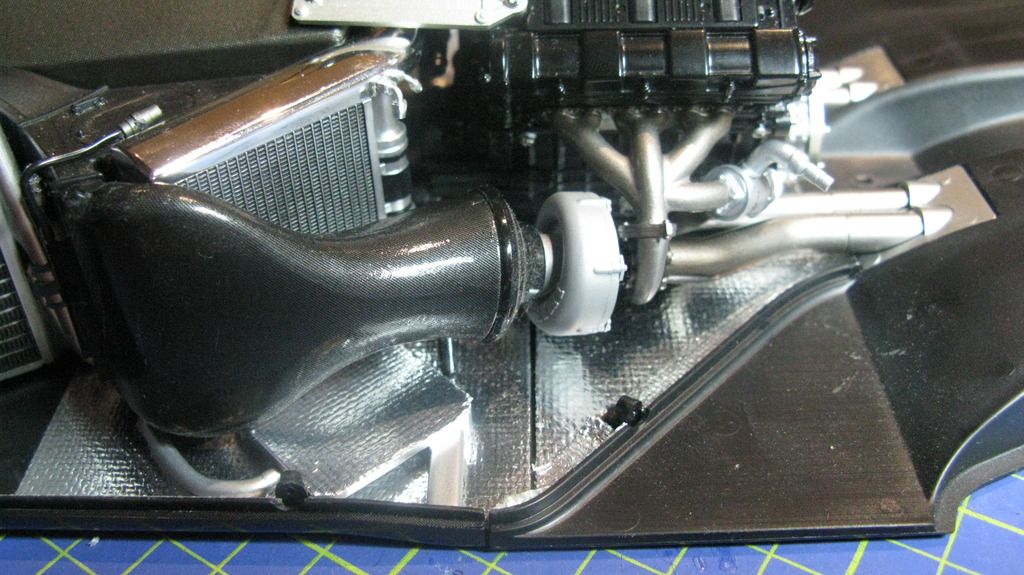
I also have inclued some hose fittings into the top of the rads
|
|
|
 Rank: Beginner Level 3  Groups: Registered
Joined: 21/10/2016 Posts: 29 Points: 87 Location: uk
|
fantastic build Chris
love all the CF decals, wish I had gone down that route myself. I also like what you did with the brake lines, so much better than the plain plastic ones. Painting the gear box really makes a difference
casp
|
|
|
 Rank: Super-Elite       Groups: Registered
Joined: 19/06/2013 Posts: 4,588 Points: 13,553 Location: West Yorkshire
|
Some really great touches you have added Chris  Al
|
|
|
|
|
Really nice work and I like your mods. I have the decal sets for mine and seeing yours, it was a good choice!
|
|
|
 Rank: Pro    Groups: Registered
Joined: 27/09/2016 Posts: 328 Points: 1,047
|
hello and congratulations for the job, can you give me directions where can I find the mesh that you used for the radiators? because I looked in all the various shop-in-line, hiroboy-hobby-link but have not found anything .. sincere thanks
|
|
|
|
Guest
|