|
|
 Rank: Beginner Level 3  Groups: Registered
Joined: 03/07/2014 Posts: 27 Points: 71 Location: Baltimore, MD USA
|
It's been an exciting month here, as pack 20 has finally arrived, and I'm looking forward to starting my build. I've also collected all of the Museum Collection carbon decals that I plan on using, as well as some scale hardware, and some other detailing goodies. I'll try to keep this updated as I go. Here's what 20 months worth of parts looks like: 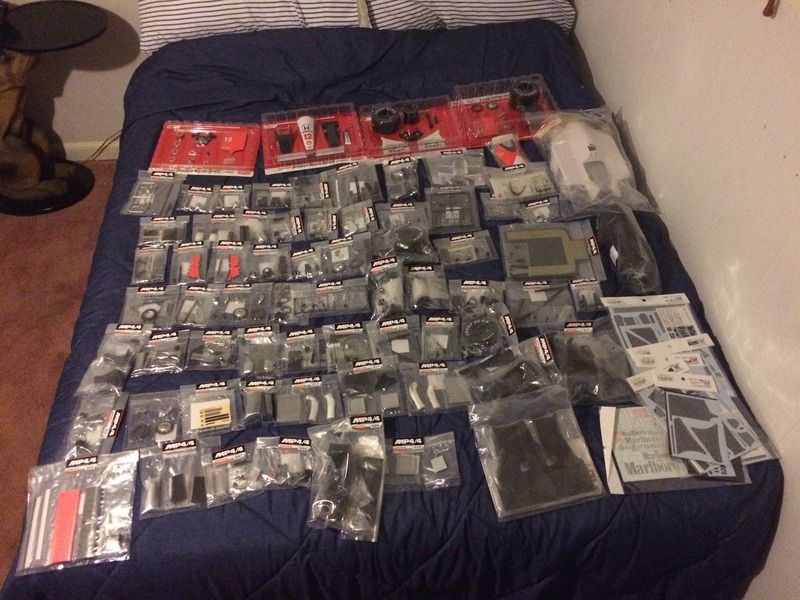 If anybody can help with translating the instructions for the decals to English, or has any tips for applying these decals, please see my other thread here: Carbon Decal Thread
|
|
|
|
|
Wow, looks fantastic.
Good luck with the build.
Malc.
|
|
|
|
|
|
|
|
 Rank: Pro  Groups: Registered
Joined: 27/05/2011 Posts: 256 Points: 774 Location: barrow in furness
|
I did the same and waited until I had everything before starting. It's amazing how quick you can get through it once you have all the parts! If at first you don't succeed........skydiving is not for you!
|
|
|
 Rank: Super-Elite        Groups: Registered
Joined: 31/05/2010 Posts: 5,679 Points: 17,011 Location: Wiltshire
|
SARON81 wrote:It's been an exciting month here, as pack 20 has finally arrived, and I'm looking forward to starting my build. I've also collected all of the Museum Collection carbon decals that I plan on using, as well as some scale hardware, and some other detailing goodies. I'll try to keep this updated as I go. Here's what 20 months worth of parts looks like:  If anybody can help with translating the instructions for the decals to English, or has any tips for applying these decals, please see my other thread here: Carbon Decal Thread You have done well not to be tempted to start before getting all the parts. Hope you have lots of fun with your build  Happy Modelling
BUILDING: Hachette Spitfire Mk 1A, Constructo Mayflower
SUBSCRIPTION COMPLETE (Awaiting building): USS Constitution, Sovereign of the Seas, 1:200 Bismarck (Hachette)
COMPLETED: Porsche 911, E-Type Jaguar, Lam Countach
|
|
|
 Rank: Beginner Level 2 Groups: Registered
Joined: 24/02/2016 Posts: 13 Points: 39 Location: Kuwait
|
Nice!! I don't know how you waited. My 1st and 2nd month just shipped and I'm dying to get my hands on it. I would like to know where and what the extras are?
|
|
|
 Rank: Beginner Level 3  Groups: Registered
Joined: 03/07/2014 Posts: 27 Points: 71 Location: Baltimore, MD USA
|
jldallover wrote:Nice!! I don't know how you waited. My 1st and 2nd month just shipped and I'm dying to get my hands on it. I would like to know where and what the extras are? Just Museum Collection decals and hardware. The decals are in the bottom RH corner.
|
|
|
 Rank: Beginner Level 3  Groups: Registered
Joined: 03/07/2014 Posts: 27 Points: 71 Location: Baltimore, MD USA
|
Made a start over the weekend. Drilled out the center holes on the rotors, then removed the molded in bolt heads, and drilled holes for new bolts. Still need to re-paint the silver around the hub. 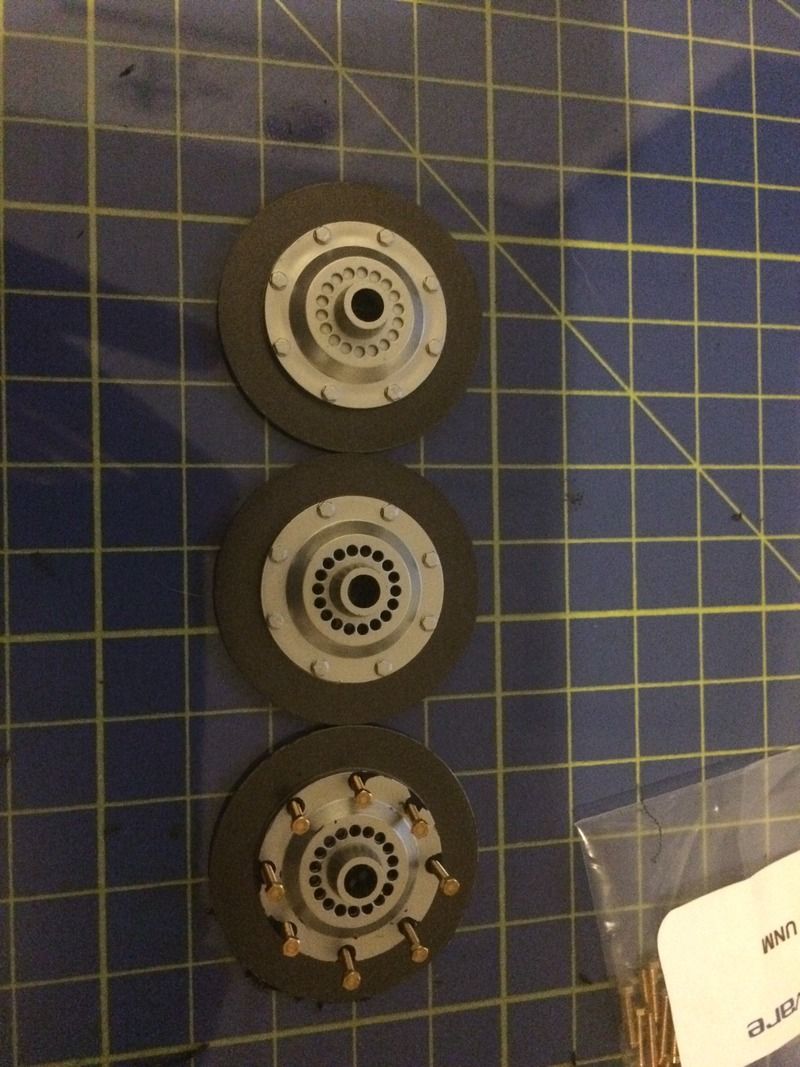 Drilled and fitted bolts to the gearbox. Still have clean-up and painting to do here too. 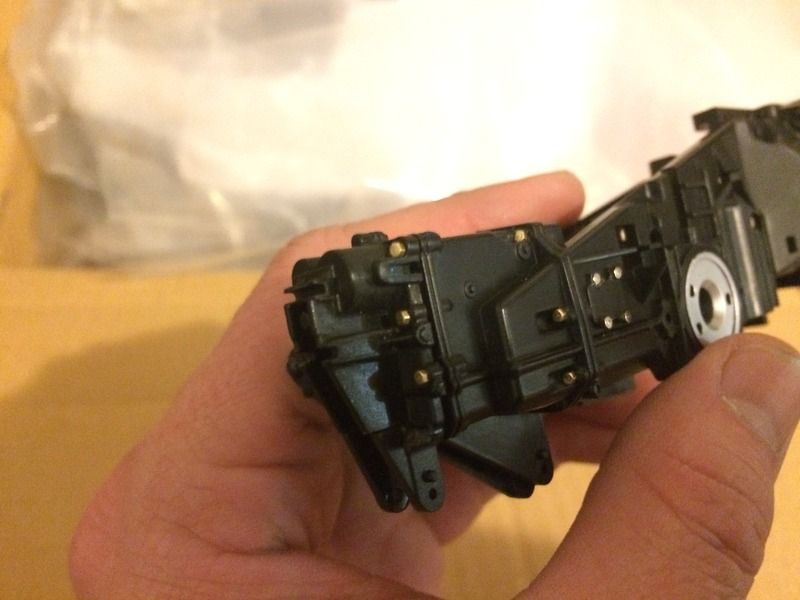 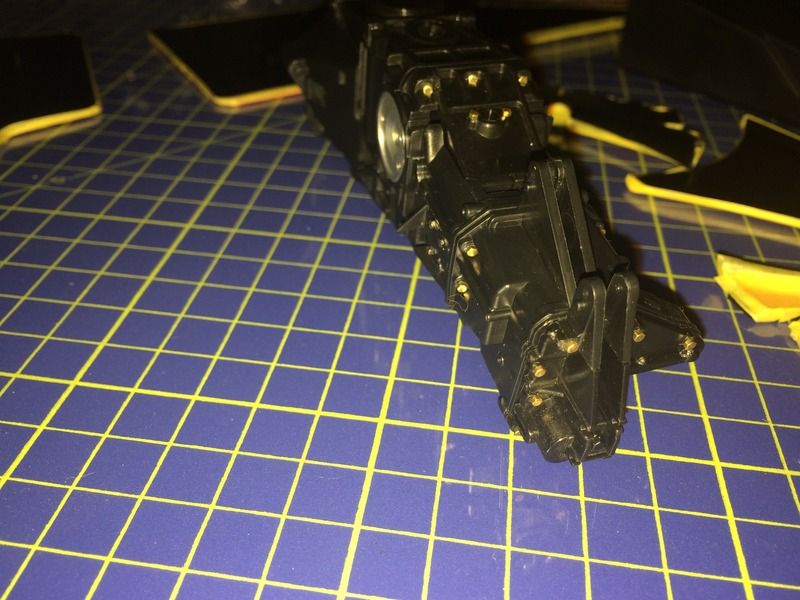 And a big step.... started painting everything for the carbon decals. 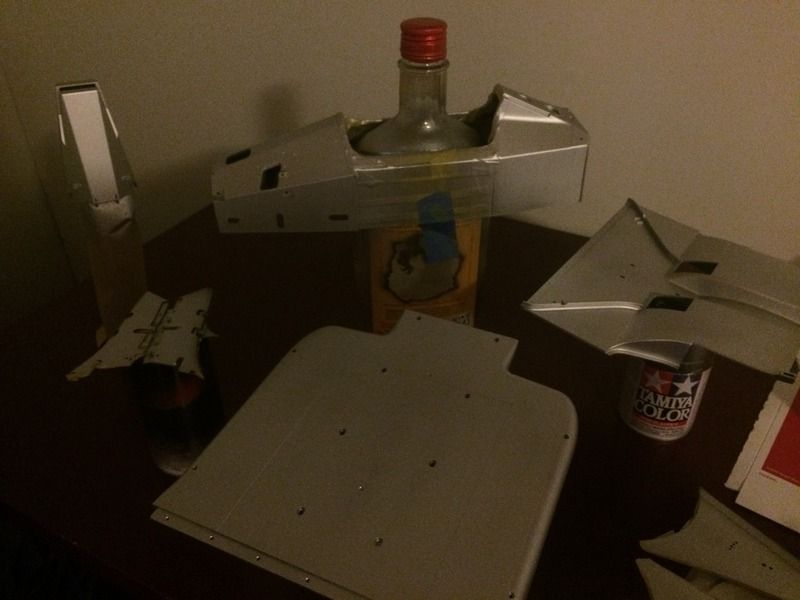 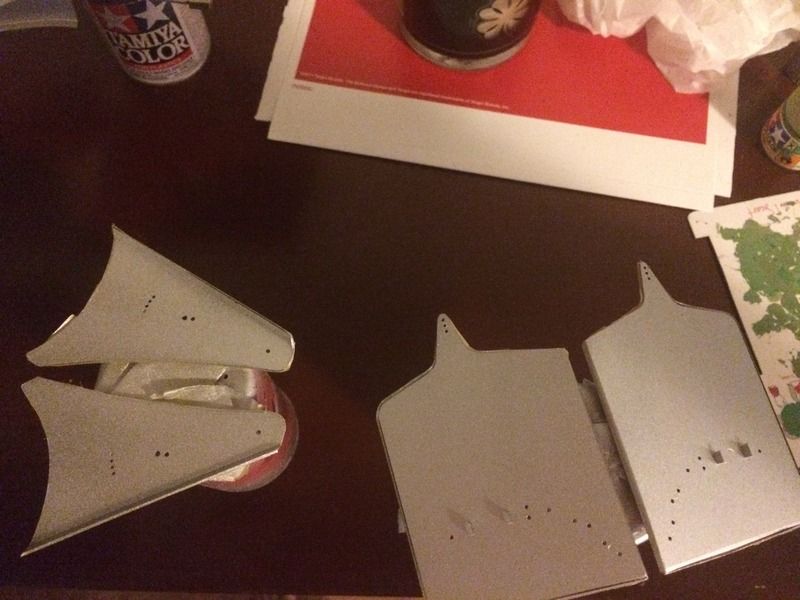
|
|
|
|
|
Very nice start indeed. I have all the Museum Collection decals, but what hardware are you using for the up grades?  
|
|
|
 Rank: Beginner Level 3  Groups: Registered
Joined: 03/07/2014 Posts: 27 Points: 71 Location: Baltimore, MD USA
|
Nemesis wrote:Very nice start indeed. I have all the Museum Collection decals, but what hardware are you using for the up grades?   I have 1.6mm and 2.0mm bolts to replace all the visible screws in the suspension, as well as some 1.5mm simulated bolts all from Scale HardwareThe bolts in the rotors are the 1.6mm as the 1.5mm bolt heads are too small. The transmission is all done with the 1.5mm simulated bolts. I also used those in the side pod access covers. I'm undecided how crazy I'm going to get with the hardware... you could probably do every bolt you could see in the turbos, wastegates, manifolds, etc... but you have to stop somewhere! 
|
|
|
|
|
SARON81 wrote:Nemesis wrote:Very nice start indeed. I have all the Museum Collection decals, but what hardware are you using for the up grades?   I have 1.6mm and 2.0mm bolts to replace all the visible screws in the suspension, as well as some 1.5mm simulated bolts all from Scale HardwareThe bolts in the rotors are the 1.6mm as the 1.5mm bolt heads are too small. The transmission is all done with the 1.5mm simulated bolts. I also used those in the side pod access covers. I'm undecided how crazy I'm going to get with the hardware... you could probably do every bolt you could see in the turbos, wastegates, manifolds, etc... but you have to stop somewhere!  Thank you very much, I know what you mean, next thing you know, its ready to fire up!!!   
|
|
|
 Rank: Beginner Level 3  Groups: Registered
Joined: 03/07/2014 Posts: 27 Points: 71 Location: Baltimore, MD USA
|
Got the monococque painted. After the silver base, several coats of clear yellow went on: 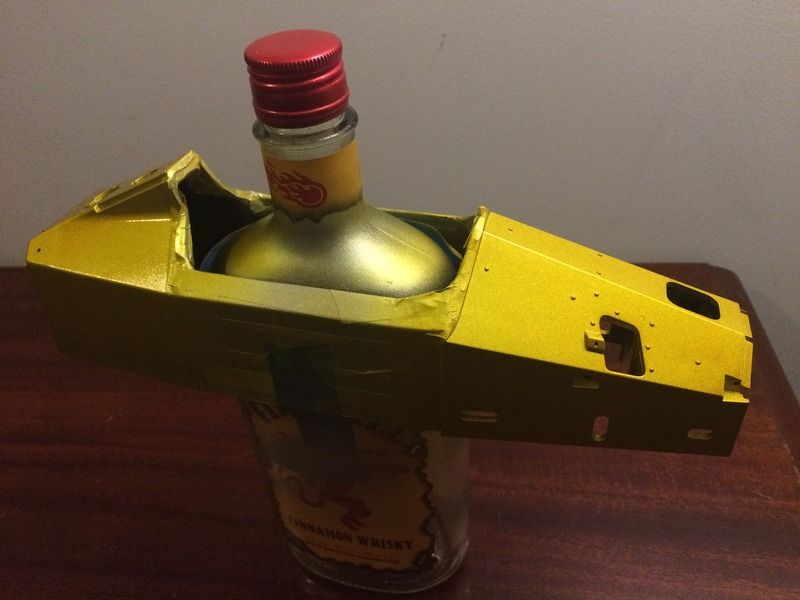  Then a few coats od smoke on top: 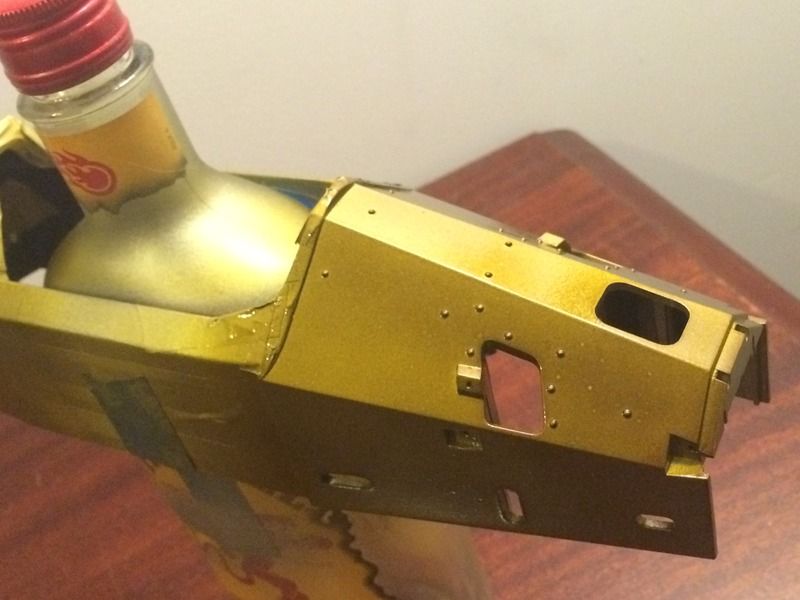 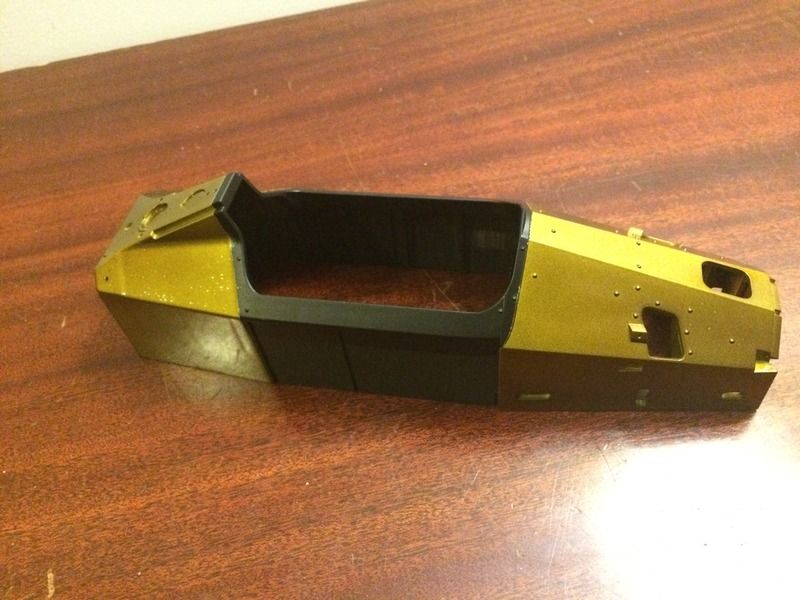 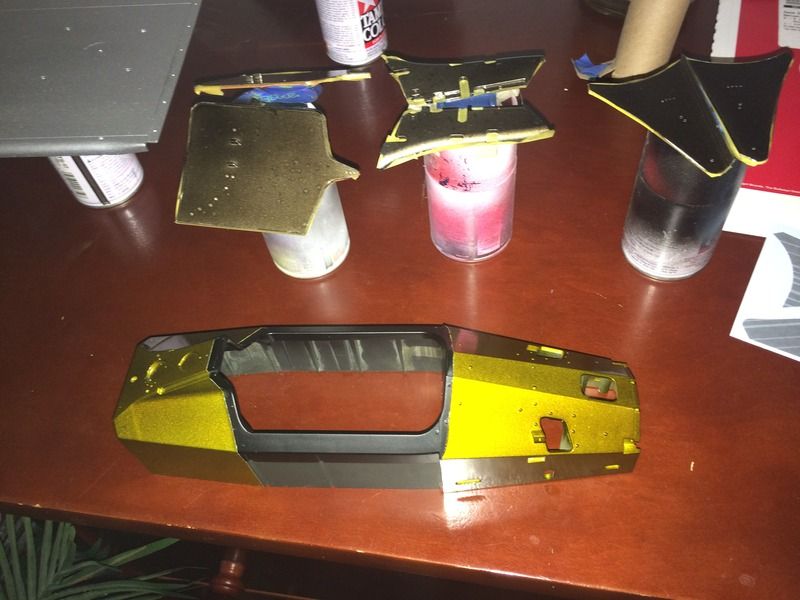 I also put a few coats of smoke on the wing endplates, but somehow had water in my airbrush lines.... so I got fisheyes as you can see in the pictures above.  So... they'll be sanded, re-taped and sprayed silver to start over again. Also got all 4 brake discs drilled. My hand's tired from all that pin vise work! 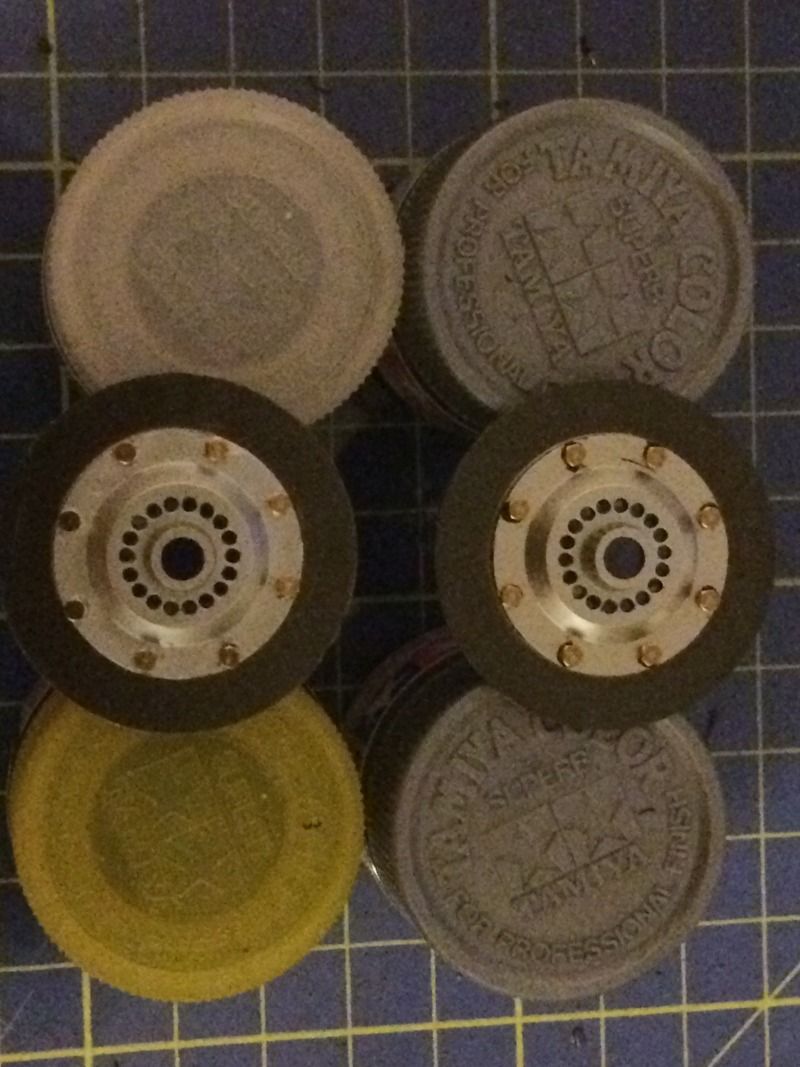
|
|
|
|
|
 Looking good  Current builds:-C57,Zero, Lamborghini Countach, Caldercraft HMS Agamemnon,Robi,R2-D2, MFH Cobra .
|
|
|
 Rank: Super-Elite        Groups: Registered
Joined: 31/05/2010 Posts: 5,679 Points: 17,011 Location: Wiltshire
|
Coming along a real treat. I hope you are getting some great build fun out of this one Happy Modelling
BUILDING: Hachette Spitfire Mk 1A, Constructo Mayflower
SUBSCRIPTION COMPLETE (Awaiting building): USS Constitution, Sovereign of the Seas, 1:200 Bismarck (Hachette)
COMPLETED: Porsche 911, E-Type Jaguar, Lam Countach
|
|
|
|
|
Looking good
I'm following your monocoque detail closely as I'm about to get to that stage myself and I'm nervous about the extent of the yellow colouring beneath the carbon decal.
Malc.
|
|
|
 Rank: Super-Elite       Groups: Registered
Joined: 27/01/2014 Posts: 5,060 Points: 14,980
|
Very nice work, the extra detailing looks fantastic. The effort you are putting in is really paying off  
|
|
|
 Rank: Beginner Level 3  Groups: Registered
Joined: 03/07/2014 Posts: 27 Points: 71 Location: Baltimore, MD USA
|
Thanks for the comments guys!  RM1 wrote:Looking good
I'm following your monocoque detail closely as I'm about to get to that stage myself and I'm nervous about the extent of the yellow colouring beneath the carbon decal.
Malc. I was worried about that too... but I was following the directions that came with the decals. It does looks less yellow in person, as the flash accentuates it quite a bit. It's really hard to capture the actual color. I laid the front monococque decal on last night. I'll probably go over it with another light coat of smoke, then a semi-gloss clear to tone it down just a little, but I'm pretty happy with it overall. Also need to touchup the black line where the decal ends. (With flash) 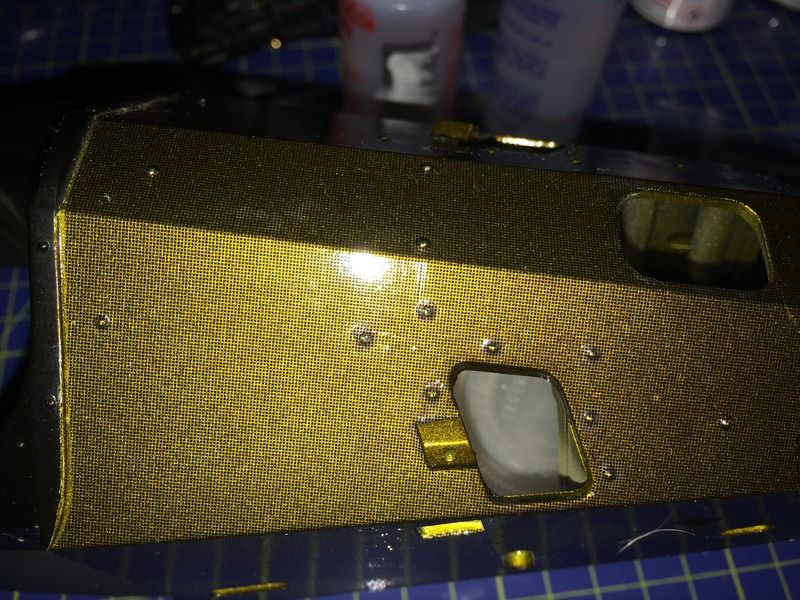 Really reflective in this photo! 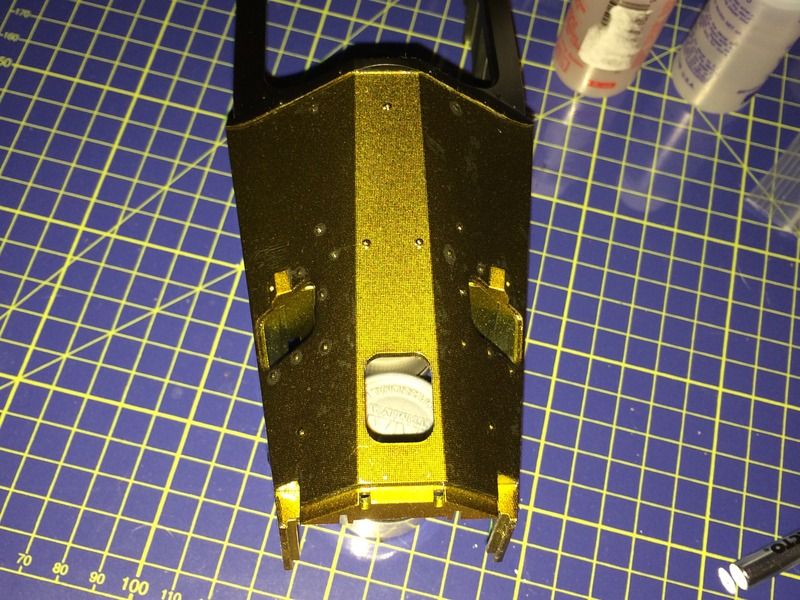 (Without) 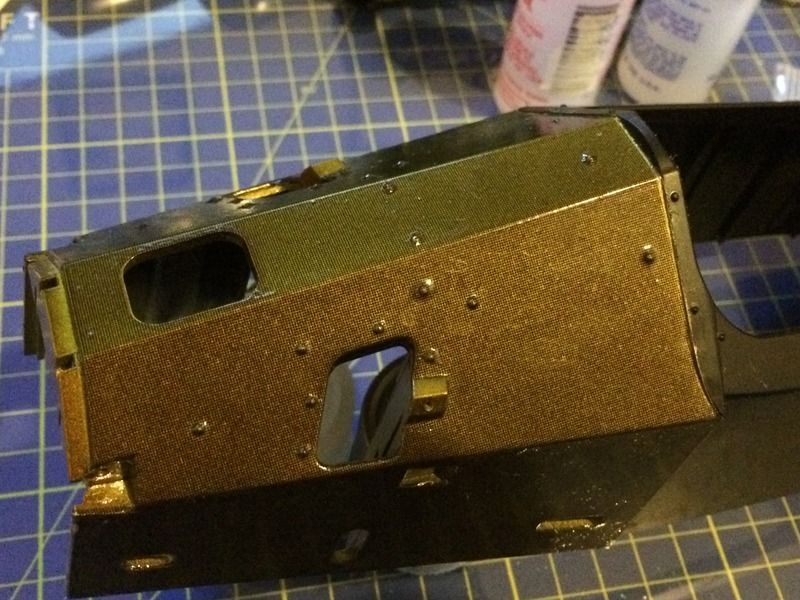
|
|
|
 Rank: Super-Elite        Groups: Registered
Joined: 31/05/2010 Posts: 5,679 Points: 17,011 Location: Wiltshire
|
That does look very good indeed. So you paint and then decal with the carbon fibre effect? Happy Modelling
BUILDING: Hachette Spitfire Mk 1A, Constructo Mayflower
SUBSCRIPTION COMPLETE (Awaiting building): USS Constitution, Sovereign of the Seas, 1:200 Bismarck (Hachette)
COMPLETED: Porsche 911, E-Type Jaguar, Lam Countach
|
|
|
|
|
Very nice finish. I bought the Kevlar colour from Zero paints, will have to see how it compares.  
|
|
|
 Rank: Pro   Groups: Registered
Joined: 01/12/2014 Posts: 102 Points: 312 Location: Chicago, IL
|
That looks good!!! Great job!!
|
|
|
|
Guest (3)
|