|
|
 Rank: Pro   Groups: Registered
Joined: 03/06/2016 Posts: 101 Points: 279 Location: New Hope, MN
|
Got an IM from Tomick saying my Hummer Build Diary did indeed vanish into thin air. But all is not lost. In order to make it easier to add posts to the diary, I had saved everything in a Word Processor document. So I am going to attempt now to rebuild the diary using cut and paste.
|
|
|
 Rank: Pro   Groups: Registered
Joined: 03/06/2016 Posts: 101 Points: 279 Location: New Hope, MN
|
Started my Hummer Build today. First picture is the Pack 1 Stages 1 - 5 Parts. Second picture is the Stage 1 and 2 complete which includes two wheels, hubcaps and the Assembled Hood.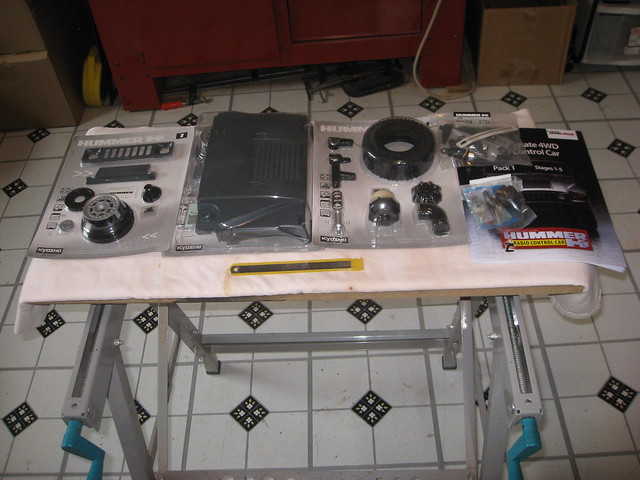 Hummer Pack 1 Parts Hummer Pack 1 Parts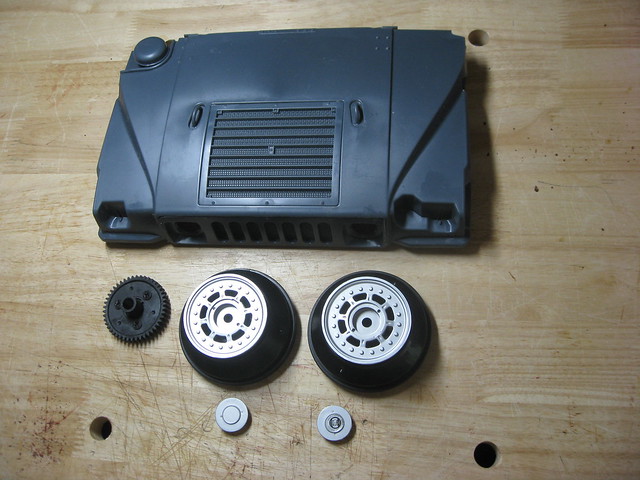 Pack 1 Stages 2 - 3 Complete Pack 1 Stages 2 - 3 Complete
|
|
|
 Rank: Pro   Groups: Registered
Joined: 03/06/2016 Posts: 101 Points: 279 Location: New Hope, MN
|
Worked on the Hummer again today. First picture is the Pack 1 Stage 3 Parts. Second picture shows Stage 3 Complete. Tire mounted and glued on Wheel. Air Cleaner assembled. Servo Saver assembled.. quite a struggle squeezing the spring enough to get the nut on. (Tip:
Used a vise to squeeze the assembly and turned the nut with pliers. Scarred the nut a little with the pliers even with the nut wrapped with blue painters tape. Was able to smooth it again with a file and emery paper.)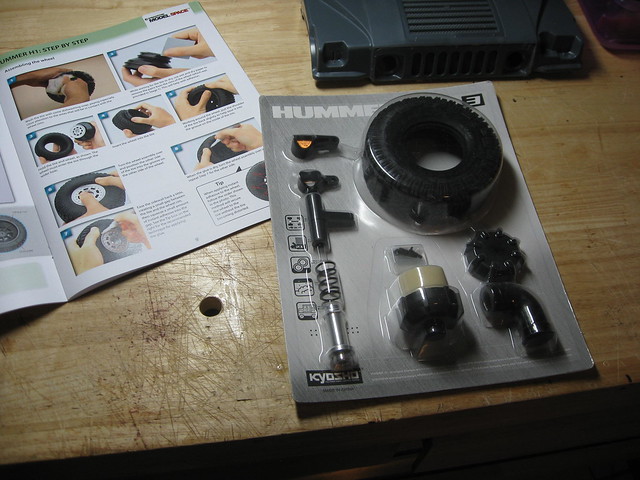 Pack 1 Stage 3 Parts Pack 1 Stage 3 Parts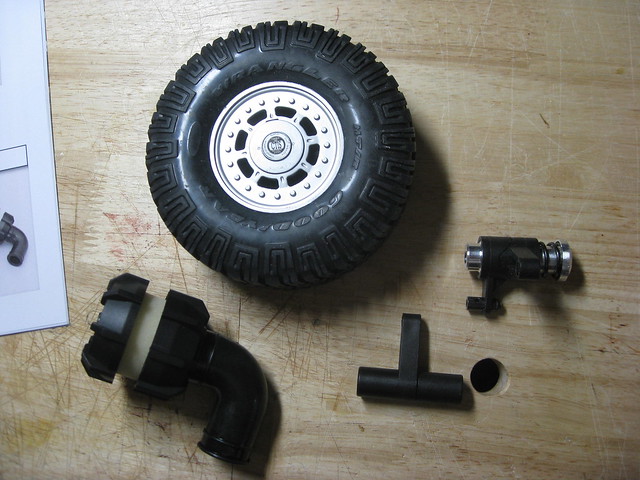 ]size=6]Pack 1 Stage 3 Complete[/size]
|
|
|
 Rank: Pro   Groups: Registered
Joined: 03/06/2016 Posts: 101 Points: 279 Location: New Hope, MN
|
|
|
|
 Rank: Pro   Groups: Registered
Joined: 03/06/2016 Posts: 101 Points: 279 Location: New Hope, MN
|
Hummer Pack 2. First picture shows the parts included with Stages 6 - 10. Second Picture shows rear Bulkhead with upper and lower suspensions and shock stays installed. Also rear shock in plastic bag. Things went well til I destroyed one of the E rings that hold the shaft for the suspension in place. Fortunately I was able to purchase a supply of the same size E rings at my local hobby store. By the way… I forgot to mention in my first post how lucky I was to even receive the hummer Kit. All four large boxes containing the Hummer kit and the first month of my Fat Boy kit sat on my front porch all night without being stolen. Found them the next day when we came back from shopping.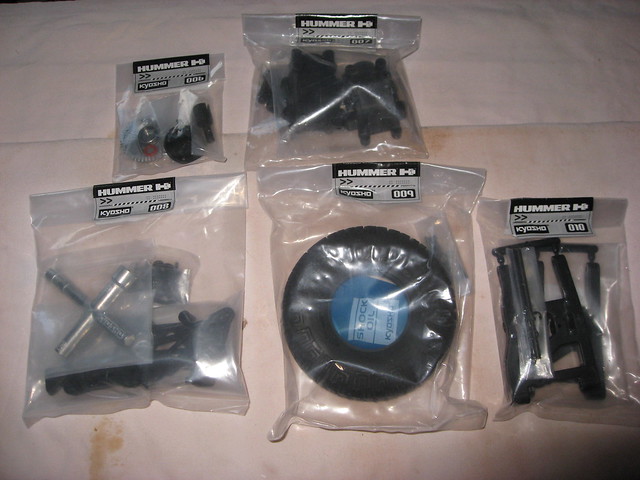 [size-6]Hummer Pack 2 Parts[/size] 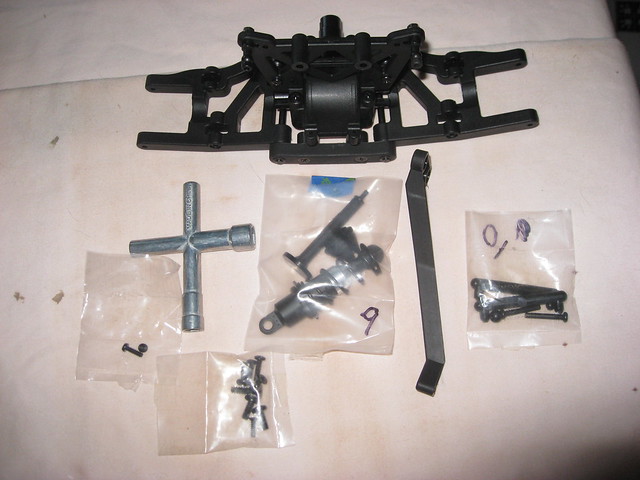 Pack 2 Stages 5 - 10 Complete Pack 2 Stages 5 - 10 Complete
|
|
|
 Rank: Pro   Groups: Registered
Joined: 03/06/2016 Posts: 101 Points: 279 Location: New Hope, MN
|
Hummer Pack 3. First picture shows the parts for Stages 11 - 15. Next picture shows Stage 11 - 15 Complete. Hope I have it together right.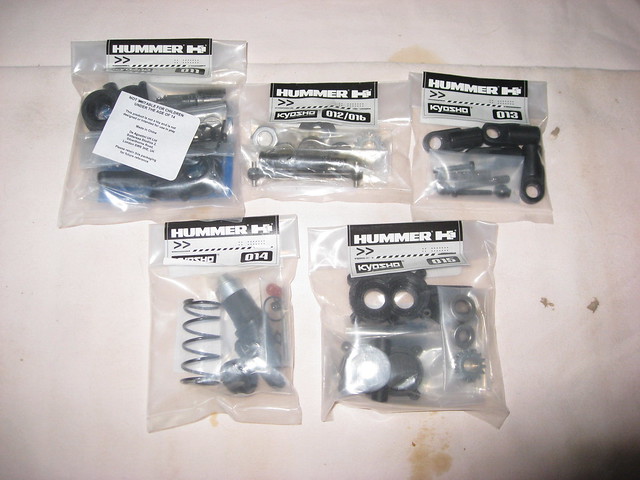 Hummer Pack 3 Parts Hummer Pack 3 Parts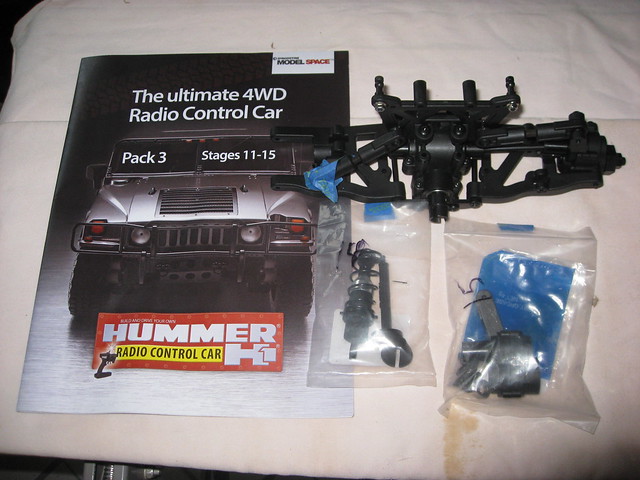 Pack 3 Stages 11 - 15 Complete Pack 3 Stages 11 - 15 Complete
|
|
|
 Rank: Pro   Groups: Registered
Joined: 03/06/2016 Posts: 101 Points: 279 Location: New Hope, MN
|
Assembled Pack 4 today. First Picture shows the Pack 4 parts. Second picture shows the Pack 4 Stage 16 parts. Assembled the Right Rear Hub and attached it to the Rear Bulkhead. Third picture shows the Rear Bulkhead with the Right Rear Hub attached. Both Front Tires mounted to the wheels and decals put on hub caps. Both Front Shock Absorbers assembled. Fourth picture shows the Pack 4 Finished.
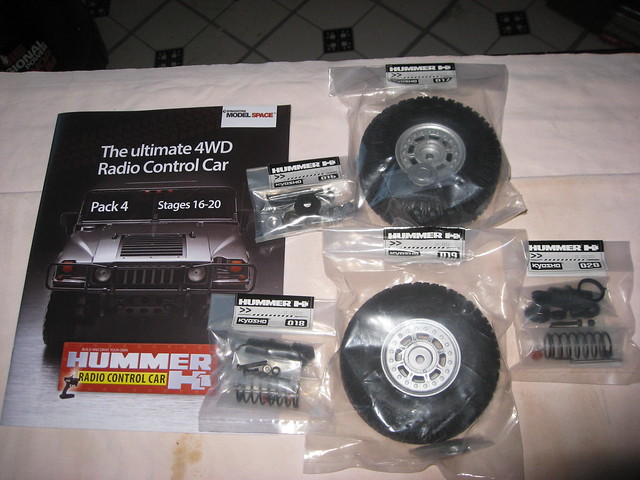
Hummer Pack 4 Parts
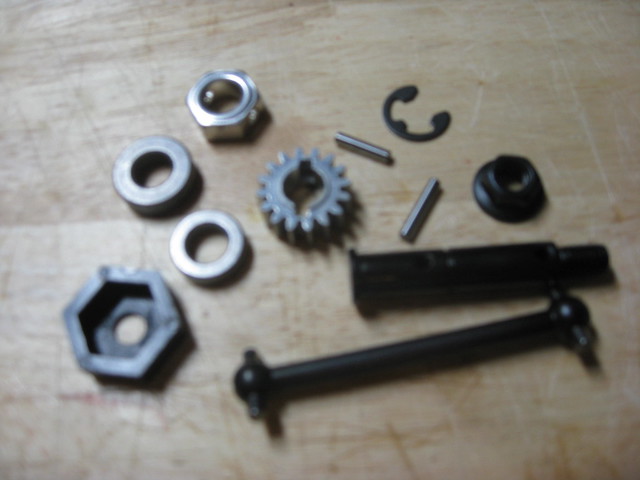
Pack 4 Stage 16 Parts
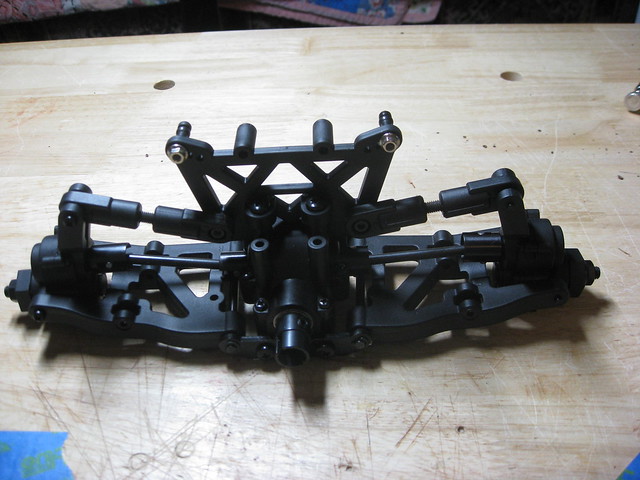
Rear Bulkhead with Right Rear Hub attached
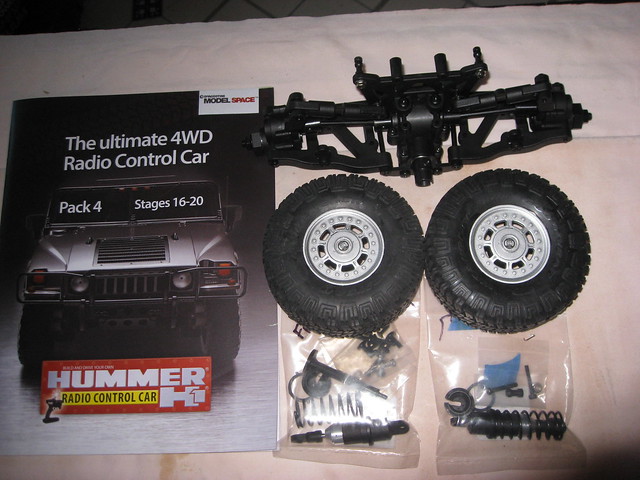
]Size=6]Hummer Pack 4 Finished
|
|
|
 Rank: Pro   Groups: Registered
Joined: 03/06/2016 Posts: 101 Points: 279 Location: New Hope, MN
|
Started the Main Chassis Assembly. First picture shows the Front Bulkhead assembly attached to the front part of the main chassis. Attached the torque arm between the bulkhead and the chassis. Second picture shows the assembled Front differential. Third picture shows Pack 5 Complete and the front Bulkhead assembled.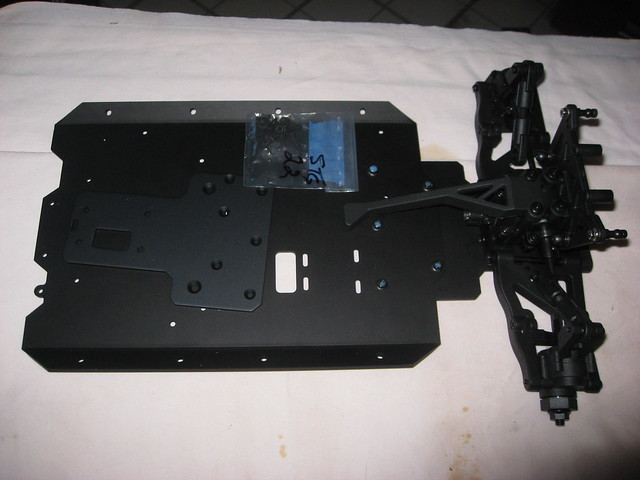 Pack 5 Stage 22 finished. Pack 5 Stage 22 finished.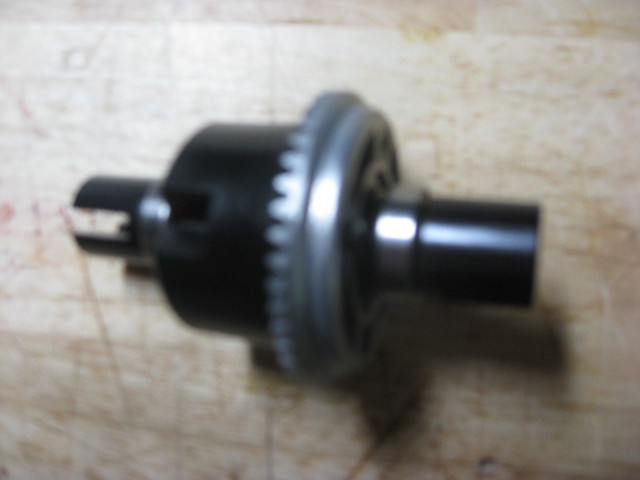 Pack 5 Stage 24 Complete Pack 5 Stage 24 Complete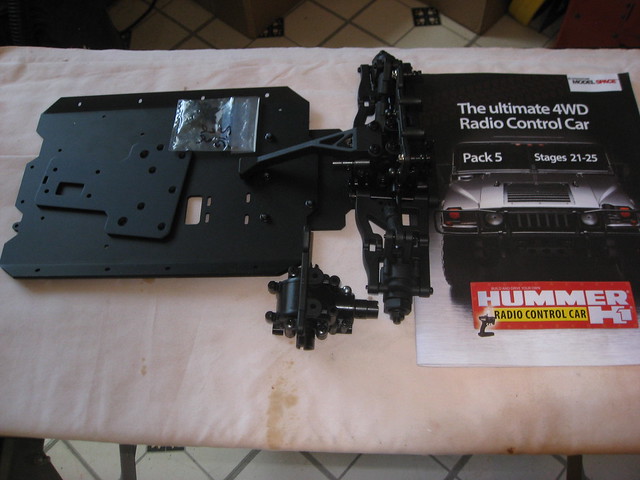 Pack 5 Complete Pack 5 Complete
|
|
|
 Rank: Pro   Groups: Registered
Joined: 03/06/2016 Posts: 101 Points: 279 Location: New Hope, MN
|
Building up the Front Suspension. Attached the upper and lower suspension holders dot the front bulkhead plate. Attached the bulkhead plate to the front suspension assembly. Built up the front steering plate and attached the right and left servo savers and attached the front suspension assembly to the chassis plate. Installed the upper and lower suspension arms to the front suspension. Assembled the left front hub and mounted the hub to the left side of the front suspension.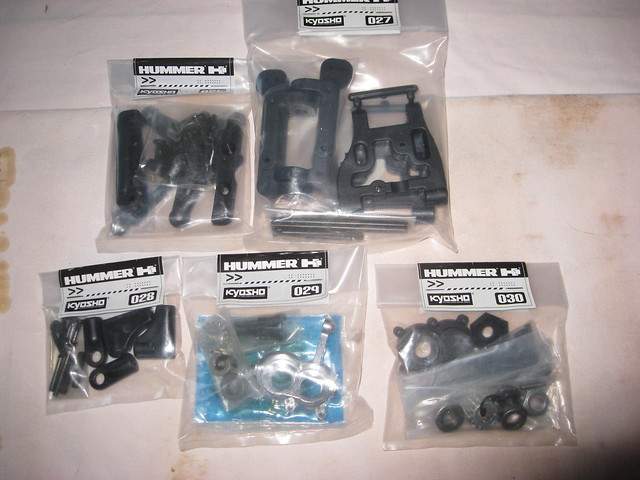 Pack 6 Parts Pack 6 Parts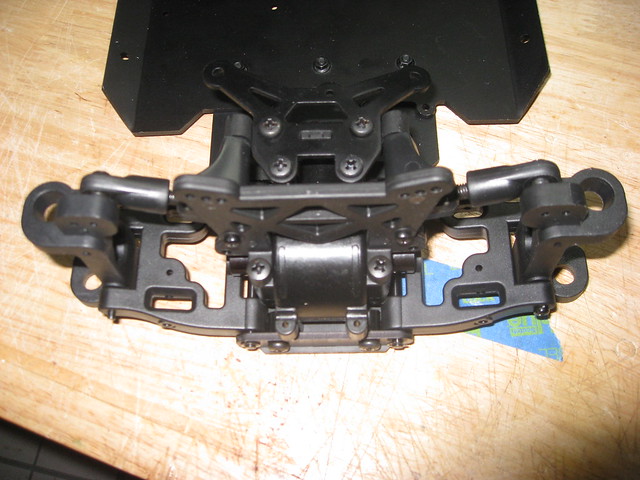 Pack 6 Front Suspension Pack 6 Front Suspension Front Left Hub Assembly Front Left Hub Assembly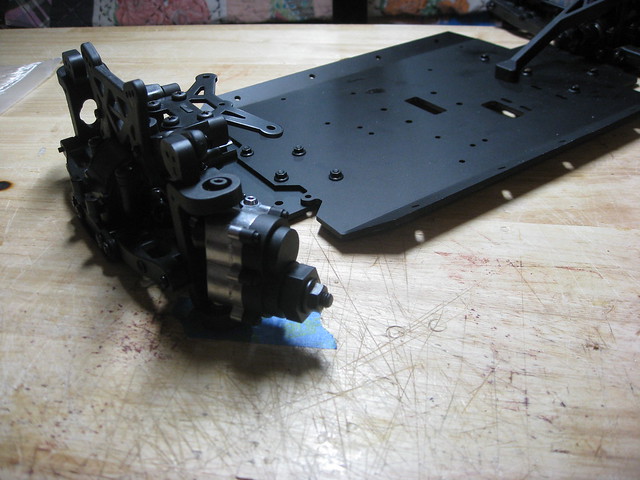 Left Front Hub Attached to Front Suspension Left Front Hub Attached to Front Suspension
|
|
|
|
|
looking great Current builds:-C57,Zero, Lamborghini Countach, Caldercraft HMS Agamemnon,Robi,R2-D2, MFH Cobra .
|
|
|
 Rank: Pro   Groups: Registered
Joined: 03/06/2016 Posts: 101 Points: 279 Location: New Hope, MN
|
How is your D51 build going... I've been looking at that as my next kit when I finish the Hummer. I am also building the Fat Boy but on a month to month deal so that will be a long ways off. I have the full kit for the Hummer.
|
|
|
 Rank: Pro   Groups: Registered
Joined: 03/06/2016 Posts: 101 Points: 279 Location: New Hope, MN
|
Started on Pack 7. Assembled the right front hum and installed it to the front suspension. Looks like maybe the chassis is complete except for some steering linkage which must come farther on in the build. Stage 33 starts the body work. Maybe start on that tomorrow.[/size\
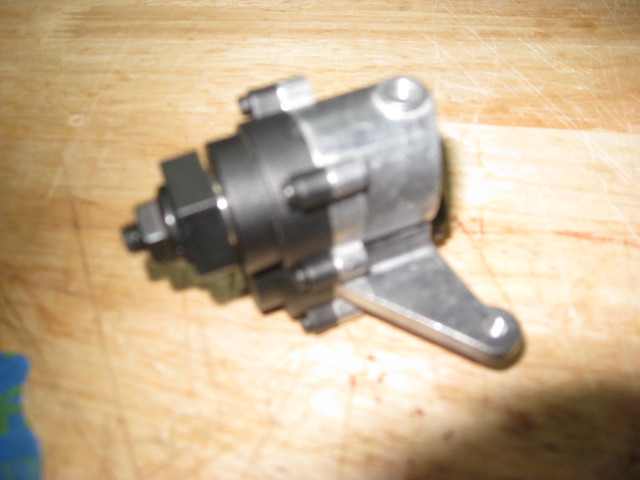
Pack 7 Right Front Hub

Front Suspension with both Hubs
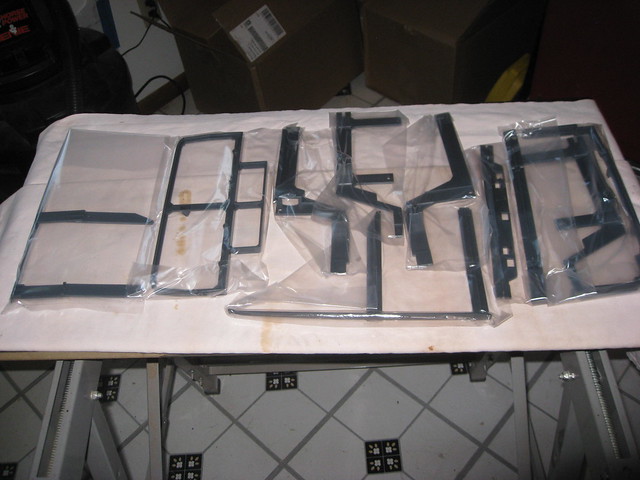
[size=6]Pack 7 Stage 33 Parts
|
|
|
|
|
Hi Sid Sorry for just getting back to you, I finished the D51 a while back now and here is a link to the finished model:- http://forum.model-space...sts&t=15523&p=2
If you go to page 2 theres a picture of it in its case. Right now im also building the C57 both models are great and also have there differences either would make a great build. The Fat Boy is a great build too and heavy when completed. Regards Andy Current builds:-C57,Zero, Lamborghini Countach, Caldercraft HMS Agamemnon,Robi,R2-D2, MFH Cobra .
|
|
|
|
|
Certainly coming along, very nice looking work going on.....
Regards
Alan
|
|
|
 Rank: Pro   Groups: Registered
Joined: 03/06/2016 Posts: 101 Points: 279 Location: New Hope, MN
|
Assembled Front Right Hub and installed it to the Front Suspension. Stage 33 Body Frame glued together. Assembled the main gear case Stages 36 - 40. Installed the disc brake to the gear case. Installed the steering plate and servo saver assembly to the front suspension. Installed the main gear case, driveshafts, front torque tube and roll bar to the main chassis.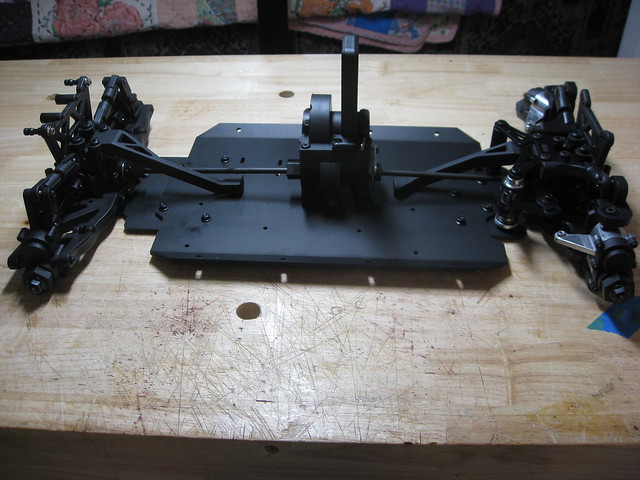 Chassis w/main gear case, steering plate w/servo saver, both driveshafts, front torque arm, and roll bar installed. Chassis w/main gear case, steering plate w/servo saver, both driveshafts, front torque arm, and roll bar installed.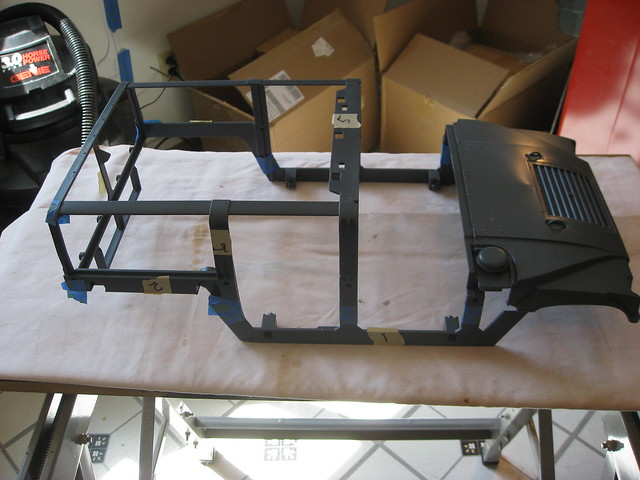 Stage 33 Body Frame Assembled. Stage 33 Body Frame Assembled.
|
|
|
 Rank: Super-Elite        Groups: Registered, Forum Support Team, Administrators, Global Forum Support Team, Moderator, Official Builds Joined: 09/11/2012 Posts: 8,520 Points: 24,651 Location: East midlands
|
Hi Sid, Definitely getting on with this one and making a fine job of it. Well done. Regards delboy271155 (Derek) COME BACK GUY FAWKES "YOUR COUNTRY NEEDS YOU"
|
|
|
 Rank: Pro   Groups: Registered
Joined: 03/06/2016 Posts: 101 Points: 279 Location: New Hope, MN
|
Left side, Right side and Rear body panels installed. Windshield frame also installed even tho instructions said to wait till later. Seemed better to me to install it now. Left and right track bars installed to front suspension. Fuel tank installed. Installed left and right body mounts to chassis and installed front and rear bumper mounts.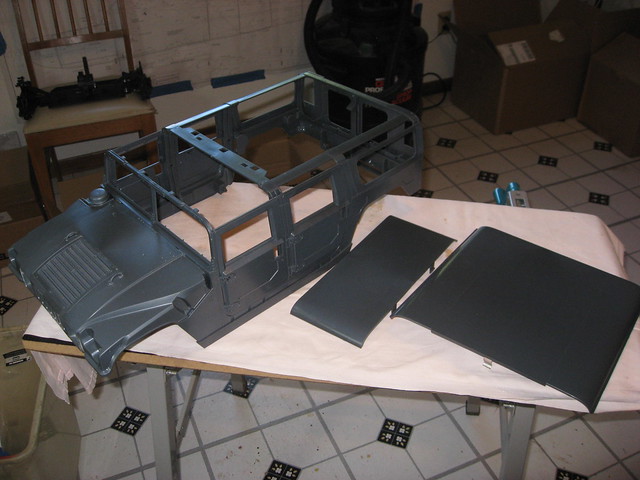 Body ready for paint Body ready for paint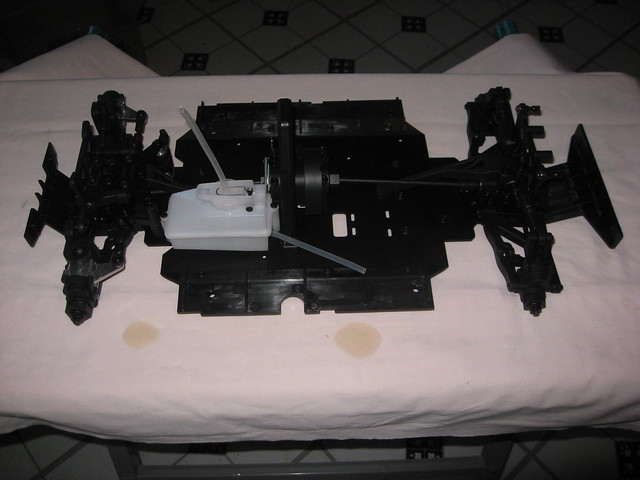 Left and Right Track bars installed to front suspension. Chassis w/Fuel tank installed. Front and rear bumper mounts installed. Left and Right Track bars installed to front suspension. Chassis w/Fuel tank installed. Front and rear bumper mounts installed.
|
|
|
 Rank: Super-Elite       Groups: Registered
Joined: 19/06/2013 Posts: 4,588 Points: 13,553 Location: West Yorkshire
|
Coming along nicely Sid.
Al
|
|
|
 Rank: Vice-Master    Groups: Registered
Joined: 05/04/2013 Posts: 540 Points: 1,630 Location: England
|
Always nice to see another Hummer, I really enjoyed this build. Looking forward to seeing how your water transfer camo turns out. Finished 3D Printer, RB7, Hummer, Skyrider drone & Combat tank collection http://www.model-space.com/gb/
|
|
|
 Rank: Pro   Groups: Registered
Joined: 03/06/2016 Posts: 101 Points: 279 Location: New Hope, MN
|
Gave up on the water transfer paint. I purchased the kit and when I got around to see what I could do with it, I found I did not have a container large enough to dip the frame in to apply the transfer. I thought my laundry tub would be large enough but turns out it is not. So I guess I am just going to paint it.
And of course now I have an unused desert storm came dip it kit for sale. Probably be hard to sell it but maybe Craigslist will work.
|
|
|
|
Guest
|