|
|
 Rank: Pro   Groups: Registered
Joined: 20/04/2010 Posts: 141 Points: 426 Location: Worthing, United Kingdom
|
darrend wrote:looks great amipal. Started mine a day or so back. Just fixed the lower gun deck and shaped the gun supports just go to glue it all together but been out all day so no go today. Cheers matey! Its amazing the itch that develops when you're away from the build for any length of time.
|
|
|
 Rank: Pro   Groups: Registered
Joined: 20/04/2010 Posts: 141 Points: 426 Location: Worthing, United Kingdom
|
Wow, it's been a while since I posted an update to my build! Best bring you all up to speed then... Rather than bombard you with images of planking and then cutting each row of gun ports, I'll just show you the current condition of my build. One last view of the middle gun ports before further planking: 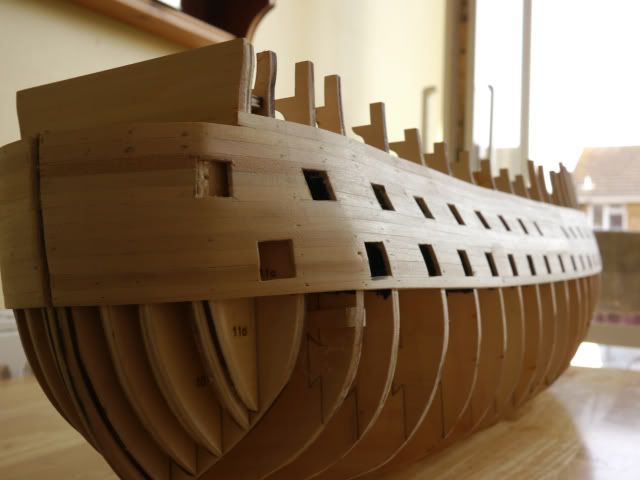 A view from the bow - looks like everything is lining up (for now): 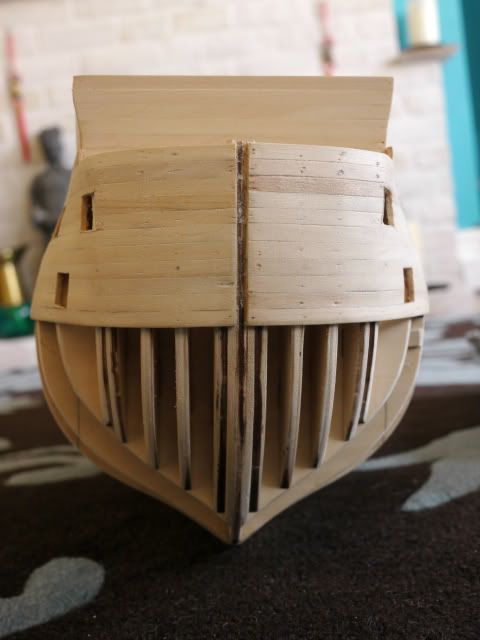 Time to cut the entrance portals. As you can see, the size of the gun ports varies a bit: 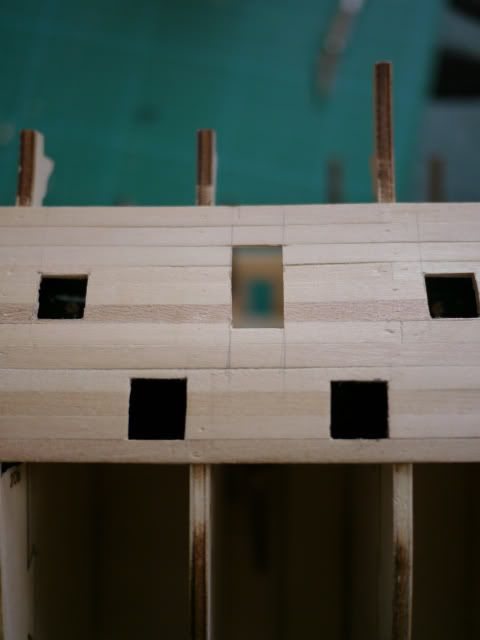 Port side with further planking for the next layer. After cutting the middle gun ports, I've learnt not to place to much glue behind the planks as its a pain to cut through: 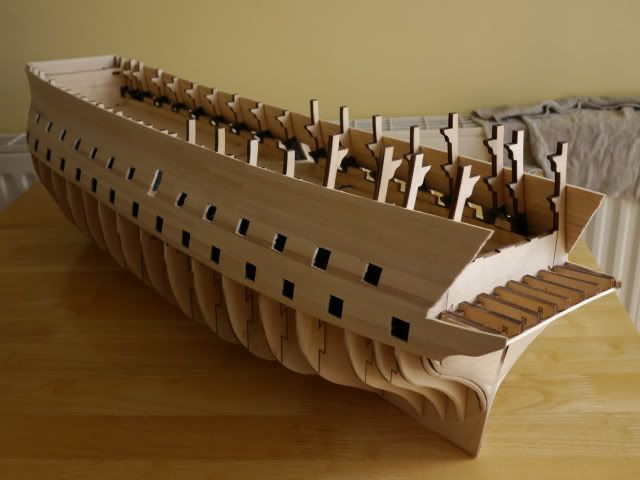 Starboard side. In order to get the ports level, I've been using a spirit level, resulting in much straighter ports all round: 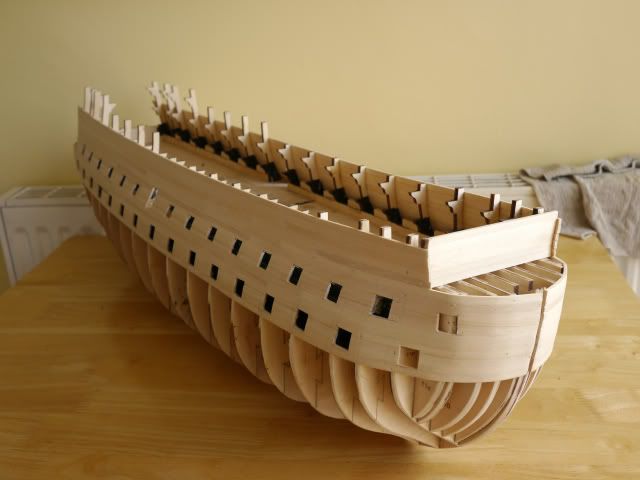 Profile of the Victory: 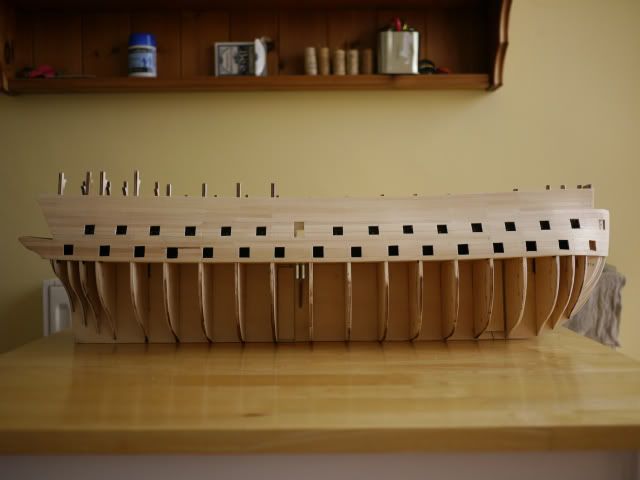 I have now begun to cut the next row of gun ports, and of course have flicked through the next few issues to find out what I've got install for myself - exciting times. I'll need to reapply some black paint to the interior of the gun ports before I get them framed, as the cutting/filing process resulted in a fair few scratches of the paintwork.
|
|
|
 Rank: Semi-Pro Level 1  Groups: Registered
Joined: 02/05/2010 Posts: 67 Points: 201 Location: Staffordshire
|
Good building. Very neat. Are you sanding as you
go along? Or just really good at building?
Jim
|
|
|
 Rank: Pro   Groups: Registered
Joined: 20/04/2010 Posts: 141 Points: 426 Location: Worthing, United Kingdom
|
@jimbobuk05
Thanks! I'm not that great... sanding as I'm going along. Of course, I'll sand it even more once the gun ports are in place!
|
|
|
 Rank: Pro Groups: Joined: 24/08/2009 Posts: 48,827 Points: -13,348
|
Your'e doing great. Just be aware, do not to sand too much between planking sections/magazine instructions. Be very patient this is a hobby not a chore/task!! If you feel the need to sand or adjust your work DO IT, if not copy other members work. That is what this forum is for  Cheers Steve..
|
|
|
 Rank: Pro   Groups: Registered
Joined: 20/04/2010 Posts: 141 Points: 426 Location: Worthing, United Kingdom
|
Worry not Farrabass, I'm not sanding it with an OCD-sufferer's glee! 
|
|
|
 Rank: Pro   Groups: Registered
Joined: 20/04/2010 Posts: 141 Points: 426 Location: Worthing, United Kingdom
|
Well, its the beginning of July, so about time I posted up another in-progress report on my build. I started a new job in March, so my mind has sort of been on other things. The Victory isn't really something you can pick up and progress in a spare few minutes here and there, so I'm not drastically further on since my last posting. Anyway... I finally completed the planking above the waterline! 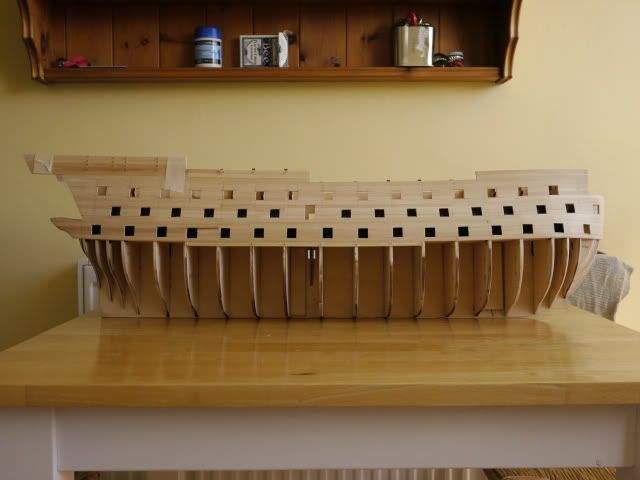 Here's how the stern looks. Pins have all been removed now. 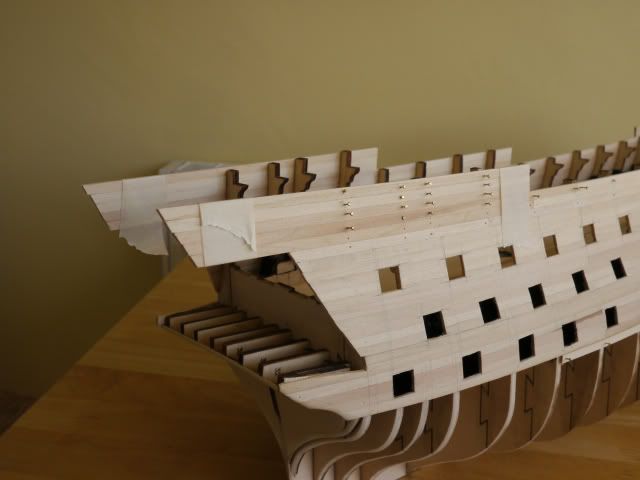 Thank you Donald Russell for supplying your meat in such large polystyrene containers - makes excellent Victory protection! 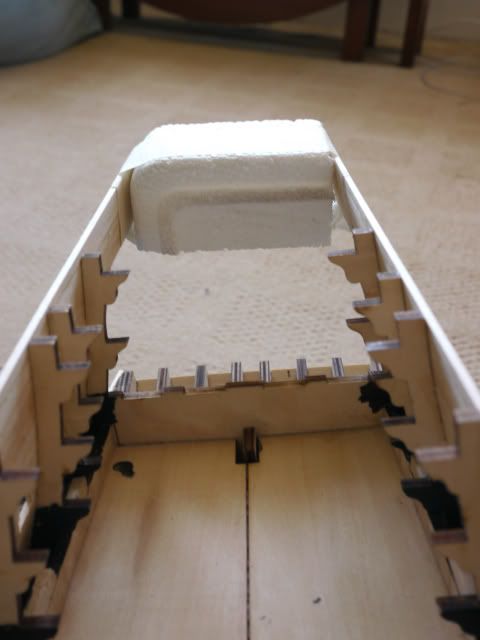 My first go at the bow planking with droppers. As you can see, it went a bit... awful really. Not only had I not tapered the planks enough, but the wood then decided to split. 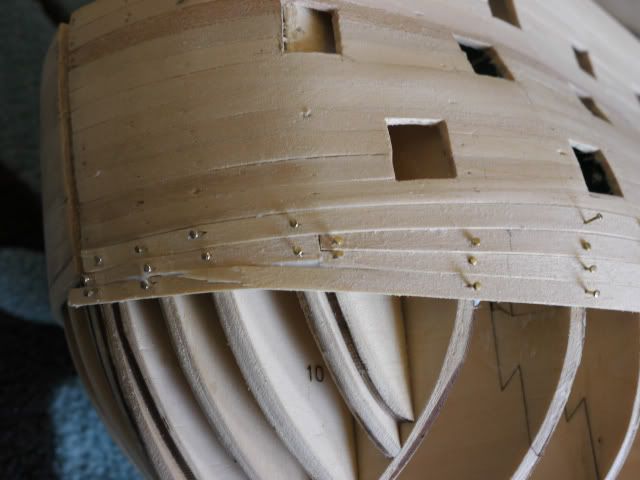 So off that came, and I started anew. This time, I used my partners electric hair straighteners to assist in bending the planks, and a much better result was had. 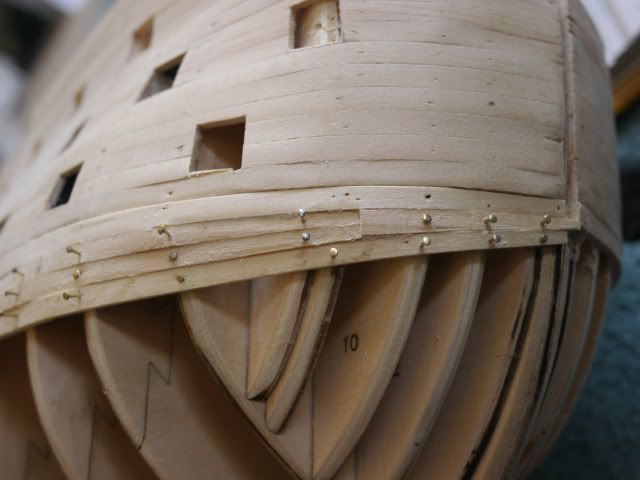 So nothing particularly noteworthy in this update, just quiet progress. I have a week off coming up, and hope to divert many many hours to finally completing the hull planking.
|
|
|
 Rank: Vice-Master     Groups: Registered
Joined: 26/09/2010 Posts: 851 Points: 2,565 Location: Walsall
|
Shes coming along really nice there, keep up the good work and keep those pics coming, and if your partner takes her hair straightners back, a cheap soldering iron is just as good.
Foz
|
|
|
 Rank: Pro   Groups: Registered
Joined: 20/04/2010 Posts: 141 Points: 426 Location: Worthing, United Kingdom
|
Cheers Foz!  Hopefully my next posting will include a lot more hull planking completed... any tips before I continue?
|
|
|
 Rank: Pro   Groups: Registered
Joined: 20/04/2010 Posts: 141 Points: 426 Location: Worthing, United Kingdom
|
July was my last update? Really? I've gone wrong somewhere... I think that's mainly due to my extended 30th birthday celebrations - zorbing, flying a helicopter, and (my favourite) flying a Tiger Month. That's where my weekends have gone! Anyway, a whistle-stop update for you fine people of the ModelSpace forums. To give myself a bit of a breather, I decided to line the starboard set of gun ports. I was going to do the port side as well, but by the time I'd finished these ones I was a little bored with the process. For another day! 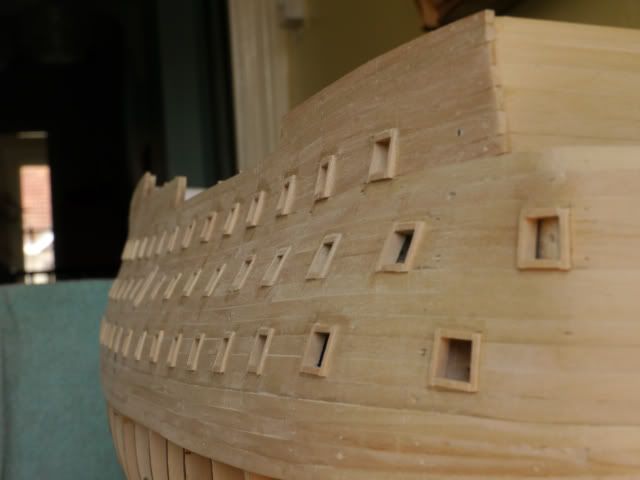 So back to the planking. This is the current state of my Victory: 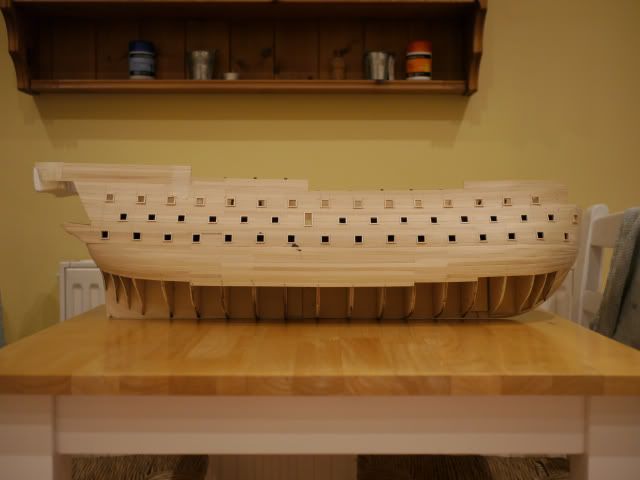 I'm quite far down the hull, but still have a fair way to go before I'm near the keel. Stern planking: 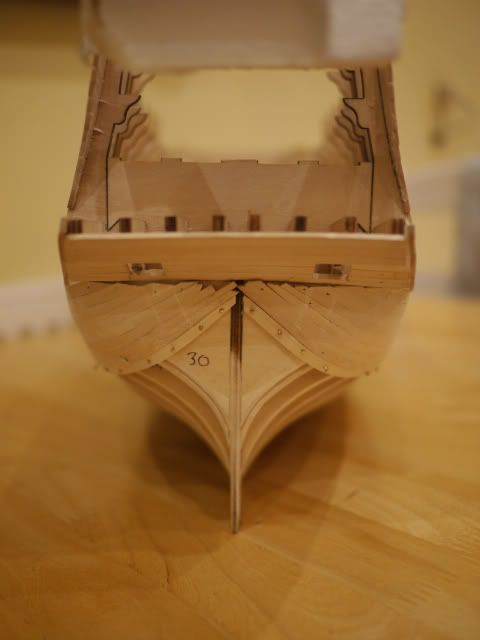 A bit rough at present, but this should look a lot nicer once I've cleaned it up a bit. A bit of filler and sanding should make it shine. Another view of the stern: 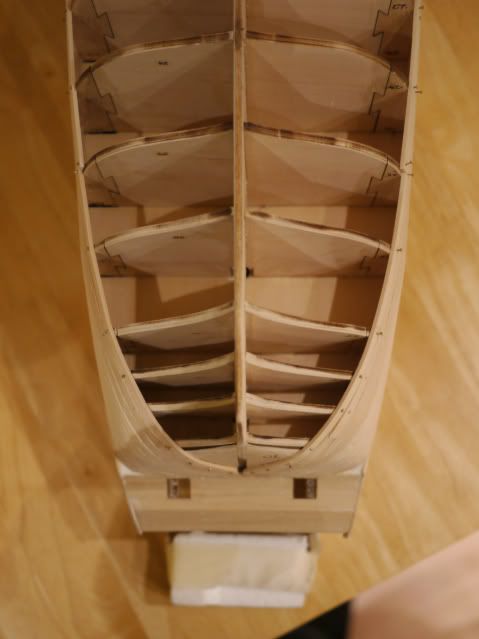 Curving around nicely. A bit of splitting, but I've been assured that this shouldn't be an issue... In preparation for the keel planking, I've fitted the fillets towards the bow: 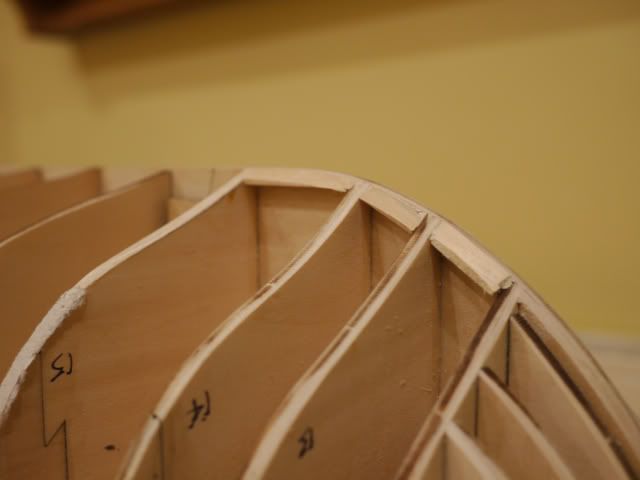 These may need further sanding when I come to planking there, but look fine at the moment. Once again I'm feeling the urge to build build build! Now, if only I could find some time to actually do it... Thanks for reading.
|
|
|
|
|
 nicely executed bit of modeling m8 regards Andy Current builds:-C57,Zero, Lamborghini Countach, Caldercraft HMS Agamemnon,Robi,R2-D2, MFH Cobra .
|
|
|
 Rank: Pro   Groups: Registered
Joined: 20/04/2010 Posts: 141 Points: 426 Location: Worthing, United Kingdom
|
Thanks arpurchase!
Does it matter if one side of planking doesn't match the other? I'm painting my Victory, so once filled and sanded this should be immediately visible.
|
|
|
 Rank: Vice-Master      Groups: Registered
Joined: 23/03/2010 Posts: 507 Points: 1,571
|
|
|
|
|
|
 Not all m8[ unless you have two heads and a prehensile neck to go with each  ]so can view both sides at once  regards Andy Current builds:-C57,Zero, Lamborghini Countach, Caldercraft HMS Agamemnon,Robi,R2-D2, MFH Cobra .
|
|
|
|
|
looks good just hold your nerv! “Whenever you find yourself on the side of the majority, it is time to pause and reflect.”
-Mark Twain
|
|
|
 Rank: Super-Elite      Groups: Registered
Joined: 24/04/2010 Posts: 5,787 Points: 17,662 Location: Stafford, United Kingdom
|
Looking really good, just take your time step by step  MWG BUILD DIARIES: HMS VICTORY, SOVEREIGN OF THE SEAS, SAN FRANCISCO II, HMS HOOD, HMS ENDEAVOUR LONGBOAT, HMS VICTORY X-SECTION, 007 DB5, NISSAN GTR, CUTTY SARK, RB7, AKAGI, BARK HMS ENDEAVOUR, HUMMER H1, MITSUBISHI ZERO.
|
|
|
 Rank: Pro   Groups: Registered
Joined: 20/04/2010 Posts: 141 Points: 426 Location: Worthing, United Kingdom
|
Right, I've been away far too long!
Progress continues in the build, will hopefully put some up to date images up tomorrow.
|
|
|
 Rank: Pro Groups: Joined: 24/08/2009 Posts: 48,827 Points: -13,348
|
It's been a long time!
Nice to here from you, I look forward to seeing some photos of your build!
Steve..
|
|
|
 Rank: Pro   Groups: Registered
Joined: 20/04/2010 Posts: 141 Points: 426 Location: Worthing, United Kingdom
|
As I said yesterday, it has been a while since I've posted any updates. I'd love to show you an almost-finished vessel, but alas, the time I've been away has been spent on other things - namely getting out and about with my camera and really working on my photography! Anyway... I've finally finished planking the hull - huzzah! Here's the addition of the keel planking. 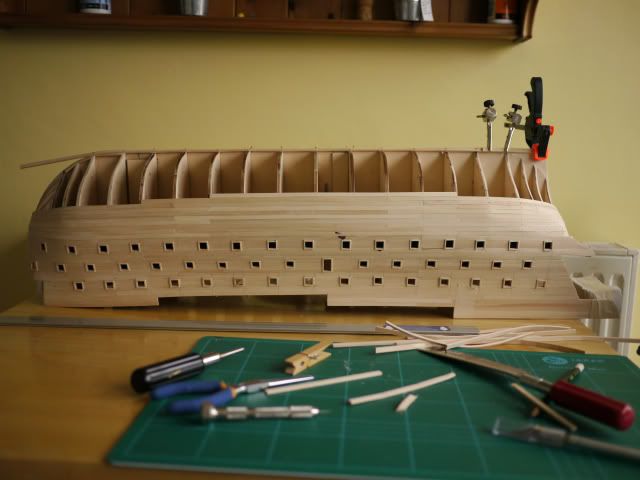 Action shot! I'm measuring the gap for the final planks. Got the digital callipers for just over a tenner in Maplins, and they were indispensable. I can see me using them further throughout the build. 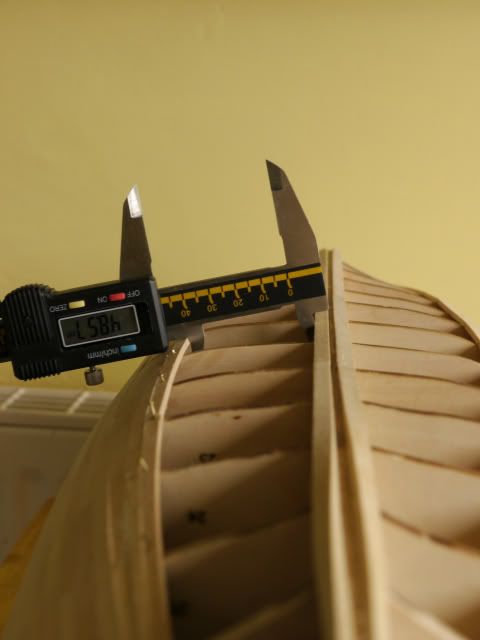 I was going to show you the gradual filling of the port and starboard planking... but instead here's the finished item! From the stern: 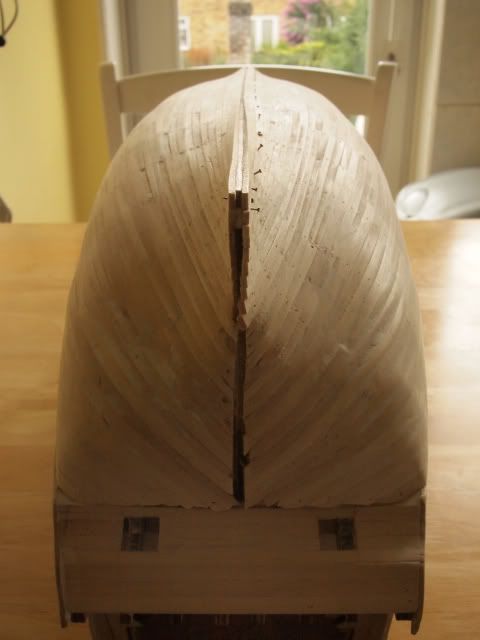 ...and the bow: 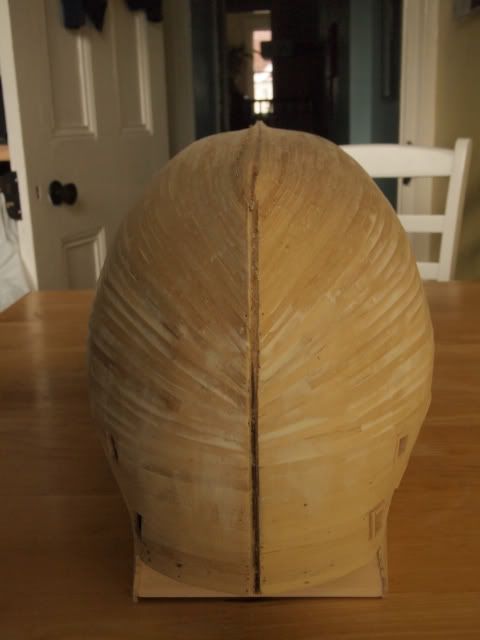 ...and here's the full keel view of the planking (ignore my feet): 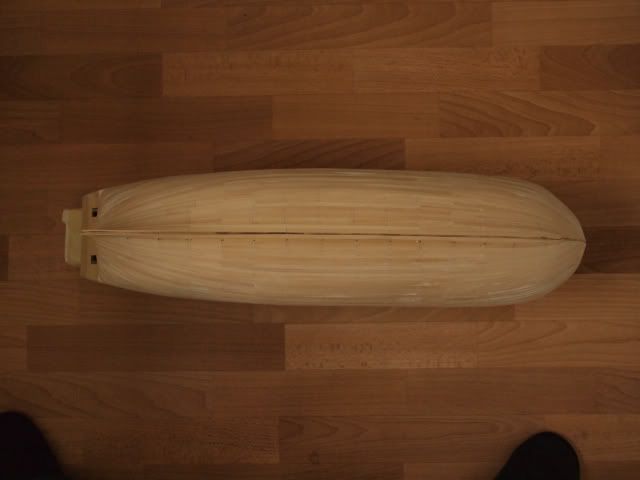 I knew from a brief feel of the hull that it wasn't completely smooth, so I gave it a brief coat of Tamiya Dull Red (TS-33) spray acrylic: 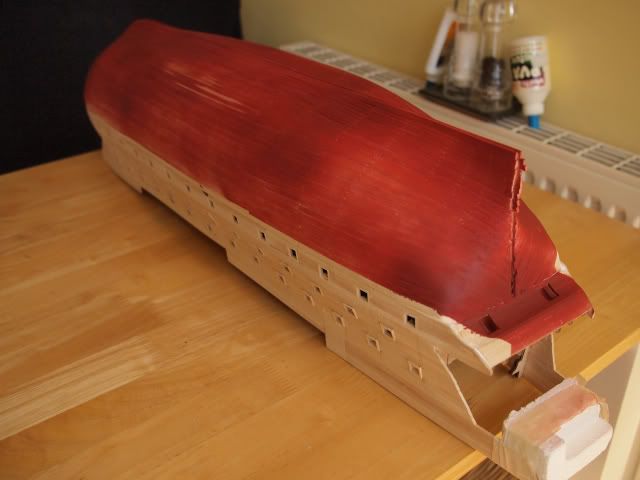 This was then sanded using a block to better identify where the bumps and ridges were in the hull. You can see the pile of sawdust piled up at the front: 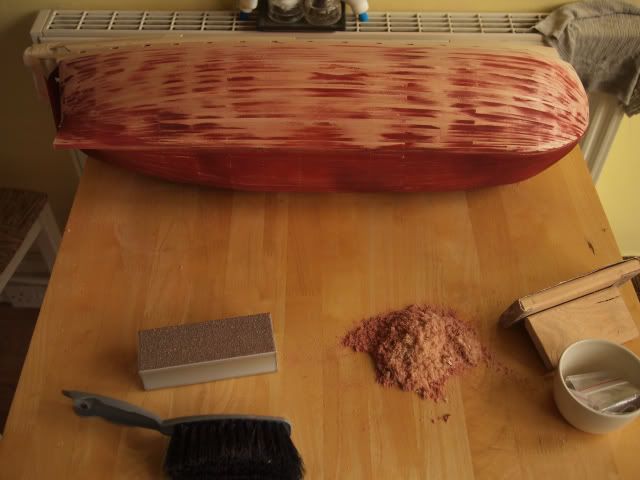 And now it's time to make a mess! Here she is covered in filler. I used off-cuts of an Oxo box to help smooth it over: 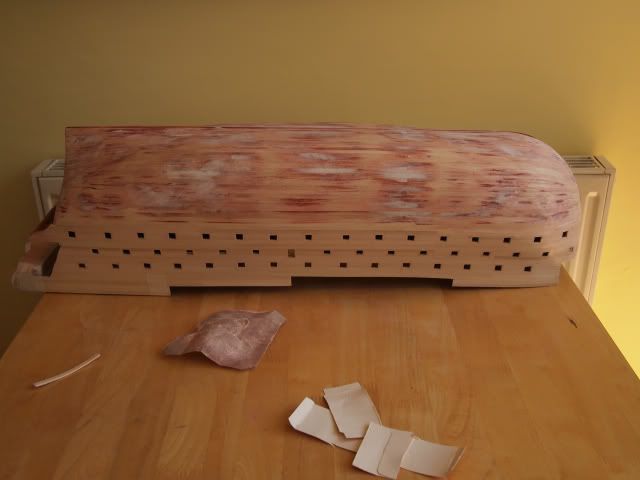 I've since sanded this further, and discovered that more filling is required. So another coat of paint, another brief sanding, and another application of filler have gone on. At the weekend I hope to complete the sanding of the hull and get the stern gunports lined. I've also got some very thin wood that I'm going to add into the rest of the gunports to make them slightly more accurate to the real thing. I'm tinkering with the idea of giving the lower hull a spray of black Tamiya acrylic, but will probably wait until the rudder and proper keel are fitted.
|
|
|
 Rank: Semi-Pro Level 1  Groups: Registered
Joined: 22/07/2012 Posts: 69 Points: 144 Location: Belgium
|
Nice work all around, keep it up! 
|
|
|
|
Guest (2)
|