|
|
 Rank: Beginner Level 3 Groups: Registered
Joined: 08/09/2015 Posts: 27 Points: 74 Location: Mudgee, NSW, Australia
|
Hi All,
Been a while between updates but I have been plugging away. I have been encouraged by the work that Andreesb has done in his superb thread "Shelby modified extremely" to go back and add a few more details to my build.
Firstly, however here is my first attempt at making a mat for the boot (trunk). I bought some very thin hobby leather and cut it to the shape for the floor of the boot and then printed out the correct pattern (from the web) . So far so good.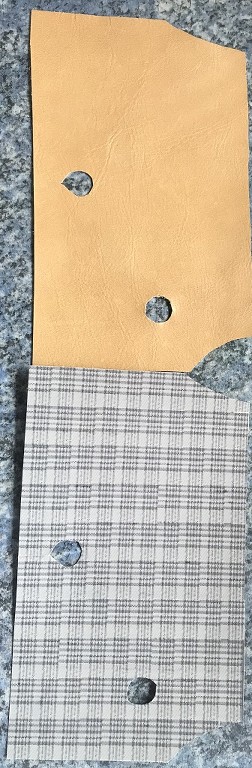 All went well with the large water slide decal and it went on ok with some minor fitting issues. All went well with the large water slide decal and it went on ok with some minor fitting issues.
HOWEVER, after a while it became obvious that the dye in the Leather was not waterfast and that in some areas the wet areas had turned Green and to top it off because of some excess handling the pattern on the decal got worn away making it look like quite a old and used mat and to top it off because of some excess handling the pattern on the decal got worn away making it look like quite a old and used mat . .
Anyway, following Andreesb suggestion I have ordered a digital fabric print on cotton for the mat (picture to follow when I get it). (picture to follow when I get it).
Here are the corrected longitudinal chassis frames that for some reason the kit had as gaps. I used thin Brass cut and bent to shape and size and superglued in (they were later painted with Model Masters acrylic 4631 'Italian Red' to match the primer colour.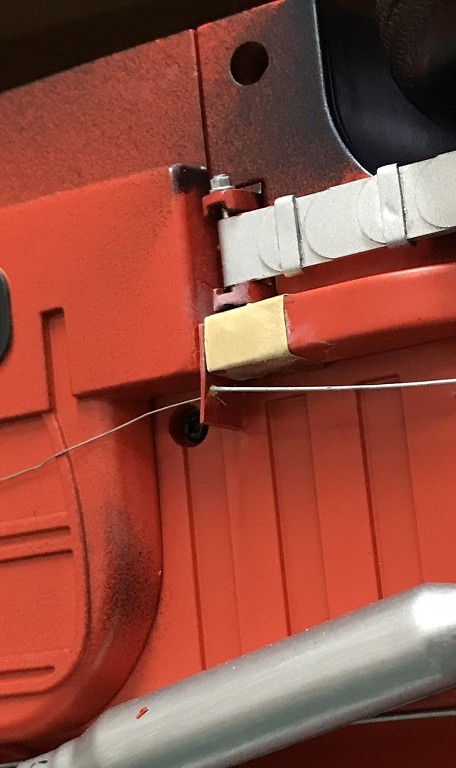 And here is the gearbox crossmember with the added Brass parts to fix the again strange and incorrect molding that the kit has. My effort is not to the same standard as Andreesb's is And here is the gearbox crossmember with the added Brass parts to fix the again strange and incorrect molding that the kit has. My effort is not to the same standard as Andreesb's is 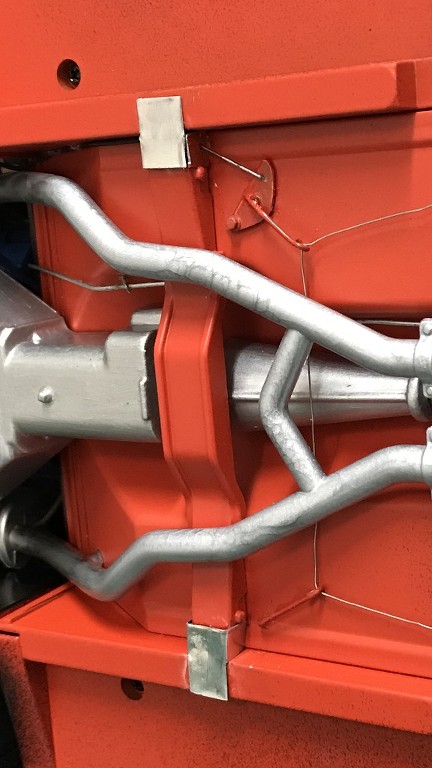 I also added in the two missing supports that attach the rear of the mufflers to the body (the kit had the muffler attachments molded into the exhaust but NO underbody chassis support to match!). I also added in the two missing supports that attach the rear of the mufflers to the body (the kit had the muffler attachments molded into the exhaust but NO underbody chassis support to match!).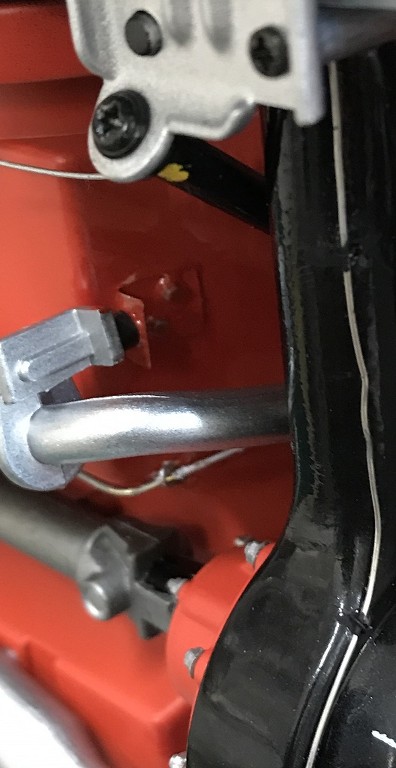
|
|
|
Rank: Beginner Level 3 Groups: Registered
Joined: 08/09/2015 Posts: 27 Points: 74 Location: Mudgee, NSW, Australia
|
I also decided to change the Bonnet hinge plastic to Aluminium and so had a friend cut them for me. 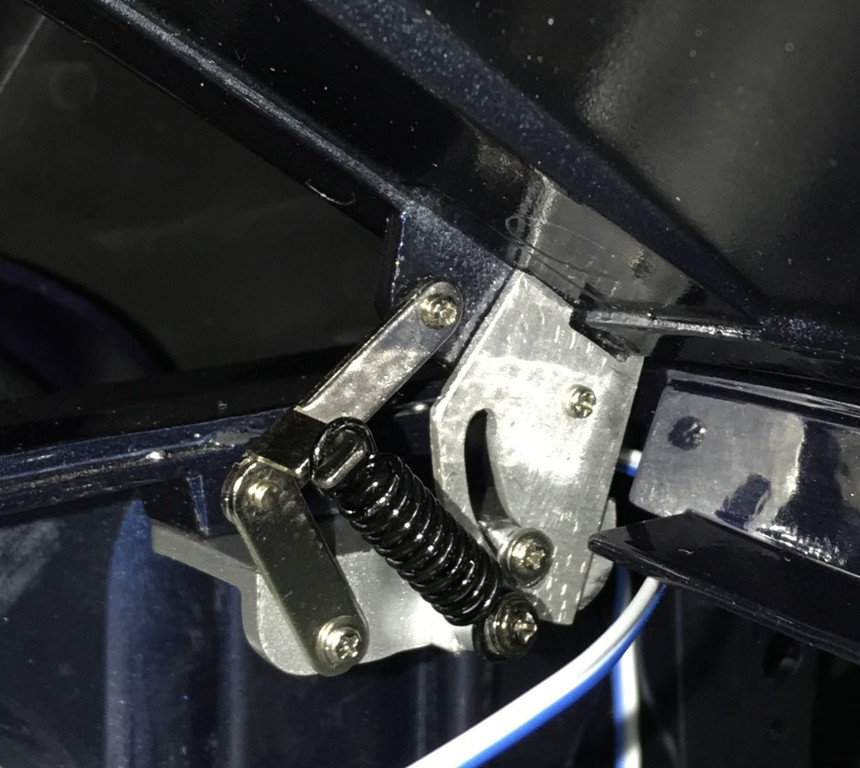 I painted the door edges Nightmist Blue and catches Silver as well as detailing the Chrome parts in Black. 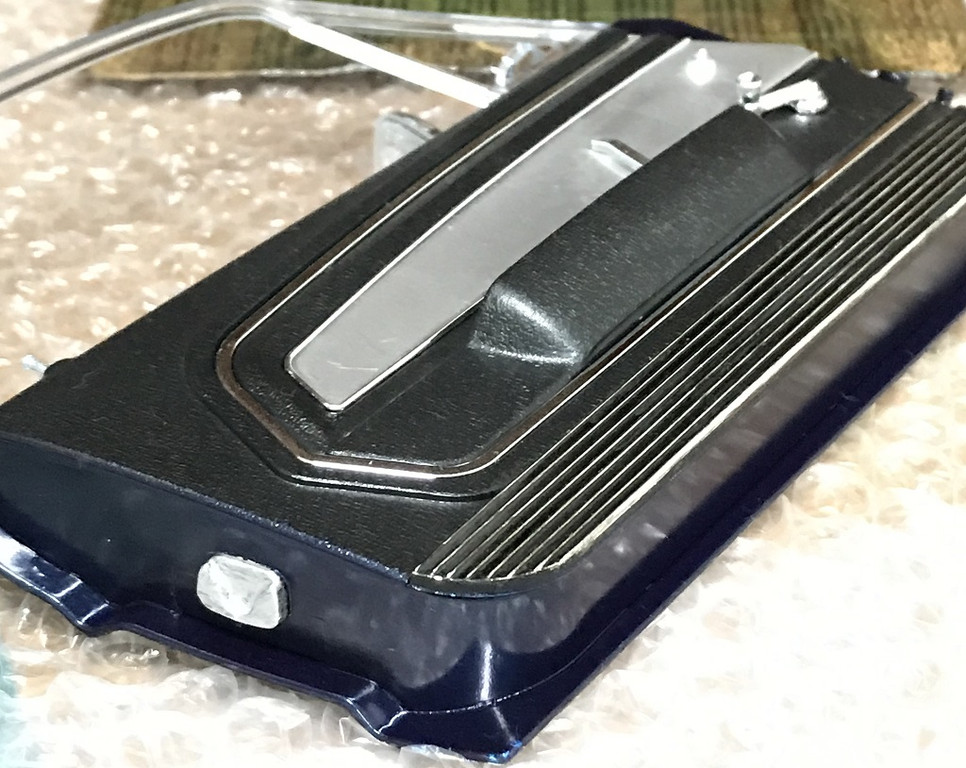 Have also drilled out the side scoops and painted the edges where I removed the plastic Blue. I did not add any screens as the real cars did not have them (Yes, the stones were free to enter the scoops and go into the air tubes leading the the interior air vents!). 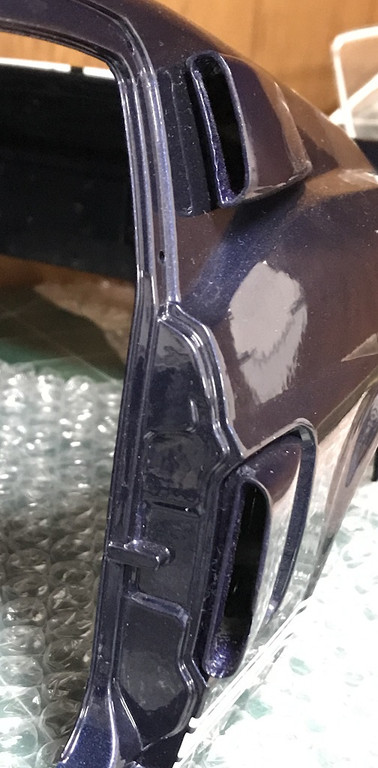
|
|
|
Rank: Beginner Level 3 Groups: Registered
Joined: 08/09/2015 Posts: 27 Points: 74 Location: Mudgee, NSW, Australia
|
Please feel free to comment I should have said as well!
|
|
|
 Rank: Super-Elite        Groups: Registered
Joined: 31/05/2010 Posts: 5,679 Points: 17,011 Location: Wiltshire
|
Very impressive work. I just wish i knew a bit more about cars to add extra details to what i am working on.. Happy Modelling
BUILDING: Hachette Spitfire Mk 1A, Constructo Mayflower
SUBSCRIPTION COMPLETE (Awaiting building): USS Constitution, Sovereign of the Seas, 1:200 Bismarck (Hachette)
COMPLETED: Porsche 911, E-Type Jaguar, Lam Countach
|
|
|
|
Guest
|
Forum Jump
You cannot post new topics in this forum.
You cannot reply to topics in this forum.
You cannot delete your posts in this forum.
You cannot edit your posts in this forum.
You cannot create polls in this forum.
You cannot vote in polls in this forum.
 US
US

