|
|
 Rank: Master      Groups: Registered
Joined: 25/03/2011 Posts: 1,027 Points: 3,075 Location: Lincolnshire
|
|
|
|
 Rank: Master      Groups: Registered
Joined: 25/03/2011 Posts: 1,027 Points: 3,075 Location: Lincolnshire
|
Sorry about the size of the pictures..I alter the size and save them 640x480 but photo bucket keeps reproducing them at this size. If anyone knows what I'm doing wrong I would love to hear it. 
|
|
|
 Rank: Master      Groups: Registered
Joined: 25/03/2011 Posts: 1,027 Points: 3,075 Location: Lincolnshire
|
Anyway on with the build.... 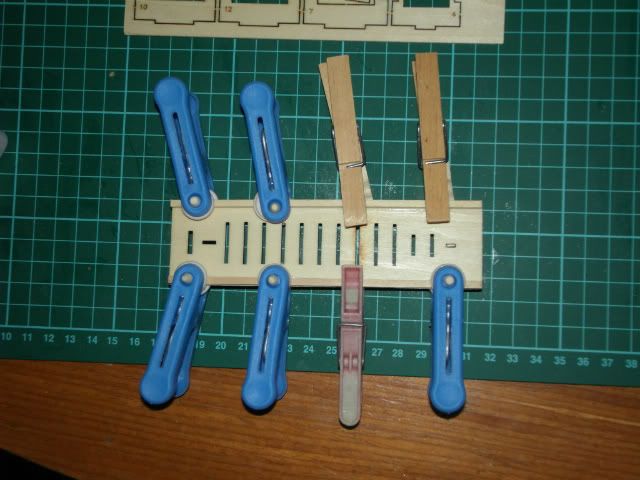 This picture shows the base for Victory's launch under construction. No problems making this at all, and a few clothes pegs make all the difference. 
|
|
|
 Rank: Master      Groups: Registered
Joined: 25/03/2011 Posts: 1,027 Points: 3,075 Location: Lincolnshire
|
A couple of images showing the launch hull under construction... 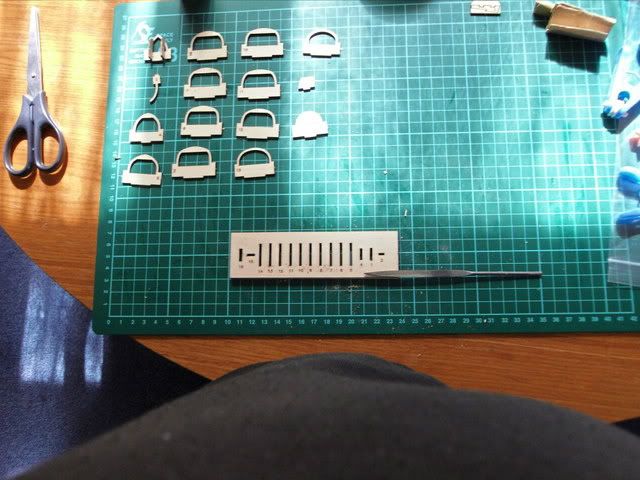 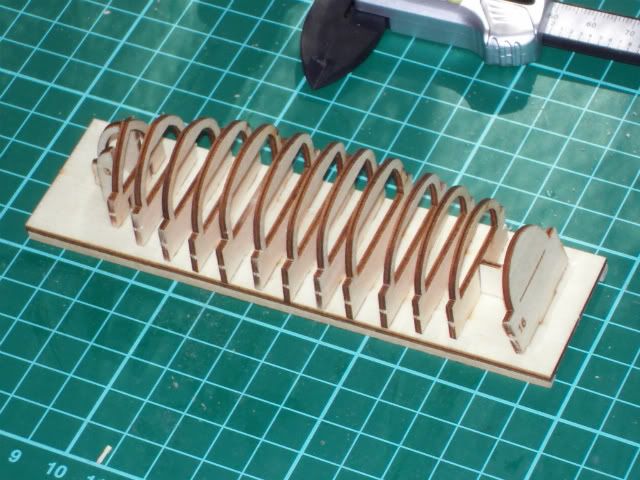 I had only two issues, first the hull formers would not fit because the launch jig was too tight. I solved this problem by using a needle file. Did anyone else have this problem? Second, a mistake by myself during handling meant that I broke one of the ribs clean in two. Lucky for me it was a clean break and you would never know. A least I hope not? 
|
|
|
 Rank: Super-Elite      Groups: Registered
Joined: 24/04/2010 Posts: 5,787 Points: 17,662 Location: Stafford, United Kingdom
|
Great collection of tools, and a good start to the launch  MWG BUILD DIARIES: HMS VICTORY, SOVEREIGN OF THE SEAS, SAN FRANCISCO II, HMS HOOD, HMS ENDEAVOUR LONGBOAT, HMS VICTORY X-SECTION, 007 DB5, NISSAN GTR, CUTTY SARK, RB7, AKAGI, BARK HMS ENDEAVOUR, HUMMER H1, MITSUBISHI ZERO.
|
|
|
 Rank: Pro   Groups: Registered
Joined: 20/04/2010 Posts: 141 Points: 426 Location: Worthing, United Kingdom
|
No idea why the pics are coming out large - I use Photobucket, and just copy the IMG link to my posts, resizes fine.  Build coming along nicely though! 
|
|
|
 Rank: Vice-Master     Groups: Registered
Joined: 26/09/2010 Posts: 851 Points: 2,565 Location: Walsall
|
I know how you feel about goining to hobby stores and diy shops, i can never leave those places without spending more than i went for.
But as we need the tools it will be worth the effort and your build is commining along nicely
|
|
|
 Rank: Master      Groups: Registered
Joined: 25/03/2011 Posts: 1,027 Points: 3,075 Location: Lincolnshire
|
Hi Shipmates,
Well, its been some time since I entered anything into my build log. One reason is that I realised I was under equipped in virtually everything. The tools that I posted a picture of in my last post were part of this process, albeit just the start.
Next I had to provide myself with a good working area which at that point I didn't have. After I purchased some tools and varnish, sanding sealer and the like, I bought two desks which could be used for modelling. These also had cupboards and drawers and fitted my need perfectly. Next I needed glues and paints etc, for the Akagi which I had just subscribed to. Before this I had to keep bringing everything through into the main room when I wanted to model, and afterwards pack everything away again when I had finished which was a chore. Now of course things are very different, and I'm much happier.
Ok! On with the build!
|
|
|
 Rank: Master      Groups: Registered
Joined: 25/03/2011 Posts: 1,027 Points: 3,075 Location: Lincolnshire
|
At my last entry the build was on hold because I needed to construct a jig. Well I got the right angle brackets off e-bay and then I need a piece of wood for my jig. Pretty straightforward you might say...not so say I. This will make you laugh guys believe it or not there was a lengthy pause while I located a piece of wood (unbelievable but true). Anyway here is my jig.... 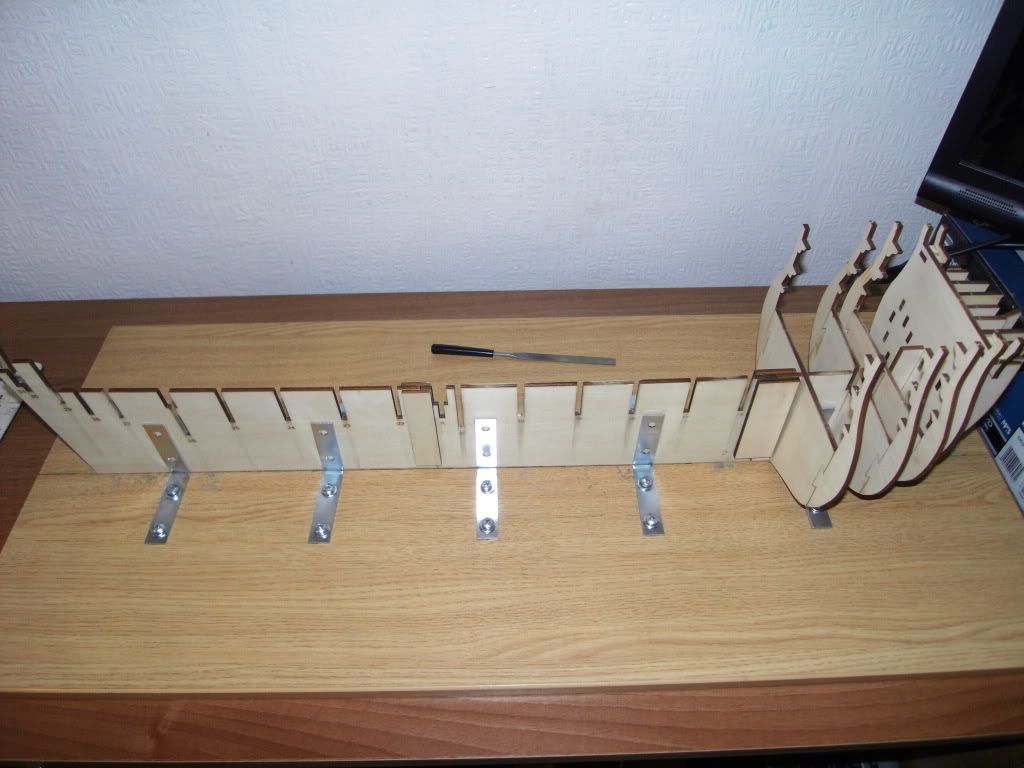
|
|
|
 Rank: Master      Groups: Registered
Joined: 25/03/2011 Posts: 1,027 Points: 3,075 Location: Lincolnshire
|
Ok! Construction of the jig... I carefully measured and marked the centre line, and fitted five of the right angle brackets along it. I then put Victory on the board and fitted the other five brackets on the other side slowly getting the keel line straight along the plumb line I had marked out. 
|
|
|
 Rank: Master      Groups: Registered
Joined: 25/03/2011 Posts: 1,027 Points: 3,075 Location: Lincolnshire
|
Quote:One things for certain i'm not making another move until I'm sure it's straight. Well! I lived up to my pledge, not to do anything else until I made sure the keel was straight, and to make sure, I made the final critical adjustments using a self adjusting cross hair laser. 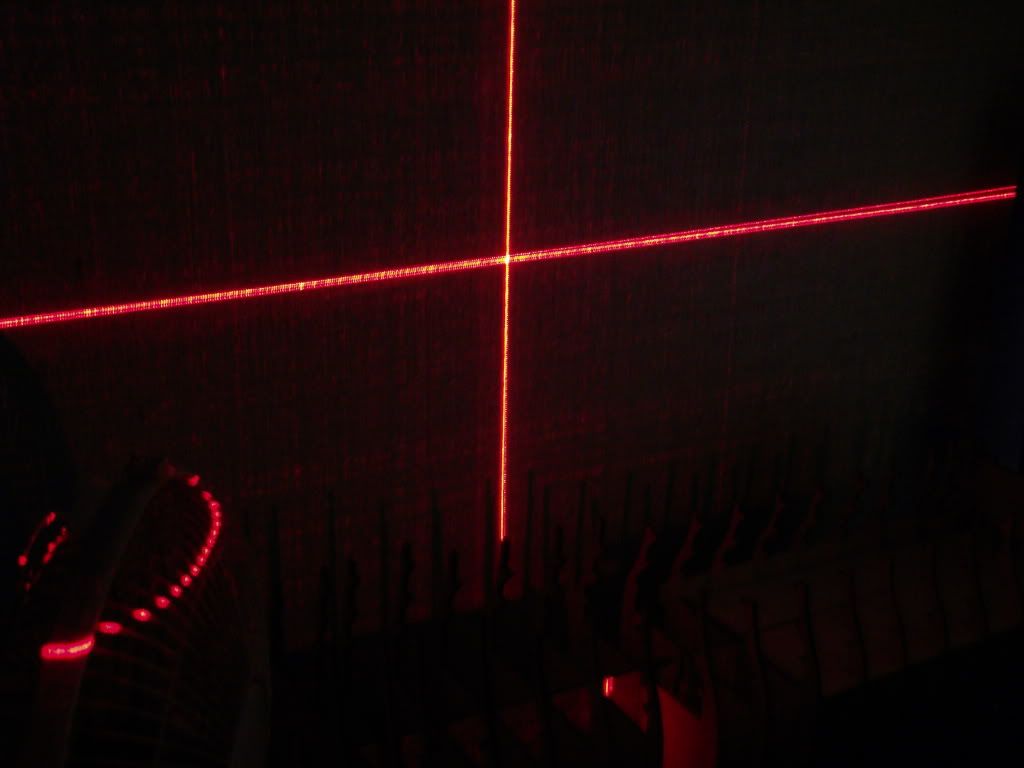
|
|
|
 Rank: Master      Groups: Registered
Joined: 25/03/2011 Posts: 1,027 Points: 3,075 Location: Lincolnshire
|
In between all this I found the time to produce my first 12 pounder, and I like the result. The only bit of bother I ran into was when I went to fit the cannon, only to find the hole had been incorrectly drilled. It was on the vertical not the horizontal. I thought now theres a problem  its the wrong way up.   Luckily I had a spare and all was well 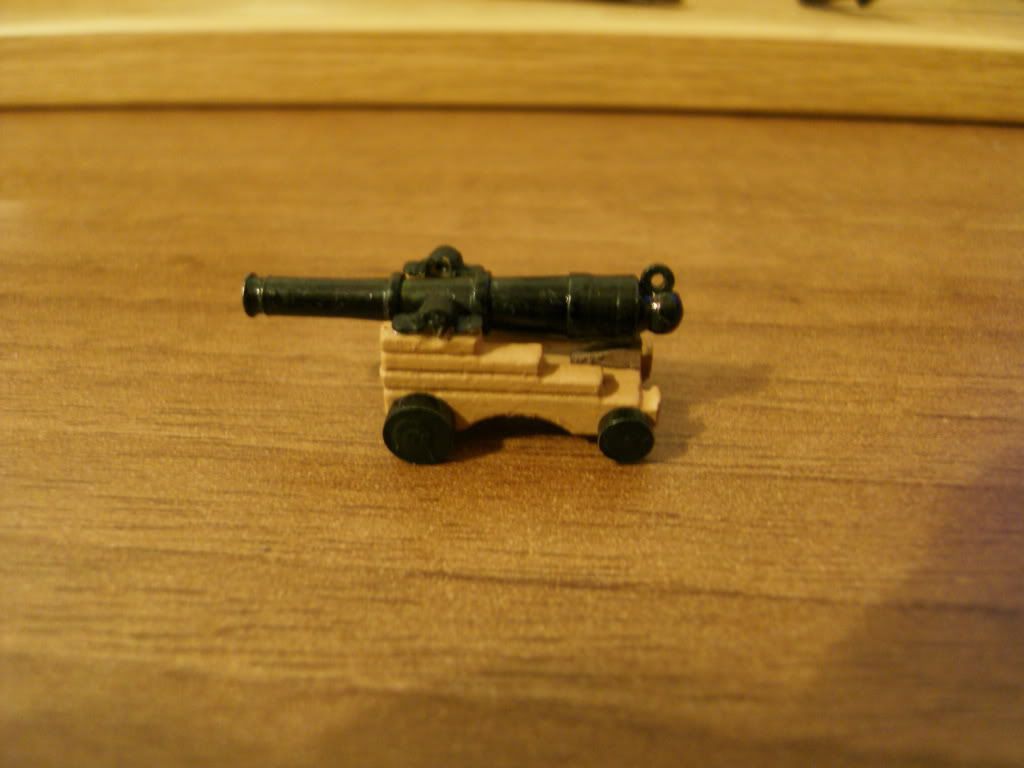 One thing I did notice though was its really tight when you file the last bit of the axles. I took it a bit too close and had to touch up with a bit of metal black. 
|
|
|
 Rank: Super-Elite        Groups: Registered
Joined: 04/04/2010 Posts: 3,955 Points: 11,809 Location: uk
|
nicely done,like the laser,mount the laser on the canon and wow we got a night scope,wouldn't nelson have loved that! Current builds: SotS, USS Consitution, San Felipe, D51 loco, HMS Surprise, RB7, Arab Dhow, Jotika HMS Victory Completed builds: HMS Pickel, Thermopylae, Mississipi river boat, Mary Rose, Cutty Sark, San Francisco II, HMS Victory x5, Titanic Lifeboat, Panart HMS Victory Launch, Hachette Titanic, Virginia Schooner, Endeavour Longboat. http://www.model-space.com/gb/
|
|
|
 Rank: Master      Groups: Registered
Joined: 25/03/2011 Posts: 1,027 Points: 3,075 Location: Lincolnshire
|
Next we have my first anchor, this isn't finished yet, as I still have to give another two coats of matt low sheen varnish, its only had one so far. I originally thought about using high gloss yacht varnish, but one coat of this was enough to convince me that it was totally not viable. The idea I had was to have certain wooden parts really highly glossed as I imagined that this would look really good. The reality was something else however, and I soon stripped it off, in favour of matt low sheen varnish. Anyway here it is to the point I have got to.... 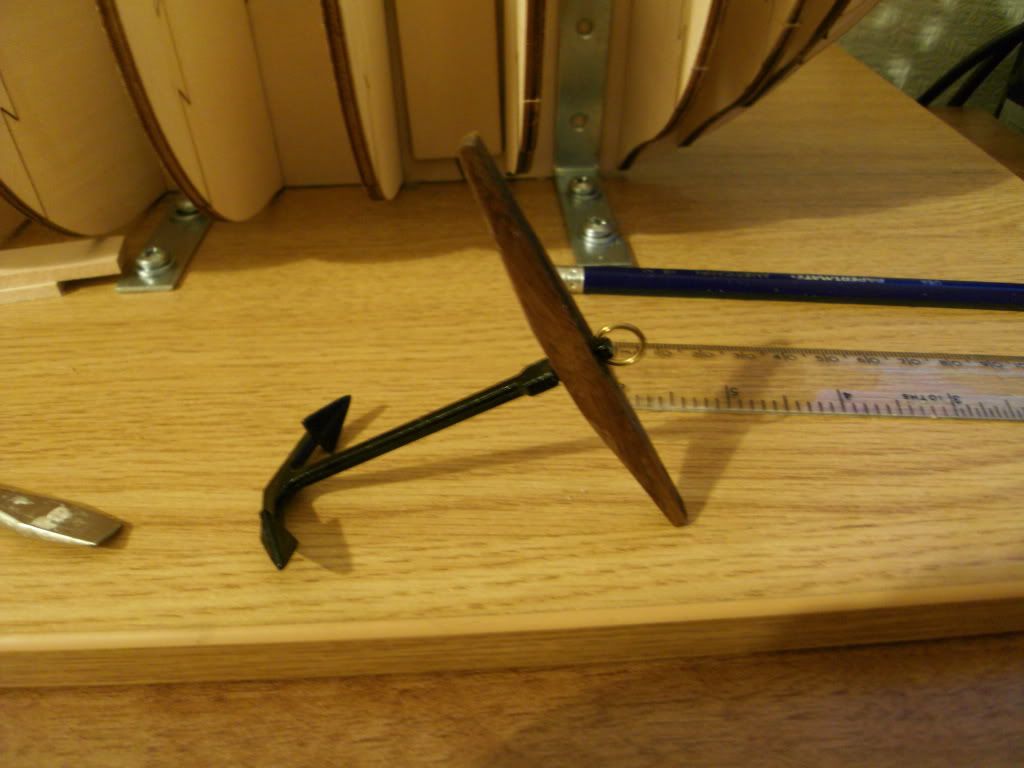
|
|
|
|
|
 Hi i bought an off cut from my local wood yard, its pine 45mm by140mm by 1450mm or 2inch by 6inch by 55 inches aprox, cost a fiver and is straight as a die Andy Current builds:-C57,Zero, Lamborghini Countach, Caldercraft HMS Agamemnon,Robi,R2-D2, MFH Cobra .
|
|
|
 Rank: Master      Groups: Registered
Joined: 25/03/2011 Posts: 1,027 Points: 3,075 Location: Lincolnshire
|
I have now started fitting the first deck. Boy, the nailing is a bit more tricky than I thought. I started off as per instructions, nailing the left hand side of the deck. I got to the end of nailing this first piece only to discover that it was squint and the other side wouldn't fit..... 'Disaster'  . How I got round this was fitting both sides in at the same time, to counter any movement that might result from me nailing. I put a single nail in the centre of each line to hold it steady while I put the rest of the nails in. Needless to say I have learnt a lot from this little episode already, and I'm going to use the same technuiqe for the other part of the deck as well as marking out the nail holes in pencil before I start. Something I didn't do on this bit of decking  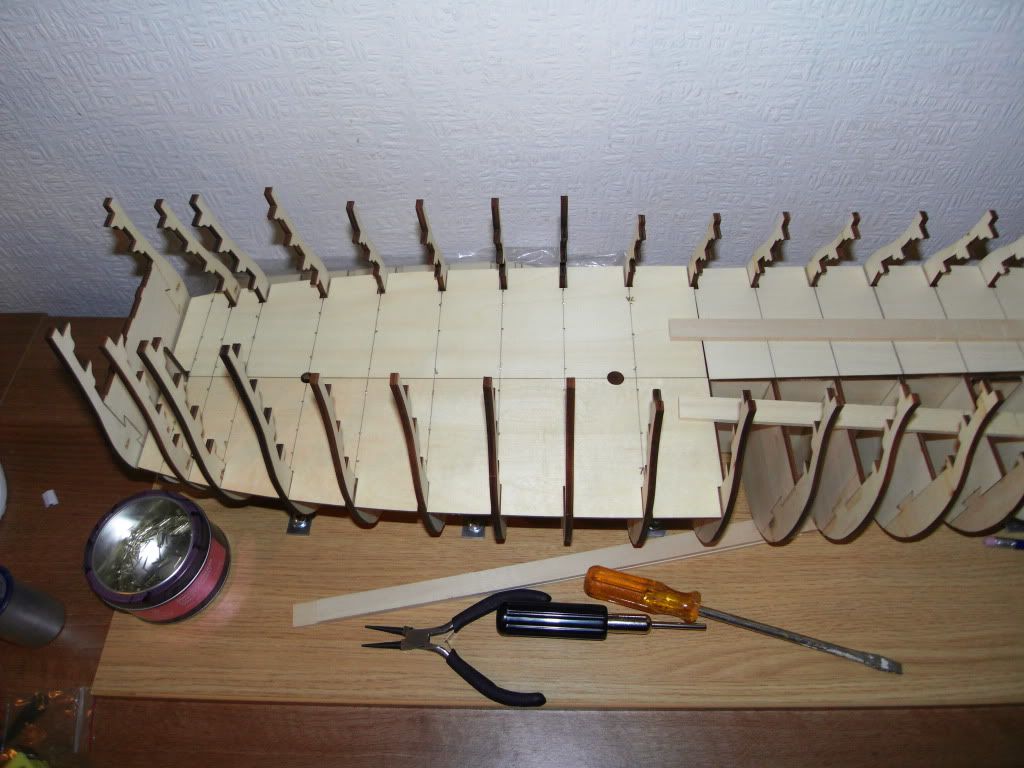
|
|
|
 Rank: Master      Groups: Registered
Joined: 25/03/2011 Posts: 1,027 Points: 3,075 Location: Lincolnshire
|
karl1113 wrote:nicely done,like the laser,mount the laser on the canon and wow we got a night scope,wouldn't nelson have loved that! Thanks Karl! A 32 pounder with a laser range finder, Nelson would have loved it. 
|
|
|
 Rank: Master      Groups: Registered
Joined: 25/03/2011 Posts: 1,027 Points: 3,075 Location: Lincolnshire
|
arpurchase wrote: Hi i bought an off cut from my local wood yard, its pine 45mm by140mm by 1450mm or 2inch by 6inch by 55 inches aprox, cost a fiver and is straight as a die Andy Hi Andy, I could get wood, but the trouble was everyone wanted to charge me an arm and a leg for a small bit of MDF!!! It just makes me laugh...model delayed because of lack of wood. You couldn't make it up!  
|
|
|
 Rank: Master      Groups: Registered
Joined: 25/03/2011 Posts: 1,027 Points: 3,075 Location: Lincolnshire
|
Ok! In my final post today I'm going to tell you what's next and what's around the corner. I'm going to carry on with the decking and I will post pictures of that tomorrow. I want get the first deck finished tonight and the ribs glued. What's around the corner...... Well I'll be giving more detail on the other Victory hulls I've got (I mentioned these at the start), updating my log with any new developments. And also I will be introducing you to my new build helper 'Mr T'... No its not Tomick or B.A. (though I'm always grateful for help received from the holy one )!   Anyway that's it for now shipmates, stay safe, thanks for looking and happy building.  P.S: Any comments gratefully received as always. P.P.S: More on the Akagi coming soon in my Akagi build diary! 
|
|
|
 Rank: Super-Elite      Groups: Registered
Joined: 24/04/2010 Posts: 5,787 Points: 17,662 Location: Stafford, United Kingdom
|
Hi Glenn, great preperation -- nice Dry Dock, and fabulous build. Keep up the good work, GOOD STUFF   MWG BUILD DIARIES: HMS VICTORY, SOVEREIGN OF THE SEAS, SAN FRANCISCO II, HMS HOOD, HMS ENDEAVOUR LONGBOAT, HMS VICTORY X-SECTION, 007 DB5, NISSAN GTR, CUTTY SARK, RB7, AKAGI, BARK HMS ENDEAVOUR, HUMMER H1, MITSUBISHI ZERO.
|
|
|
|
Guest (2)
|