Hello everyone
here is a little tutorial for lighting a console.
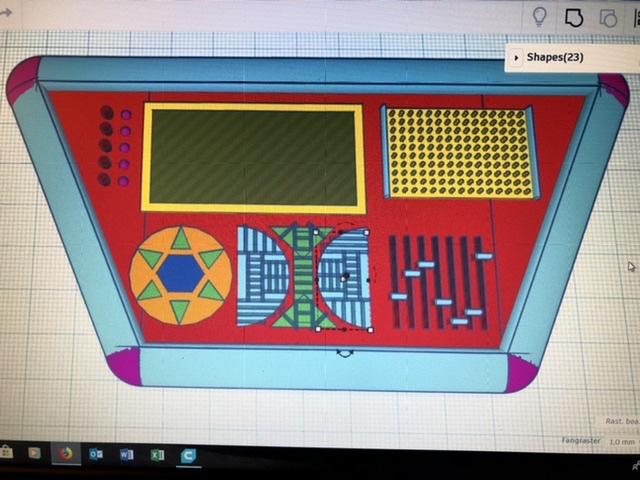
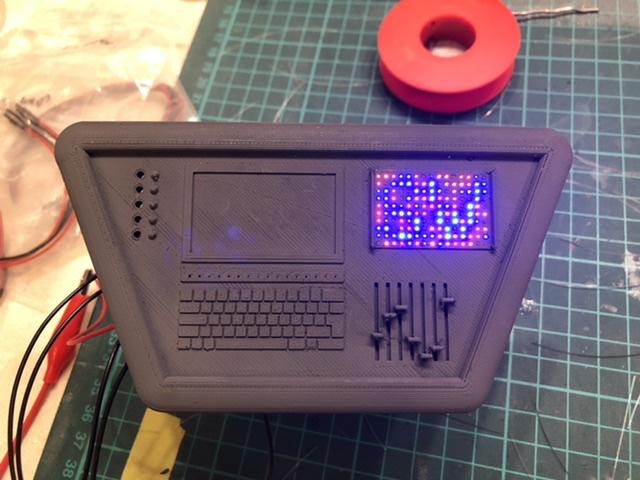
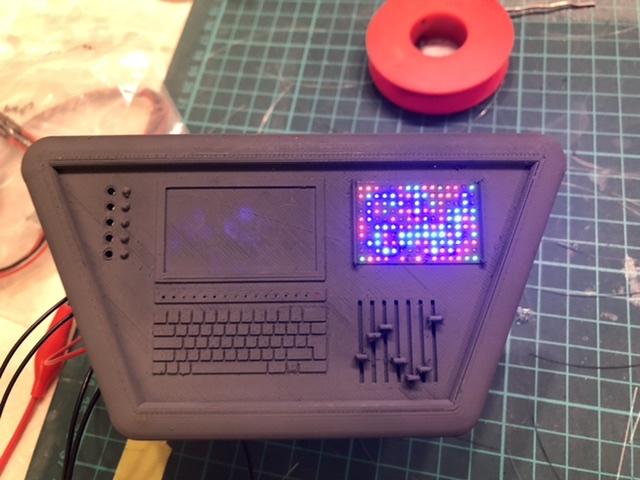
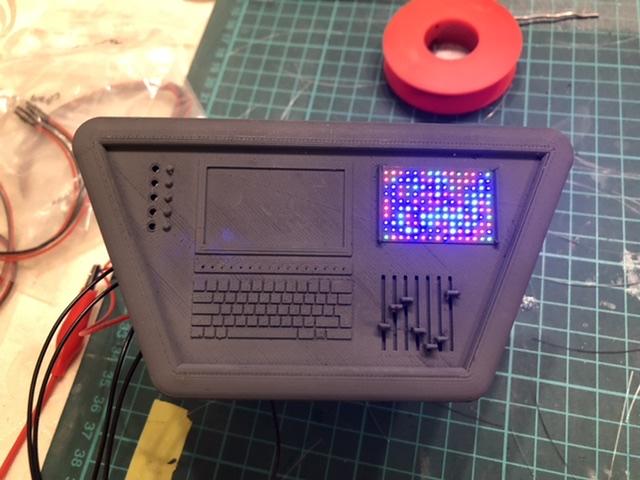
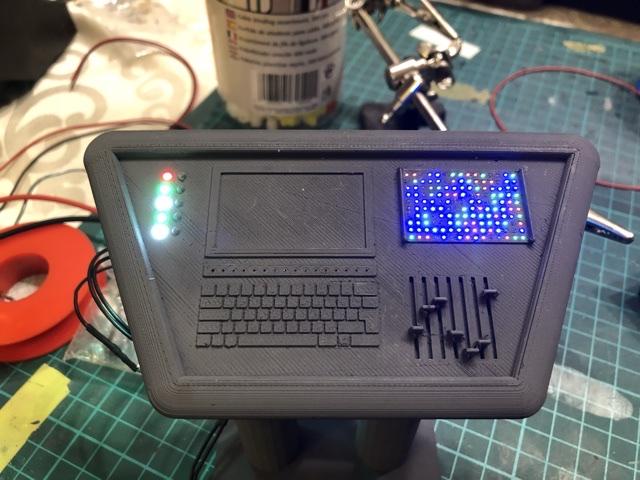
Here is the example of a 1:12 scale diorama
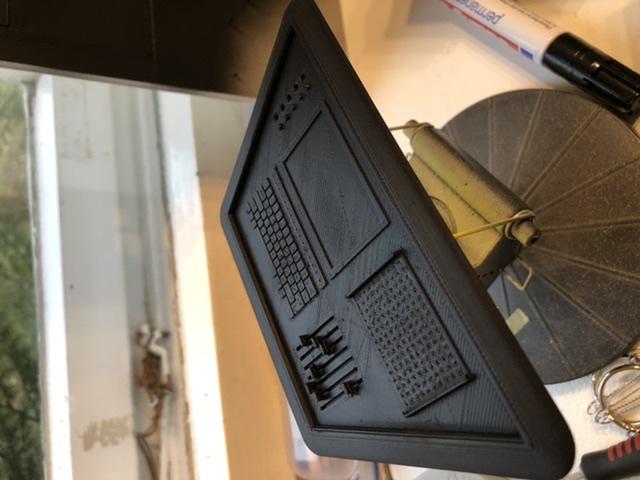
The first thing I did was design a console in 3D, so I thought about how i can illuminate it and what effects make sense. Here you can also take a finished, or a cockpit, or, or, or.
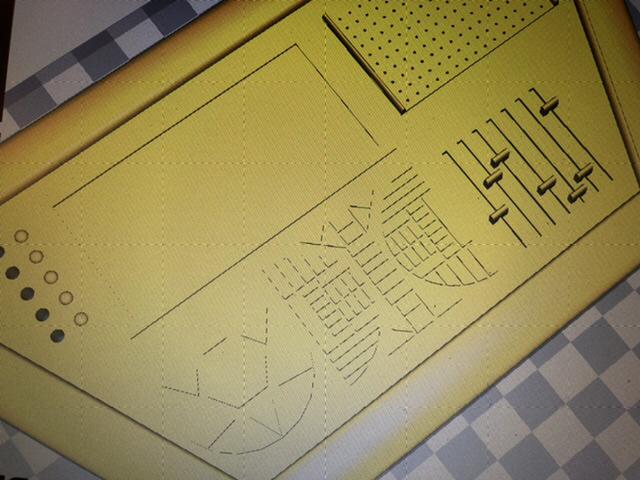
This with a keyboard designed in sci-fi style, as you can see in this picture, I have already made the holes for fiber in the console with the 3D program. This has the meaning that the distances of the fiber optics are all even, but you can also make it hands-free. Takes a little longer,

but then decided for the well-known earthly,
In this project I decided to use Tower LED 2mm flashing and static, for the display matrix I took 0.5mm fiber optic,
these are operated with 3x 5mm LEDs from a glass fiber cover lamp with light effects for 2 euros from the local furniture market.
https://www.roller.de/de...arbwechsler/1015029400/
also on Ebay or Amazon,
already inserted into the boreholes,
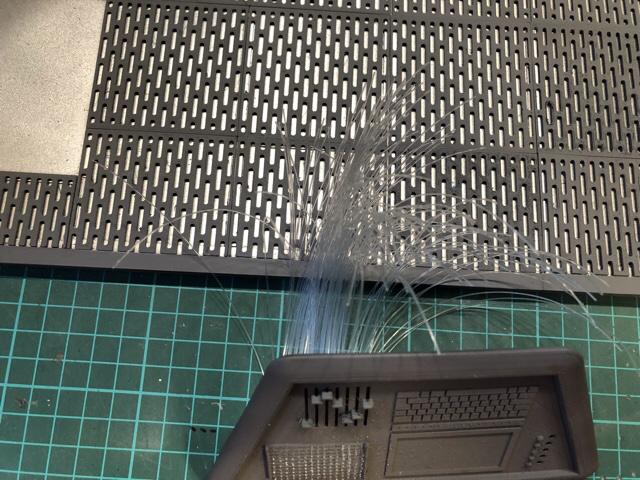
I used a different technique for the fiber optics here, since the console is grade, I put the optical fiber through and let it survive on the viewing side 5-10mm. I do this because I fix the fiber from the back with white glue (wood glue). White glue is not aggressive and spares the optical fiber, when the white glue is dried, I cut off the protruding fiber on the front with the electronic side cutter flush, so I have an even light point on the console,
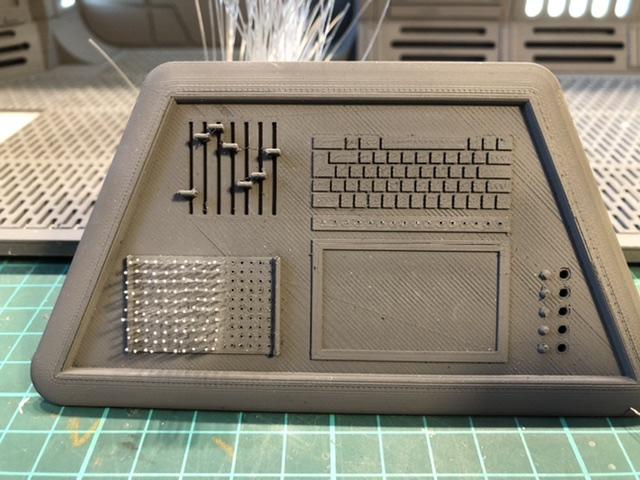
now all 150 fiber optics are plugged in,
Here's a hint, leave the optical fiber getting longer than you need, nothing is worse than struggling in a confined space with too short fiber optic ends and extending is not possible!!! 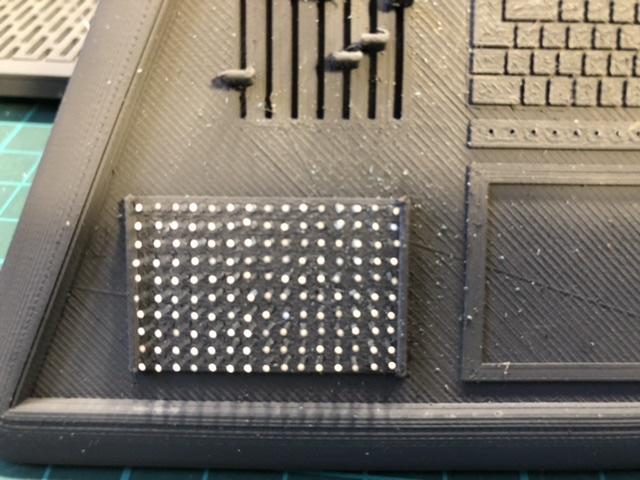
here you can see the mass of fiber optics that stand out at the back of the console,
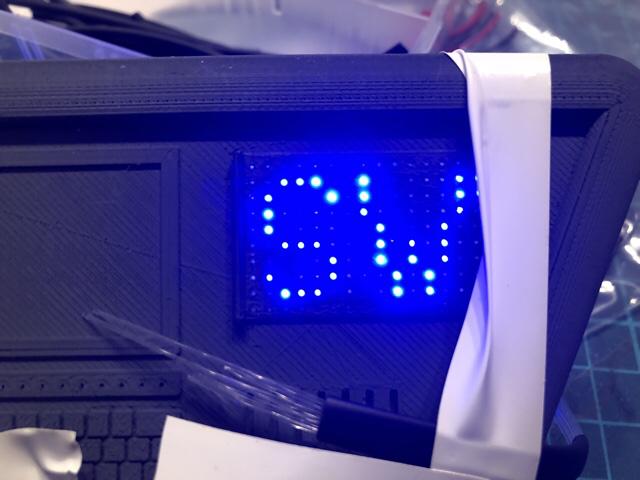
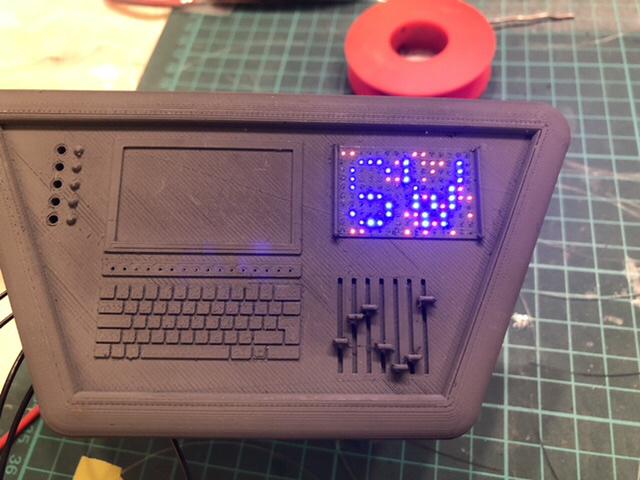
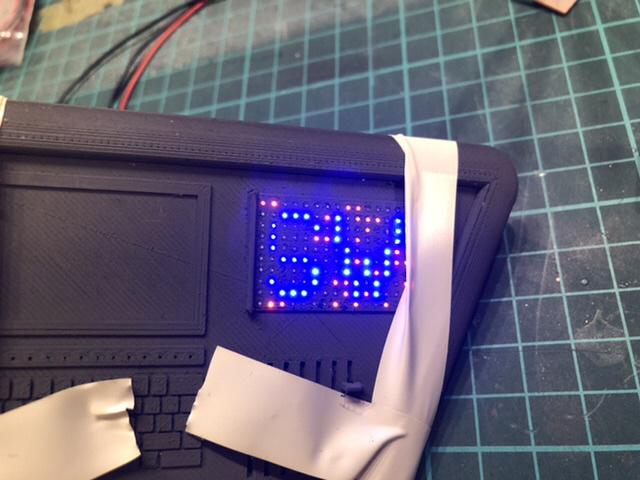
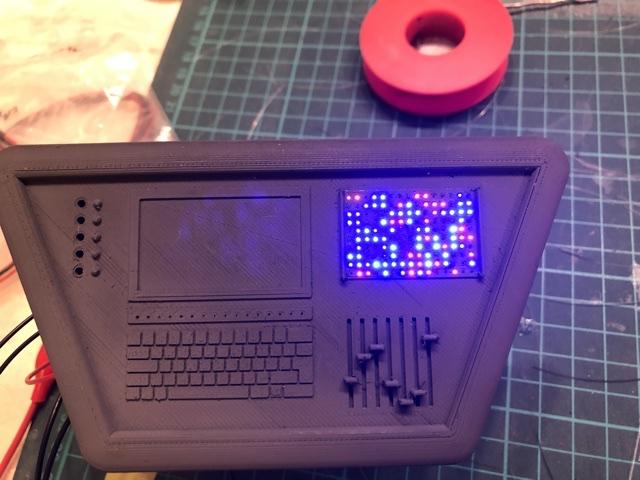
I decided to show 2 letters with the matrix,
so I drew the matrix on a sheet and marked the light points to display my 2 letters. For me, it was the "S" and "W" for Star Wars,
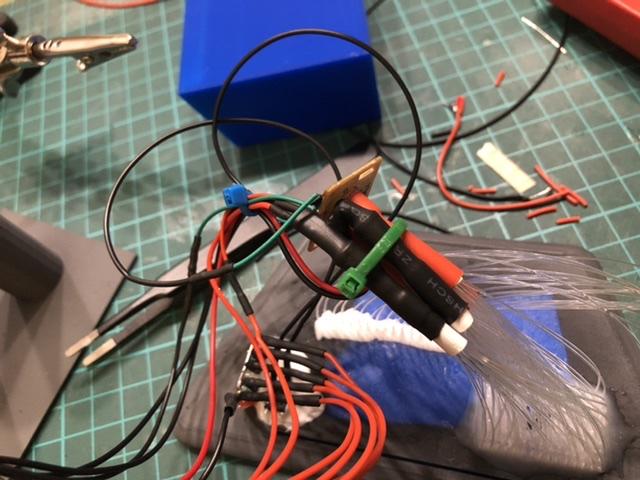
the back of the console, here you can see how I fixed the fiber optics and the LEDs with the white glue,
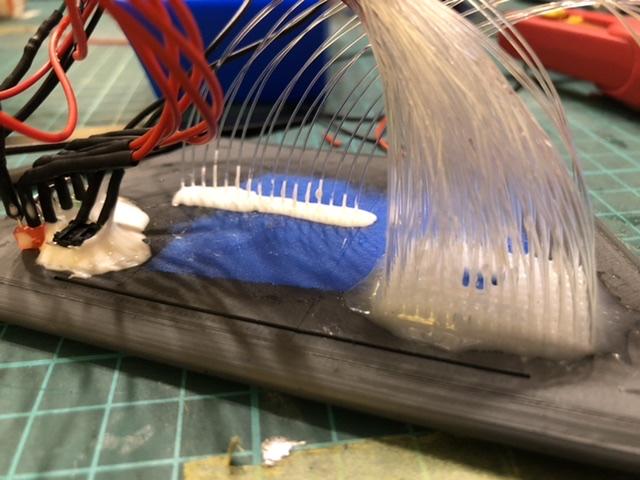
in the foreground you can see the small board, which I have dismantled from the fiber glass lamp, there I have divided the optical fiber on the LEDs and carefully shrunk them with shrink hose on this side, I still make some insulating tape around the optical fiber, so that the heat does not immediately damage them.
The fiber optic lamp is operated with 2x 1.5V batteries, since I operate everything with power supply, I have there a resistance of 470 ohms between soldered, this then absorbs the remaining voltage of the power supply.

here are the different modes, how the 3 LEDs can be switched out of the lamp,
 Here is the video of how it works in operationhttps://youtu.be/sVSpbCXsuEQ
That's what it was like from my little console.
If you have any questions, just ask 
I wish you a nice evening and stay healthy
Greeting from Berlin, Stefan
Alle Berichte sowie alle Fotos unterliegen dem Urheberrecht. Verwendung außerhalb dieses Forums bedürfen schriftlicher Genehmigung/Zustimmung meinerseits. © StefanForum Support Teamhttp://www.model-space.com/de/
https://m.youtube.com/watch?v=qIC4f1LE86w
MfG Stefan

 US
US

