Wow has it really been 18 months since my last post?

My sincere apologies to anyone still following this beginners blog and or following my build on modelspace but quite frankly I have not had any time to carry on with the falcon build till late, what little spare time I have had has been doing blaster builds and such for friends and colleagues. Work has, for the last 18 months been absolutely atrocious, and with the usual unfeasible demands being issued on the mere whims of those above so much so that after constantly working 16 hour days from home throughout the UK Covid lockdown I had a major sense of humor failure which led to what was probably a long overdue meltdown so underpants on head, pencils up nose and "Wibble"
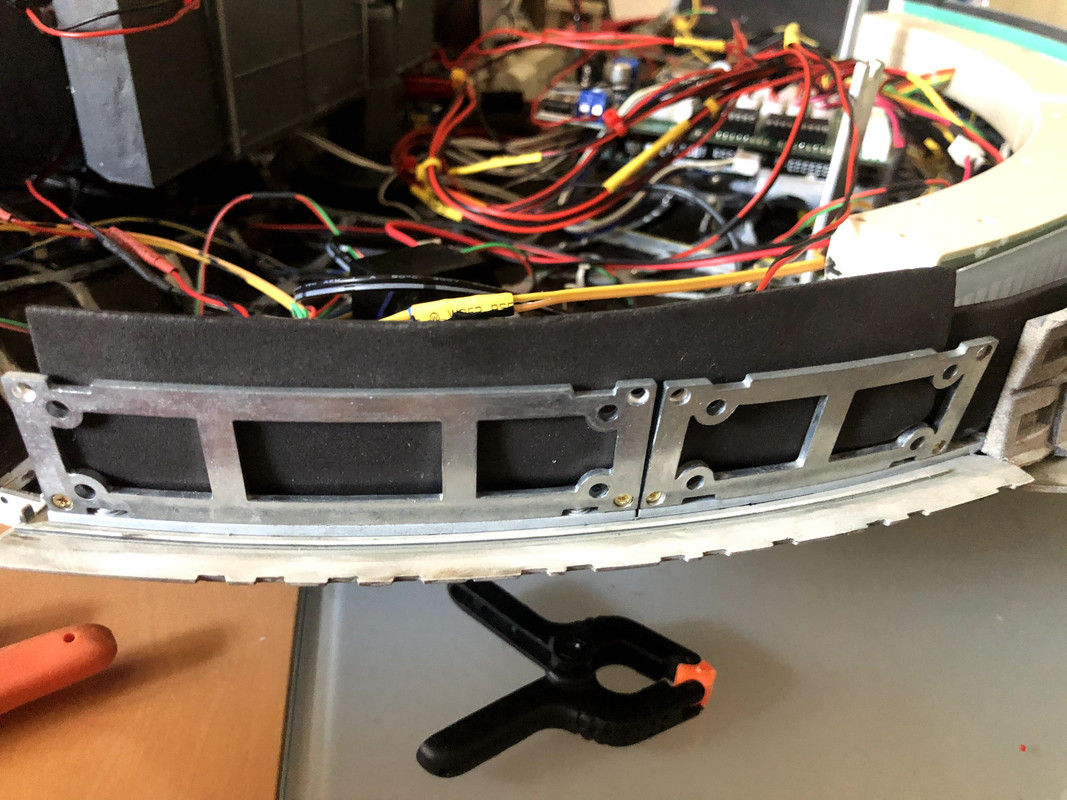
Anyhow silver-linings and all, 8 weeks sick leave has allowed me to get some much needed and overdue me time and chance to get back onto the falcon... So what have I achieved over these weeks, my last post I had completed the lower hull and its lighting so first things first lets ensure it all still works as it should after being moved from room to room again and again.
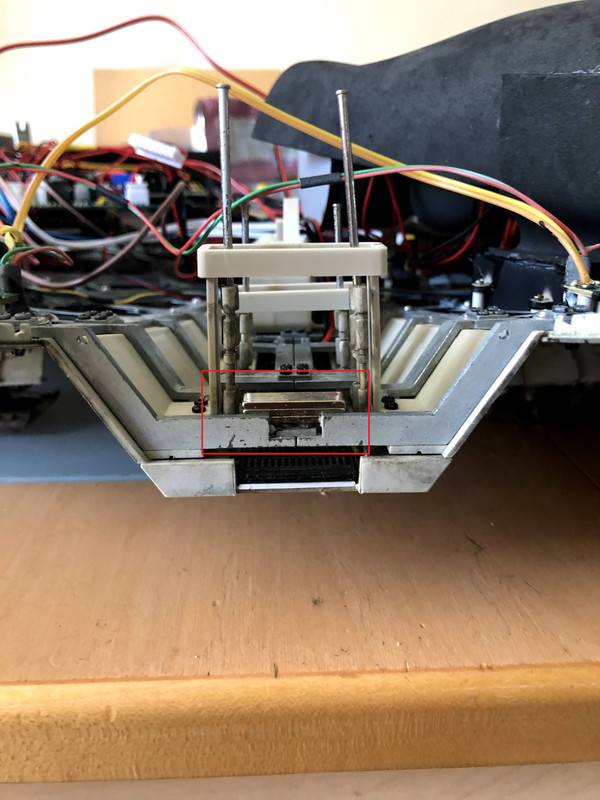
Initial signs were good with only one undercarriage door having been knocked loose, an easy fix. I decided with the lower hull and hold/corridor lighting done I better face mounting the Arduino and my circuit board so 30 mins in Tinkercad I knocked up a mount to fit the Arduino and my board in the stock circuit board position.

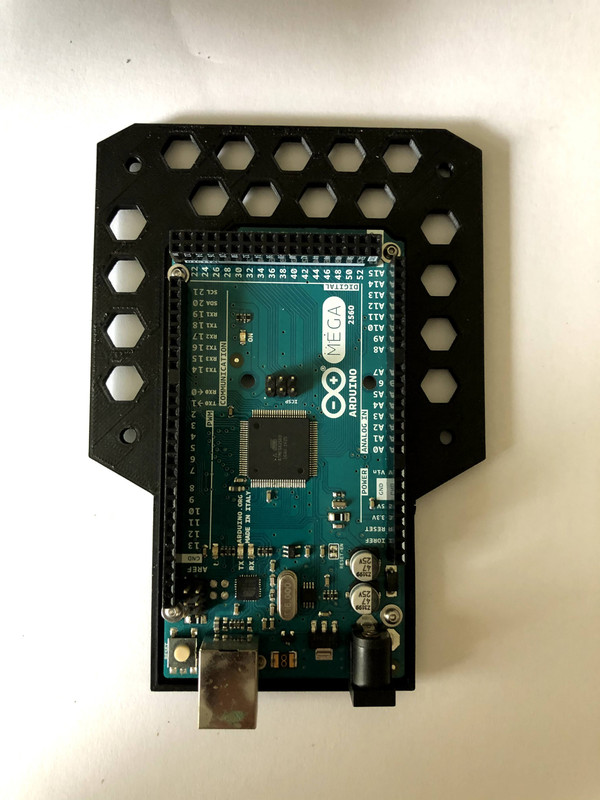
So after adding some black paint to aid in light blocking the mound and board fitted sweetly ensuring none of the boards underneath solder points connected with any of the Falcon's metal skeletal frame.

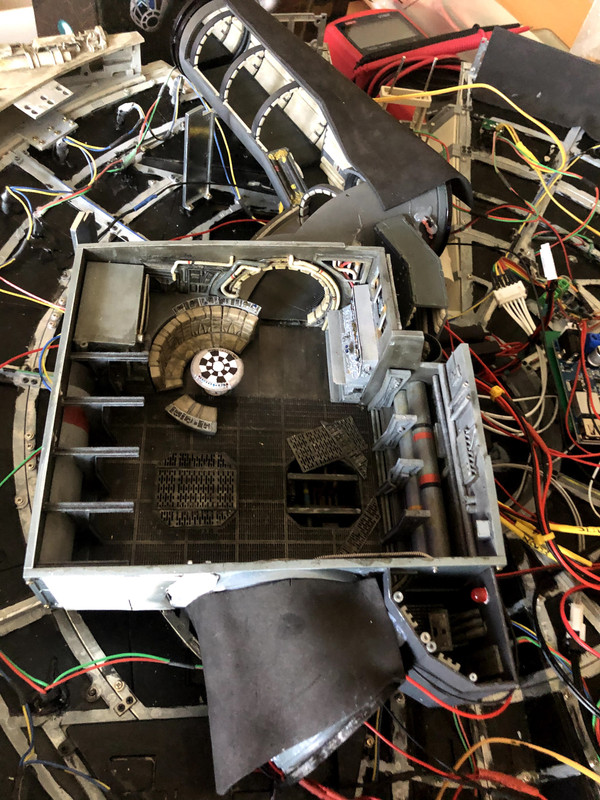
With the boards mounted it was time to mount the cargo hold, corridors and engine lightings, fingers crossed none of my mods prevented fitment! Success, probably more luck than judgement :)
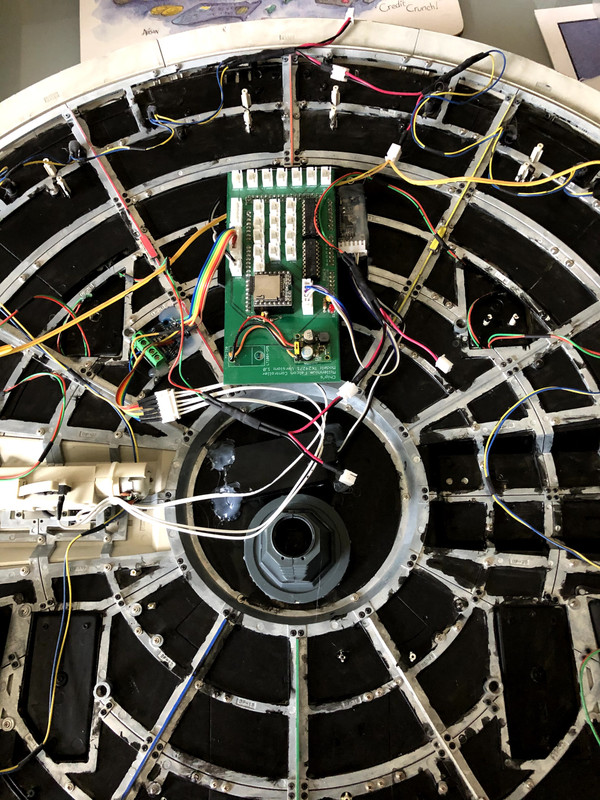
Now came the moment of truth.... 18 months of being moved from one bedroom to another time to ensure the electronics still held up to previous tests..... DAMN! A pop, a puff of smoke and the unmistakable smell of a blown component, something had popped. A bit of fault finding and I found the 12V DC buck converter board had blown maybe due to damp or static discharge, anyhow I ordered another through amazon and awaited its delivery. A day later I mounter the new converter turned it on and BANG! What the hell.... arggghhh another blow and this time visible damage to my falcon boards 12V track so now I also need to solder a whole new board :( This time deducing the only reason the 12V line could have burnt would be due to a huge current draw from its load via the ULN2803A chips that control the current demand so this time I changed both 2803As along with the converter and my new Falcon board, I held my breath and............................... hoorah! everything worked, cause an effect I believe the fault was down to a broken 2803A which drew excess current blowing the original buck converter and subsequently by Falcon board, oh well got there in the end.
With the main electronics assured working I moved back to the Magazine Issues and on to the Mandibles, unfortunately I neglected to take any pics through the build progress which was wholey uneventful with everything fitting together nicely.
With the move to the upper hull elements I decided to add some light blocking to the lower hull elements utilising some craft foam sheets I had from a previous project, thin and malleable I think these are ideal in particular for the walls. Luckily there's plenty of room in the falcon for all that wiring, I will try and tidy it up before I fit the upper hull, honest :D
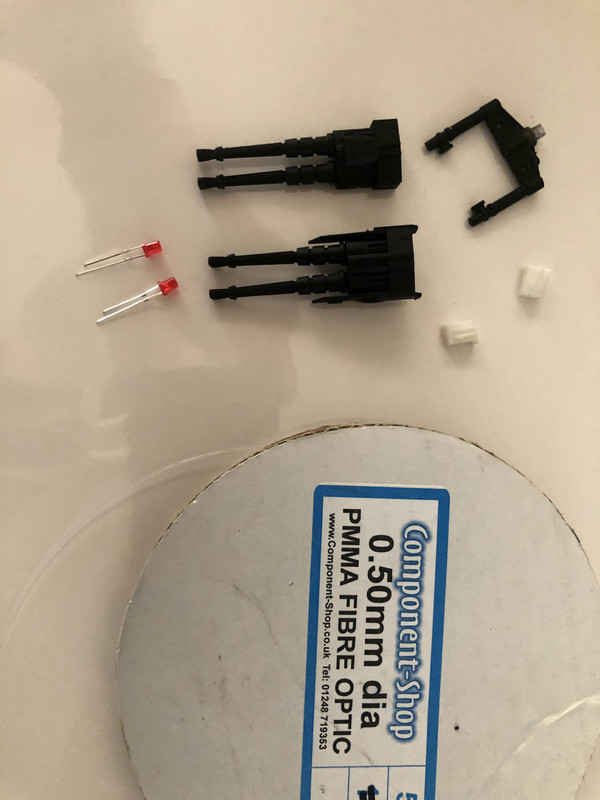
Continuing on the lower turret was added, again without pictures, it had been so long I was getting carried away :lol: but I did record a small video of the upper cannon which was one of my shapeways buys, and there really isn't much room through those support arms to feed wire through there was more than one curse word used but we got there in the end, not perfect but I'll be damned if I'm going through that again fitting two leds, wiring and fibre optics in such a small space.
 https://www.youtube.com/watch?v=K0Usf8G7CfY
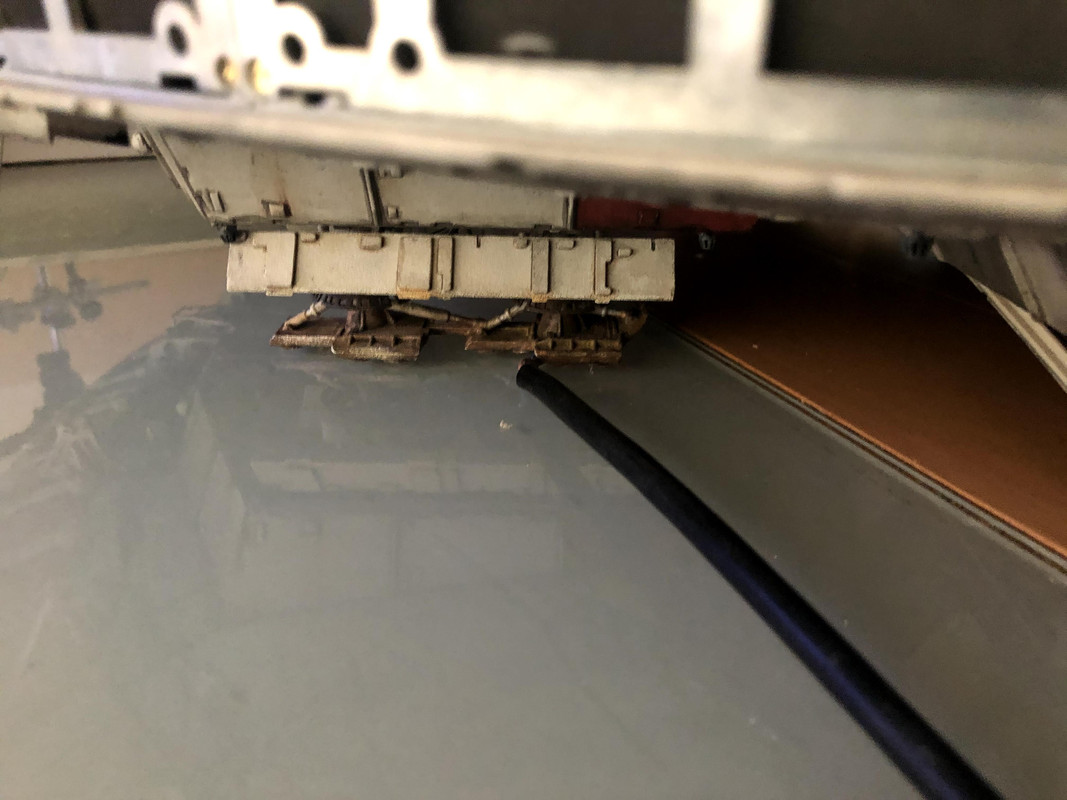
Before moving to the top hull, a thought of what to do with the battery compartment had been mulling around my head as I was using a 12V DC power lead feeding up through the rear starboard undercarriage for its power source, again sorry forgot to take any pics but it was really straight forward I had bought the undercarriage from 308Bits on shapeways but had asked him to hollow the legs for the wiring and this worked a treat. When I finally mount the Falcon on its base no power lines should be visible.
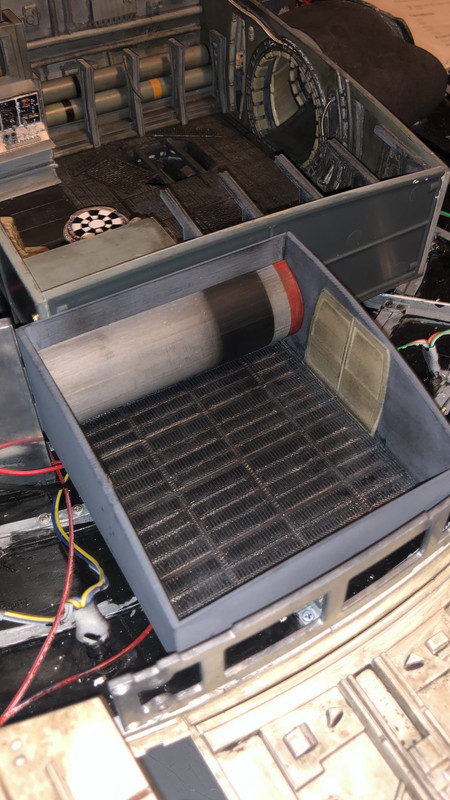
Anyway back to the battery compartment, I decided like others before I would make this a secondary hold, I did contemplate mounting an engraved plaque here but decided against it. So it was back to the 3D printer to create the secondary hold or loading bay... and obviously I had to mirror the large tube from the main hold.
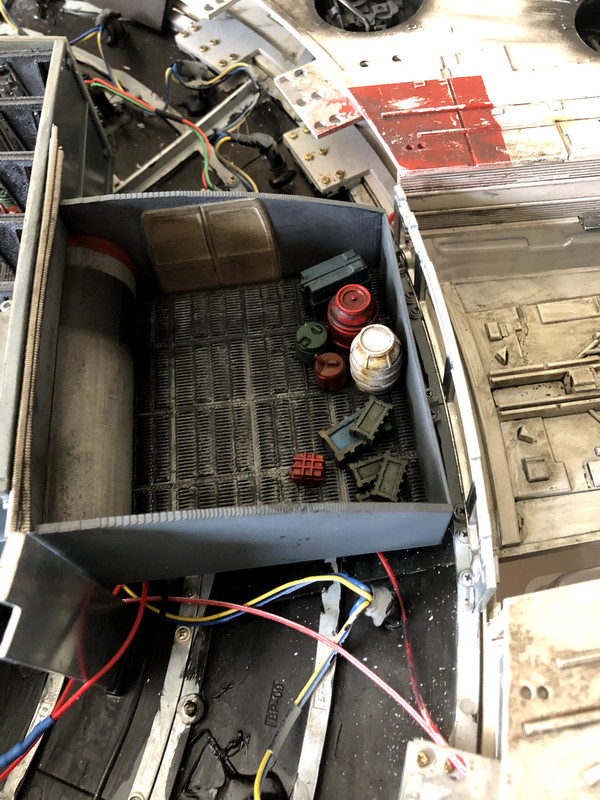
And of course whats a hold without something to hold in it...

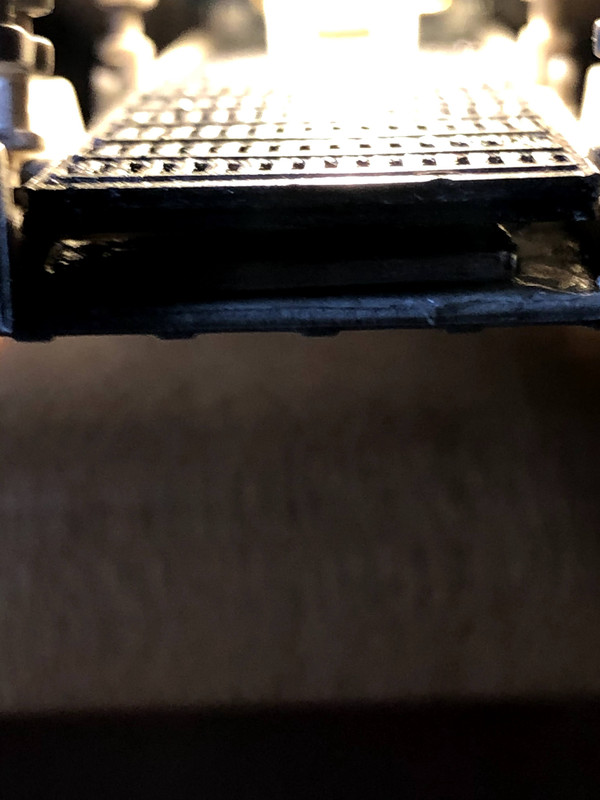
That left only one thing before moving onto the upper hull, the ramp! Now I was never a fan of the foldable bottom part of the ramp as I intend to mount the Falcon in an enclosure/coffee table so it would never be unfurled anyway but the thing that was really getting to me wads the annoying sag of the ramp with it not closing firmly to the hull so how could we get around this! I dug around in my box of spares and found these little beauties which were the correct thickness of the lower foldable ramp portion. So I printed a cover to the ramp giving it some texture and mounted a magnet in the lower portion as shown:

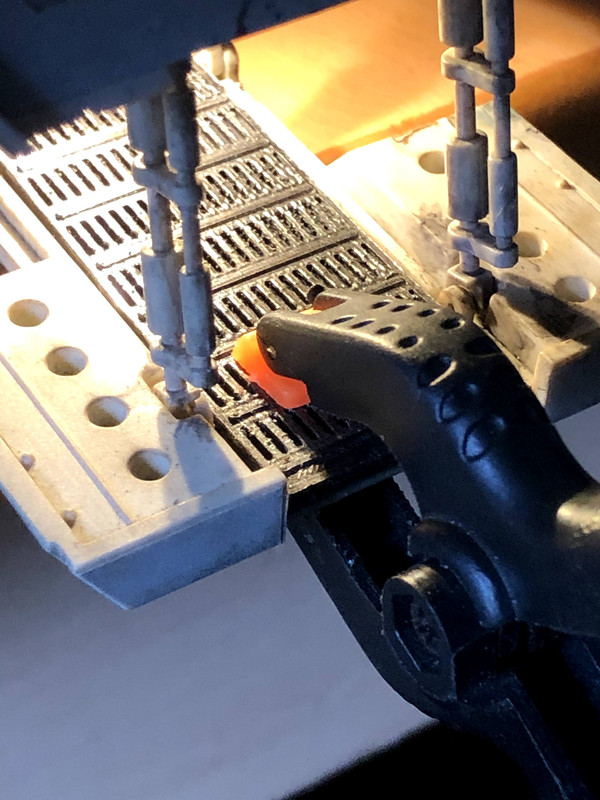
With a bit of testing ensuring I'd already marked the face to be uppermost I mounted 3 of the magnets above the ramp in the frame that will hold the starboard docking ring.
The result a ramp that closes firmly but which the motor is strong enough to break the magnetic field fairly easily.
https://www.youtube.com/watch?v=w6LNr1SWkS0
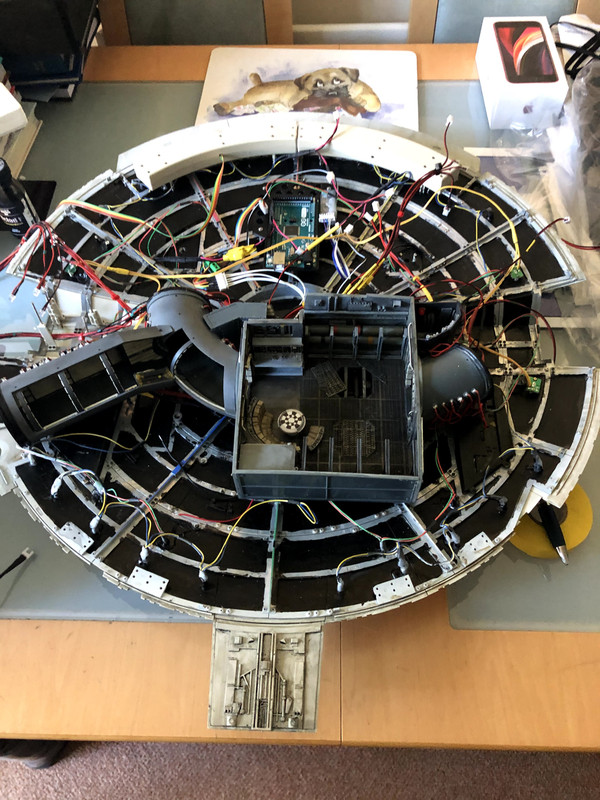
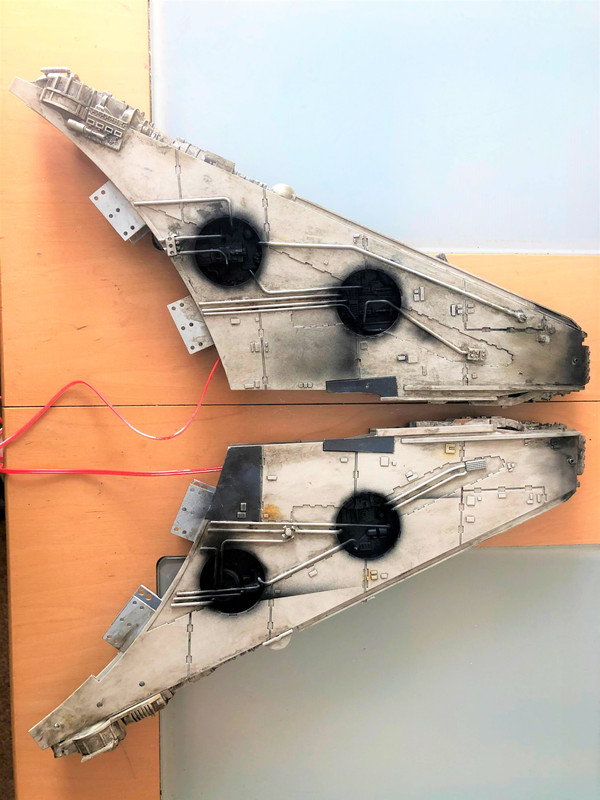
Moving swiftly on, the upper hull has all been constructed and main panel painting completed without any issues and a quick test run of the engine :)
https://www.youtube.com/watch?v=sIs68R-FAHs
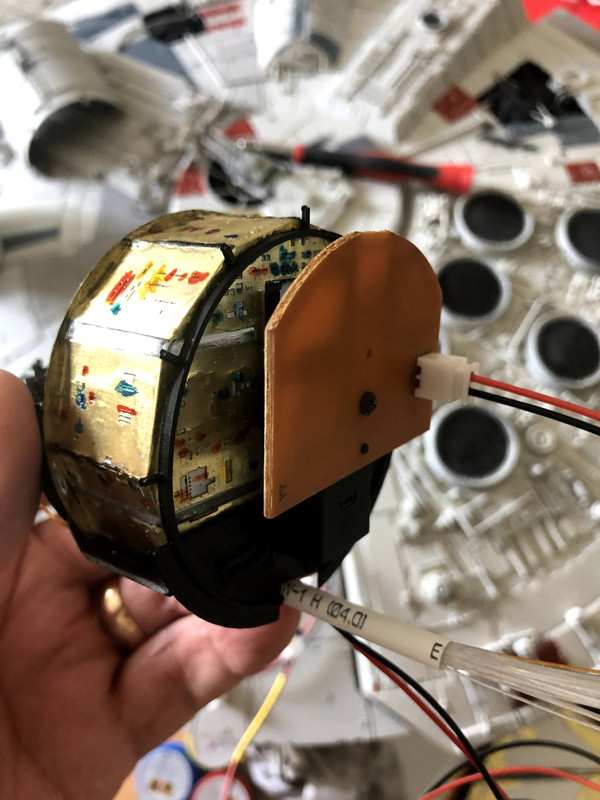
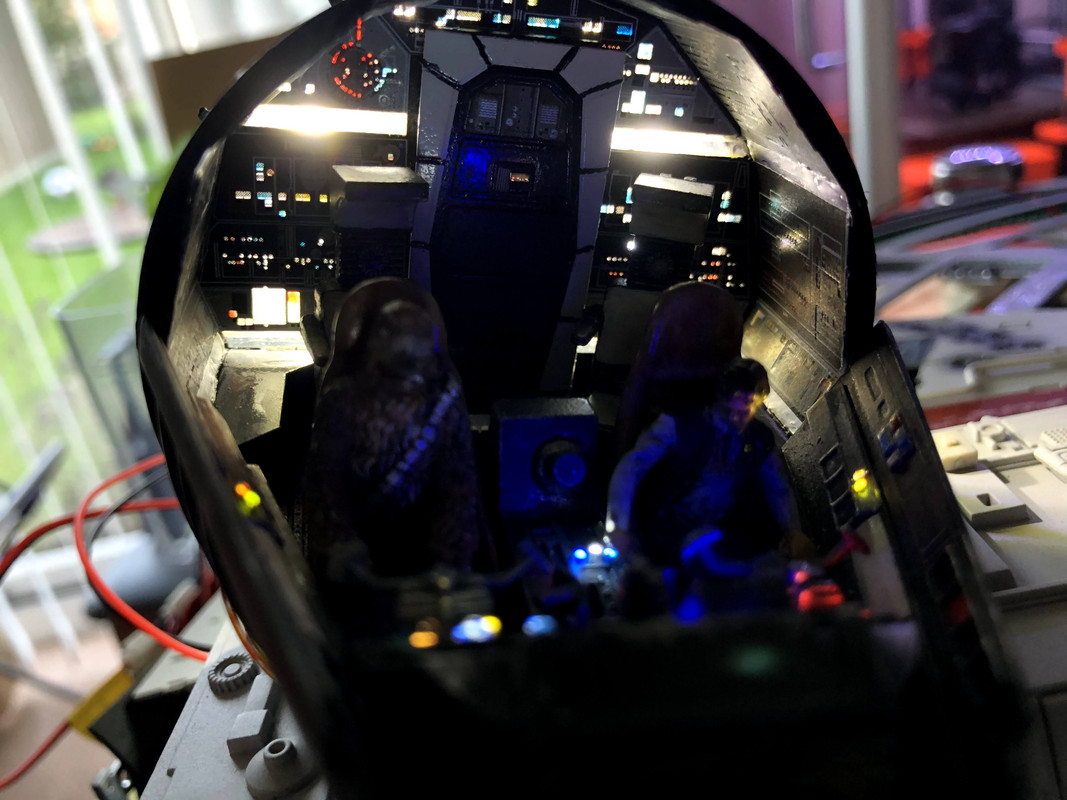
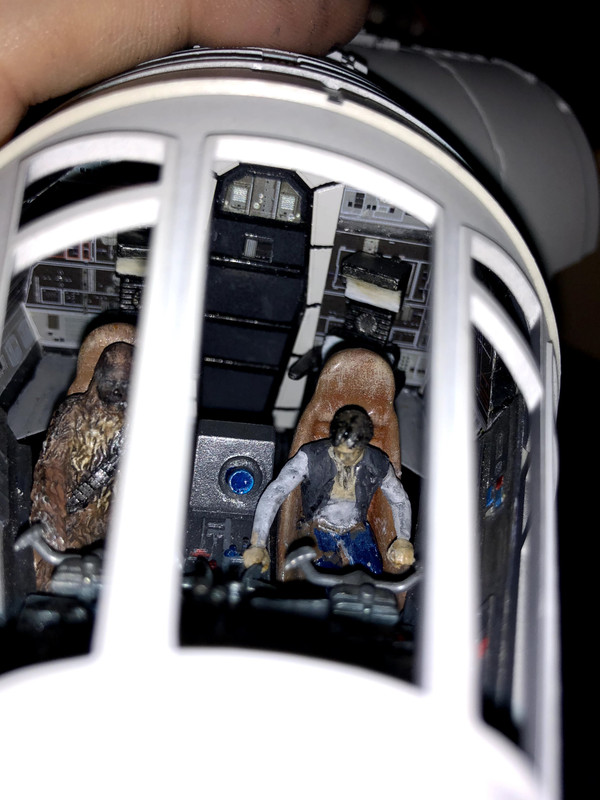
All greeblies have been added and the hull now awaits weathering, but surely there was something I forgot?!? Ahhh of course since my first post I never completed the cockpit rear wall, I didn't like the standard sticker but wasn't going to pay £££s on a shapeways cockpit so I decided to give photoetch a go, yes I'd done the hold floor and corridors but this involved folding! :D Having not done this before I was dubious I'd be able to pull it off but taking time and following the instructions I made the back wall and with a few tamiya clear colours I was pretty happy. I had also neglected to wire up the cockpits main monitor for the flicker, but with already owning some printable waterslide papers (great for decals for Star Wars helmets (X-Wing etc) ) so I decide to add a little something to the screen.... see if you can spot it :)
https://www.youtube.com/watch?v=eqFYdbIe7Oo
Of course it doesn't fit in with the ESB replica but hey this is mine and artistic licence is allowed :)
But the Falcon needs a crew if she's going to fly, now I know I'm not the best modeller and I'll make excuses of my neck injury and nerve damage but honestly figures I am terrible at but I'll give it a go...

So that's where I'm up to the upper hull all constructed awaiting weathering, a bit of a jump in one single post so apologies to anyone who actually reads this, and for those who have been messaging me about my boards please be patient with me I don't want to give any false info until I have completely soak tested all the electronics together which will consist of at least several hours constant playing :lol: plus I need to iron out a bug in the software where pressing any buttons before the guns finish firing locks up the system.
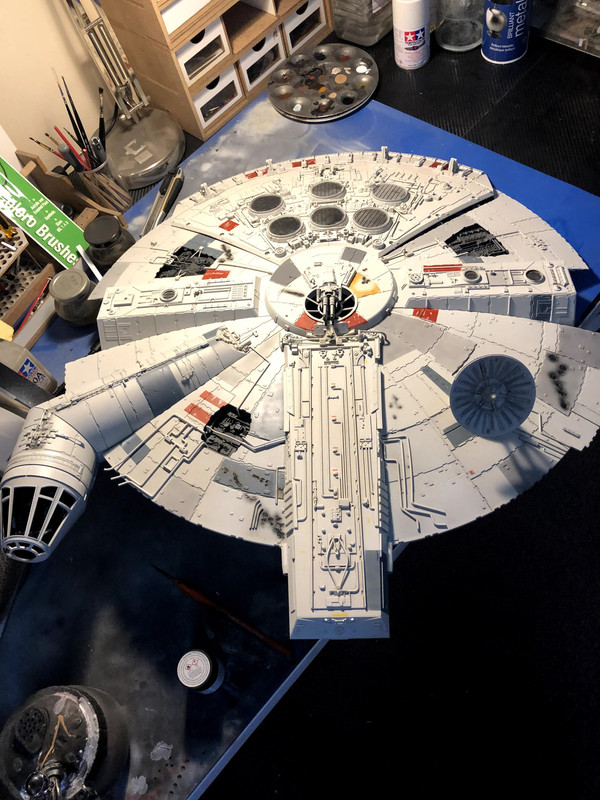
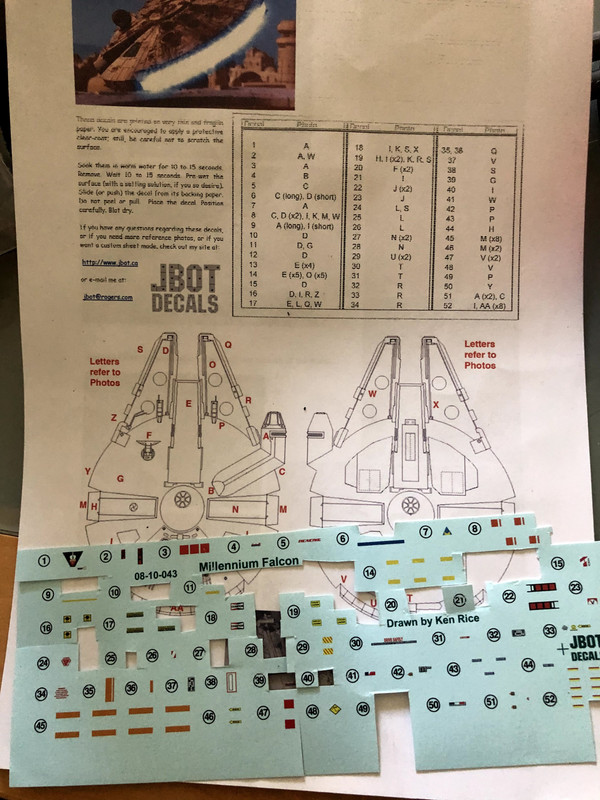
So almost there, and for the sharp eyed amongst you yes I have added some of the decals that graced the first Falcon model from A New Hope, the 5 footer. I know this is not strictly correct with the ESB replica but as already said this is mine and I'm doing it in the spirit of the original I feel they just bring the original quirkiness of the original Falcon. As you can see there's still quite a few I need to add, it took me an age to find a source for these so if you're considering doing the same I got these from Jim at
https://www.jbot.ca/
Thanks for baring with, we're slowly getting there

 US
US

