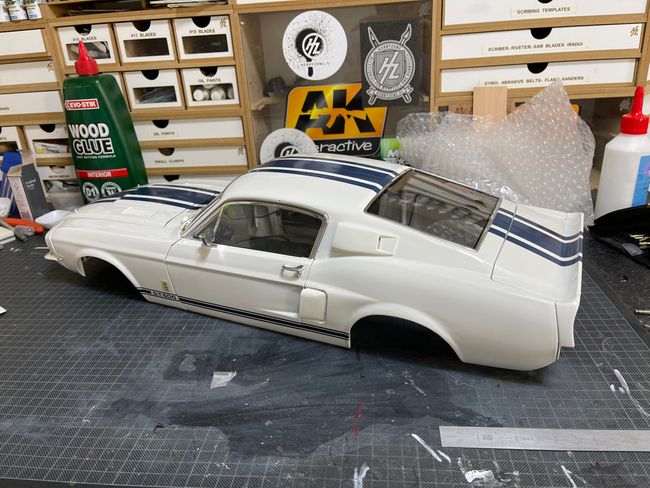
Pack 12This is it folks....the final work on this behemoth, and the finished result is VERY heavy and impressive. I've had a snag along the way that delayed me posting this. When you manoeuvre your car around, DO NOT put the weight of the model on any of the back wheels. I did that and snapped the wheel fixing point of the rear axle. You live and learn, and it was so frustrating.
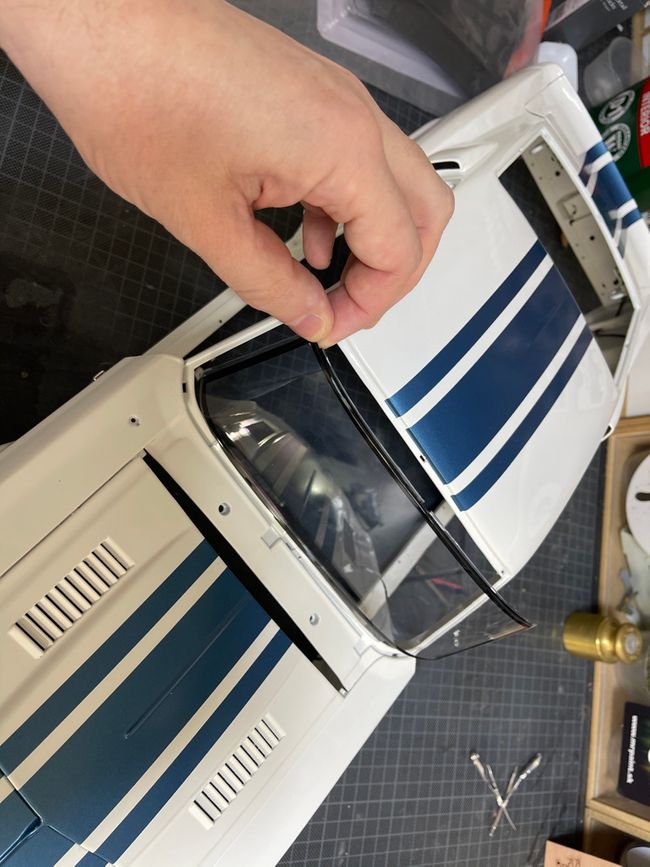
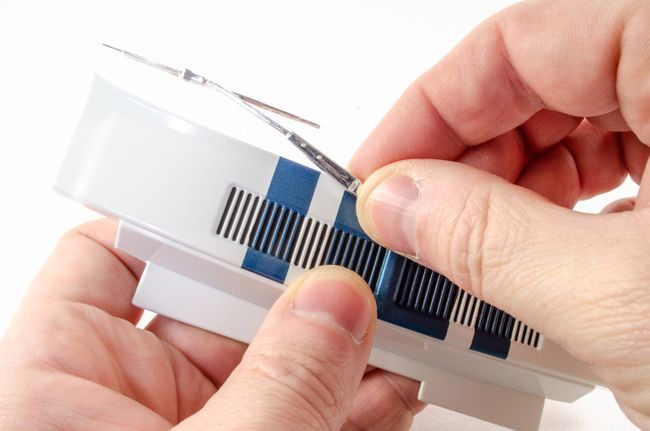
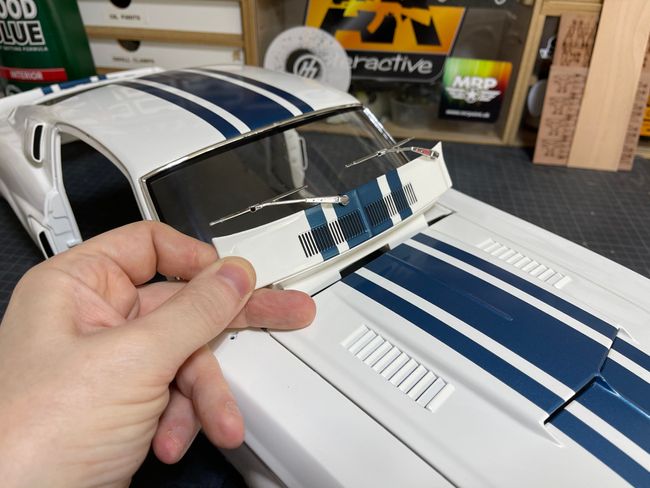
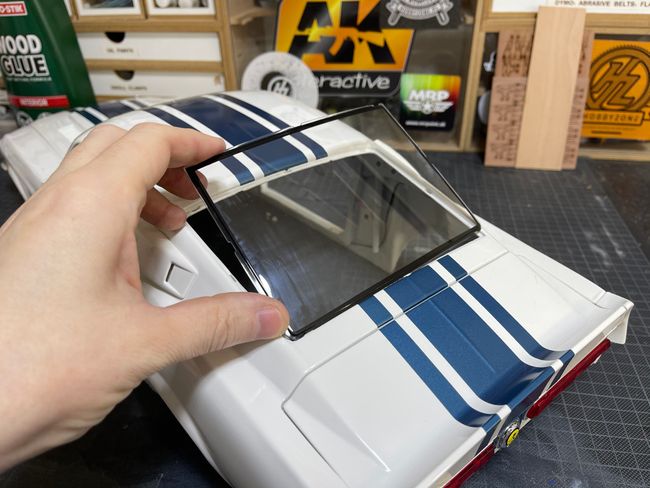
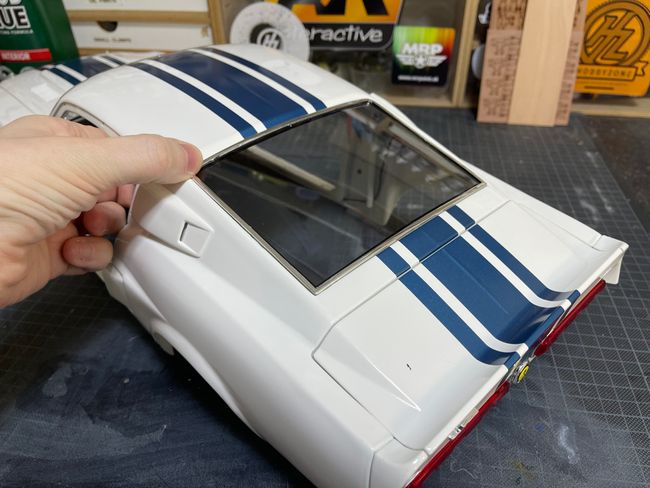
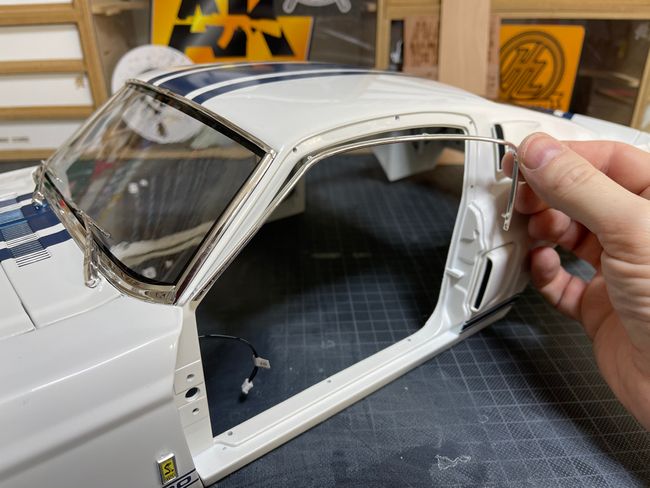
STAGE 91: WINDSHIELD & STAGE 92: WINDSHIELD FRAME AND WIPERS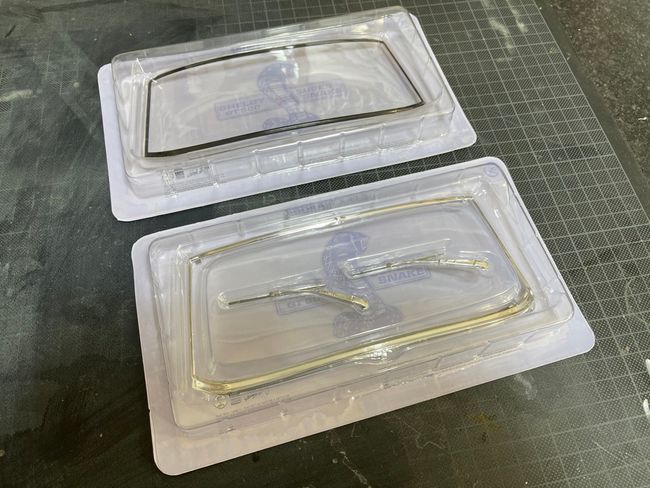
Real care needs to be taken not to touch the main clear area of the windscreen, for obvious reasons. Thankfully, this just sits neatly in place with zero effort, and the windshield frame locks it into position with a few clicks.
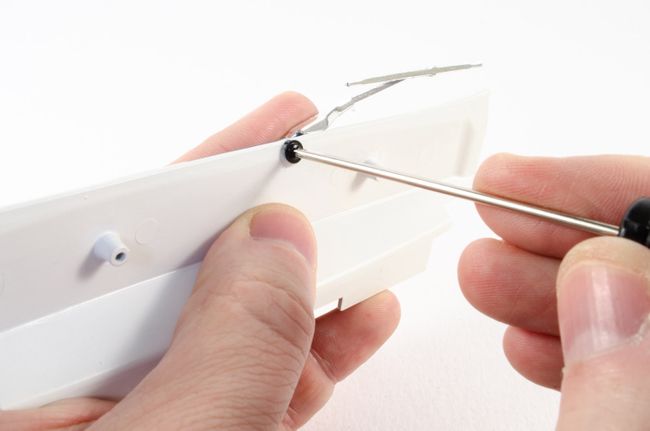
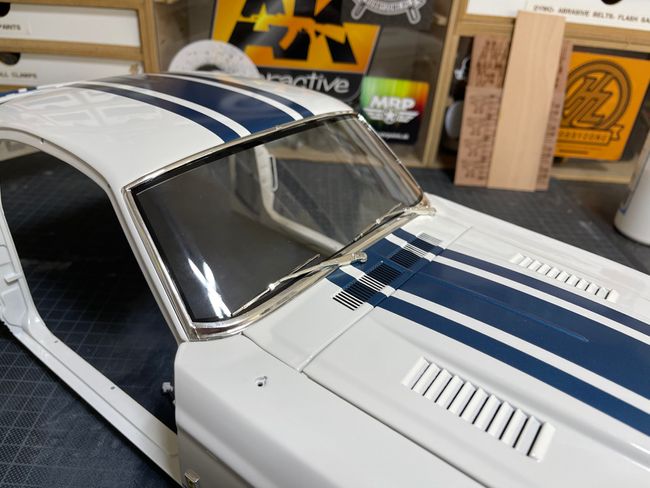
 STAGE 93: UPPER VENT GRILLE STAGE 94: REAR WINDOW
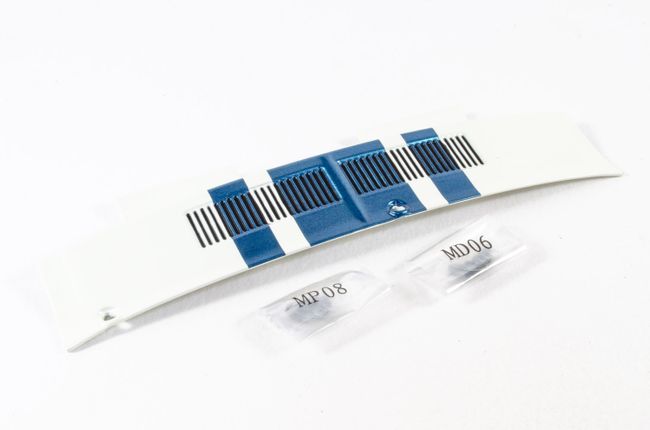
The windshield wipers from the previous stage are now screwed into position on the upper vent grille, and the panel slid into place on the body, then screwed into position.

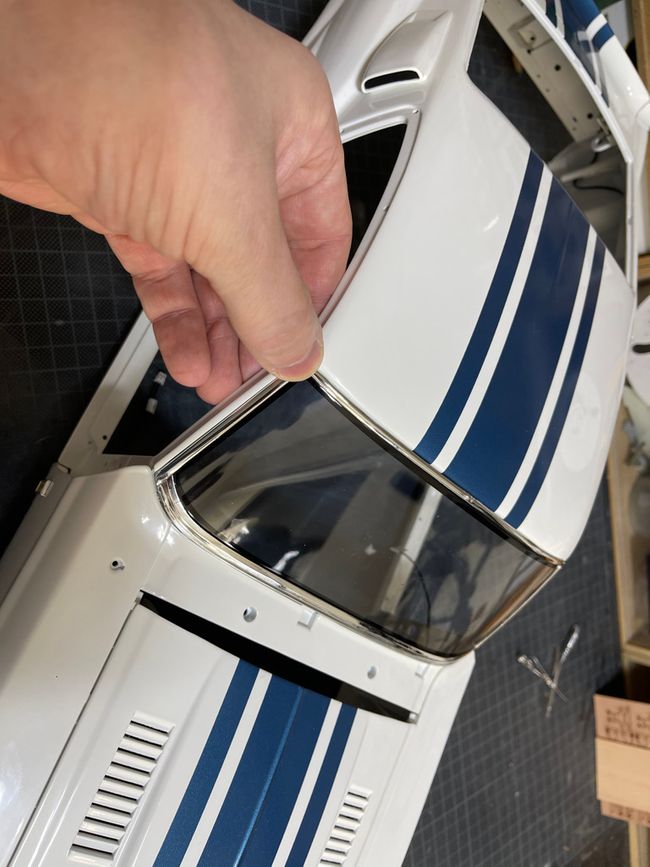
 STAGE 94: REAR WINDOW & STAGE 95: REAR WINDOW FRAME & RADIO ANTENNA
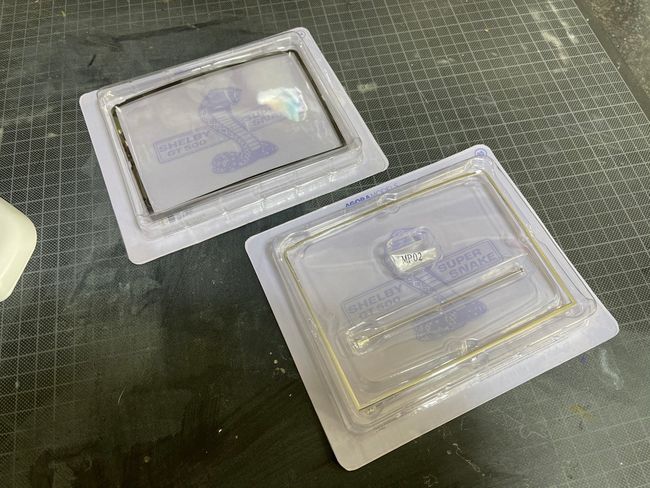
You know the drill! Both rear window and frame fit nicely into position with ease.
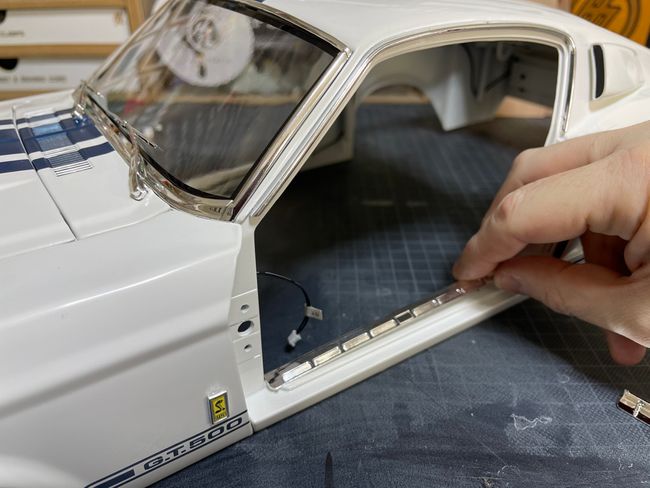
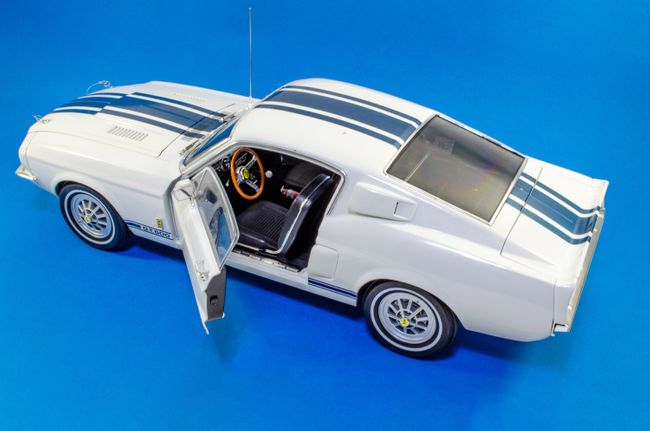
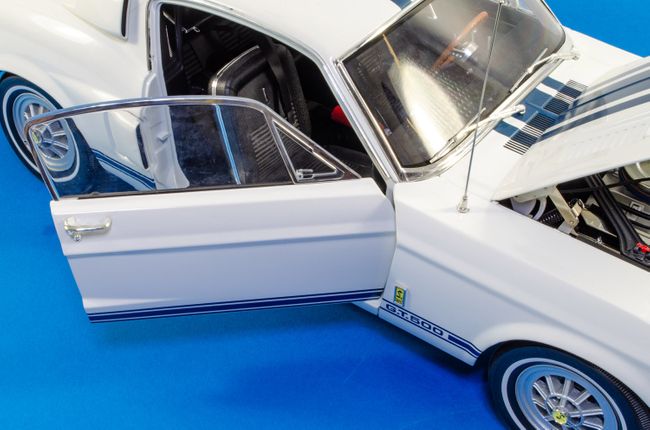
 STAGE 96: DOOR TRIM AND SILL PLATES
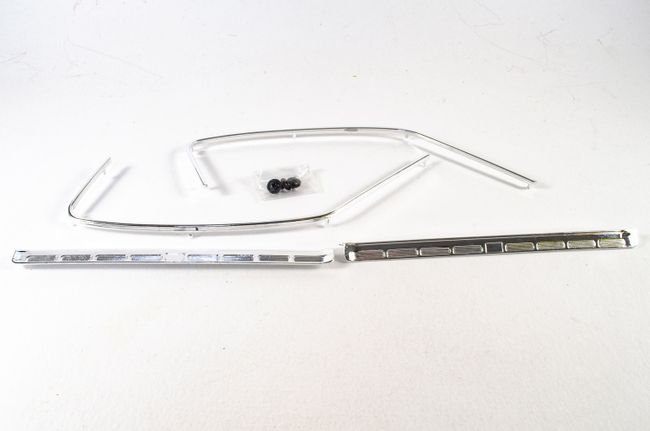
Those sparse door entry points need prettying up, so these trims and sills are now added. These just push into place with zero fuss on both driver and passenger side.
 STAGE 97: HEADLINER
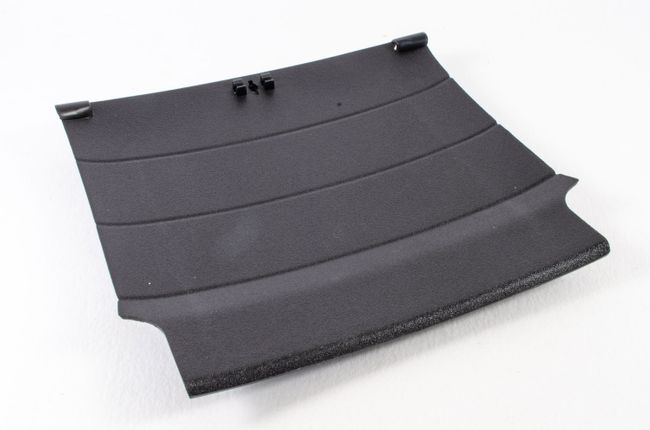
Even though you get the liner, you can't fit it yet. Instead, both doors are fitted. Make sure these are nice and tight. They should also face a little resistance when pushed fully closed, giving them a positive close-fit.
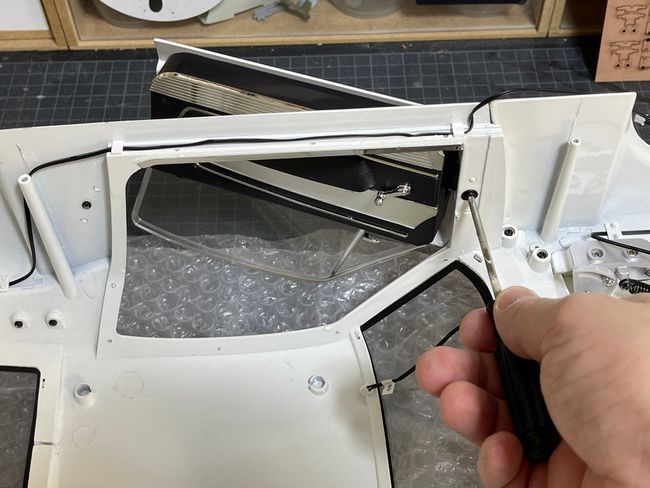
 STAGE 98: SUN VISORS & REAR VIEW MIRROR
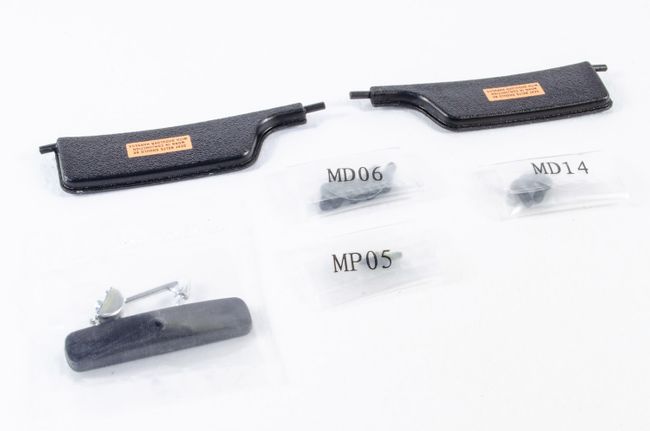
The liner is now fitted with the sun shields and rear view mirror.
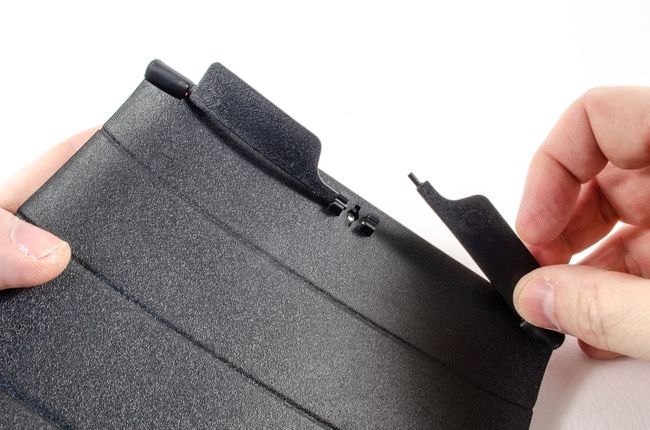
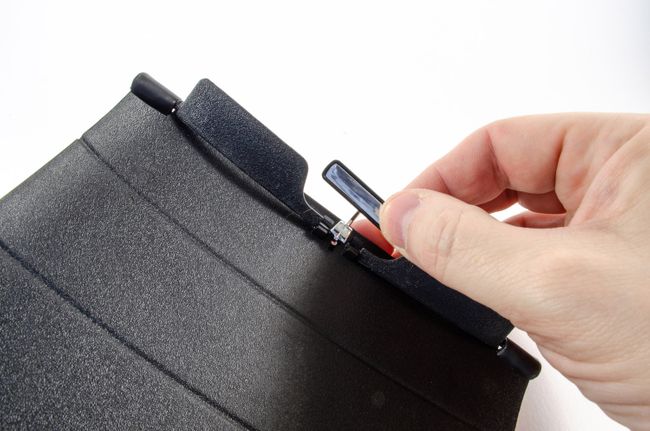
The liner itself now just pushes into place with no problems.
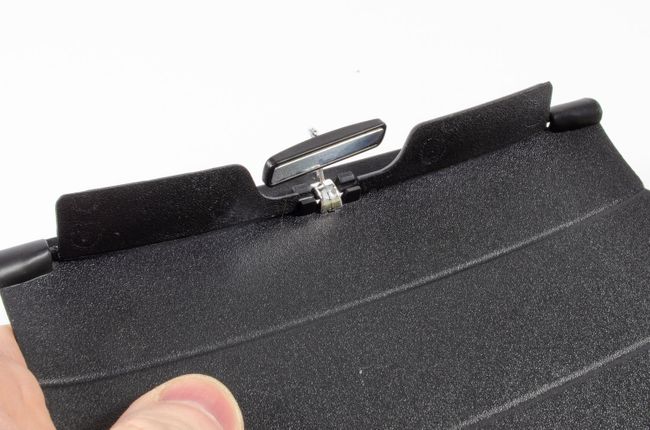
The aerial is perhaps the only real puzzling part for me. This should've ideally been a push fit for the last item added, but instead it needs to be screwed into the underside of the body before you can fit it, providing a hazard from this point on as you work on the model. Take care with that aerial!
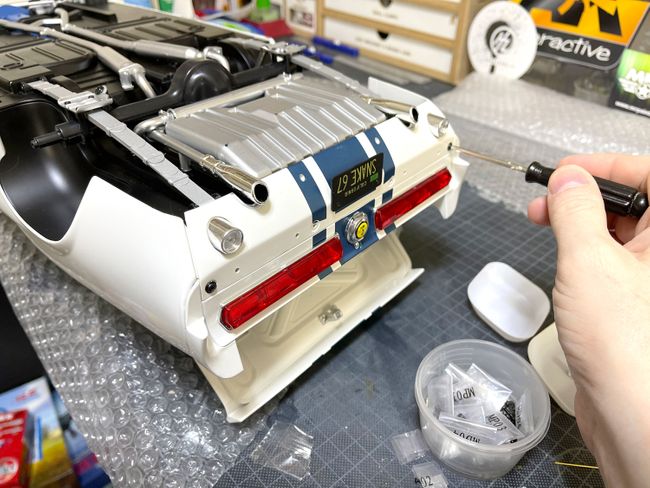
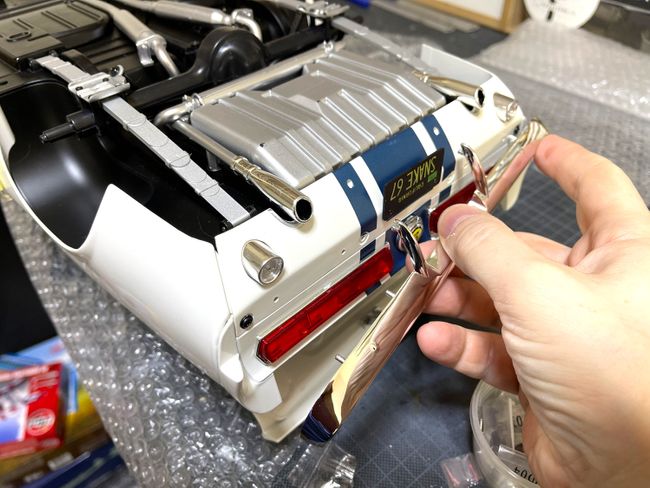
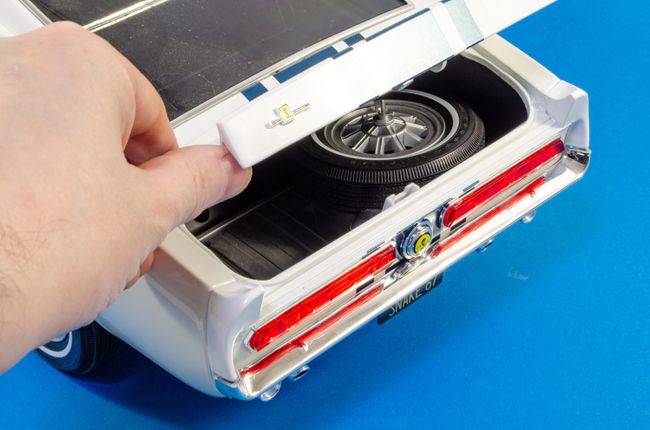
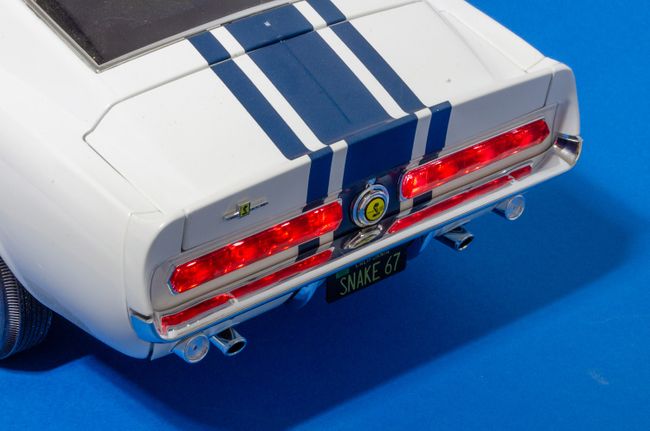
 STAGE 99: REAR VALANCE, FOG LIGHTS & CONNECTING THE BODY TO THE CHASSIS &
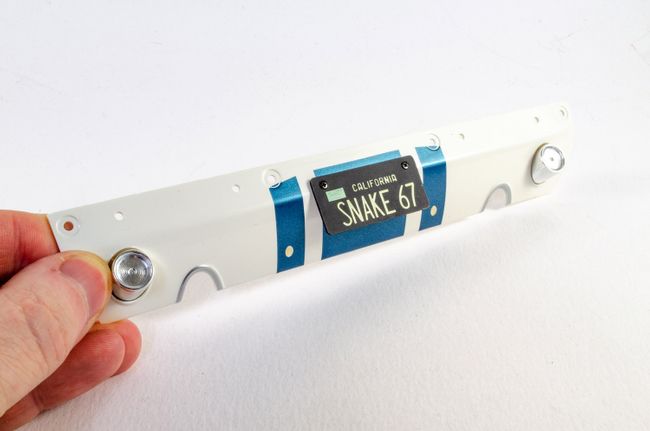
STAGE 100: REAR BUMPER, FRONT & REAR LICENSE PLATES
The rear valance is now fitted with fog lights. I also fit the reg plate from stage 100 too.
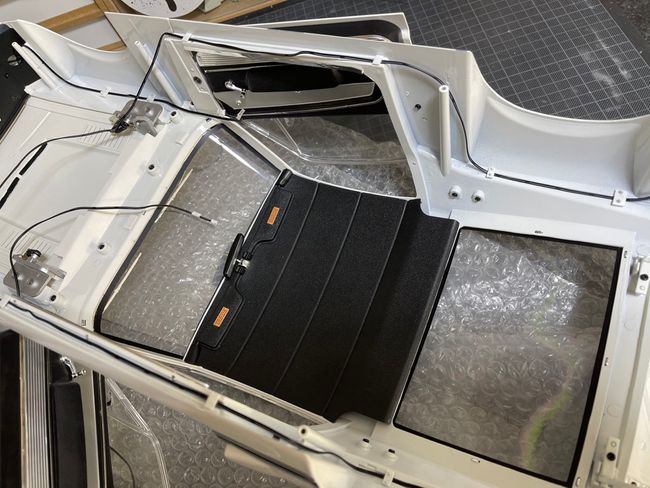
Before the body can be fitted to the chassis, all the wiring is finally connected and batteries inserted into the engine compartment to check that all is ok. Fitting the body took me quite a bit of time in making sure all lugs and holes were in alignment, and also that all cables were safe from being trapped. That aerial is also most at risk here when you turn the car over.
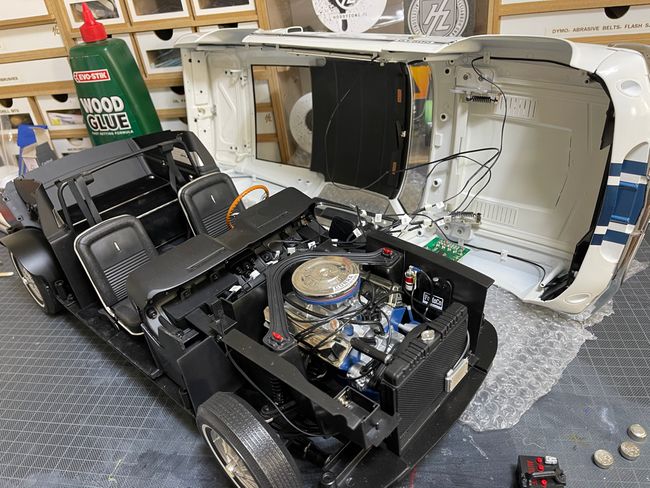
You might notice no rear wheels in this picture. That's because I broke the rear axle as mentioned at the start, and I decided it safest to fit the wheels last, prior to turning the car the right way round. The valence is now fitted and the number added. I also screw the front reg plate into position.
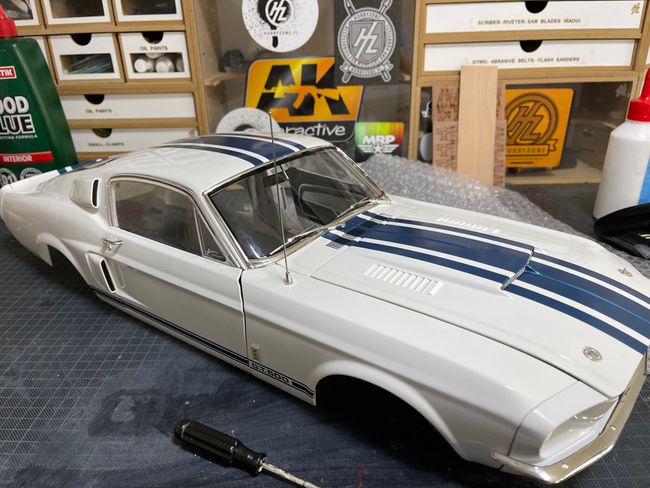
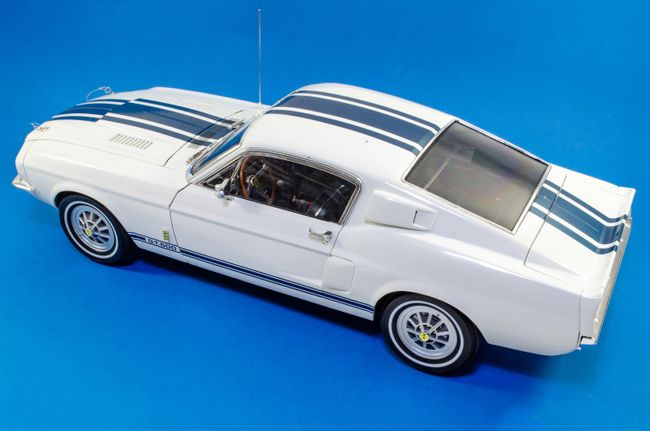
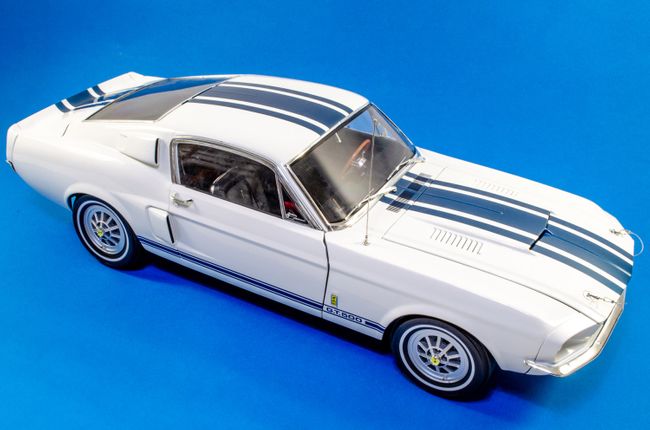
All done!!!!!!!!
 Conclusion
A lovely project that will doubtless be much loved by any petrol head or Shelby fan. The details are superb and the size of this means it's no shrinking violet. You'll need a nice care to display it, and also a strong shelf! All electronics worked as they should, from the engine sounds, to horn, rear lights and front lights. A year's worth of work is finally at an end and my bench will certainly look different with this now gone from it.
 US
US

