|
|
 Rank: Vice-Master  Groups: Registered
Joined: 20/04/2010 Posts: 545 Points: 1,536 Location: lossiemouth
|
two inner shafts fitted now 
|
|
|
 Rank: Vice-Master    Groups: Registered
Joined: 11/05/2011 Posts: 766 Points: 2,128 Location: Dagenham
|
Looks great willie. CURRENT BUILDS
Mclaren MP4-23
Ford 1/12 Shelby Mustang GT500 2010
HMS Pandora
|
|
|
 Rank: Vice-Master  Groups: Registered
Joined: 20/04/2010 Posts: 545 Points: 1,536 Location: lossiemouth
|
all the shafts in few adjustments and ready for the second planking when that is  home made A brackets all made and ready for fitting on end of shafts when i know there true lengh
|
|
|
 Rank: Vice-Master  Groups: Registered
Joined: 20/04/2010 Posts: 545 Points: 1,536 Location: lossiemouth
|
the A brackets for the end of the shafts stil to be cut to size 
|
|
|
 Rank: Super-Elite      Groups: Registered
Joined: 24/04/2010 Posts: 5,787 Points: 17,662 Location: Stafford, United Kingdom
|
Nice job Willie  Regards Mike  MWG BUILD DIARIES: HMS VICTORY, SOVEREIGN OF THE SEAS, SAN FRANCISCO II, HMS HOOD, HMS ENDEAVOUR LONGBOAT, HMS VICTORY X-SECTION, 007 DB5, NISSAN GTR, CUTTY SARK, RB7, AKAGI, BARK HMS ENDEAVOUR, HUMMER H1, MITSUBISHI ZERO.
|
|
|
 Rank: Vice-Master  Groups: Registered
Joined: 20/04/2010 Posts: 545 Points: 1,536 Location: lossiemouth
|
second planking stbd aft 
|
|
|
 Rank: Vice-Master  Groups: Registered
Joined: 20/04/2010 Posts: 545 Points: 1,536 Location: lossiemouth
|
back end with rudderand a brackets 
|
|
|
 Rank: Vice-Master  Groups: Registered
Joined: 20/04/2010 Posts: 545 Points: 1,536 Location: lossiemouth
|
|
|
|
 Rank: Pro Groups: Joined: 24/08/2009 Posts: 48,827 Points: -13,348
|
Now that is going to be fast, well done Willie 
|
|
|
 Rank: Super-Elite      Groups: Registered
Joined: 24/04/2010 Posts: 5,787 Points: 17,662 Location: Stafford, United Kingdom
|
Hi Willie, you are doing a great job  Regards Mike MWG BUILD DIARIES: HMS VICTORY, SOVEREIGN OF THE SEAS, SAN FRANCISCO II, HMS HOOD, HMS ENDEAVOUR LONGBOAT, HMS VICTORY X-SECTION, 007 DB5, NISSAN GTR, CUTTY SARK, RB7, AKAGI, BARK HMS ENDEAVOUR, HUMMER H1, MITSUBISHI ZERO.
|
|
|
 Rank: Vice-Master  Groups: Registered
Joined: 20/04/2010 Posts: 545 Points: 1,536 Location: lossiemouth
|
cheers MIKE AND TOMIC haven't made up my mind to take the rudder down to the keel or leave her large its only 10 mm to come off the bottom i think there plenty of rudder left if i do
|
|
|
 Rank: Vice-Master  Groups: Registered
Joined: 20/04/2010 Posts: 545 Points: 1,536 Location: lossiemouth
|
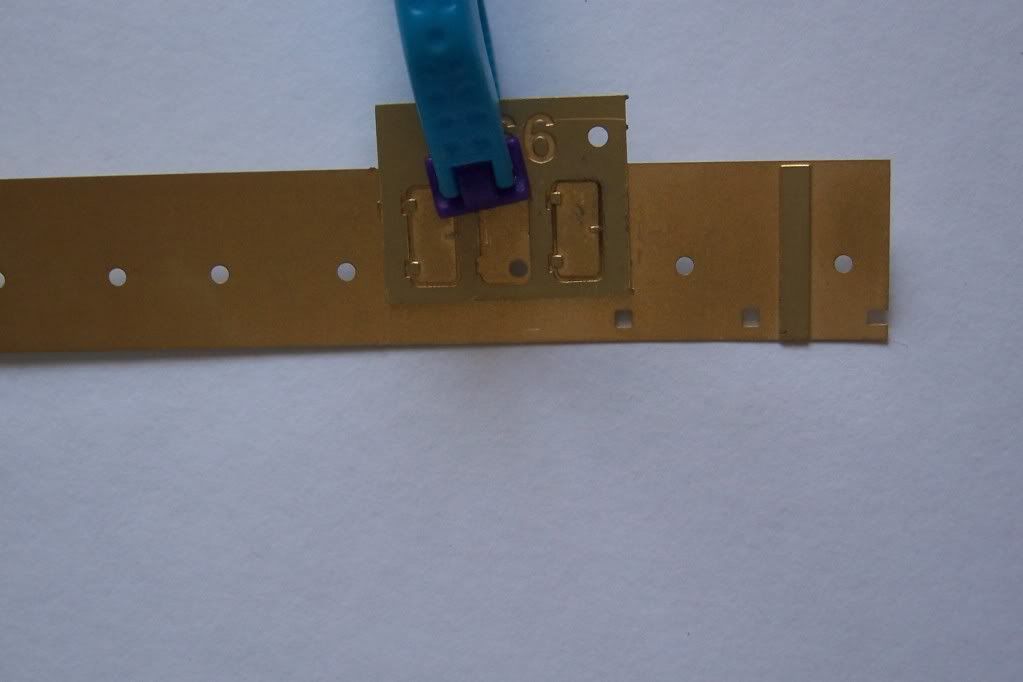
found it figgty to fit the doors i removed the doors from the fret and place the fret over where the door should be carefully put glue at the door space and placed the door back in to the fret one door lined up  remove fret when finish
|
|
|
 Rank: Vice-Master  Groups: Registered
Joined: 20/04/2010 Posts: 545 Points: 1,536 Location: lossiemouth
|
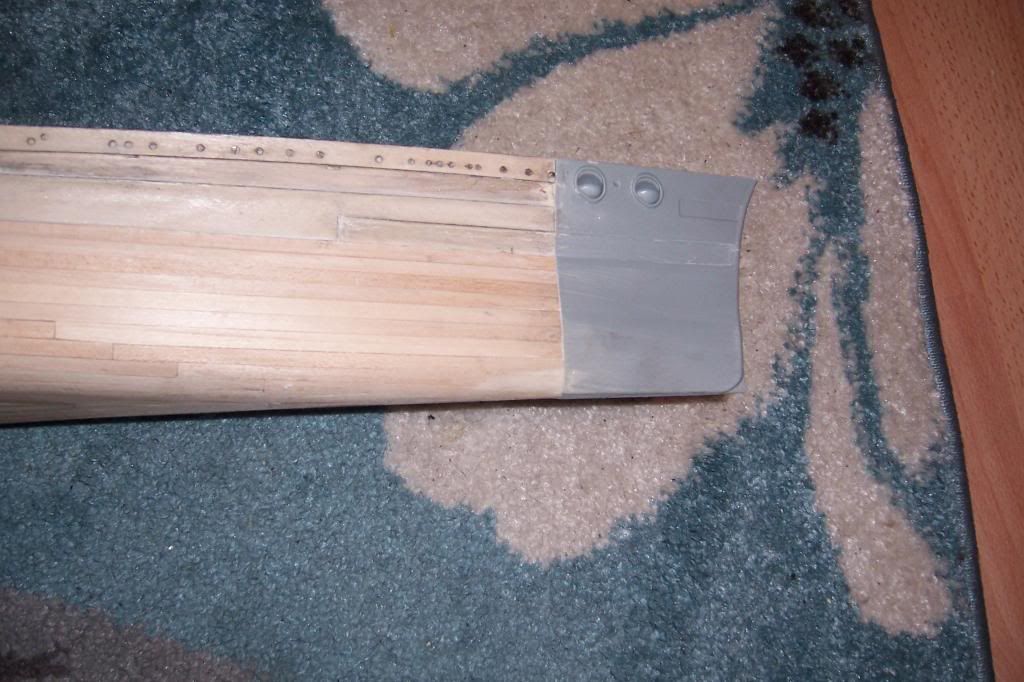
bow fitted nice fit needs a little tidy up quite pleased with it 
|
|
|
 Rank: Pro   Groups: Registered
Joined: 25/01/2012 Posts: 134 Points: 385 Location: Berwick Upon Tweed
|
Hi Willie, Its looking good, looking forward to getting that bow section for mine, will be good to get the hull complete when i start working on her again next year. Keep the pics coming. Cheers
Peter
Current builds: Amati 1:200 Hood; D51 200
Bought and on the waiting list: HMS Endeavour's Longboat, 1:90 San Juan Nepomuceno, Titanic Lifeboat,1:200 Bismarck Strip and Rebuild
[b]Built:1:250 Titanic
|
|
|
 Rank: Pro   Groups: Registered
Joined: 22/03/2010 Posts: 369 Points: 1,150 Location: Broadstairs
|
Nice build there Willie, still undecided about the RC.
TIS
|
|
|
 Rank: Super-Elite       Groups: Registered
Joined: 16/08/2010 Posts: 2,771 Points: 8,344 Location: Brighton
|
Hi Willie. Looking fantastic. How did you find putting the propeller shafts through the hull planking. I found this a bit tricky on my bismarck had to modify holes on the rear ribs as prop shafts were bigger than the holes in rib. Keep the pictures coming ian  Current builds.Hachettes build the bismark,HMS Victory, HMS Hood.
Finished Builds Corel HMS Victory cross section.
|
|
|
 Rank: Vice-Master  Groups: Registered
Joined: 20/04/2010 Posts: 545 Points: 1,536 Location: lossiemouth
|
it was done by a little trick i have i use a brass tube the same dia as the stern tube in this case a 6mm diax300mm long with one end cut like a hole saw [i had already boared the holes in the frames be fore fitting them ]sliped the tube through the frames and drilled from the inside out the tube cuts the hole oval due to the shape of the hull but round if you know what i mean, aslo made a steady plate out of the ply fret for the motor end to keep it the right hight and spaceing for the gear boxes if you use this idear you got to be careful and watch the tube dose not follow the line of the plank other words where the plankes are glued to each other
|
|
|
 Rank: Super-Elite       Groups: Registered
Joined: 16/08/2010 Posts: 2,771 Points: 8,344 Location: Brighton
|
Great idea Willie. Look forward to seeing some more of your build Ian.  Current builds.Hachettes build the bismark,HMS Victory, HMS Hood.
Finished Builds Corel HMS Victory cross section.
|
|
|
 Rank: Vice-Master  Groups: Registered
Joined: 20/04/2010 Posts: 545 Points: 1,536 Location: lossiemouth
|
Ian if you wonder about the wooden outer tubes the red and blue ones they are wooden paint brush handles the shape has a slight bulge on them near to the shap of the real ones boared with a 6mm drill leaves a 1.5mm wall
|
|
|
 Rank: Vice-Master  Groups: Registered
Joined: 20/04/2010 Posts: 545 Points: 1,536 Location: lossiemouth
|
 one of my boring tools for doing shafts an other way of boring the shafts but you need a set of tubes that fit in to each other 2mm to 6mm this time you find the centre of the shaft line and bore 2mm hole in the hull and frames and fit the 2mm tube. the next tube that fits over this one cut the ends so it will drill and slip it over and drill this tube through do not remove repeat with the next tube alwas leave the last tube in this acts as a guide for the next tube till you reach the size you requier this drilling can be done from the out side in remember to draw the tude back and forth when dilling to clear the cutting ---i have fitted bow thrusters also this way useing tubs up to 16mm
|
|
|
|
Guest
|