Welcome Guest Search | Active Topics | Log In | Register

Revell Salzgitter AMG Mercedes DTM 2009 G. Paffett Build Diary Options
Senna94
#1 Posted : 09 December 2011 17:38:19

Rank: Pro

Build-Diary Medal: Build-Diary Medal of Honour
Groups: Registered

Joined: 07/04/2011
Posts: 251
Points: 741
Location: Leeds
So.. today is the start of a new adventure!
I finally ripped open the plastic bags to the parts of the Mercedes DTM car which is now in build!
I've had it out before, admired the parts and put it back away. But now, I have started the little baby, and it sure is going to be one when its done.
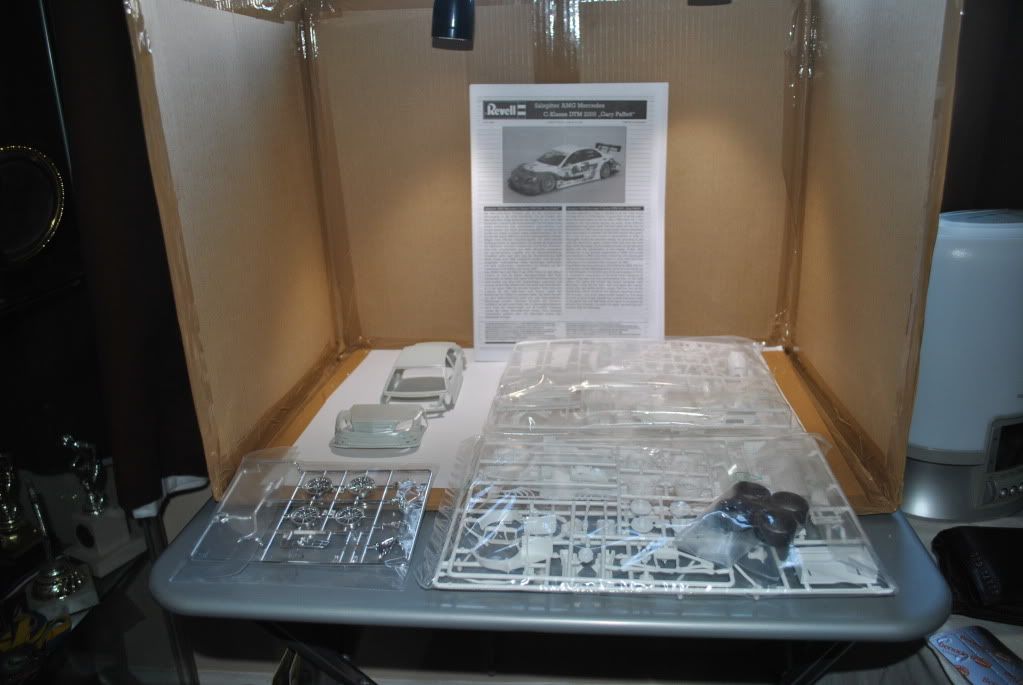


First step, Prepping the body shell and bonnet, I did this first as it was what I've taken most interest in to date, reading and watching videos on the net etc. So thought it would be a good, confidence building start. And I was right.
The shell itself has some pretty bad mould lines, but abit of 1200 and they were gone. I did have a slight mishap with the bonnet, where the sprue was connected I over sanded and now it doesn't fit as snug, I tried some putty filler and re-sanded and it now looks better, but not perfect. But I'm not disheartened with that, it looks cool none the less. I filled in the mould holes in the interior roof sections and boot, aswell as the bonnet and sanded down giving a nice smooth finish.
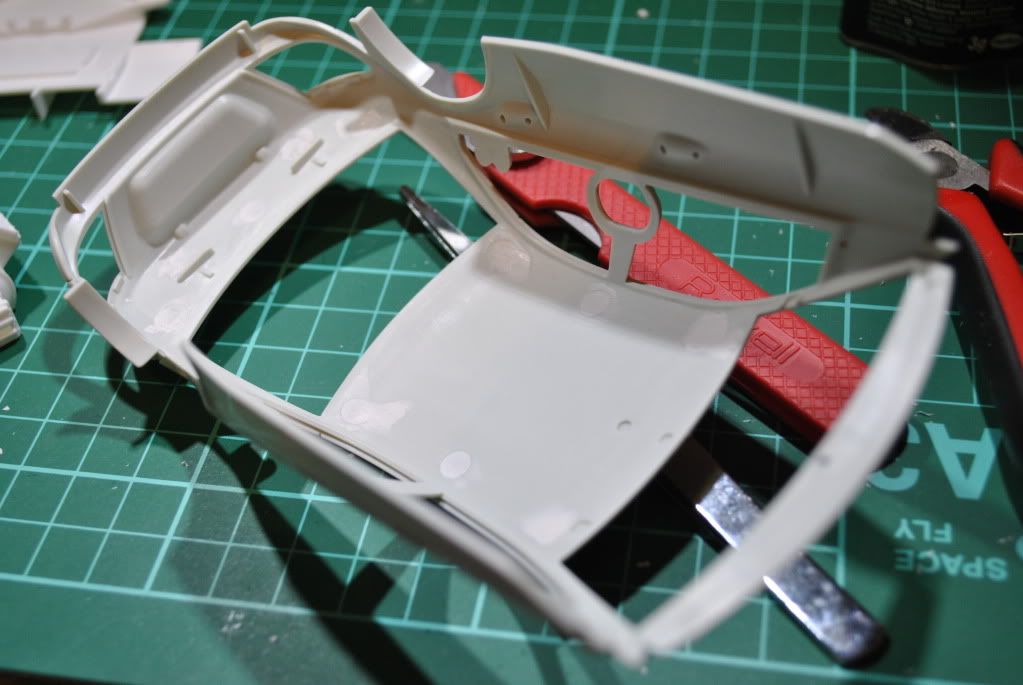


Next was onto the first bit of the manual, which is the sprue which has most of the engine and gear box on. Removing the parts from the sprues, cutting and sanding down the mould lines and a few hours later they are all sitting proud in a plastic bowl. I was considering leaving it for another day, but I ventured on.... after noticing that fixing the majority of the engine together it was all one colour, I decided to carry on and then leave the airbrushing for next week. and here's what was left -
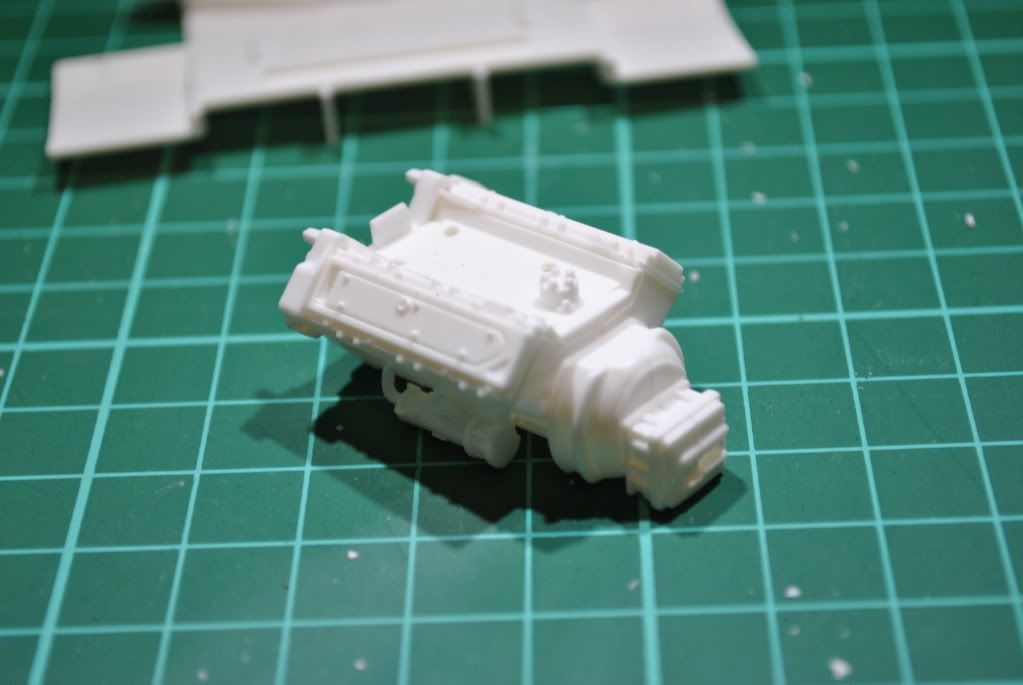


I have to say I'm very happy with that... I know its only the engine, but this is my first build! I'm chuffed with that, sad it may seem, but what the hell!
Next time, sanding the engine block, and airbrushing it. Probably going to go through the rest of the sprues to see if there is anything the same colour. I'm really trying to find the best way, step by step, to build my models. Any advice would be greatly appreciated! (Got another thread about that)

I'll post a picture of my setup -
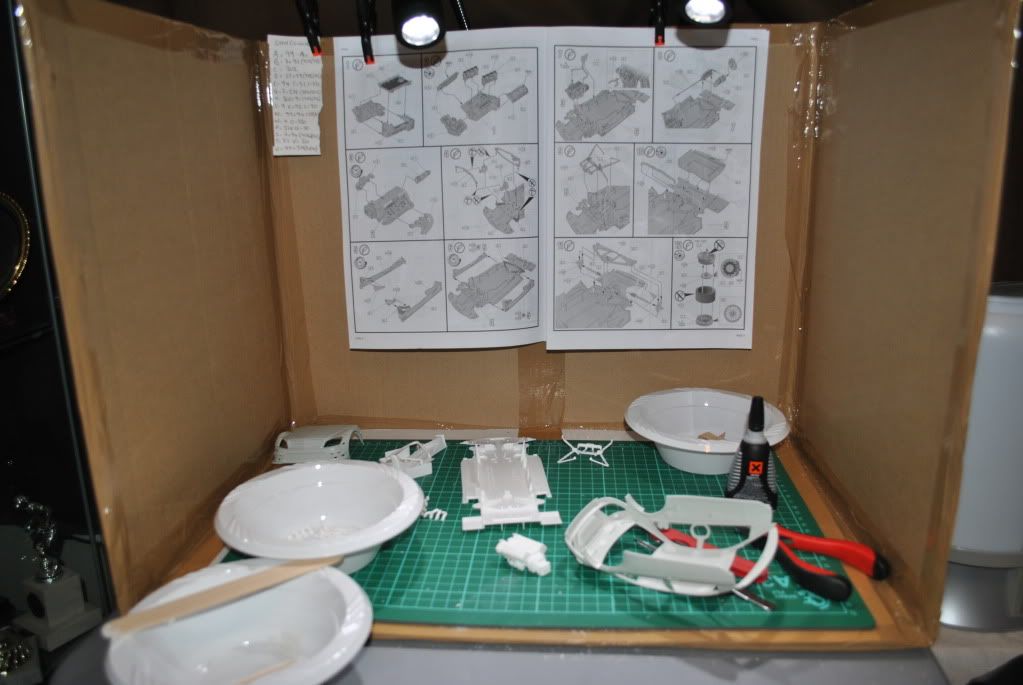


As you can see, its not a million dollar setup, but it works for me! An old cardboard box, chopped in half and then cut the front off, some sticky tape, and I'm away. Nipped to asda this morning to get some LED Lamps, which I have to say for £8 are brill.

So there we have it, I've started.

I'll be carrying on with this on monday so watch this space!

Cheers
Danny
Building the McLaren MP4-23
MWG
#2 Posted : 09 December 2011 17:45:00

Rank: Super-Elite

Active Service Medal: 500 post active service MedalPurple Medal: Super active service medal for 1000 postsBuild-Diary Medal: Build-Diary Medal of HonourRed Medal: Red Medal
Groups: Registered

Joined: 24/04/2010
Posts: 5,787
Points: 17,662
Location: Stafford, United Kingdom
Great start Danny, I wish you all the best with your new buildBigGrin Cool
MWG BUILD DIARIES: HMS VICTORY, SOVEREIGN OF THE SEAS, SAN FRANCISCO II, HMS HOOD, HMS ENDEAVOUR LONGBOAT, HMS VICTORY X-SECTION, 007 DB5, NISSAN GTR, CUTTY SARK, RB7, AKAGI, BARK HMS ENDEAVOUR, HUMMER H1, MITSUBISHI ZERO.

SennaMentalMe
#3 Posted : 09 December 2011 19:56:03

Rank: Pro

Groups:

Joined: 24/08/2009
Posts: 48,827
Points: -13,348
BigGrin Yeah, good stuff Danny and I love your enthusiasm for this great hobby. Very satisfying when it all comes out nicely !!
Nothing wrong with your setup and I think most of us started with something similar so don't worry about what you are doing just enjoy the fun of the build and don't rush it if you want a good result at the end ??

I look forward to following your build Danny as it looks like a nice model, love the colour scheme and Gary Paffett is one of the unsung heroes in motorsport IMHO !!

BigGrin Kev
Senna94
#4 Posted : 12 December 2011 18:08:46

Rank: Pro

Build-Diary Medal: Build-Diary Medal of Honour
Groups: Registered

Joined: 07/04/2011
Posts: 251
Points: 741
Location: Leeds
Cheers guys! I thought I'd replied to this but for some reason when I hit post, it didn't!

Been at this build again today, really enjoying it I must say. I think being a big DTM fan helps!

So today's aim was to get everything off the sprues, clipped the excess plastic off and sand all the parts down. I made good progress and even prepped the parts which are the same colour ready for airbrushing next time round.

After getting all the parts ready, I moved onto dry fixing a couple of parts to the body, which was quickly followed by glueing the parts on! Door handles and wing mirrors done.
Gearbox put together, had a bit of a problem with this... looking at the manual it looks different to the part I had, so i clipped off a bit more off the end of the drive shaft, damn... now its too short to go into the engine! so a bit of thinking time and I came up with chopping the end off my cocktail stick and sticking it on the end and boom looks a treat! or will done once its sprayed! BigGrin
Fixed a few more parts to the inside shell, dashboard (or what is the dash, its nothing compared to road cars!) and the housing for what I think is going to be the gear stick and hand brake.
I don't know how many of you read the Tamiya magazine, but there is an article in this months ed, and its got a build report on both the Paffett and Schumacher DTM car, One thing I had noticed previously to reading this was the chrome parts provided with this model and that they shouldn't be chrome! It was brought up in the article and the fella who was building the cars stripped the chrome with bleach, which I've just done. De-chromed the exhaust's and wheels and going to repaint them as like the real car. Going to try and add some heat staining to the exhausts (Be great experience for when I get round to doing the MP4-23 exhaust & manifolds!) I'll keep you updated with that, just about to order the paints off Hiroboy.
Spoiler fixed together and I called it a day, my back and neck are killing from bending over all day! LOL


Here's some pics from the day - Note the one with the spoiler is a dry fit!

Finishing the Day!


Close up off the doorhandles and wing mirror (bit of a rubbish pic!) -


Inside the car, after fitting the dash etc -


The make shift part for the end of the drive shaft! -


Dry fit spoiler -


Any advice, tips, notes on this update, or if you have any info on heat staining, drop us a line! BigGrin

Danny
Building the McLaren MP4-23
SennaMentalMe
#5 Posted : 14 December 2011 23:04:22

Rank: Pro

Groups:

Joined: 24/08/2009
Posts: 48,827
Points: -13,348
BigGrin Hi Danny,

Making good progress and still enjoying it I see ?? Haven't seen the Tamiya mag article yet, will have to try and grab a copy next time I am in WHS as it sounds interesting. I am thinking of doing some subtle heat staining to my McLaren exhaust when the time comes and will probably put something up on the subject nearer the time if other commitments allow though not sure yet. I saw a tutorial on the net somewhere a few months ago and will try to find it again and post up for you to look at as an insight into how it is done.

Look forward to some more DTM, keep the updates coming !! BigGrin

BigGrin Kev


SennaMentalMe
#6 Posted : 16 December 2011 19:10:42

Rank: Pro

Groups:

Joined: 24/08/2009
Posts: 48,827
Points: -13,348
BigGrin Hi Danny,

Found that Heat Staining Tutorial on the net, that I was talking about in my last post. Have a look, it's really quite easy but you do need an airbrush to do it properly :

http://www.youtube.com/watch?v=OrygDXruGm0

Hope that helps ??

BigGrin Kev
Senna94
#7 Posted : 13 July 2012 14:26:24

Rank: Pro

Build-Diary Medal: Build-Diary Medal of Honour
Groups: Registered

Joined: 07/04/2011
Posts: 251
Points: 741
Location: Leeds
After finally moving and getting the rooms decorated its on to the models!
Just a few pics of the stage I'm at now, Also a few of my designated corner for modelling LOL

All ready for Airbrushing -


And my corner -


My model stack to build! -

Building the McLaren MP4-23
scotty2hotty
#8 Posted : 13 July 2012 15:00:46

Rank: Pro


Groups: Registered

Joined: 18/03/2011
Posts: 203
Points: 620
Location: Surrey
Nice!!!Blink Drool
scottww86
#9 Posted : 19 July 2012 16:18:44

Rank: Pro
Build-Diary Medal: Build-Diary Medal of Honour
Groups: Registered

Joined: 27/05/2011
Posts: 256
Points: 774
Location: barrow in furness
Lovely setup there mate! Got quite a collection of mclarens to keep you busy I see!
If at first you don't succeed........skydiving is not for you!
petpole
#10 Posted : 29 August 2012 21:49:17

Rank: Vice-Master
Active Service Medal: 500 post active service MedalTurquoise Medal: Turquoise Medal for model making know-how contributionBuild-Diary Medal: Build-Diary Medal of HonourRed Medal: Red Medal
Groups: Registered

Joined: 20/10/2010
Posts: 511
Points: 1,459
Location: Loughborough
That lot will keep you out of mischif for a while and you have a great set-up there, hope you will be doing build dieries for them as you do them.Drool Drool Drool Drool
Builds in progress: HMS Victory.HMS Surprise.
Completed builds: Revell London Bus 1/24.
Builds to do:Sovereign of the seas, Hms Albion.
Users browsing this topic
Guest (2)
Forum Jump  
You cannot post new topics in this forum.
You cannot reply to topics in this forum.
You cannot delete your posts in this forum.
You cannot edit your posts in this forum.
You cannot create polls in this forum.
You cannot vote in polls in this forum.

Powered by YAF | YAF © 2003-2009, Yet Another Forum.NET
This page was generated in 0.206 seconds.
DeAgostini