|
|
 Rank: Semi-Pro Level 1  Groups: Registered
Joined: 22/07/2012 Posts: 69 Points: 144 Location: Belgium
|
Karl was right, thanks man!  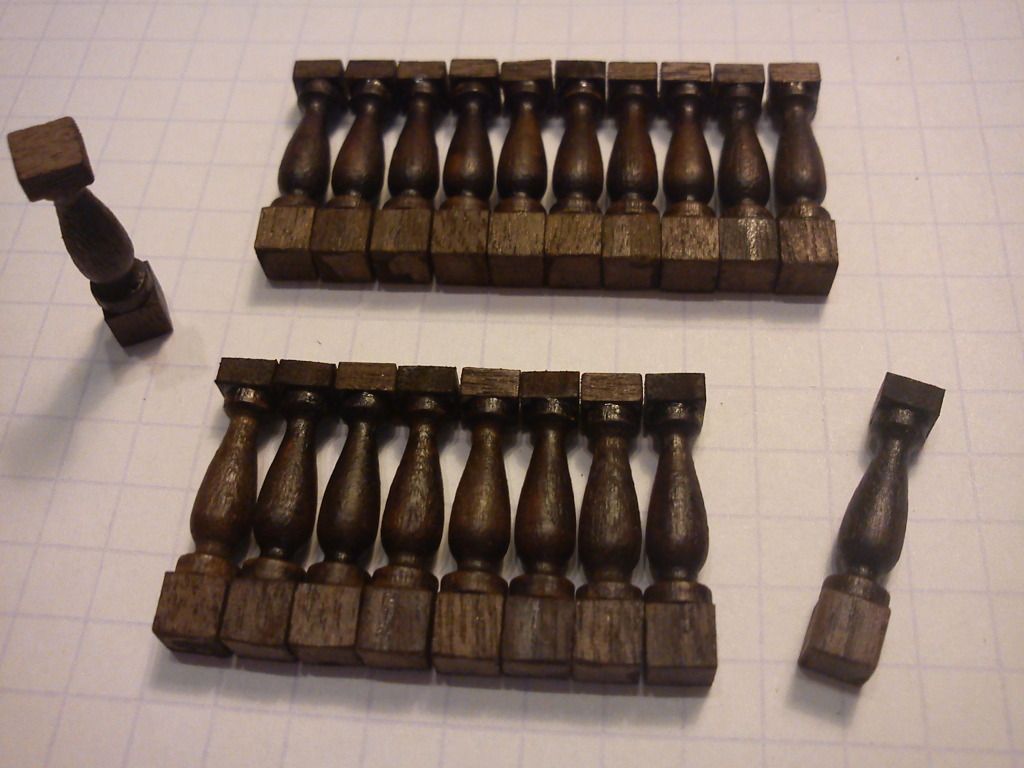
|
|
|
 Rank: Super-Elite      Groups: Registered
Joined: 24/04/2010 Posts: 5,787 Points: 17,662 Location: Stafford, United Kingdom
|
Hi Its all coming together  Regards Mike MWG BUILD DIARIES: HMS VICTORY, SOVEREIGN OF THE SEAS, SAN FRANCISCO II, HMS HOOD, HMS ENDEAVOUR LONGBOAT, HMS VICTORY X-SECTION, 007 DB5, NISSAN GTR, CUTTY SARK, RB7, AKAGI, BARK HMS ENDEAVOUR, HUMMER H1, MITSUBISHI ZERO.
|
|
|
 Rank: Semi-Pro Level 1  Groups: Registered
Joined: 22/07/2012 Posts: 69 Points: 144 Location: Belgium
|
|
|
|
 Rank: Super-Elite        Groups: Registered
Joined: 04/04/2010 Posts: 3,955 Points: 11,809 Location: uk
|
a credit to you mate,and thanks for the graphics tip.been practising like mad,made a table today,tomorrow the world  Current builds: SotS, USS Consitution, San Felipe, D51 loco, HMS Surprise, RB7, Arab Dhow, Jotika HMS Victory Completed builds: HMS Pickel, Thermopylae, Mississipi river boat, Mary Rose, Cutty Sark, San Francisco II, HMS Victory x5, Titanic Lifeboat, Panart HMS Victory Launch, Hachette Titanic, Virginia Schooner, Endeavour Longboat. http://www.model-space.com/gb/
|
|
|
 Rank: Pro Groups: Joined: 24/08/2009 Posts: 48,827 Points: -13,348
|
Hi Bameraam!  The new pillars look so much better!  Your lighting system is well above my capabilities, I think it's great! I'm looking forward to the next update, as this is definitely one of those diaries people need to keep checking on! Lots of good info!!! Darron
|
|
|
 Rank: Pro   Groups: Joined: 04/05/2012 Posts: 362 Points: 1,089
|
Hi Bameraam That is looking very good 
|
|
|
 Rank: Semi-Pro Level 1  Groups: Registered
Joined: 22/07/2012 Posts: 69 Points: 144 Location: Belgium
|
Thanks all for the kind words  reading the book i bought, there seemed to be gratings on the second deck as well (as stair cases too) So been working on these almost all day, had some try-outs before i came to the following: Milled my own strips of 1x3mm grating planks so they interconnect as the ones provided by DeAgostini. I found the ones provided not good enough, and added to that, the normal instructions don't include gratings to be present on the 2nd deck. Also, the box-like enclosure for the cannon balls really diminish the appearance of them, so here they are more visible. As a frame for the grating i used 3x3mm nutt wood, milled with a ball-shape cutter to get a curve & the "slots" for the cannon balls (2mm center-center) Tomorrow i'll check where to place them & finish the sanding & giving them a coat of stain: 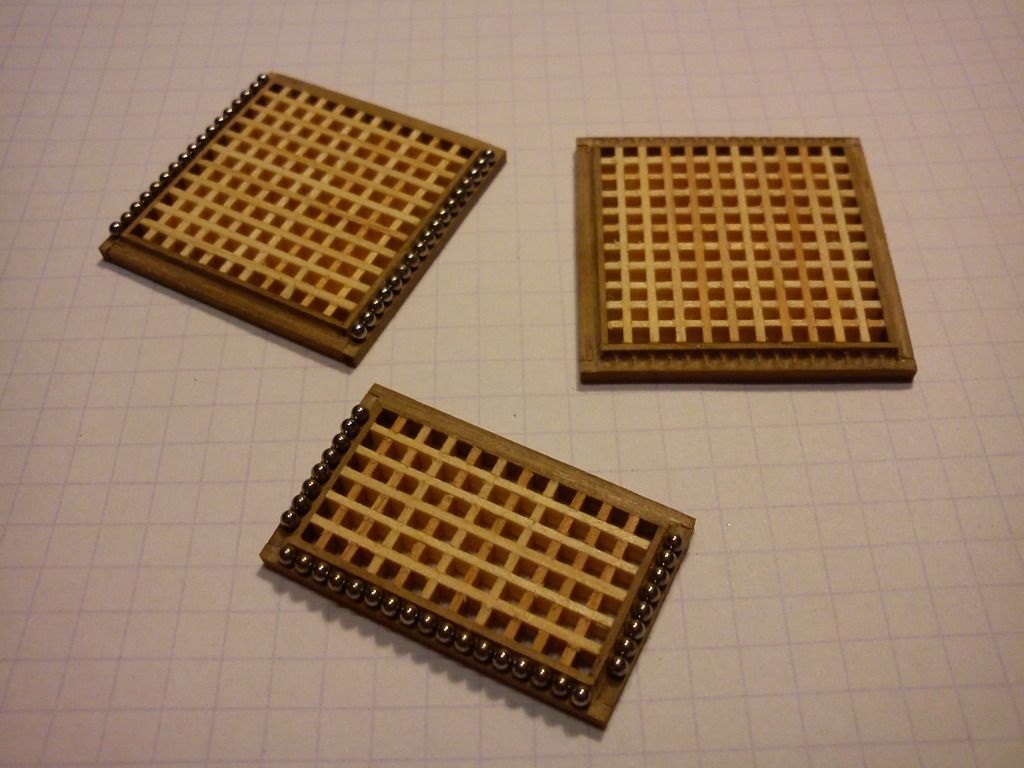 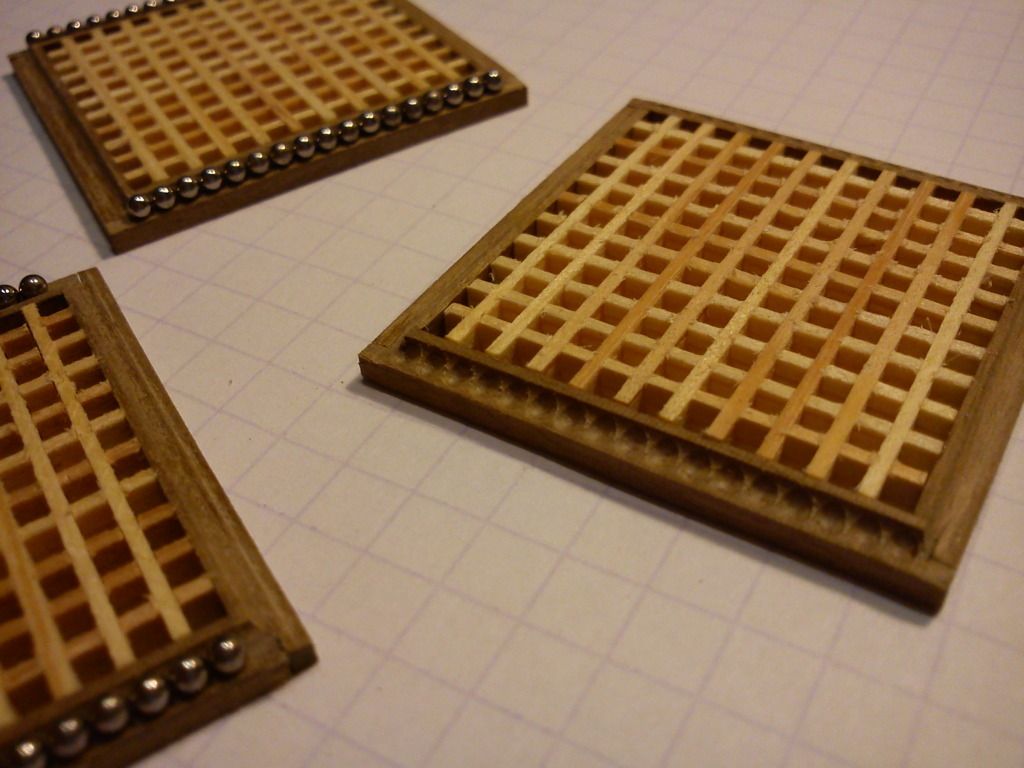 Best regards, Bam
|
|
|
|
|
looks superb. nice to see some deviation from the build in the name of improvement!!  “Whenever you find yourself on the side of the majority, it is time to pause and reflect.”
-Mark Twain
|
|
|
 Rank: Elite       Groups: Registered
Joined: 22/03/2010 Posts: 2,065 Points: 6,295 Location: Gorleston-on-sea
|
Excellent build!! I agree with you there Jase...  Current Builds: Deagostini HMS Victory: Deagostini HMS Sovereign of the seas. Completed Builds: Del Prado: HMAS Bounty: Hachette: RMS Titanic: Del Prado: Cutty Sark...
|
|
|
 Rank: Pro   Groups: Joined: 04/05/2012 Posts: 362 Points: 1,089
|
Hi Bam Your Gratings look fantastic 
|
|
|
 Rank: Semi-Pro Level 1  Groups: Registered
Joined: 22/07/2012 Posts: 69 Points: 144 Location: Belgium
|
Hi folks, Been a while since i did an update here, sorry. Have been working mostly on some hull planking & at the midsection finishing & lighting. Leaves me still to put a mild varnish on it, and maybe add 2 more LED at the entrances themselves. Find them a little too dim to my liking.. Thanks for checking & happy holidays to all Best regards, Bam 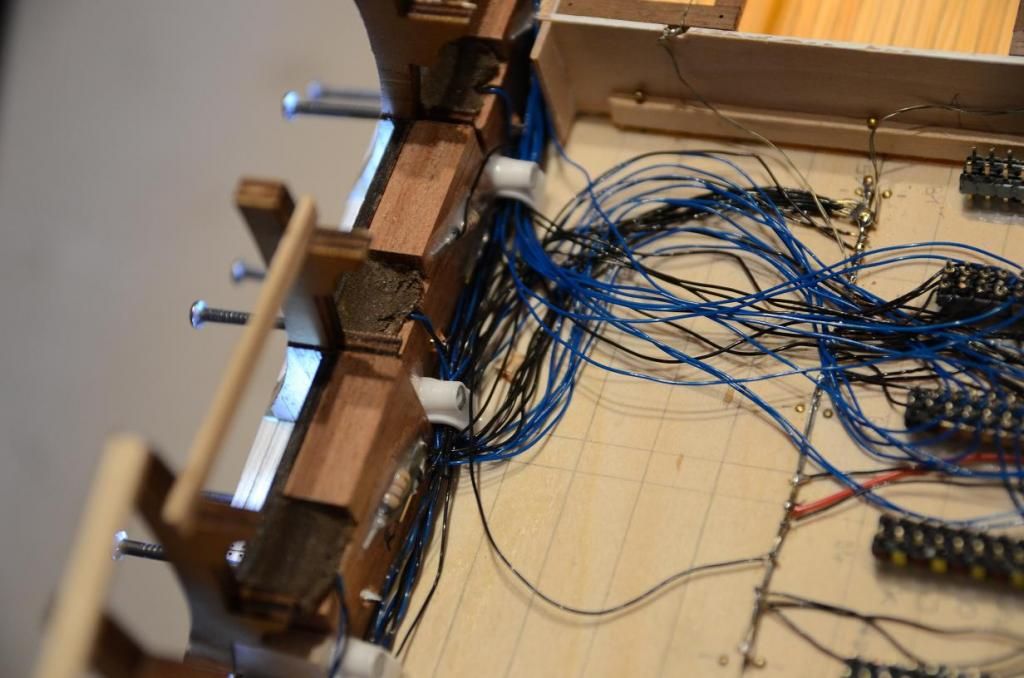 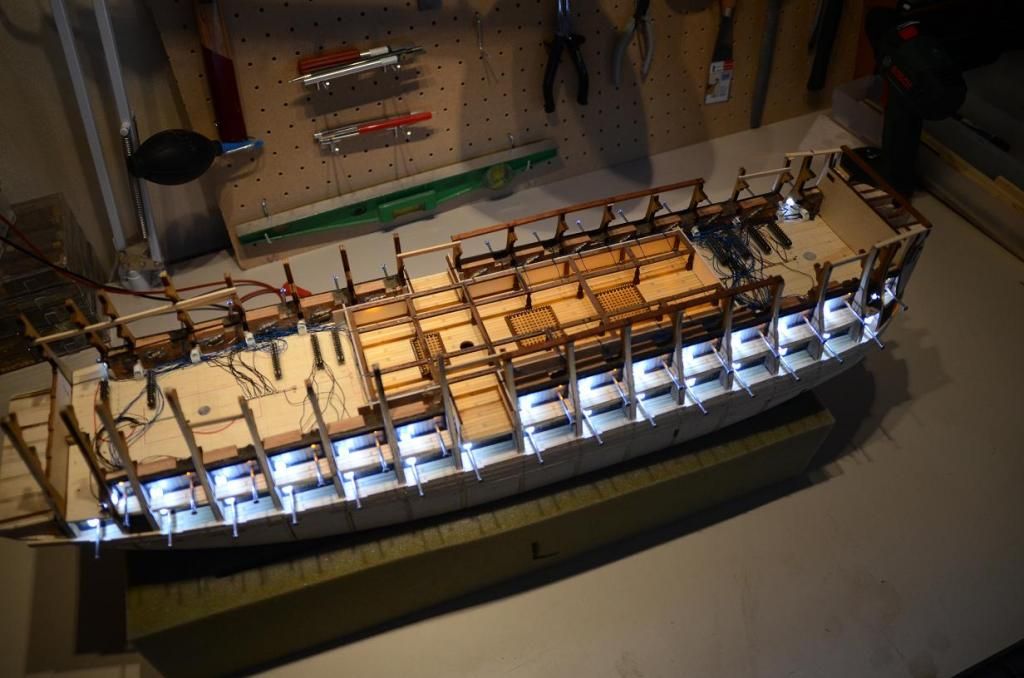 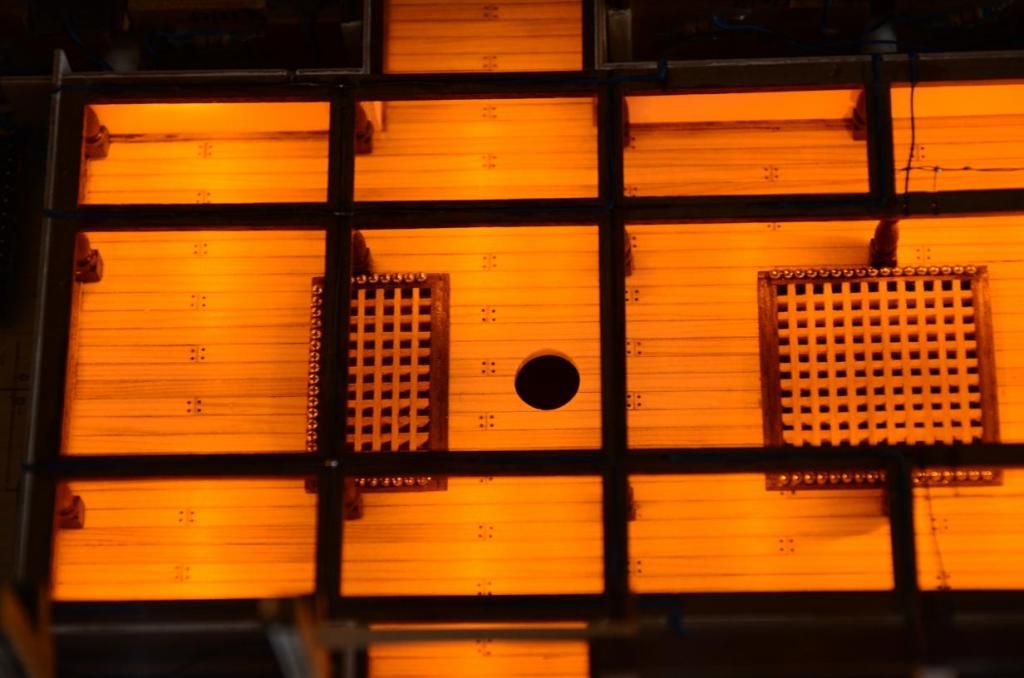 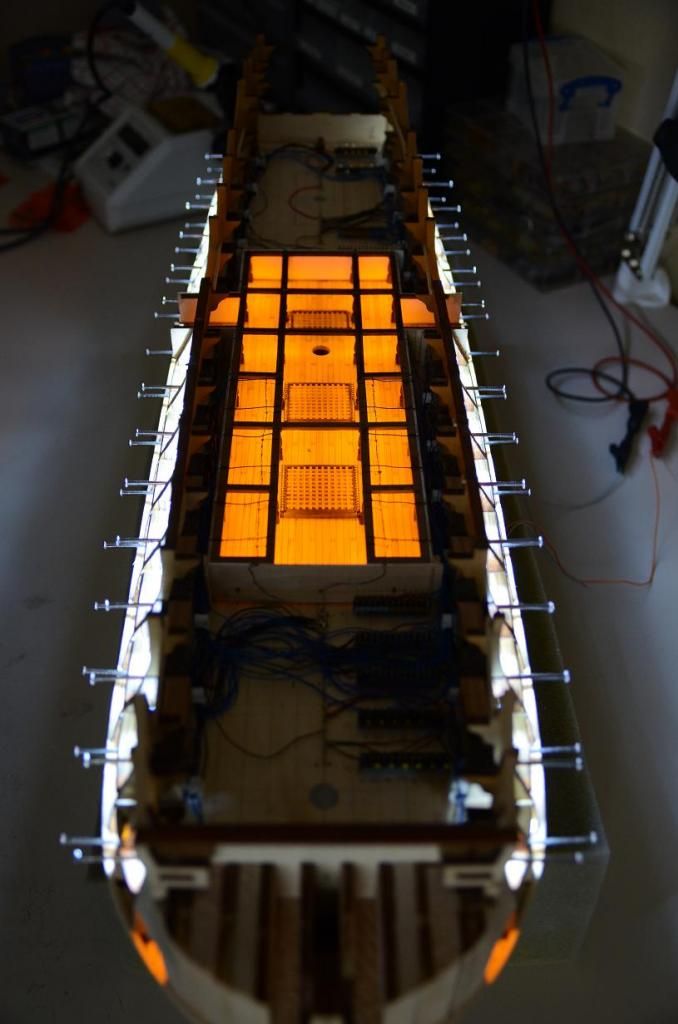 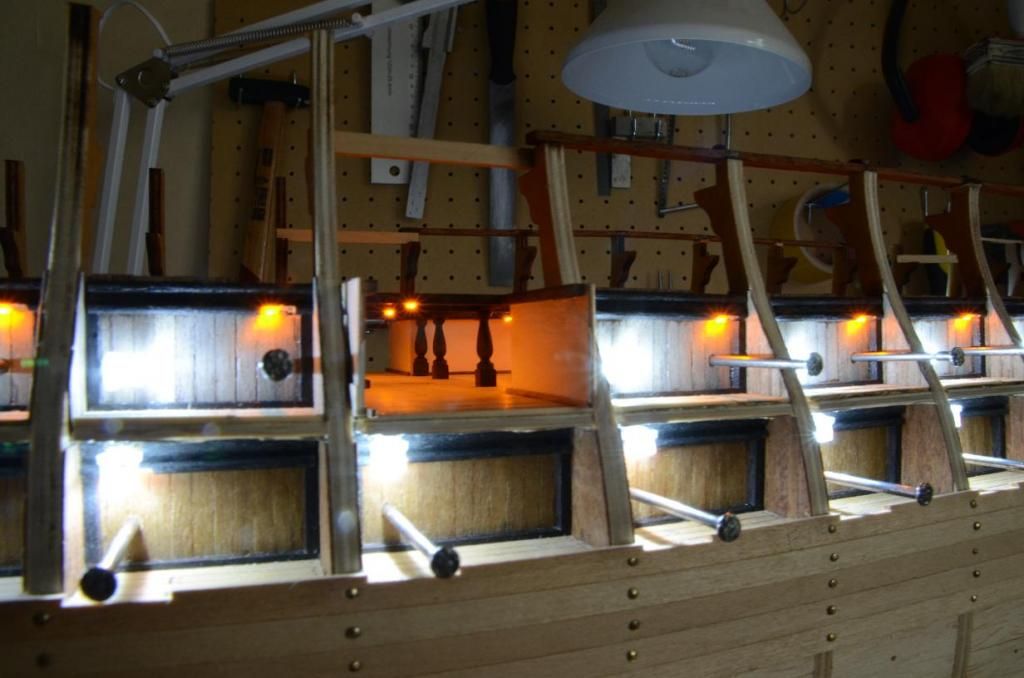 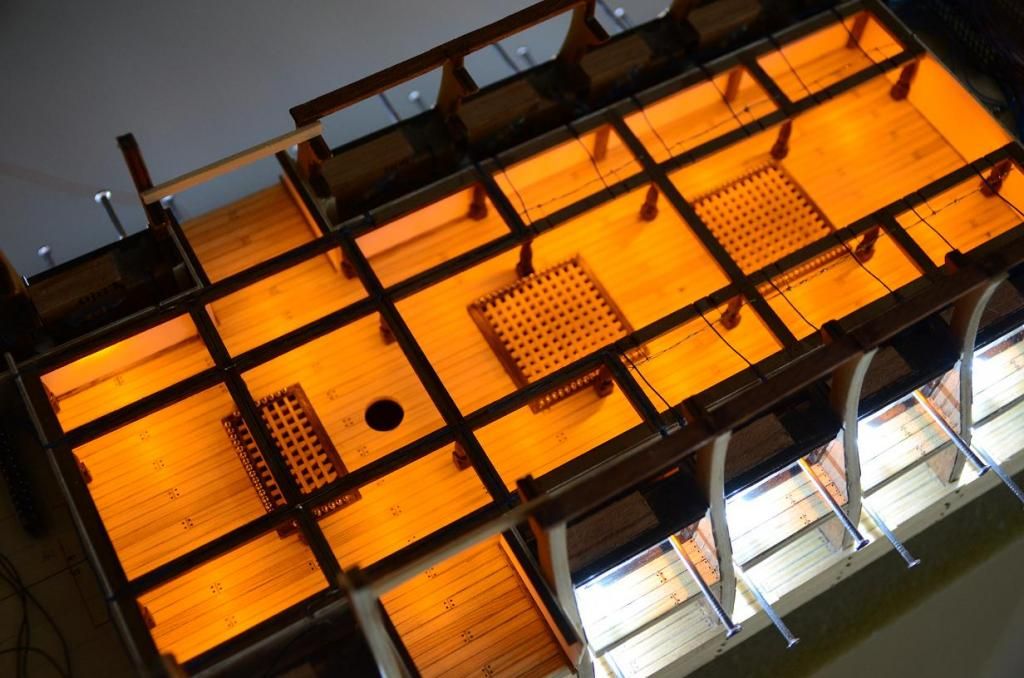 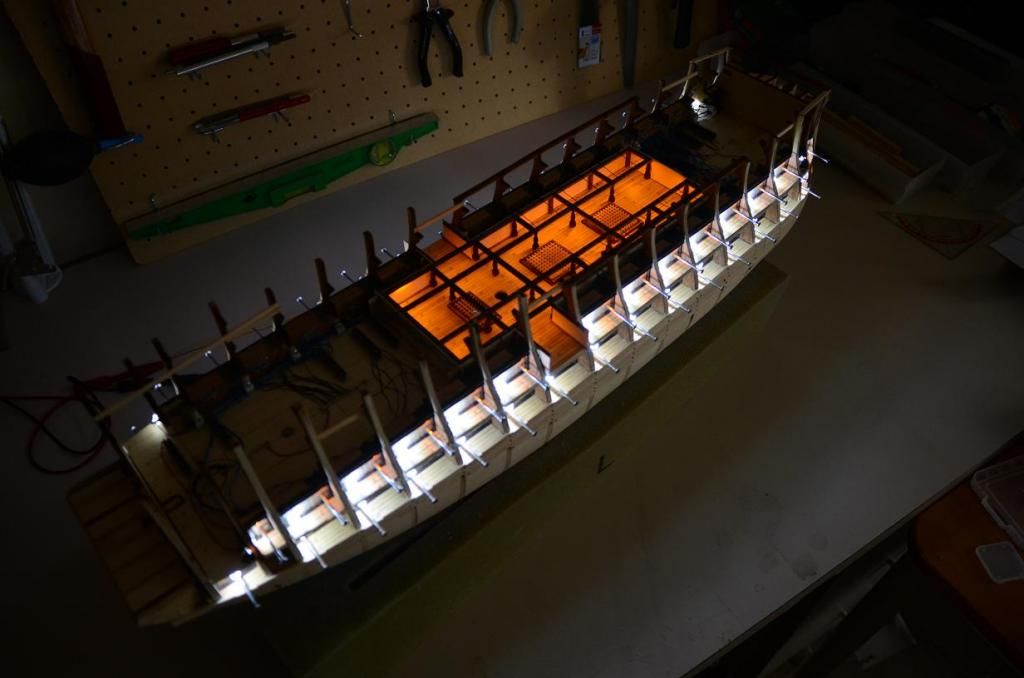 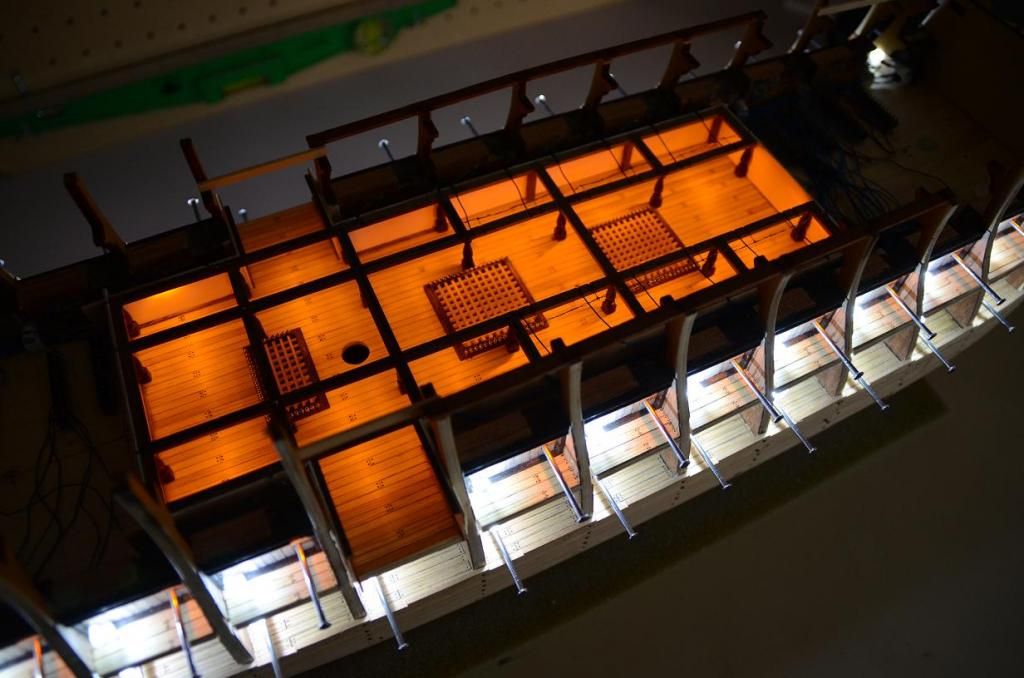
|
|
|
 Rank: Pro     Groups: Registered
Joined: 20/09/2012 Posts: 169 Points: 476 Location: Bradford
|
Awsome lighting job Bam. I can tell you are having fun  Model boats built so far:-
Billings Cutty Sark
Scratch built twin IC RC Vosper MTB.
Scratch built rc electric hybrid.
Scratch built rc IC hydrofoil (ran happily on snow as well as water!)
Plus numerous numerous RC planes.
Under construction
Sovereign of the Seas!
1200:1 HMS Victory (by Mantua)
The Battleship Yamato (seriously considering building as an RC model)
|
|
|
 Rank: Pro  Groups: Registered
Joined: 24/01/2011 Posts: 206 Points: 614 Location: halifax
|
fantastic work love the lighting effects  
|
|
|
 Rank: Vice-Master        Groups: Registered
Joined: 17/11/2012 Posts: 863 Points: 2,608 Location: Gohfeld (Germany)
|
A lot of work, very nice! Regards, Bernd
|
|
|
 Rank: Pro   Groups: Registered
Joined: 14/12/2010 Posts: 142 Points: 425 Location: Grantham
|
Looks awesome, I can't wait to see this when its completed.
Regards
Craig
|
|
|
 Rank: Semi-Pro Level 1   Groups: Registered
Joined: 24/09/2012 Posts: 67 Points: 240 Location: Northamptonshire
|
Hi Bam, looking amazing, Im doing the same with my SOTS build, good to see what someone else has done, be able to see the affect the lights have. Keep up the good work, will be following your build with interest. Paul
HMS Sovereign Of The Seas
|
|
|
 Rank: Pro   Groups: Registered
Joined: 29/03/2010 Posts: 190 Points: 512 Location: Lytham UK
|
Hi Vik... Great build diary, lots of detailed work. best regards, Ian Ian Builds in progress: E-type, HMS Victory, HMS Endeavour, HMS Soverein of the Seas Wish list: Bentley Blower http://forum.model-space...spx?g=posts&m=30439
http://mxpublishing.co.uk/engine/shop/product/9781780920184/Hunt+for+the+Blower+Bentley
|
|
|
 Rank: Pro   Groups: Joined: 04/05/2012 Posts: 362 Points: 1,089
|
Hi Bam, your lights look fantastic 
|
|
|
 Rank: Semi-Pro Level 1  Groups: Registered
Joined: 22/07/2012 Posts: 69 Points: 144 Location: Belgium
|
Hey everyone, Still working even though updates don't come that often. Been working on the firmware of the controllers, and it's (finally) done now. What has been lacking inside the model, was the controller PCBA, so here that is. The firmware was debugged on a debug PCBA i made. Basically what it does is: Serial Port Computer -> Master PIC (on these pictures) -> I²C protocol -> Slave PIC controller -> LED output. And a whole list of available commands to send, the most important are: - When you press "," on the keyboard, all the white LED will flash with a certain "cannon-fire" sequence. For the remainder all white LED's are off (for now) - Each slave PIC (previous pictures) has 15 LED's on its pins. These can either be white ones or yellow ambient LEDs. Each pic also has some EEPROM memory inside (255bytes), so i use this space to program 'presets'. This will allow, when selected (keyboard O, P, Q, ....), to light up only certain area's of the vessel. For example 'captain's cabin' or lower deck, etc - When pressing "+" or "-" (after selecting a target LED), i can tweak the LED brightness from 0-255. And also store it to a certain 'preset' EEPROM location. (EEPROM values are still present even after powerdown) This will allow me to finetune all the lights to the needed output level for all the places they're located. Play with shadows a bit, ... - There are some demo modes also: All On/Off/On/... running light, dimming up loop, dimming down, all off, all max on etc etc - After all electronics are inthere, there is no way to know which LED is wired to which pin of which slave PIC.. so added some commands (keys 0-1-2-....) that will briefly flash an LED 5 times so i see where it is (and can program it with + -) - One EEPROM location also contains a global dimming value, which is broadcasted to all slave PICs (no need to go to each slave individually to do so), allowing with 1 command to dim the whole boat equally - Some other code as well, mainly debug commands.. This took me quite a while to program & get to know the PIC devices, so the woodwork was on hold for all that time. Planning to continue that now :) Best regards & sorry for the late update Bam 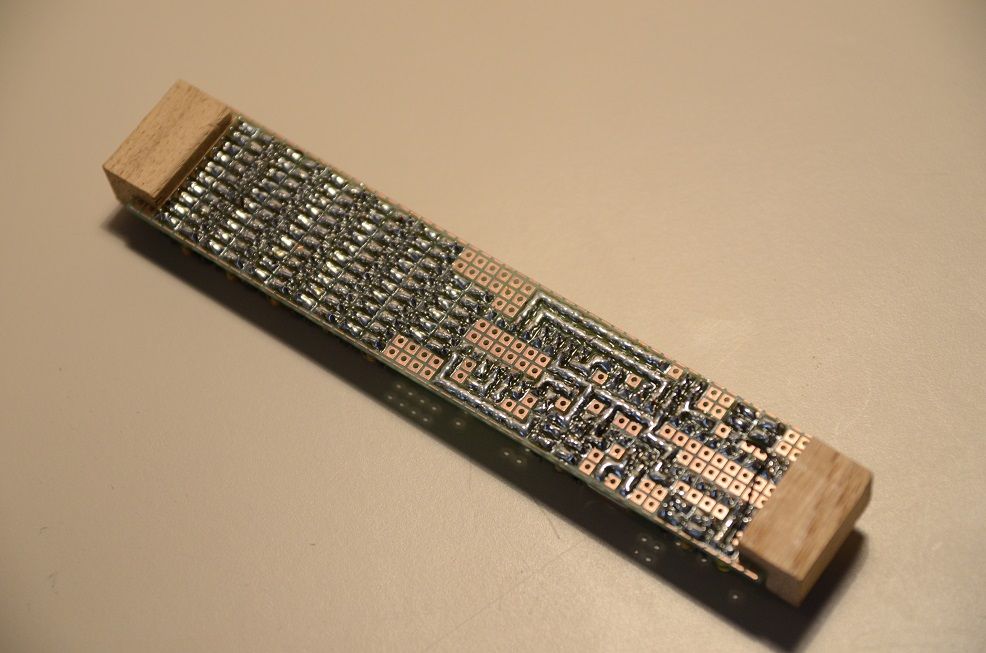 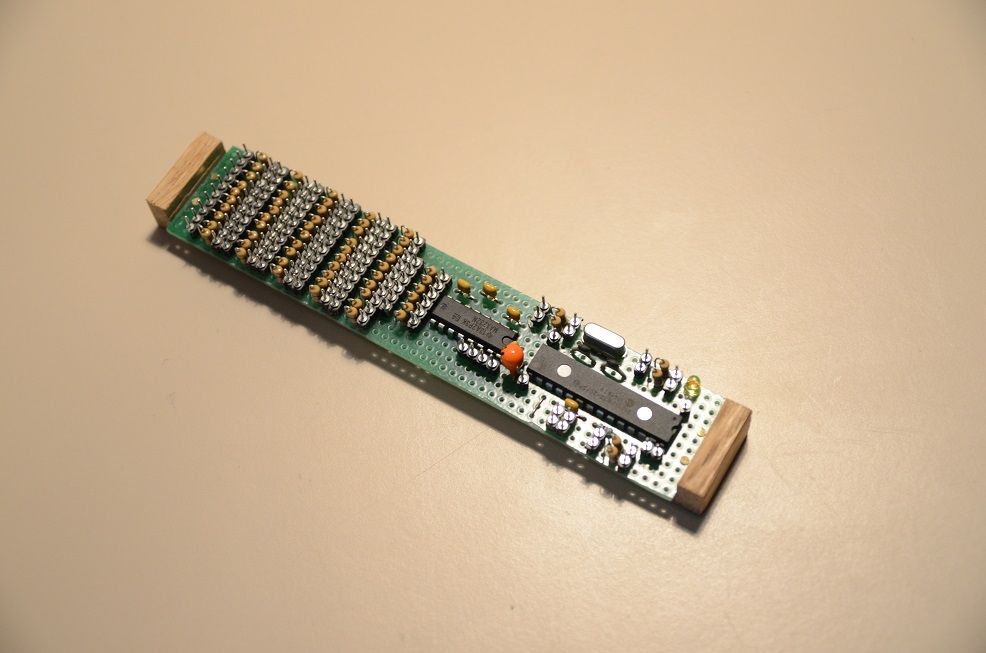
|
|
|
|
|
Interesting and very clever Bam, love to see how it all turns out.... lighting display should look fantastic....   Regards Alan
|
|
|
|
Guest
|