|
|
 Rank: Semi-Pro Level 2  Groups: Registered
Joined: 02/09/2012 Posts: 81 Points: 252 Location: Kingston upon Hull
|
Gandale wrote:Riggers, your anchor is very impressive indeed, looking forward to see how your build will progress....
Alan Hello Alan glad you like the anchor and thanks for your kind comments look in any time  Cheers Chris Builds in progress: DeAgostini HMS VictoryDeAgostini McLaren MP4-23 " If it looks right then it is right "
|
|
|
 Rank: Semi-Pro Level 2  Groups: Registered
Joined: 02/09/2012 Posts: 81 Points: 252 Location: Kingston upon Hull
|
Hello everyone, I have now finished part one of the launch this is how I got on. Removed the jig from the plywood sheet using a scalpel and attached the two support strips. 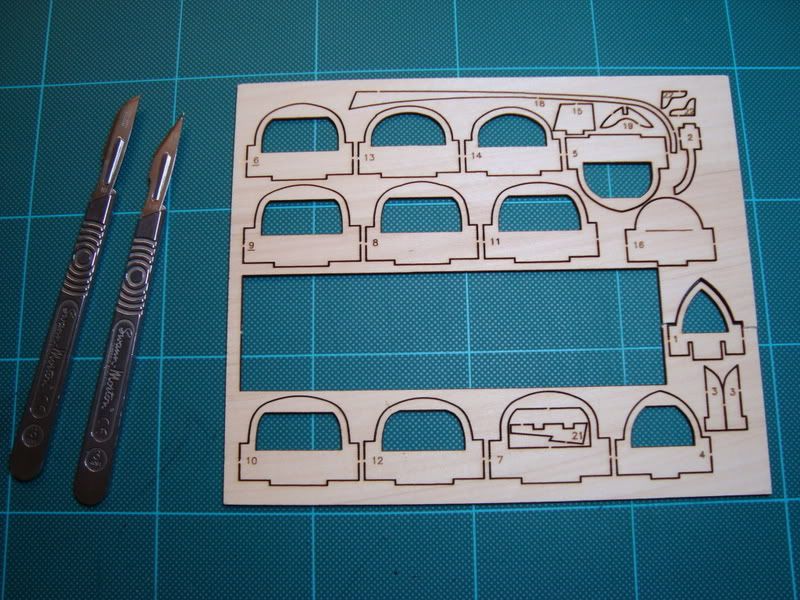 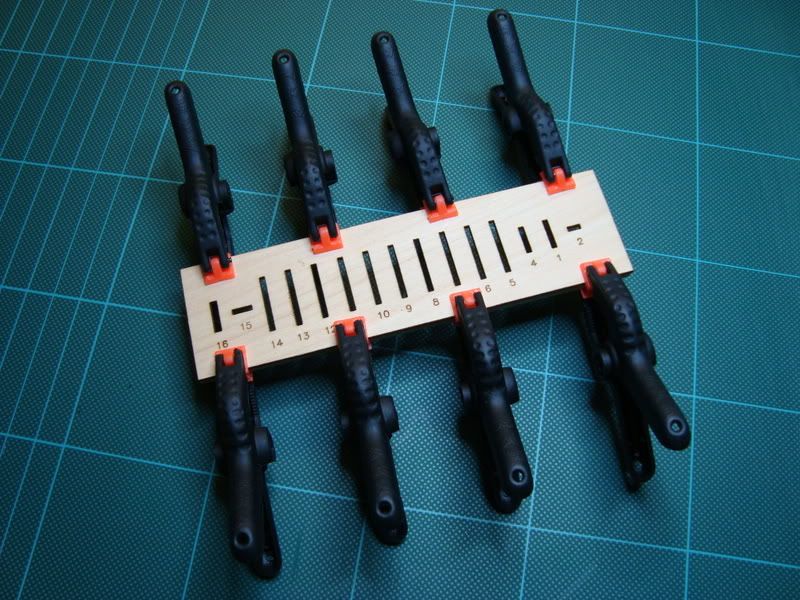 Then carefully removed all the remaining parts... 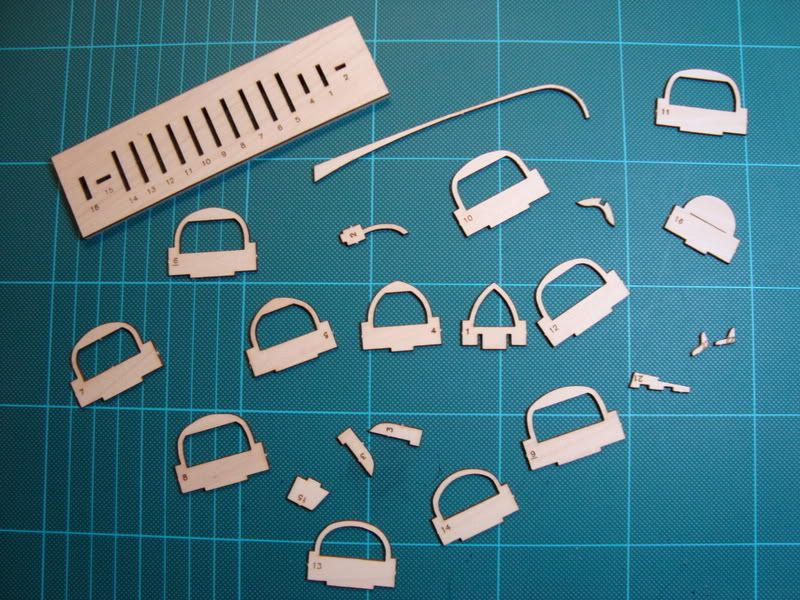 and glued all the frames in place making sure each one was square to the jig. 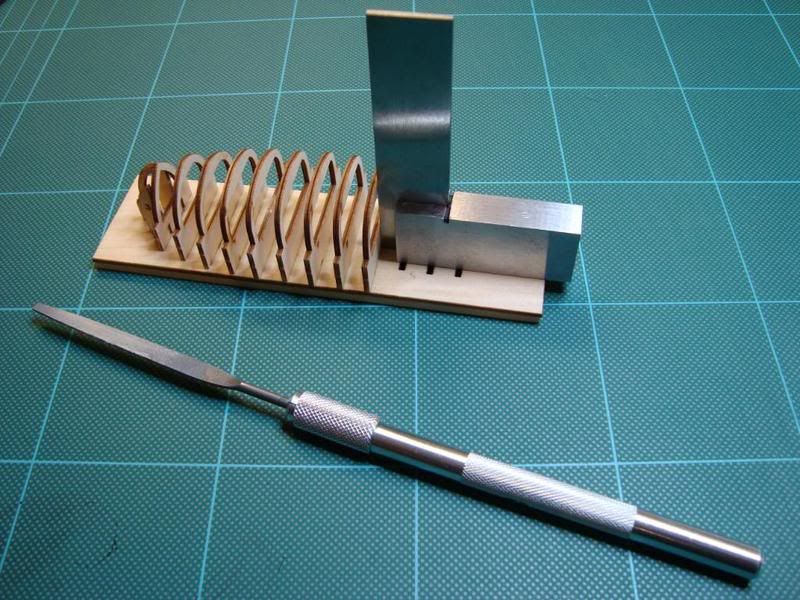 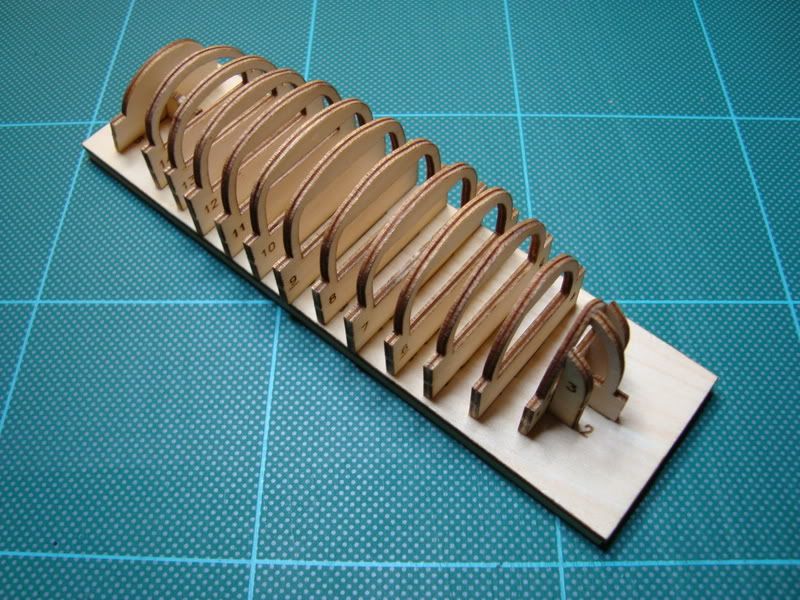 Modifications: None. Problems: All slots in the jig had to be widened using a flat file before the frames would properly fit. Be very careful with the frames I broke frame 5 inserting it into its slot and had to do a repair. May be it's just me who's heavy handed!  That's it till next time thanks for reading... Any comments or questions most welcome... Cheers Chris Builds in progress: DeAgostini HMS VictoryDeAgostini McLaren MP4-23 " If it looks right then it is right "
|
|
|
 Rank: Semi-Pro Level 2  Groups: Registered
Joined: 02/09/2012 Posts: 81 Points: 252 Location: Kingston upon Hull
|
Hi everyone I've now finished part 2 of the launch this is how I got on. One thing I found difficult when I first started making my Victory was what tools and materials to use so I thought to assist new builders of the Victory I would from now on include an image of the tools etc that I used with each stage of construction. This is only what I used other people may use different items. Although I've never done this before fairing the hull was straight forward to help me I kept placing a plank on the launch ribs as I sanded away making sure it touched every rib. 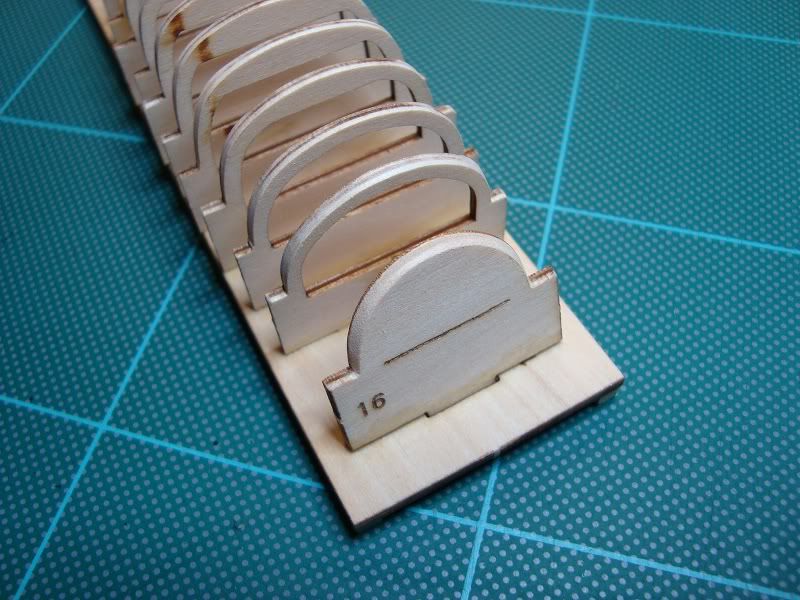 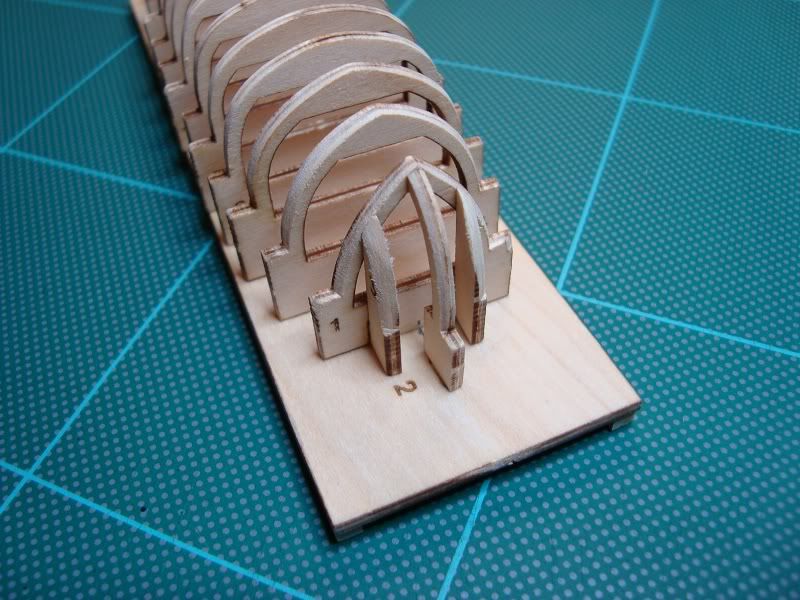 I used a 20mm sanding block with P180 sand paper and a mini flat file. 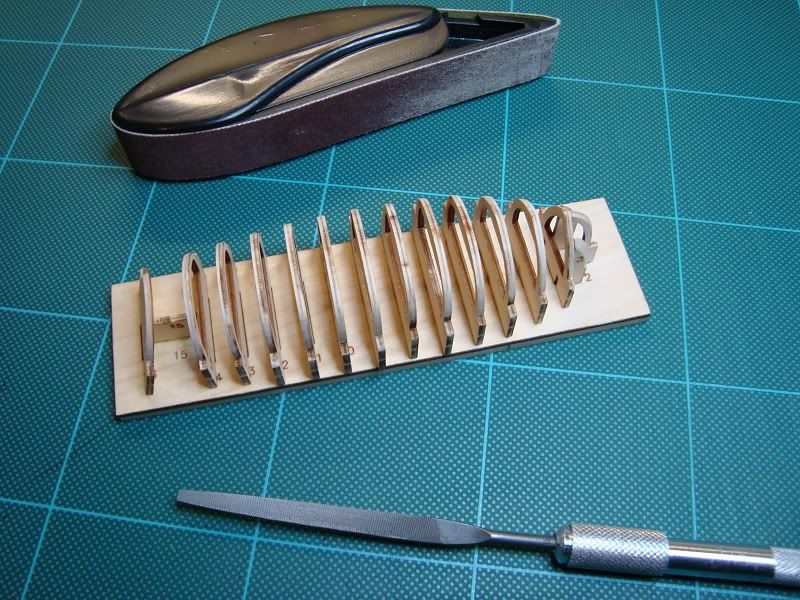 Laid my FIRST EVER PLANK  bent the plank to shape with a plank bender then glued it in place using thick super glue. (As mentioned in Mr T's official build diary) The bow end was cut to shape with a scalpel. 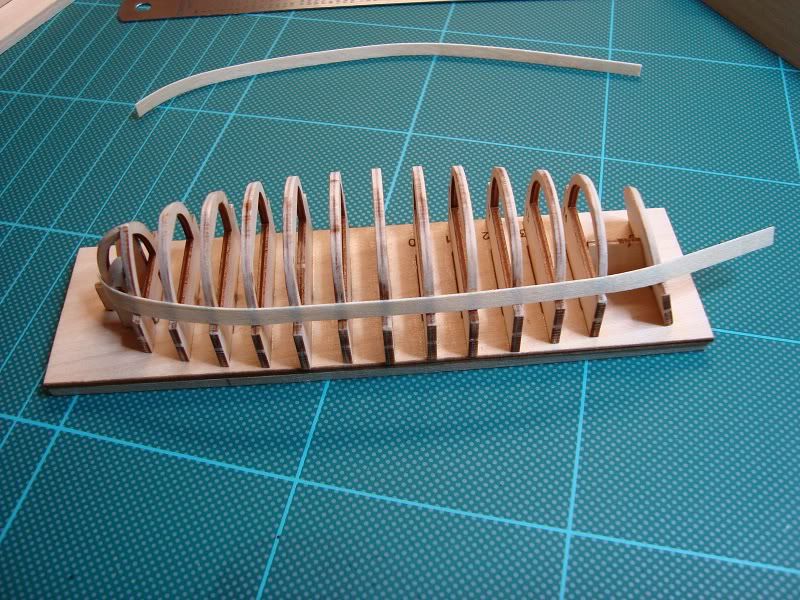 I then carried on laying planks until the hull was complete. Brushed the complete hull with wood glue to fill all the plank joints wiping the access off with a damp cloth then finishing off with a light sanding filling any indents and imperfections with super filler mixed with a little wood glue. (The filler on its own seemed far too soft when sanded hence the added wood glue). 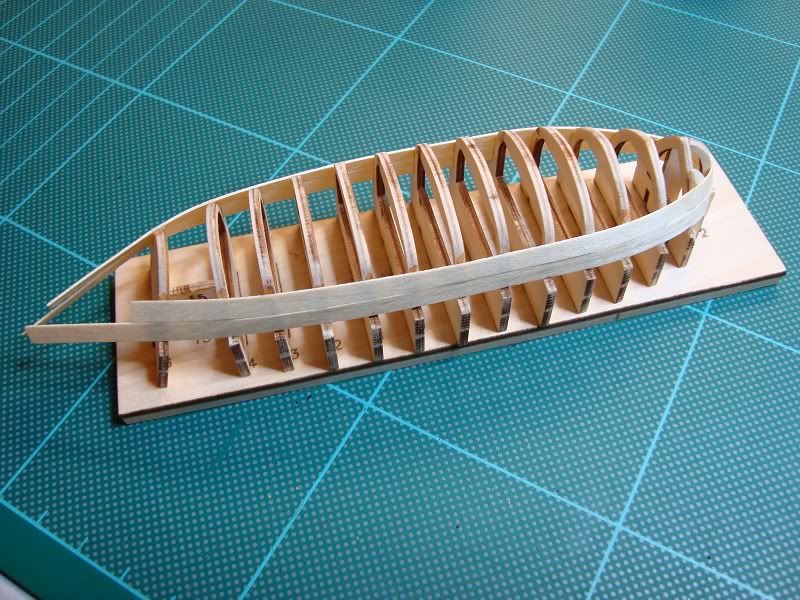 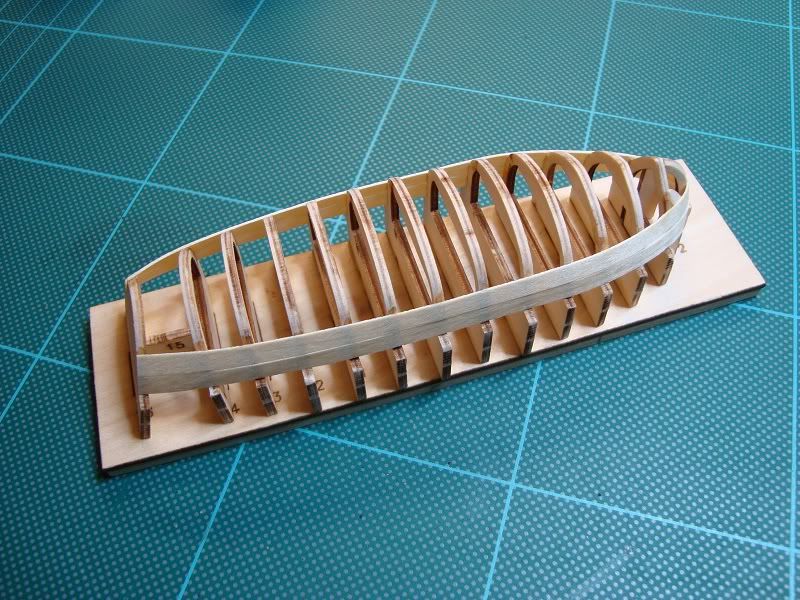 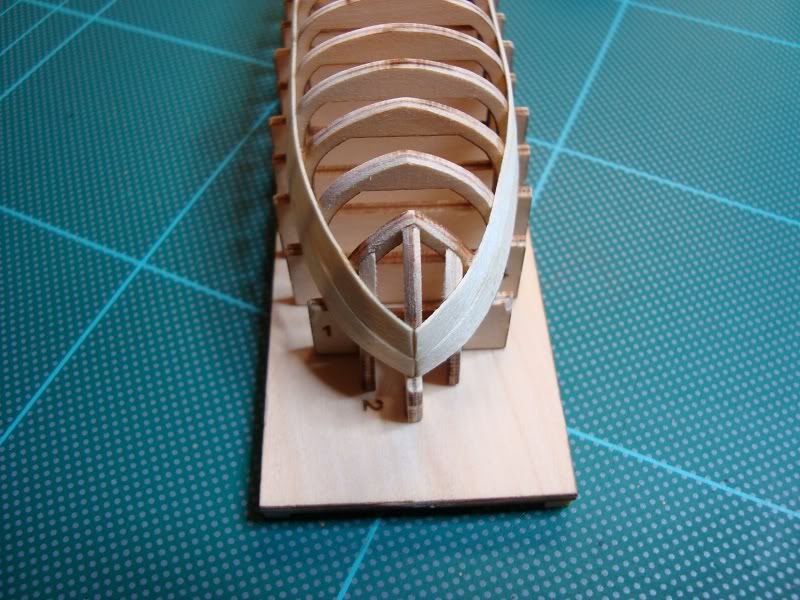 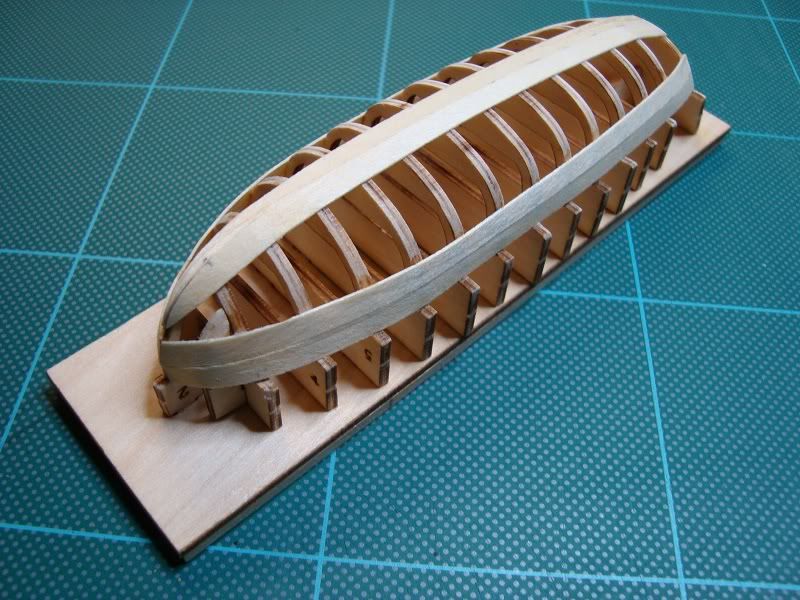 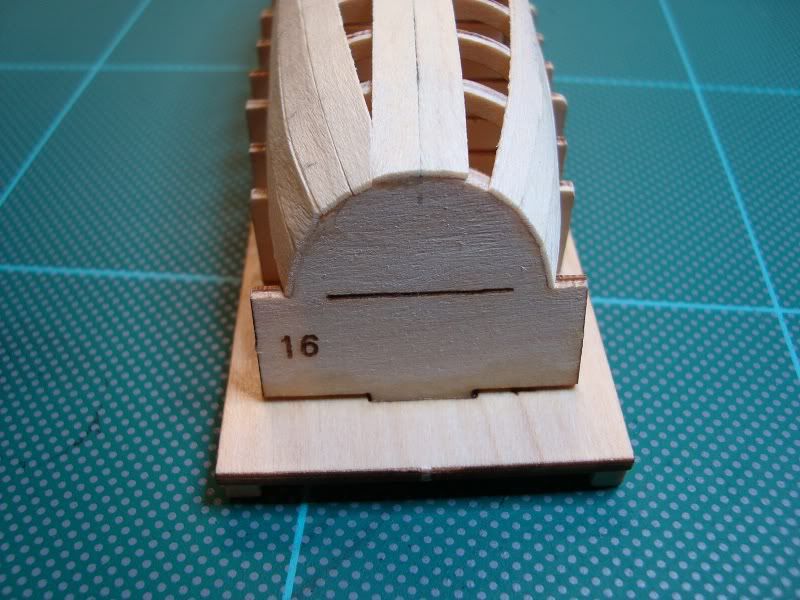 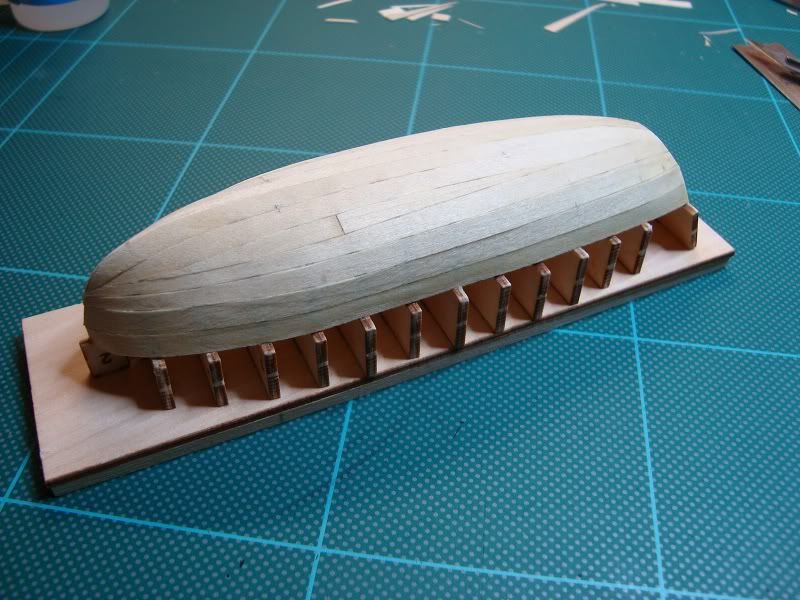 For my first attempt at a wooden hull I was well pleased  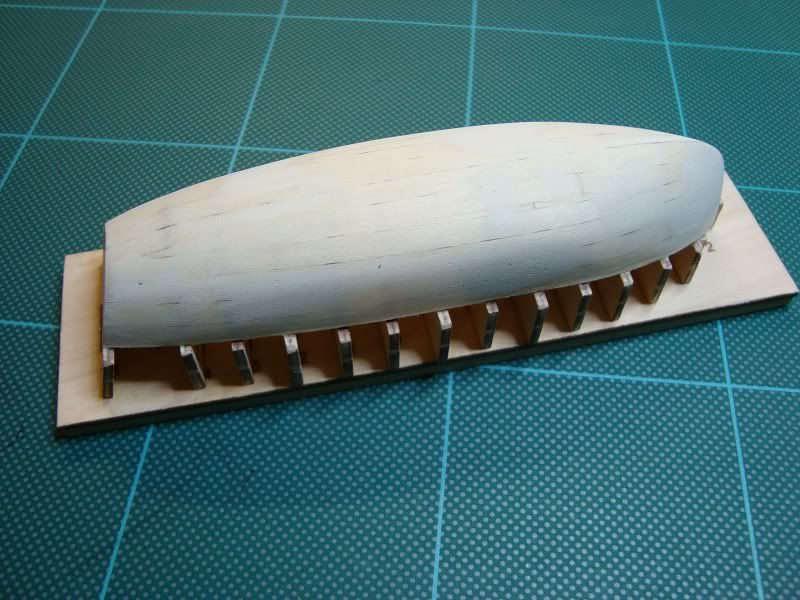 Lastly the double plank around the top of the launch was fitted again with thick super glue and finished off by brushing wood glue around the edge cleaning off the access with a damp cloth. 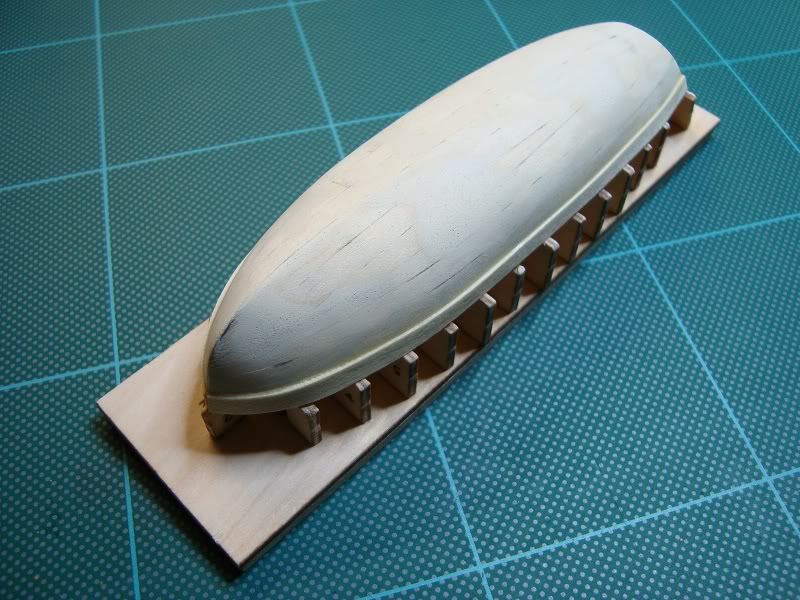 Here are the tools I used. The plank bender was amazing it was expensive (had to save up for it) but worth every penny I can see it coming in very handy on the planks on the main hull. I have two scalpels each with a different shape blade fitted a No10 and a No10A that way you don't have to keep changing to a different blade should you need to if you only have one scalpel. 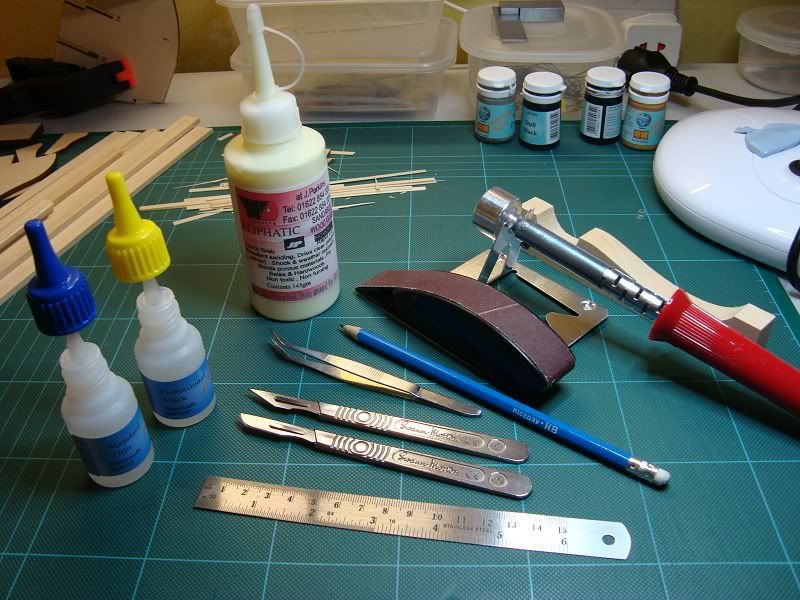 The only thing left to do was to cut the launch from the jig with a razor saw and scalpel. Job done for stage two of the launches build. 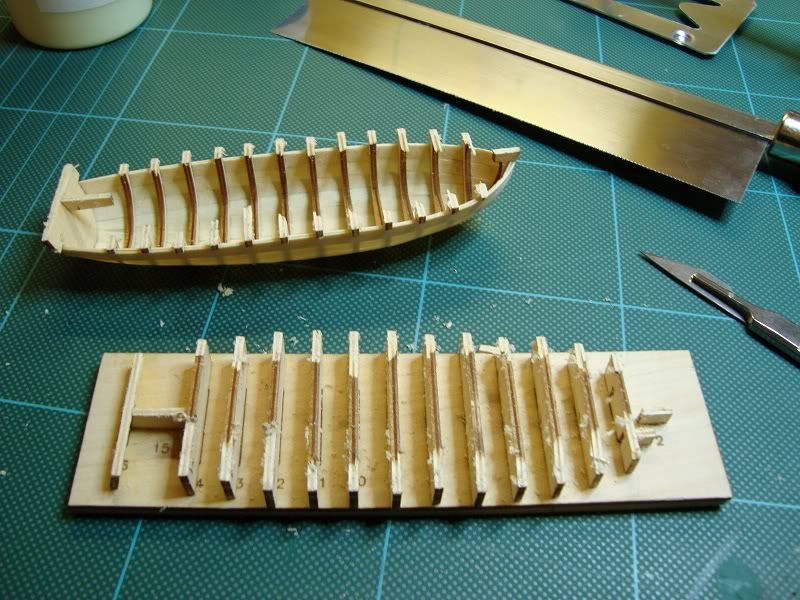 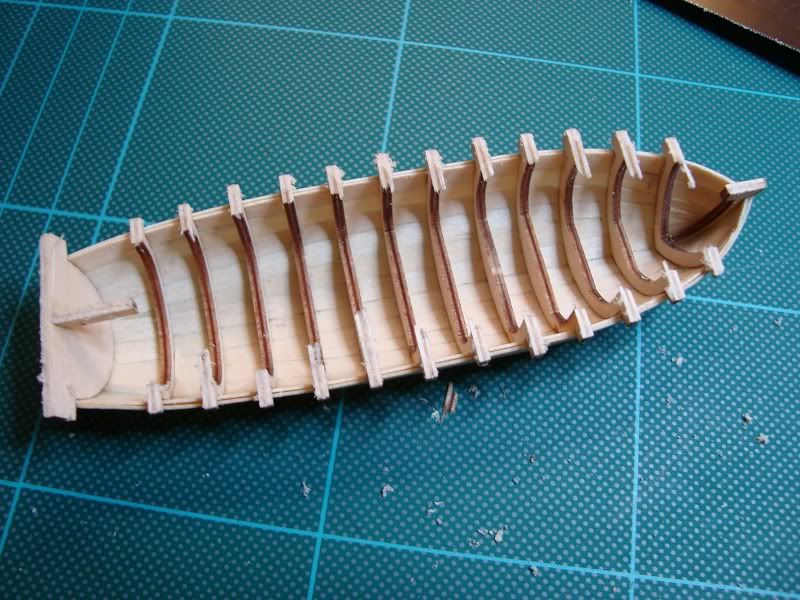 Enjoyed my first steps into wooden ship building and am looking forward to fitting out the launch. That's it till next time thanks for reading... Any comments or questions most welcome... Cheers Chris Builds in progress: DeAgostini HMS VictoryDeAgostini McLaren MP4-23 " If it looks right then it is right "
|
|
|
 Rank: Pro Groups: Joined: 24/08/2009 Posts: 48,827 Points: -13,348
|
Very competent attempt at the launch there Riggers!
You have taken to this hobby like a duck to water, keep it up, a master in the making!!!
Great stuff, all the best, Steve..
|
|
|
 Rank: Master        Groups: Registered
Joined: 20/09/2011 Posts: 1,312 Points: 4,126 Location: Austria
|
Coming along nicely - keep up the good work! Greetings,
Walter
Present builds:
Revell B-24D Liberator 1:48
On the shelf:
Italeri "Fiat Mefistofele", Italeri "Moto Guzzi California", Fokker "Red Baron", Revell Bismarck, Revell Tirpitz, Arab Dow, Stage Coach, .....
Completed builds:
McLaren MP4/4, D-51 Steam Locomotive, HMS Victory, GWH F-15D Eagle, St. Stephen`s Cathedral (cardboard), Solar-powered paddle Steamer (little project with my son), HMS Victory X-section, "Geli" Phantom II (cardboard)
|
|
|
 Rank: Super-Elite      Groups: Registered
Joined: 24/04/2010 Posts: 5,787 Points: 17,662 Location: Stafford, United Kingdom
|
Hi Riggers, Top Job  Regards Mike  MWG BUILD DIARIES: HMS VICTORY, SOVEREIGN OF THE SEAS, SAN FRANCISCO II, HMS HOOD, HMS ENDEAVOUR LONGBOAT, HMS VICTORY X-SECTION, 007 DB5, NISSAN GTR, CUTTY SARK, RB7, AKAGI, BARK HMS ENDEAVOUR, HUMMER H1, MITSUBISHI ZERO.
|
|
|
 Rank: Master      Groups: Registered
Joined: 30/03/2011 Posts: 1,344 Points: 4,079 Location: Bryanston, Johannesburg. RSA
|
Well done Riggers. Looks great keep up the good work. Rgds, Hans
"It's okay to make mistakes. mistakes are our teachers - they help us to to learn, even if it is painfully"
Current Build:
Endeavour Cross section,D51
Completed: HMS Victory
Under the bench: Endeavour x 2,Sovereign of the Seas, Akagi and The Black Pearl!HMS Victory Cross Section
|
|
|
 Rank: Pro   Groups: Joined: 04/05/2012 Posts: 362 Points: 1,089
|
Hi Chris Your Launch is looking great 
|
|
|
 Rank: Semi-Pro Level 2  Groups: Registered
Joined: 02/09/2012 Posts: 81 Points: 252 Location: Kingston upon Hull
|
Hello Steve DaDokta Mike Hans & Peter thank you all for your kind comments much appreciated  Should have the next stage completed and ready to post this week along with some more tool ideas I missed out in my last post. Cheers Chris Builds in progress: DeAgostini HMS VictoryDeAgostini McLaren MP4-23 " If it looks right then it is right "
|
|
|
 Rank: Super-Elite       Groups: Registered
Joined: 16/08/2010 Posts: 2,771 Points: 8,344 Location: Brighton
|
Hi riggers. Great job. Keep up the good work. Ian  Current builds.Hachettes build the bismark,HMS Victory, HMS Hood.
Finished Builds Corel HMS Victory cross section.
|
|
|
|
|
Hi Riggers, very nice job of the launch hull indeed... look forward to seeing your posts in the future....  Alan
|
|
|
 Rank: Semi-Pro Level 2  Groups: Registered
Joined: 02/09/2012 Posts: 81 Points: 252 Location: Kingston upon Hull
|
ian smith wrote:Hi riggers. Great job. Keep up the good work. Ian  Thanks Ian  Cheers Chris Builds in progress: DeAgostini HMS VictoryDeAgostini McLaren MP4-23 " If it looks right then it is right "
|
|
|
 Rank: Semi-Pro Level 2  Groups: Registered
Joined: 02/09/2012 Posts: 81 Points: 252 Location: Kingston upon Hull
|
Gandale wrote:Hi Riggers, very nice job of the launch hull indeed... look forward to seeing your posts in the future....  Alan Hi Alan Thanks for popping in, glad you like the launch so far, next installment should be along at the end of the weekend  Cheers Chris Builds in progress: DeAgostini HMS VictoryDeAgostini McLaren MP4-23 " If it looks right then it is right "
|
|
|
 Rank: Super-Elite      Groups: Registered
Joined: 24/04/2010 Posts: 5,787 Points: 17,662 Location: Stafford, United Kingdom
|
Hi Riggers, really nice clean work  Regards Mike MWG BUILD DIARIES: HMS VICTORY, SOVEREIGN OF THE SEAS, SAN FRANCISCO II, HMS HOOD, HMS ENDEAVOUR LONGBOAT, HMS VICTORY X-SECTION, 007 DB5, NISSAN GTR, CUTTY SARK, RB7, AKAGI, BARK HMS ENDEAVOUR, HUMMER H1, MITSUBISHI ZERO.
|
|
|
 Rank: Vice-Master        Groups: Registered
Joined: 17/11/2012 Posts: 863 Points: 2,608 Location: Gohfeld (Germany)
|
Hi Chris! Nice work, can we see some new photos? Regards, Bernd
|
|
|
 Rank: Semi-Pro Level 2   Groups: Registered
Joined: 30/04/2015 Posts: 75 Points: 234 Location: St. Louis USA
|
Amazing. Wish you did not stop posting. It would had been cool to see how you work ended up. -JG In the workshop: HMS VictoryFinished builds: Providence Whaleboat
|
|
|
|
Guest
|