|
|
 Rank: Master        Groups: Registered
Joined: 20/09/2011 Posts: 1,312 Points: 4,126 Location: Austria
|
Amazing work, Bernd! Thanks for the tip with the additional holes - will use that once i get there. Cheers, Walter Greetings,
Walter
Present builds:
Revell B-24D Liberator 1:48
On the shelf:
Italeri "Fiat Mefistofele", Italeri "Moto Guzzi California", Fokker "Red Baron", Revell Bismarck, Revell Tirpitz, Arab Dow, Stage Coach, .....
Completed builds:
McLaren MP4/4, D-51 Steam Locomotive, HMS Victory, GWH F-15D Eagle, St. Stephen`s Cathedral (cardboard), Solar-powered paddle Steamer (little project with my son), HMS Victory X-section, "Geli" Phantom II (cardboard)
|
|
|
 Rank: Master      Groups: Registered
Joined: 30/03/2011 Posts: 1,344 Points: 4,079 Location: Bryanston, Johannesburg. RSA
|
Excellent job there Bernd. Looks so crisp and clean. Rgds, Hans
"It's okay to make mistakes. mistakes are our teachers - they help us to to learn, even if it is painfully"
Current Build:
Endeavour Cross section,D51
Completed: HMS Victory
Under the bench: Endeavour x 2,Sovereign of the Seas, Akagi and The Black Pearl!HMS Victory Cross Section
|
|
|
 Rank: Pro Groups: Registered
Joined: 31/12/2011 Posts: 123 Points: 369 Location: Graz, Austria
|
Thanks, everyone, for having a look at my build diary! Next on my list was adding the shrouds 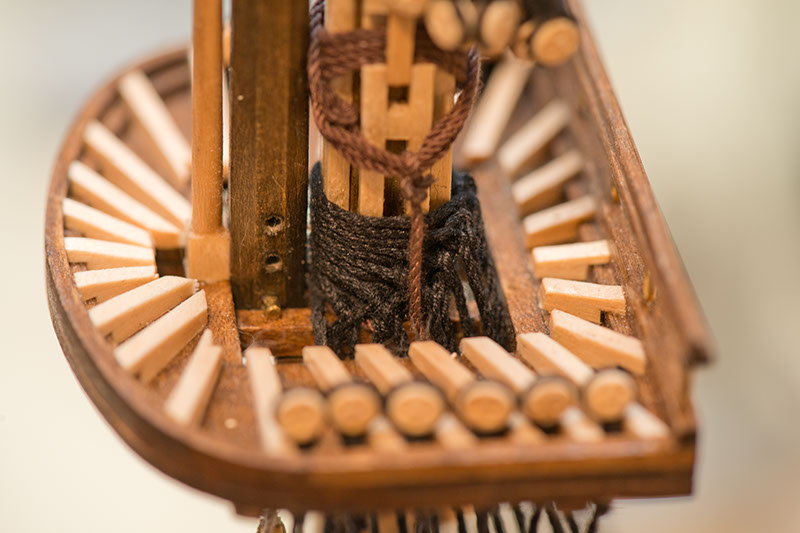 and deadeyes ... 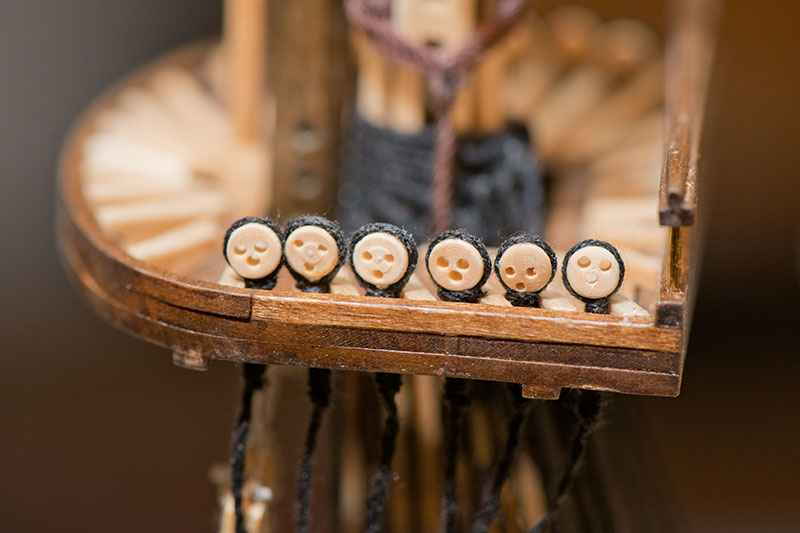 and binding some 120 deadeyes to the ends of the shrouds, this being the first one: 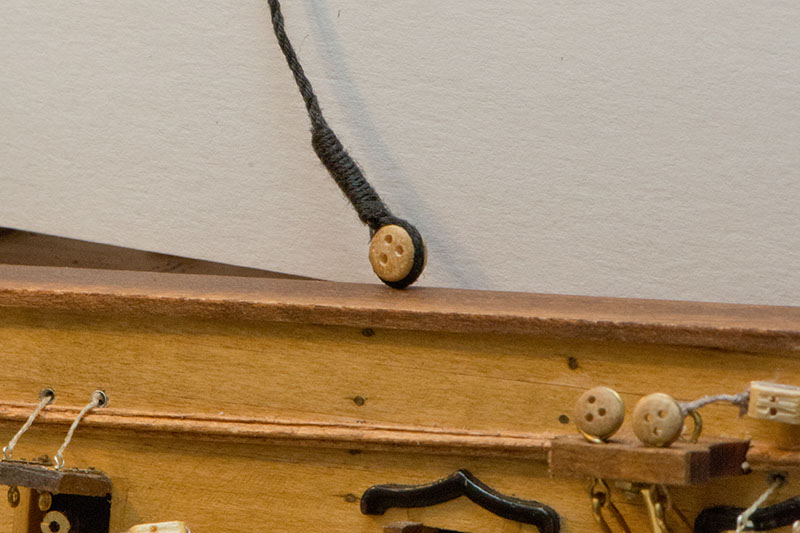 At the same time, to have some job variation, I started with the hammock nets 
|
|
|
 Rank: Pro Groups: Registered
Joined: 31/12/2011 Posts: 123 Points: 369 Location: Graz, Austria
|
Following the suggestions of others, I left a "pin" at the bottom of the hammock cranes 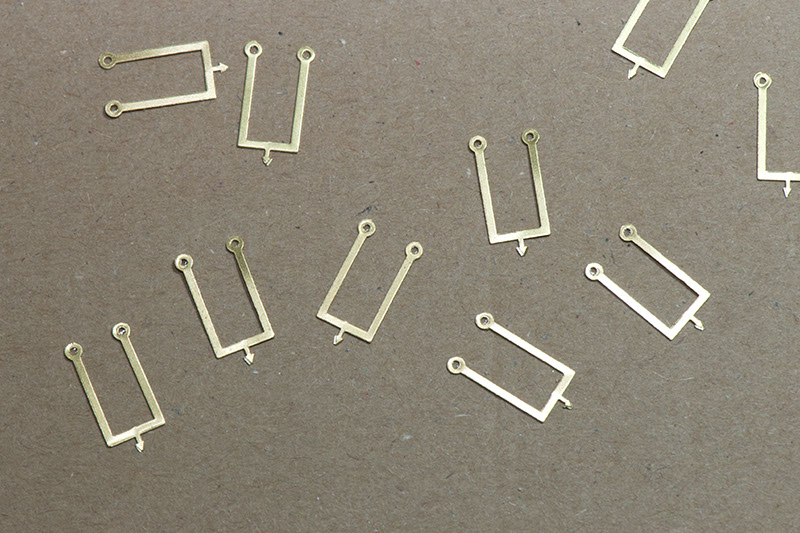 and drilled holes to help with the correct placement of the hammock cranes 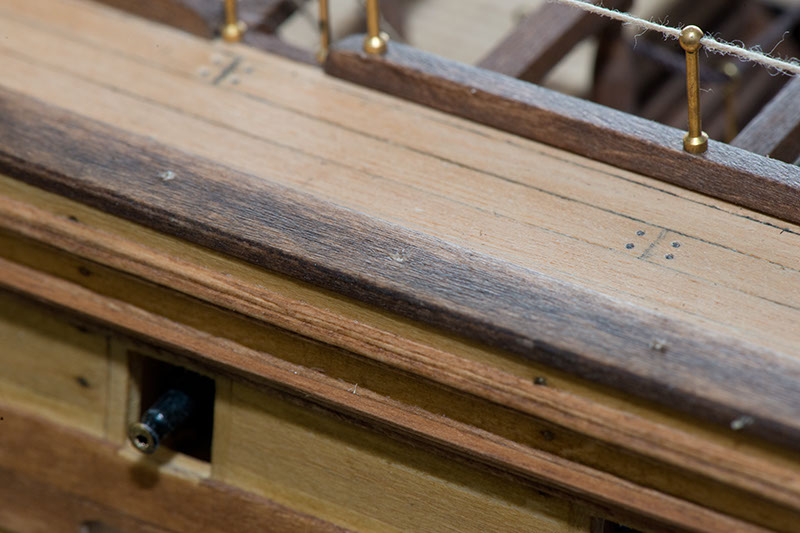 I made a little tool to make sure that the hammock cranes can be placed easily and superglued in exactly vertical position. The next pictures show how I used that tool: 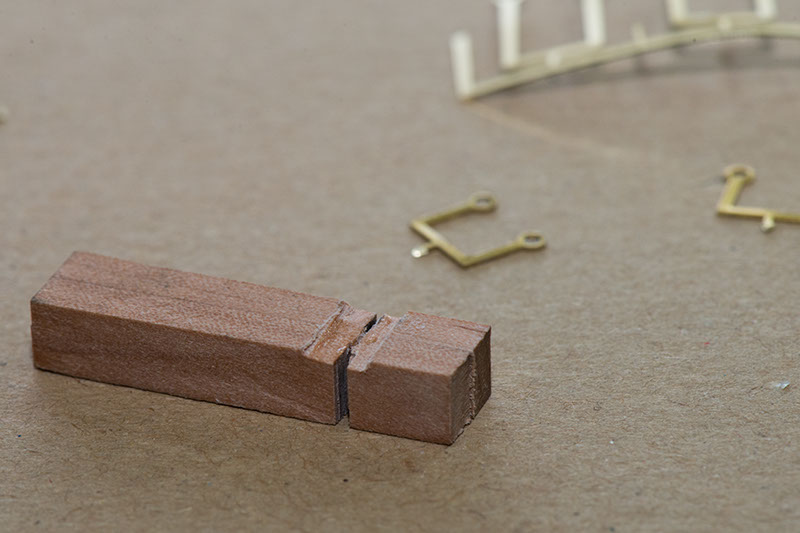 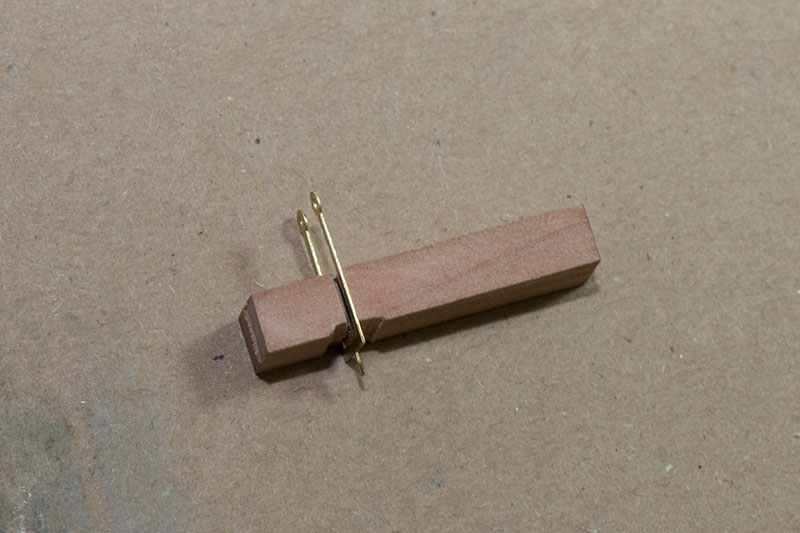 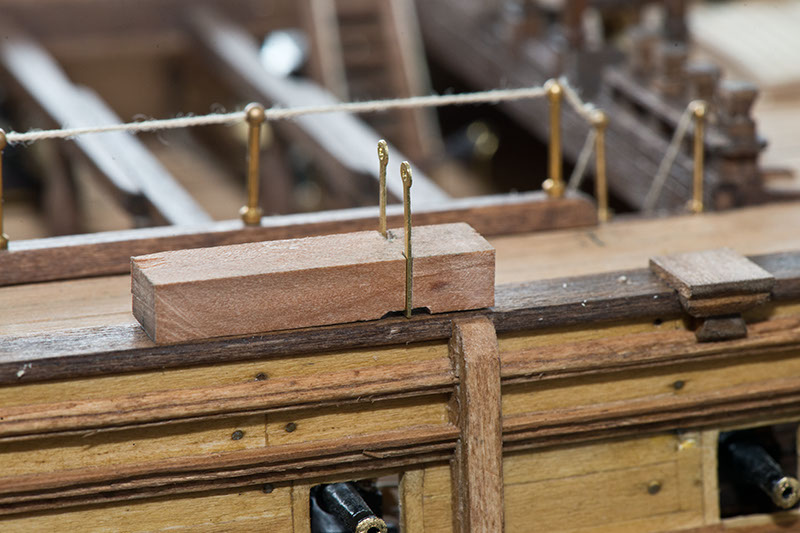 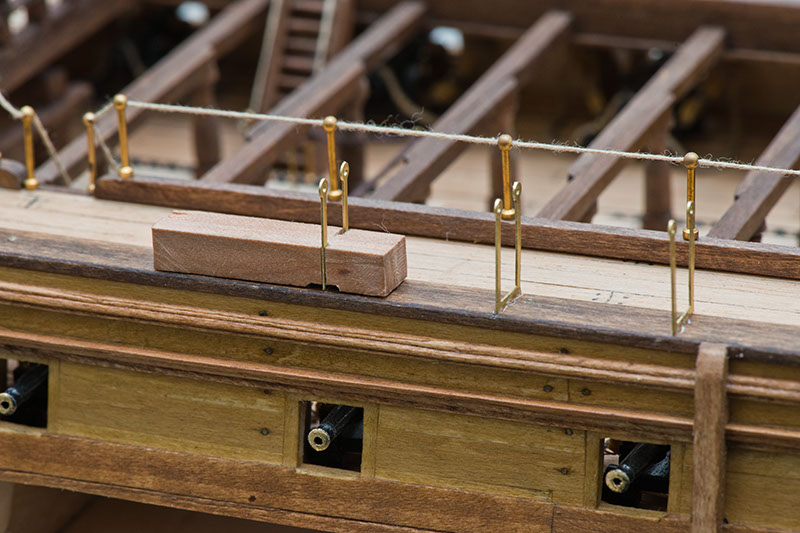 A really tiny amount of superglue is sufficient to fix the hammock cranes.
|
|
|
 Rank: Pro Groups: Registered
Joined: 31/12/2011 Posts: 123 Points: 369 Location: Graz, Austria
|
|
|
|
 Rank: Pro Groups: Registered
Joined: 31/12/2011 Posts: 123 Points: 369 Location: Graz, Austria
|
With the hammock nets I tried the following. I took the precise measures and cut slightly larger holes into a piece of cardboard on which I glued the net 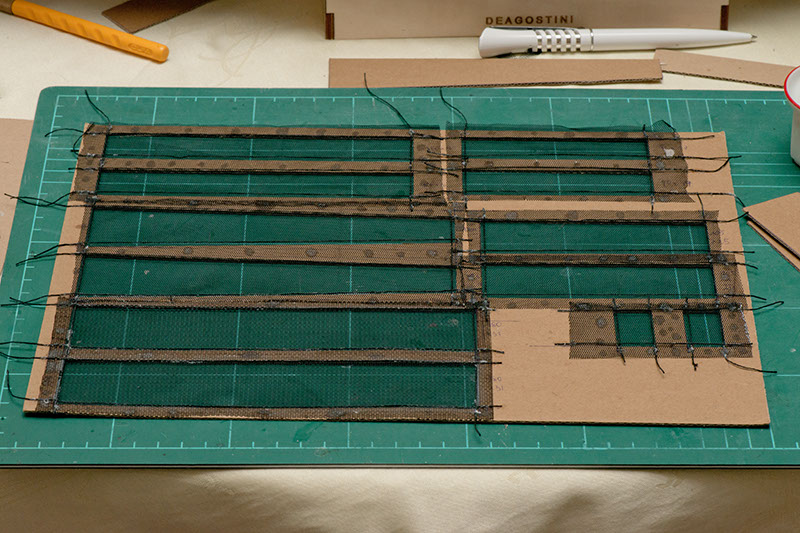 A little bit inside the border I glued a 0,15mm black thread with thinned PVA glue 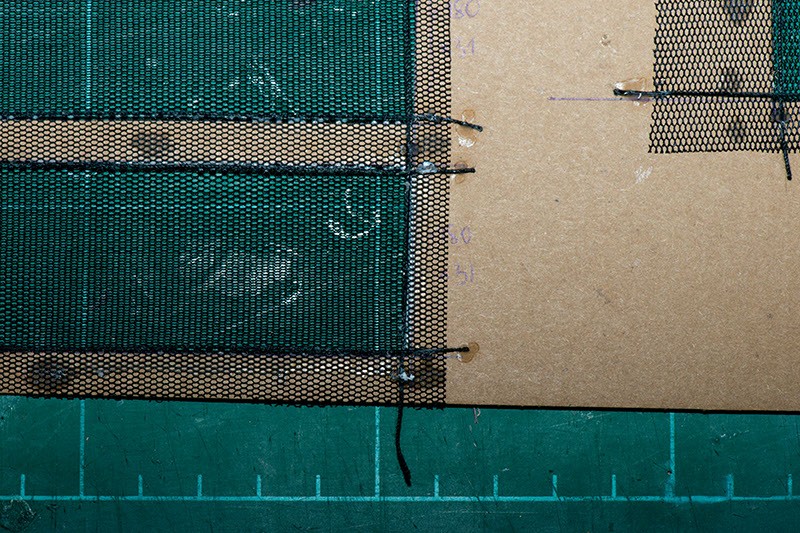 When everything is dry, one can cut the nets from the frame and obtain a net with a clean border. 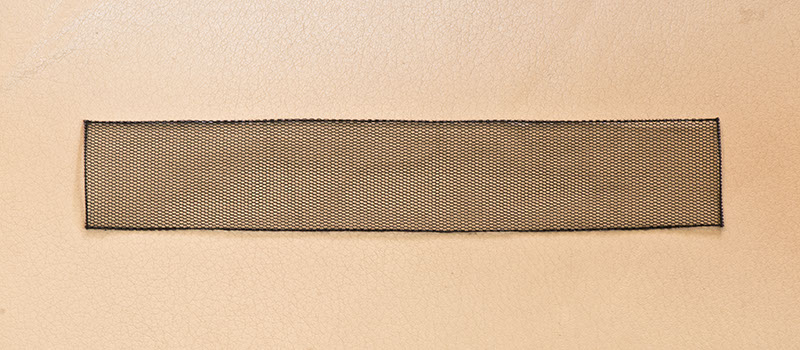 Admittedly, this is a fairly complicated treatment, but It is now much easier to sew these nets to the frames. These hands belong to my beloved wife who showed me how to do this: 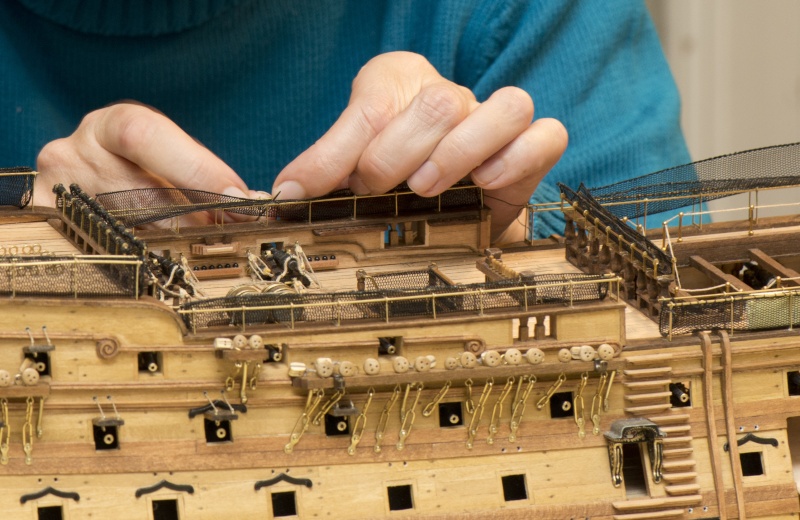 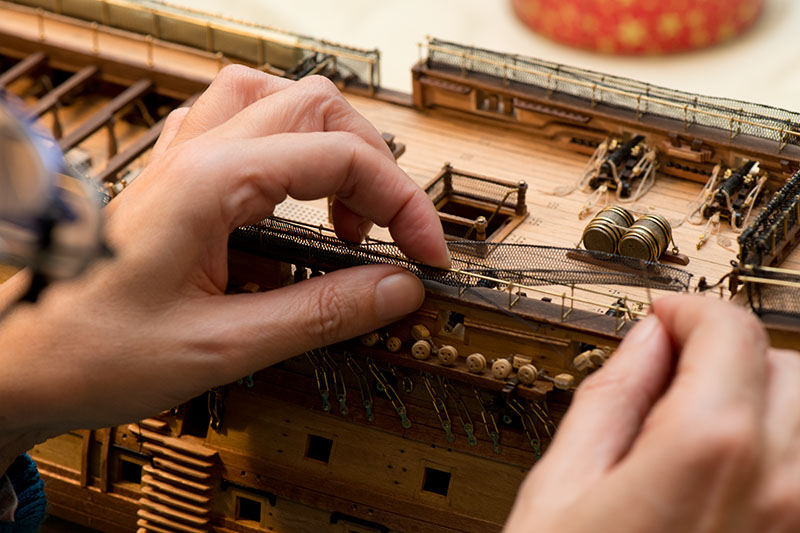 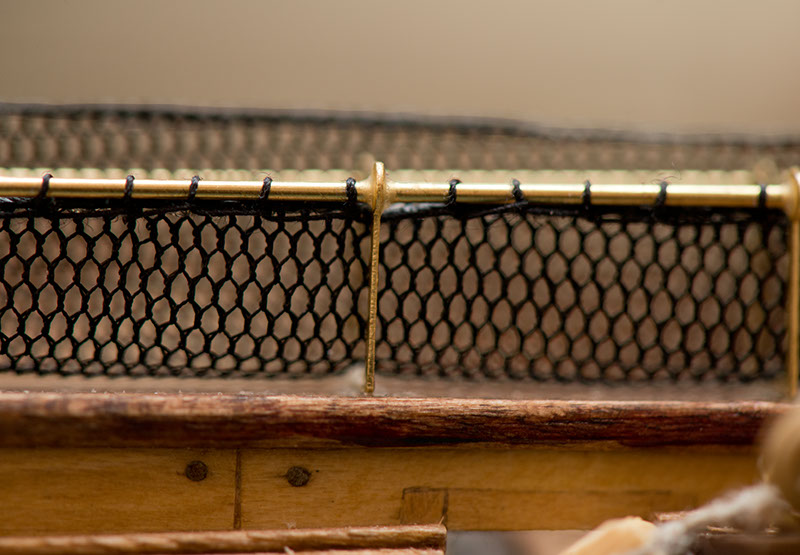 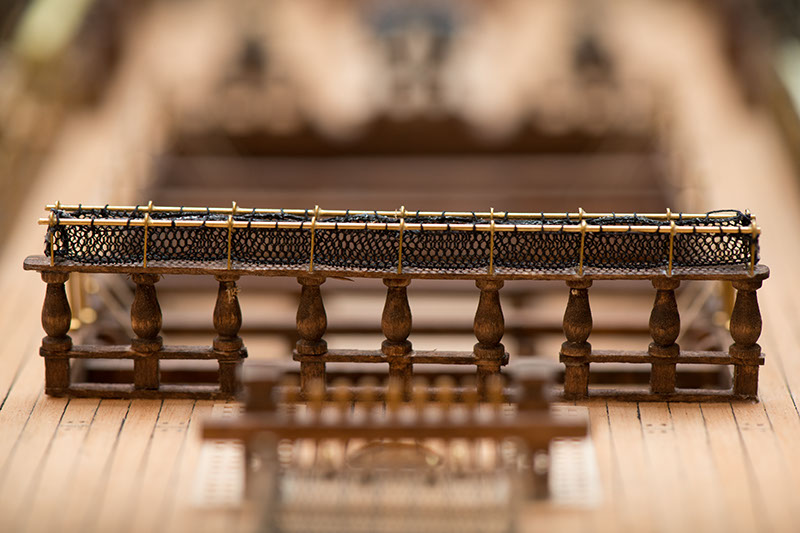 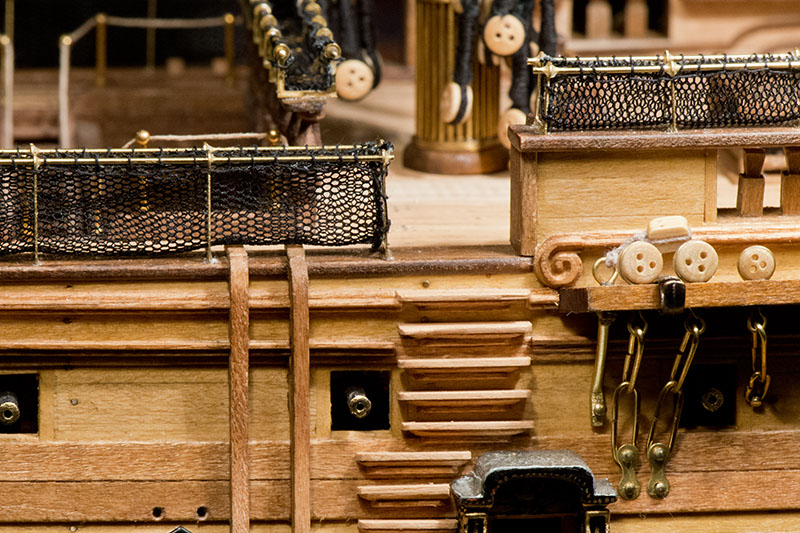 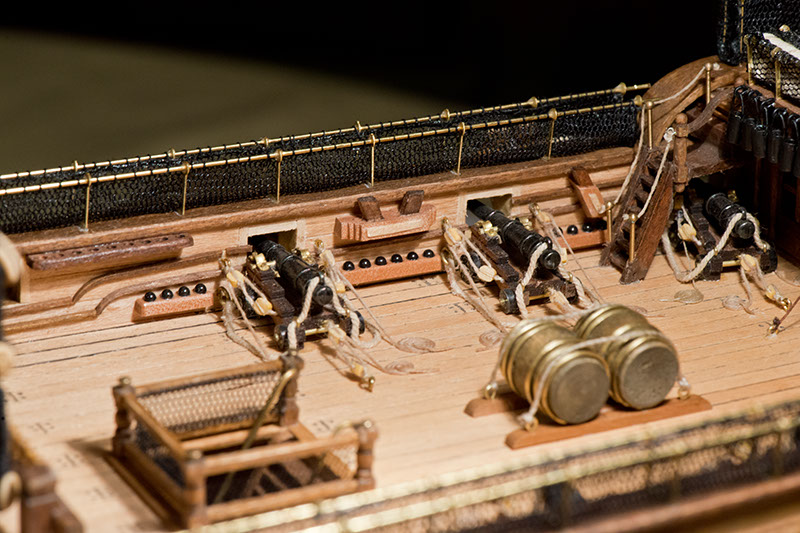 Thats all for today, kind regards Bernd
|
|
|
|
|
|
|
|
|
|
Now those hands definately belong to an artist Bernd...  . stunning work....   Regards Alan
|
|
|
 Rank: Vice-Master     Groups: Registered
Joined: 20/10/2010 Posts: 511 Points: 1,459 Location: Loughborough
|
Loving all the detail Bernd, your doing a tremendous job there. Keep up the good work.     Builds in progress: HMS Victory.HMS Surprise.
Completed builds: Revell London Bus 1/24.
Builds to do:Sovereign of the seas, Hms Albion.
|
|
|
 Rank: Pro   Groups: Joined: 04/05/2012 Posts: 362 Points: 1,089
|
Your build looks fantastic Bernd 
|
|
|
 Rank: Super-Elite      Groups: Registered
Joined: 24/04/2010 Posts: 5,787 Points: 17,662 Location: Stafford, United Kingdom
|
Bernd, OUTSTANDING!!!!!!!!   all the best Mike MWG BUILD DIARIES: HMS VICTORY, SOVEREIGN OF THE SEAS, SAN FRANCISCO II, HMS HOOD, HMS ENDEAVOUR LONGBOAT, HMS VICTORY X-SECTION, 007 DB5, NISSAN GTR, CUTTY SARK, RB7, AKAGI, BARK HMS ENDEAVOUR, HUMMER H1, MITSUBISHI ZERO.
|
|
|
 Rank: Master        Groups: Registered
Joined: 20/09/2011 Posts: 1,312 Points: 4,126 Location: Austria
|
Fantastic! Greetings,
Walter
Present builds:
Revell B-24D Liberator 1:48
On the shelf:
Italeri "Fiat Mefistofele", Italeri "Moto Guzzi California", Fokker "Red Baron", Revell Bismarck, Revell Tirpitz, Arab Dow, Stage Coach, .....
Completed builds:
McLaren MP4/4, D-51 Steam Locomotive, HMS Victory, GWH F-15D Eagle, St. Stephen`s Cathedral (cardboard), Solar-powered paddle Steamer (little project with my son), HMS Victory X-section, "Geli" Phantom II (cardboard)
|
|
|
 Rank: Vice-Master        Groups: Registered
Joined: 17/11/2012 Posts: 863 Points: 2,608 Location: Gohfeld (Germany)
|
Hi Bernd! Nice work, very clean and absoltly stunning! Regards, (also) Bernd 
|
|
|
 Rank: Master      Groups: Registered
Joined: 30/03/2011 Posts: 1,344 Points: 4,079 Location: Bryanston, Johannesburg. RSA
|
WOW really stunning work there Bernd Rgds, Hans
"It's okay to make mistakes. mistakes are our teachers - they help us to to learn, even if it is painfully"
Current Build:
Endeavour Cross section,D51
Completed: HMS Victory
Under the bench: Endeavour x 2,Sovereign of the Seas, Akagi and The Black Pearl!HMS Victory Cross Section
|
|
|
 Rank: Elite       Groups: Registered
Joined: 22/03/2010 Posts: 2,065 Points: 6,295 Location: Gorleston-on-sea
|
Awesome work Bernd..A delight to see...   Current Builds: Deagostini HMS Victory: Deagostini HMS Sovereign of the seas. Completed Builds: Del Prado: HMAS Bounty: Hachette: RMS Titanic: Del Prado: Cutty Sark...
|
|
|
|
|
 Wot a bril job wow  Rgds Martyn Building ?
Completed. Soliei Royal . Sovereign of the Seas . Virginia . Scotland . San Felipe . Corel vasa , Santisima Trinadad X section , Vasa
Next Build ?
When sailors have good wine, They think themselves in heaven for the time. John Baltharpe
|
|
|
 Rank: Pro Groups: Registered
Joined: 31/12/2011 Posts: 123 Points: 369 Location: Graz, Austria
|
Hi there! Here is the bow grating: 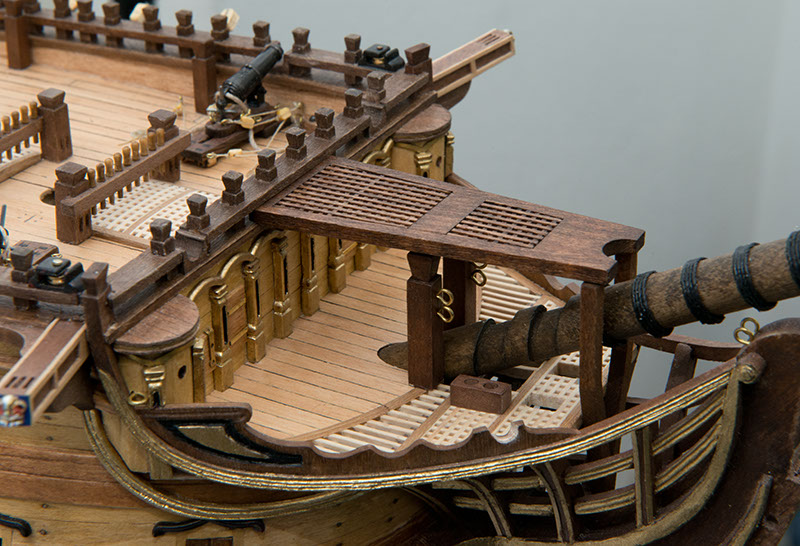 Before inserting the bowsprit I added a thin wooden strip to its base to have it sit a little steeper in its socket, leaving enough space for the crown of the figurehead.  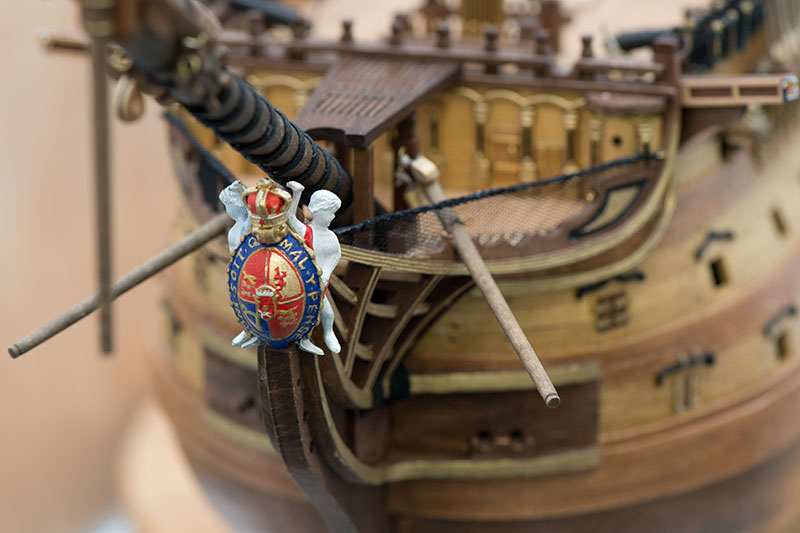 When binding the gammons of the bowsprit I followed this illustration, which I found in an old book 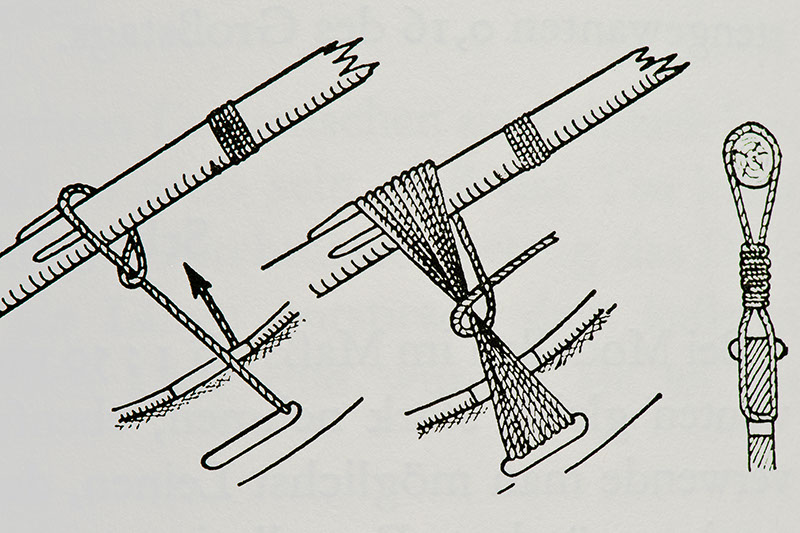 It is very difficult to see this in a photo, as it is quite dark there  Then I decided to attach the figurehead right away, although this step comes much later in the magazine. Painting the figurehead was welcome distraction from the boring work of binding the deadeyes to the shrouds. 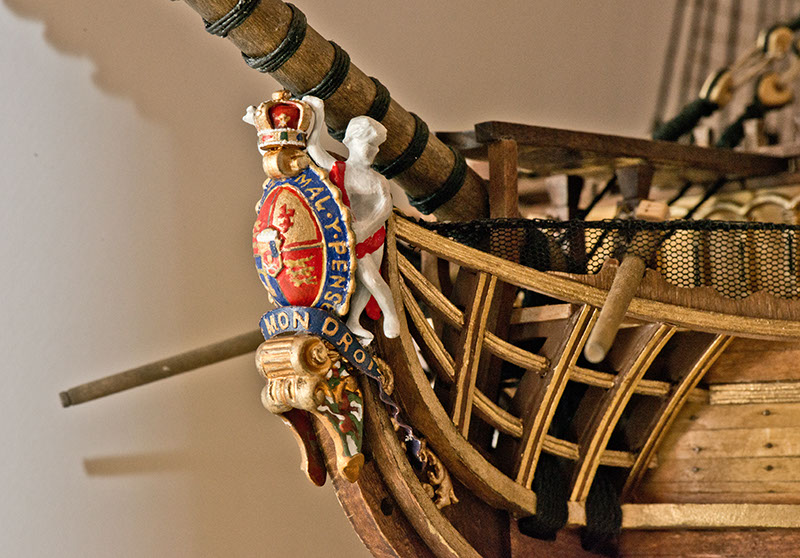 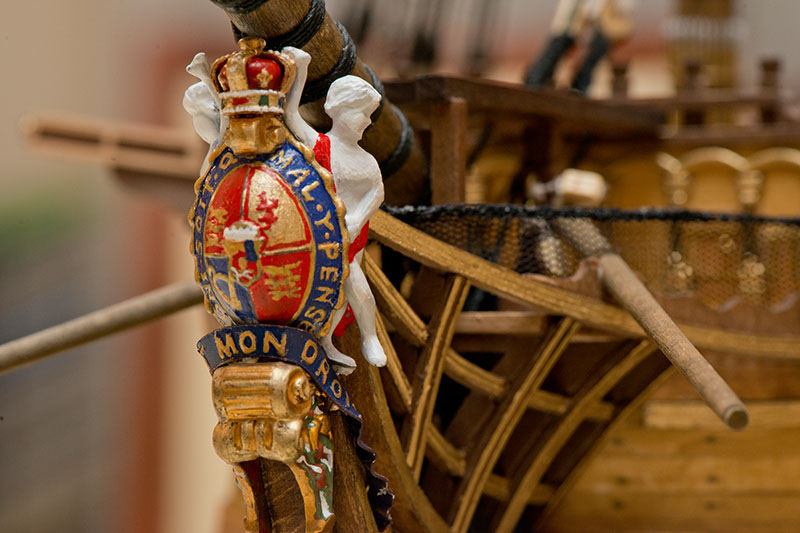 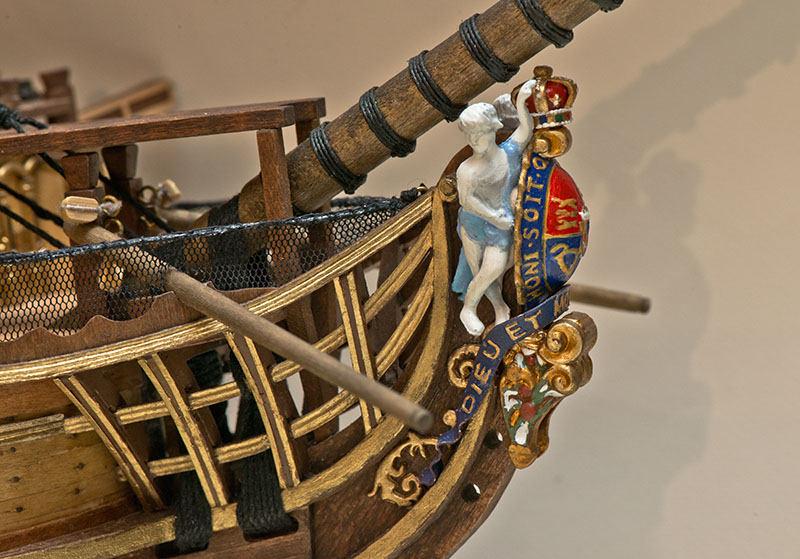 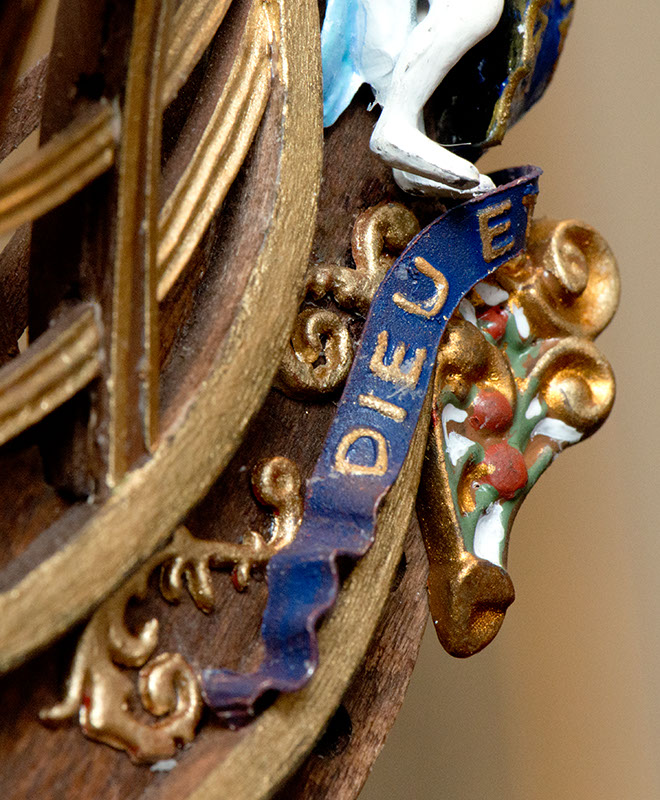 I found it rather difficult to attach the figurehead, I had to reshape the strips on the sides of the stern post for a better fit. Nevertheless, the figurehead is a little too large for the scale of the model (which does not really bother me). As a consequence, the base looks a little bit misplaced, but otherwise it would have covered one of the holes in the stern post. Probably, I'll fill in some wood between the "legs" of the figurehead base later. 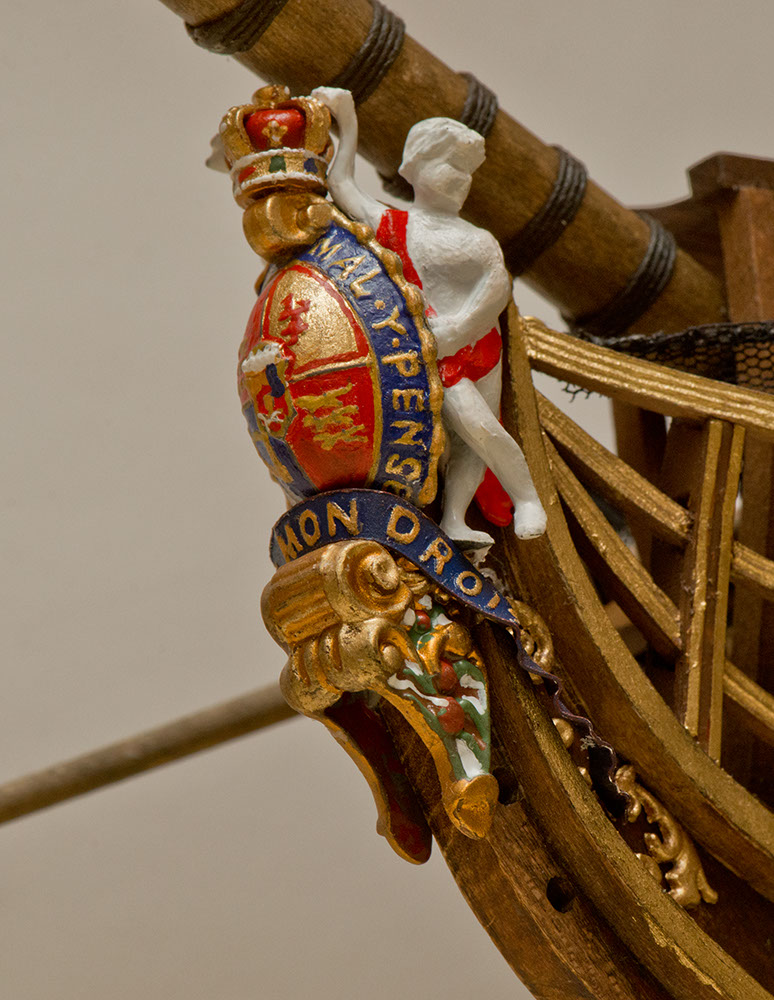 Greetings from Austria, Bernd
|
|
|
 Rank: Pro Groups: Registered
Joined: 31/12/2011 Posts: 123 Points: 369 Location: Graz, Austria
|
|
|
|
 Rank: Pro Groups: Registered
Joined: 31/12/2011 Posts: 123 Points: 369 Location: Graz, Austria
|
Here are some impressions of the ratlines. I followed the method proposed in the magazine and official build diary 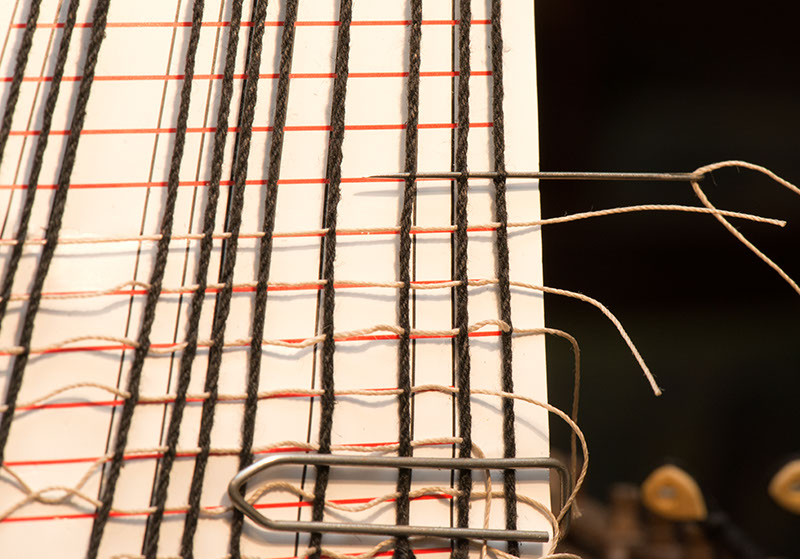 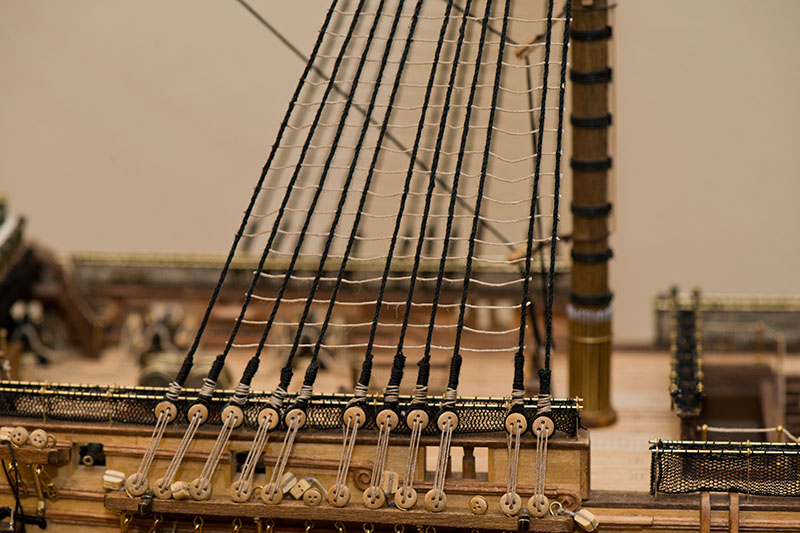 For me, it was impossible to add ratlines where the shrouds were soaked with superglue (better to use PVA glue to secure the deadeyes). I just omitted these ratlines and hope that nobody will notice  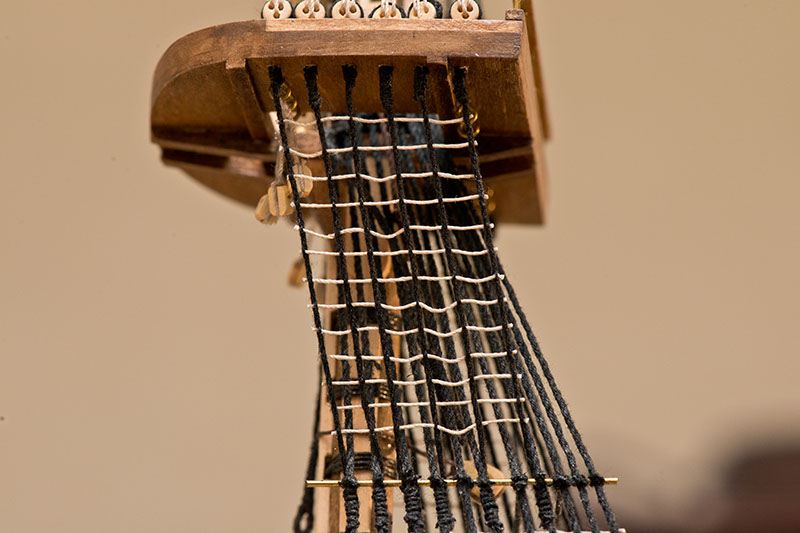 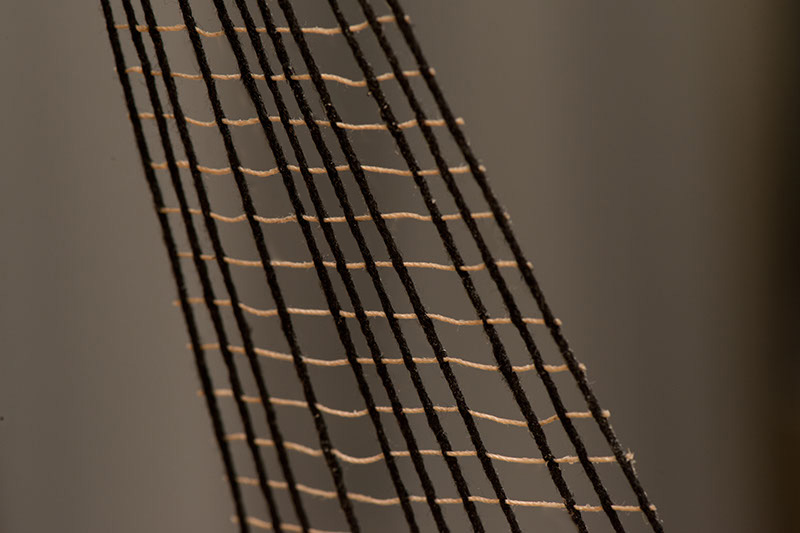 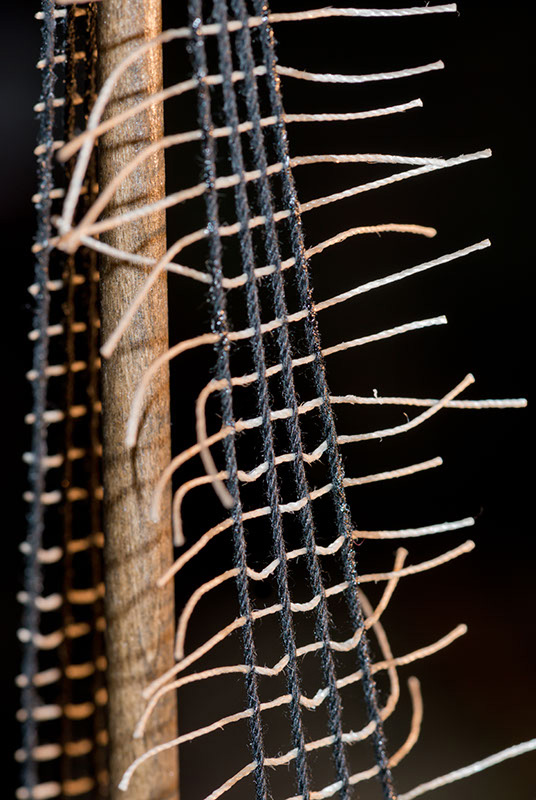 Best regards, Bernd
|
|
|
 Rank: Pro Groups: Registered
Joined: 31/12/2011 Posts: 123 Points: 369 Location: Graz, Austria
|
|
|
|
|
Guest (7)
|