|
|
 Rank: Pro Groups: Joined: 24/08/2009 Posts: 48,827 Points: -13,348
|
This is the place to post info on any homemade useful tools you have made.
|
|
|
 Rank: Vice-Master     Groups: Registered
Joined: 13/02/2012 Posts: 651 Points: 1,903 Location: croydon
|
Hi Everyone. Just wanted to say thanks to Admin and MR T for doing this so quickly   . Best regards to all. Mark
|
|
|
Rank: Pro Groups: Joined: 24/08/2009 Posts: 48,827 Points: -13,348
|
As this is a basic introduction to modellers tools I want to add my recommendation, there will be lots of good advice and guidance to buying and making tools to make the majority of the build. I just want to show how a simple needle can be used to help with rigging, to my knowlege no-one has shared this valuable little tip on the forum so here goes. Take yourself down to the nearest craft/sewing shop (emporium) and invest in a few beading neeedles, they are available in various sizes and come in blunt or sharp. The sharp ones are good for sewing the sails to the yards and the blunt ones are invaluable for threading cord through blocks. The more you use the needles the more bent and twisted they become, and the more bent they become the easier it is to reach awkward places! So if you forget and secure a thread prematurely hope still prevails before redoing whatever it is/was that needs doing? I am posting a couple of pictures of how I use mine, I am sure there will be a rush to aquire a few of these must have needles, mine cost about 60p each and I know that price is quite high. 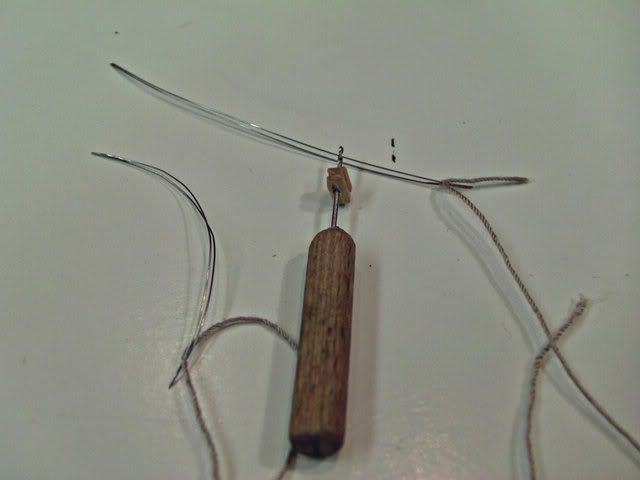 I have included a photo of my finger drills which I find very useful, it is just a small dowel with a drill bit sunk into it, I have a more descriptive narrative in my Victory build log. In this photo a needle is used to take the thread between the yard and the sail before threading through the block. 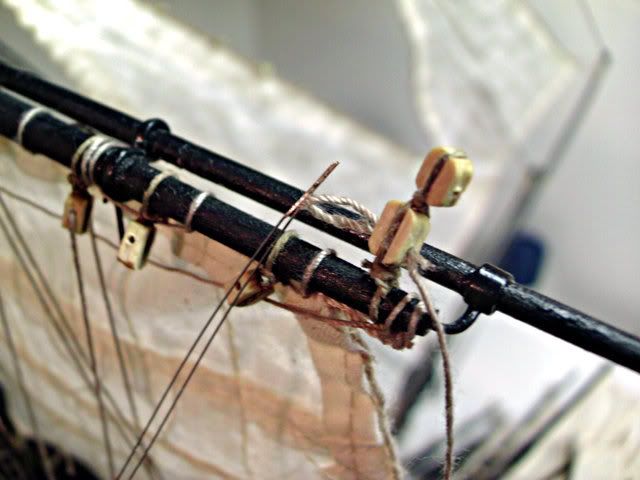 This final photo shows an example of how to reach an out of the way block without untying the deadeyes, a set of tweezers also need to be employed for most of these exercises. 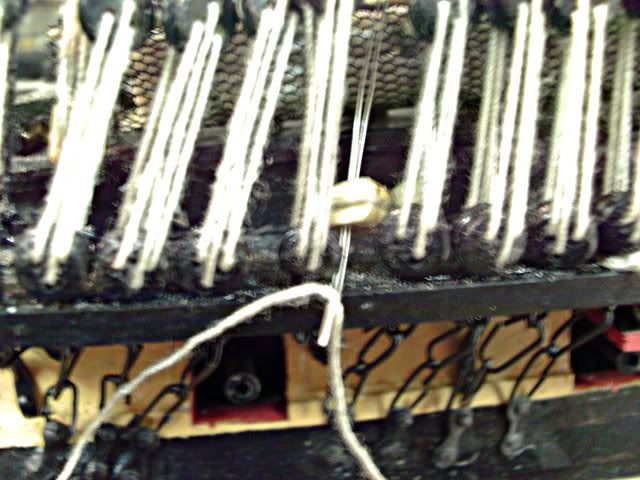 I have just realised that I should have named and started a seperate thread under this heading, if this entry can be moved accordingly then good and well, if not it can be deleted and I can re-enter where it should be. I have taken another photo of how I use the needle for securing thread to belaying pins, sometimes it is quite hard to tie the final loop on the pin. 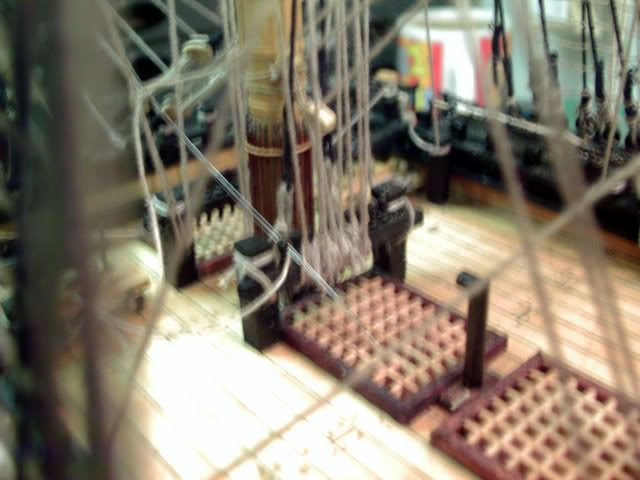 If you look carefully the needle passes under the last loop to pull the thread secure! The narrative for these needles are found at post 5. 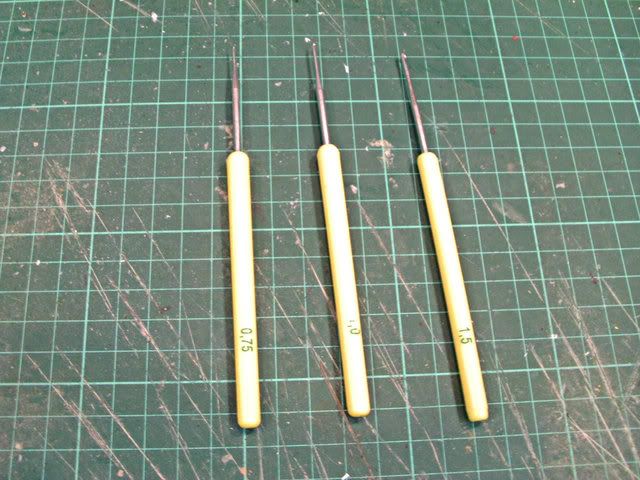 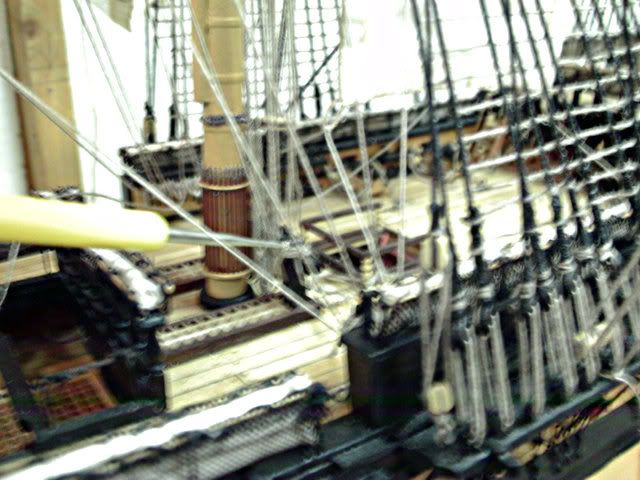 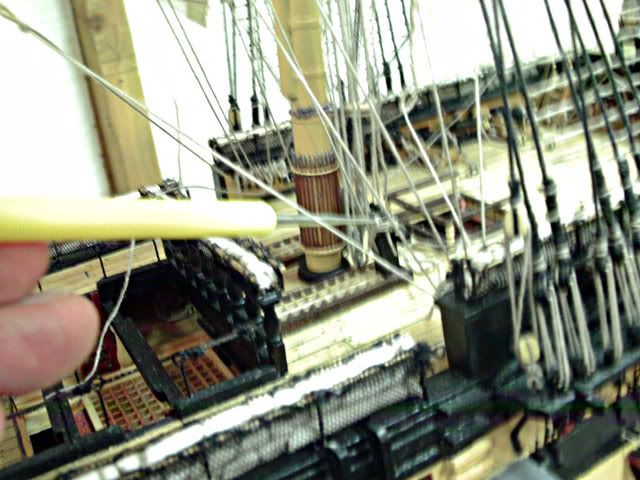 The narrative for the next photo can be found at post 6 and in my Victory build log. 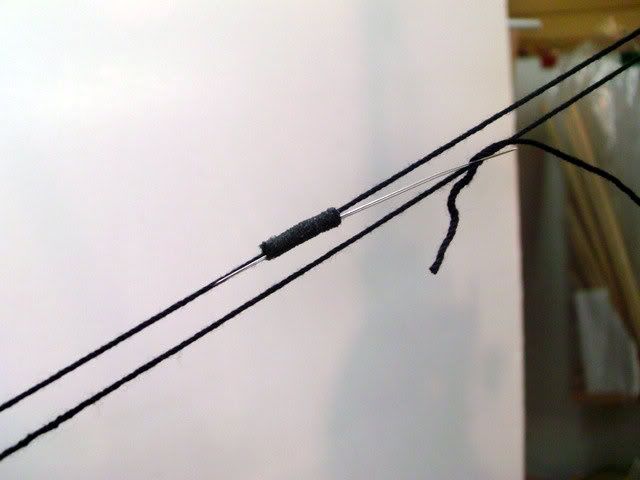 Description at post 9 for the following photo. 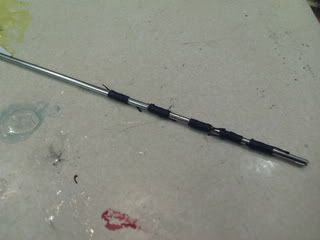
|
|
|
Rank: Pro Groups: Joined: 24/08/2009 Posts: 48,827 Points: -13,348
|
Here is another tip, Crochet needles 99p from Lidi. I bought these a while ago and then forgot where I had hidden them. I have started using these to navigate my way through the pleathora of rigging lines that are now crowding me out of my build. The set comes as three in sizes .75 1.0 1.5 all mm, they are handy for catching hold of the thread when trying to navigate a matrix of thread. Just a couple of photos of the needles in action. It looks like I have some sort of thing for needles.  Steve..
|
|
|
Rank: Pro Groups: Joined: 24/08/2009 Posts: 48,827 Points: -13,348
|
Here is a bit more information on using a beading needle to help with the rigging aspect of period ships, I have no doubt that some builders may have an alternative way of doing things. There will be times when a seizing needs to made but the space to work in may be cramped and out of reach, my solution is to add a premade seizing prepared on a rod of the relevent size, the one shown in the photo was made on a 1mm steel rod, this sequence is further explained in my build diary of the Victory. Add the seizing to the thread before tying off the last knot, slide the knot to its finished position and then thread the needle with the loose end and pass it carefully through the seizing, pass the seizing along the needle and over the doubled thread. Glue will need to be applied to the doubled thread and slide the seizing over the glued thread and butt it aginst or over the knot, the loose end of thread may need a tempory lashing whilst the glue dries and then nip of the excess when everything has dried. 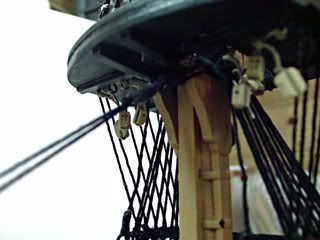 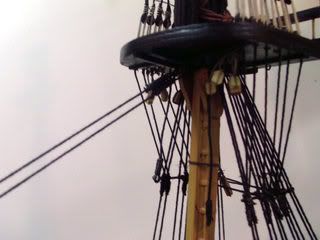 Steve..
|
|
|
Rank: Vice-Master  Groups: Registered
Joined: 30/01/2011 Posts: 865 Points: 2,410 Location: Cambs
|
great tip steve, i wish i'd known about beading needles before. i used the steel wire provided through the series to pull the thread through. Come on you Jimmies
|
|
|
Rank: Pro Groups: Joined: 24/08/2009 Posts: 48,827 Points: -13,348
|
saintsman123 wrote:great tip steve, i wish i'd known about beading needles before. i used the steel wire provided through the series to pull the thread through.
I'm glad you've read through ny little tip, what I find surprising is that this little tip hasn't been thought of before. I am not a seasoned builder as I may have mentioned before, there are a number of builders who have a lot of builds in progress or finished that have never mentioned anything about how they go about the chore of rigging. I am finding the rigging very tedious and I hope it doesn't put people off when they reach the same stage. You mention the steel wire, the needle does the same job with additions mentioned in my last post, Karl mentioned a while ago about glue to make the thread into a needle. That is a tip that I have used on occassion and works quite well until the thread has to pass through a block in a hard to reach place. Maybe someone else has some tips that aren't already covered in the magazines or official build? We have plenty of examples of the same techniques being repeated many times over, I am trying to post a few things that may be uncommon to some members. Steve..
|
|
|
Rank: Pro Groups: Joined: 24/08/2009 Posts: 48,827 Points: -13,348
|
I have just found this photo in my collection. It shows some seizings that have been tied on a steel rod. They were tied and sealed indivdually and left on the rod until required I will start preparing some more ready for the sovereign. Steve..
|
|
|
 Rank: Master    Groups: Registered
Joined: 05/09/2012 Posts: 1,400 Points: 4,690 Location: Beaminster, Dorset
|
I like the tip about the beading needles, I'm just tidying up the running rigging on my Caldercraft Endeavour to clear the decks for the SOS. I went on EBay and to the local craft shop and could only find the long thin beading needles, with the tiny eyes. But I have just discovered the correct term for the split needles is 'Big eye beading needles' and you can get a pack of 6 on EBay for a couple of pounds. I always suspected there must be easier ways to do rigging than mine 
|
|
|
|
|
Hope this is the right place for tool tips and suggestions, here's a very cheap method of making up a water-liner. In my own case it was built up completely from off-cuts, spares and left-overs so it didn't cost a penny!  Once constructed the box section with the pencil is simply moved up and down the 'rail' to the correct height and 'snapped' into place. This one was made for my 1/100 scale Victory, for your larger builds you could have a bigger base section perhaps with those little friction-less furniture gliders for easier movement? In use, the one thing to remember is to have the end of the pencil stuck out far enough to reach all parts of the hull including the 'undercut' regions at the stern! (I got caught out the first time!) Plymouth57 attached the following image(s): First wooden ship: The Grimsby 12 Gun 'Frigate' by Constructo Second: Bounty DelPrado Part Works Third: HMS Victory DelPrado Part Works 1/100 scale Diorama of the Battle of the Brandywine from the American Revolutionary War Diorama of the Battle of New Falkland (unfinished sci-fi), Great War Centenary Diorama of the Messines Ridge Assault Index for the Victory diary is on page 1
|
|
|
Rank: Pro  Groups: Registered
Joined: 16/06/2013 Posts: 284 Points: 859 Location: Cape Town, South Africa
|
Cutting TapersAny carpenter has one of these, laying on a shelf. I use the blade (50mm wide)of a wood planer to do straight cuts. Demonstated in the picture I used the Bamboo strip taped down with masking tape on a Superwood cutting board. The Masking tape (used in Vehicle Spray workshops) mask the pencil marking. If you made a mistake in the marking, just replace the tape. The Tape keeps the strip in place for precision marking of the cut line. The Masking tape is a tip out of this forum. Marcel attached the following image(s): "Rather try and fail than had failed to try".Sovereign of the Seas Model Space forum: Marcel's build
|
|
|
|
Guest
|
 US
US

