Welcome Guest Search | Active Topics | Log In | Register

5 Pages <1234>»
Impman66 Builds R2D2 Options
Spudtrooper37
#21 Posted : 10 January 2017 13:52:45

Rank: Pro

Build-Diary Medal: Build-Diary Medal of Honour
Groups: Registered

Joined: 16/04/2011
Posts: 328
Points: 998
Location: Anglesey
I really can't rememberBlink

I have this one also

https://filmschoolreject...b2797aa0209c#.f87k51ey2

Darren

Have an AWSOME day and may the Force be with you always 😉


Building: Millennium Falcon https://forum.model-spac...sts&t=14381&p=7 - Building: BTTF Delorean - Building: Dom's Dodge Charger
- Building : X-Wing https://forum.model-spac...aspx?g=posts&t=34899
Moonman
#22 Posted : 18 January 2017 13:54:45

Rank: Semi-Pro Level 2
Build-Diary Medal: Build-Diary Medal of Honour
Groups: Registered

Joined: 04/09/2015
Posts: 92
Points: 256
Location: Atlantis
Thanks Impman66 for posting. My first two issues arrived last night and I can't wait to get started. Great link Darren! A treasure trove of screenshots! Thanks again!
Impman66
#23 Posted : 18 January 2017 21:48:57

Rank: Semi-Pro Level 2

Build-Diary Medal: Build-Diary Medal of Honour
Groups: Registered

Joined: 04/01/2017
Posts: 83
Points: 252
Location: South Witham
Anytime, will follow your build with great interest Moonman, as a seasoned builder coming back.
If you build it he will come

Built - Eaglemoss 3D Printer. Building - R2D2


National league Champions 2017
FA Cup Quarter Finalists 2017
Impman66
#24 Posted : 01 February 2017 21:18:41

Rank: Semi-Pro Level 2

Build-Diary Medal: Build-Diary Medal of Honour
Groups: Registered

Joined: 04/01/2017
Posts: 83
Points: 252
Location: South Witham
OK so issue 4 & 5 arrived in the post today, not really very happy at all with issue 4 as you will see in a bit, any way here is issue 4


The first thing to do was fit the Leg pivot cover, this involved a slotted piece


Which went into a slotted hole, very much like a bayonet fitting on a bulb, I assumed it was twist fit


In place


Now I say assume because these were the instructions that I had to follow in order to fit this, and also test the LED lights


Its basically blank bloody pages for the writing!! Pages 6&7 and pages 10 and 11 also had no writing at all on them. NOT HAPPY AT ALL!
We are paying quite a bit for this, and to have 6 pages of a 15 page magazine have no writing on is inexcusable.


On with the build, the battery box takes 3 AA batteries, so I put them in and held my breath to see if we could light up the pages a little or be left even more in the dark.
Here goes


Well at least something on issue 4 worked!

Next was to fit the ankle piece, just a case of clipping it on.


Issue 4 complete


If you build it he will come

Built - Eaglemoss 3D Printer. Building - R2D2


National league Champions 2017
FA Cup Quarter Finalists 2017
Impman66
#25 Posted : 01 February 2017 21:32:46

Rank: Semi-Pro Level 2

Build-Diary Medal: Build-Diary Medal of Honour
Groups: Registered

Joined: 04/01/2017
Posts: 83
Points: 252
Location: South Witham
Now onto issue 5, and that was printed lovely. So what happened with issue 4??Cursing Cursing

Issue 5 gave us the Dome head parts plus a ton of screws and nuts, of which not many are used, so keep them safe in a container somewhere. The last thing you would want is to lose some screws!


The Dome had to be done first, a central bearing, bearing retainer and smaller screws are used for this


The good thing about this build is it is so easy to do, but you do still need some form of writing to clarify parts.
The fitted bearing and retainer


Next on the list was the dome frame, this involved aligning two triangles with each other to ensure they were in the correct place


aligning them


1st part of dome frame in place, issue 5 complete.


But please Deagostini lets NOT have a repeat of issue 4, and let all those affected have a replacement issue free of charge!!
If you build it he will come

Built - Eaglemoss 3D Printer. Building - R2D2


National league Champions 2017
FA Cup Quarter Finalists 2017
Spudtrooper37
#26 Posted : 01 February 2017 21:46:41

Rank: Pro

Build-Diary Medal: Build-Diary Medal of Honour
Groups: Registered

Joined: 16/04/2011
Posts: 328
Points: 998
Location: Anglesey
Nice to see things are coming along.

My issue was the same as yours, rang deagostini and they are sending me another, hopefully it will be OK.

Like you said, a lot of people will be ringing for replacements.
Darren

Have an AWSOME day and may the Force be with you always 😉


Building: Millennium Falcon https://forum.model-spac...sts&t=14381&p=7 - Building: BTTF Delorean - Building: Dom's Dodge Charger
- Building : X-Wing https://forum.model-spac...aspx?g=posts&t=34899
pemberg
#27 Posted : 01 February 2017 23:28:44

Rank: Elite

Publisher Medal: Featured Build of the MonthActive Service Medal: 500 post active service MedalPurple Medal: Super active service medal for 1000 postsTurquoise Medal: Turquoise Medal for model making know-how contributionBuild-Diary Medal: Build-Diary Medal of HonourRed Medal: Red Medal
Groups: Registered

Joined: 20/04/2012
Posts: 1,787
Points: 5,292
Location: Thurso
Great to see it coming together. As to your problems with Issue 4, I have been building DeAg partworks for years and on the very rare occasions I have had a problem with an issue, Customer services have always sent a replacement without any argument.

Graeme
davetwin
#28 Posted : 02 February 2017 14:54:25

Rank: Super-Elite
Publisher Medal: Featured Build of the MonthActive Service Medal: 500 post active service MedalPurple Medal: Super active service medal for 1000 postsOutstanding Build: An award for an outstanding buildBuild-Diary Medal: Build-Diary Medal of HonourRed Medal: Red Medal
Groups: Registered

Joined: 27/01/2014
Posts: 5,060
Points: 14,980
Impman66 wrote:
But please Deagostini lets NOT have a repeat of issue 4, and let all those affected have a replacement issue free of charge!!


Builds looking good so far Cool

A simple call to customer services on 0333 300 1049 will get you a FREE OF CHARGE replacement Wink
lholland
#29 Posted : 02 February 2017 17:07:35

Rank: Pro
Build-Diary Medal: Build-Diary Medal of HonourRed Medal: Red Medal
Groups: Registered

Joined: 04/05/2011
Posts: 173
Points: 528
Location: Sussex
All looking good BigGrin
Impman66
#30 Posted : 02 February 2017 18:50:19

Rank: Semi-Pro Level 2

Build-Diary Medal: Build-Diary Medal of Honour
Groups: Registered

Joined: 04/01/2017
Posts: 83
Points: 252
Location: South Witham
Thanks all. Rang customer service, quite quick to answer so not on hold long. Sending me a free issue so very happy BigGrin
If you build it he will come

Built - Eaglemoss 3D Printer. Building - R2D2


National league Champions 2017
FA Cup Quarter Finalists 2017
SeanC
#31 Posted : 03 February 2017 00:10:42

Rank: Semi-Pro Level 1
Build-Diary Medal: Build-Diary Medal of Honour
Groups: Registered

Joined: 23/01/2017
Posts: 62
Points: 186
Location: Livingston
Great progress Impman66! BigGrin
Markwarren
#32 Posted : 03 February 2017 09:58:41
Rank: Administration

Publisher Medal: Featured Build of the MonthActive Service Medal: 500 post active service MedalPurple Medal: Super active service medal for 1000 postsTurquoise Medal: Turquoise Medal for model making know-how contributionOutstanding Build: An award for an outstanding buildBuild-Diary Medal: Build-Diary Medal of HonourRed Medal: Red Medal
Groups: Registered, Administrators, Global Forum Support, Moderator, Forum Support Team, Official Builds

Joined: 04/01/2016
Posts: 6,817
Points: 20,768
Location: Northamptonshire, England
Coming on very nicely.BigGrin
Regards
Markwarren
(Mark) Admin
Impman66
#33 Posted : 27 February 2017 20:51:14

Rank: Semi-Pro Level 2

Build-Diary Medal: Build-Diary Medal of Honour
Groups: Registered

Joined: 04/01/2017
Posts: 83
Points: 252
Location: South Witham
Well finally got my parts for issues 6-9, which I am happy to say came through the door unscathed. Which is more than I can say for my laptop Cursing Now I am unable to open any images, the desktop is erratic, and where I used to left click on the start button and get a nice tablet layout I now get nothing until I right click on it and then it;s just text. Windows 10 and Packard Bell suck, so I am on my trusty work laptop. Anyway I digress.

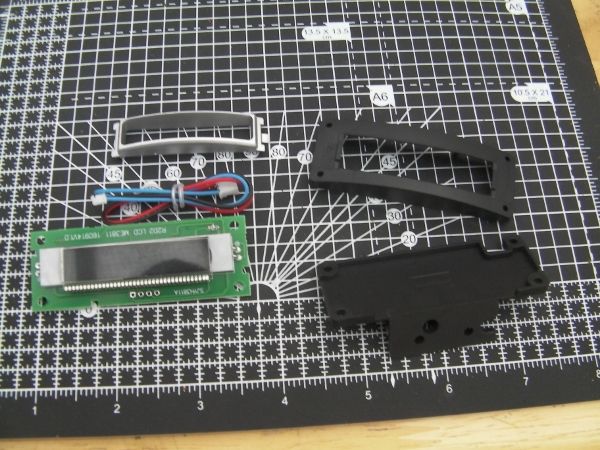
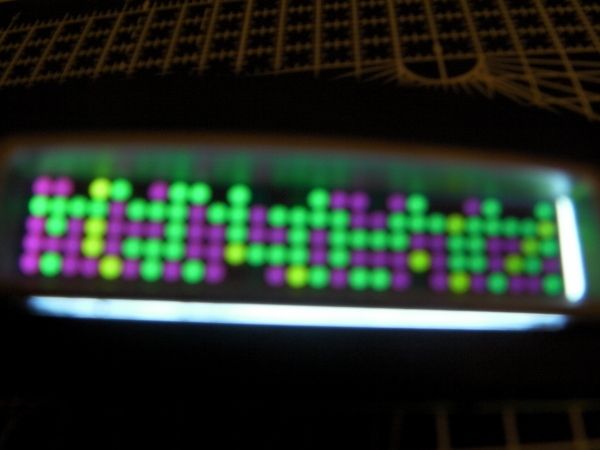
Parts 6 came with the LED display - and that was tested even before it was built up BigGrin


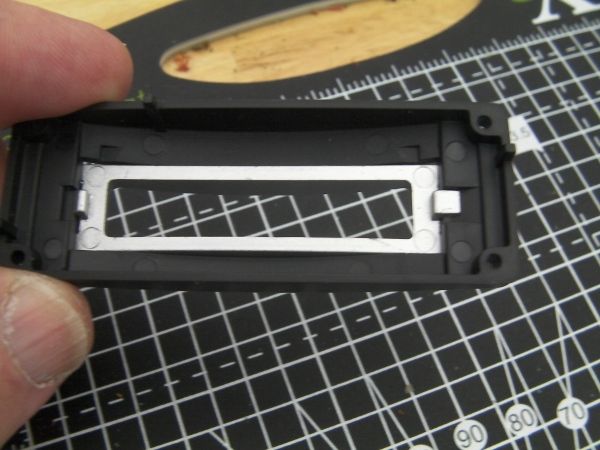
First thing to do was fit the Lens surround in it's holder the right way, handily enough the large lug was on the right.


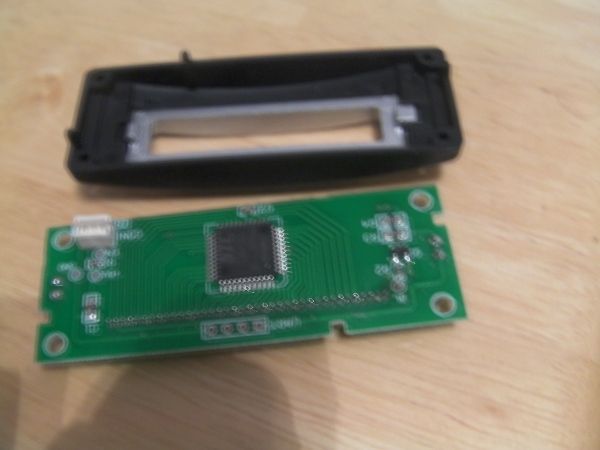
Next was to fit the LED display into the holder itself, only one way it can go so an easy task. Sorry for quality of pics


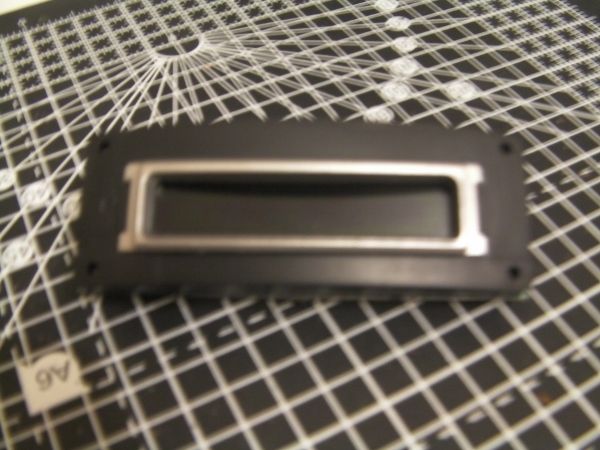
Then a quick test, as I was one of the unfortunate ones that got a misprinted issue 4 I had 2 battery boxes.


Now I noticed that one of our builders has a nice box to keep all his parts in, well I am not exactly made of money, but with all the screws and evrything we were getting I had to think of somewhere safe to keep them, I came up with this


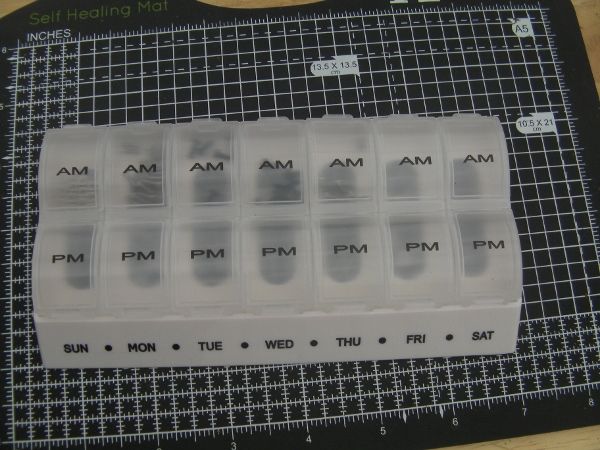
Yep a pill box, ideal and only £3 from Asda BigGrinPlus screws are safe or so I thought Cursing

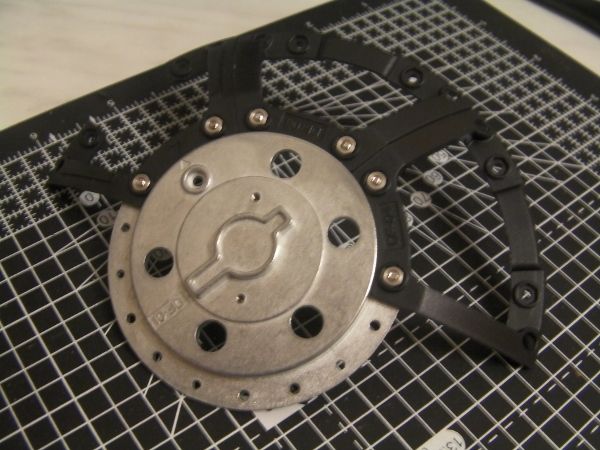
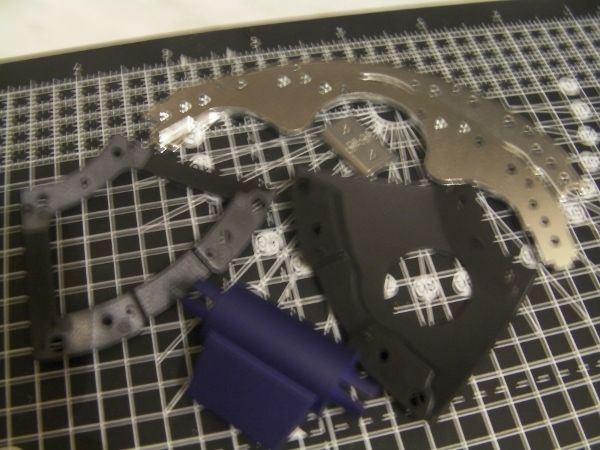
Issue 7 basically consisted of another couple of dome pieces and the ankle parts, oh and a couple of parts not shown in parts as such.
two more frame bits and the dome is looking good


The ankle parts are easily put together even the screw didn't fall off the screwdriver and onto the floor - something that has happened a few times at work, leading to me searching on hands and knees for 20 minutes, but no this was easy.


Issue 7 completed, but remember 2 bits not in parts build.


Here they are, one of the bits is so small and looks like it is an od bit of metal from one of the other parts I came VERY close to chucking it, but it is now safely in the pill box.


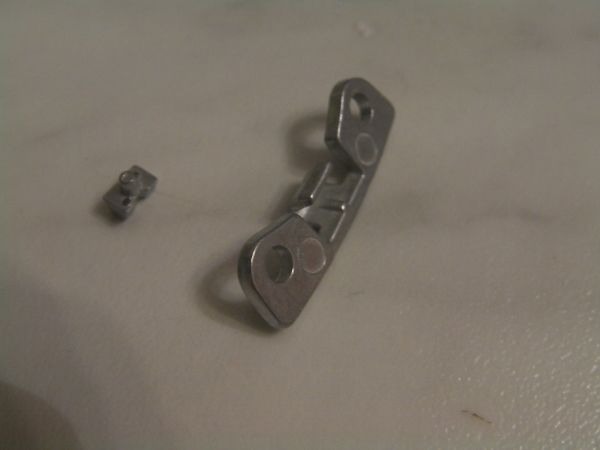
Seriously that little piddly piece of "hinge" is just waiting, pleading, begging to be lost.

OK issue 8 had no little lose-able pieces


It was again a case of fitting the frame piece to the dome, but in the right place. the hole piece goes next to the frame piece missing a section in the bottom.


The dome chassis pieces were next to be done, the best thing to remember is put the securing bracket with the writing side, on the same side as the chassis piece with the writing side like this


The ankle pieces made in the previous issue could now be fitted to the "joint"


Two sets of lugs have to line up, the ones in the top image, and after fitting make sure the silver lugs are furthest away from the sloping edge (to the back)

It can then be fitted in place to the foot piece


Issue 8 done


OK now here is where I started to get on my hands and knees, and looking through the bin inside, recycling bin outside and finally gave in - issue 9.


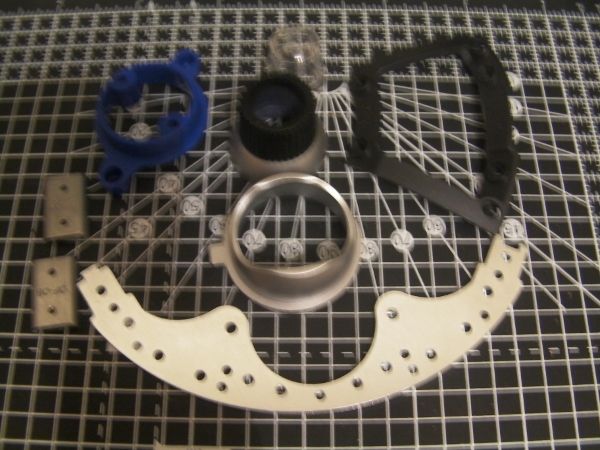
It all started off so well, the base for the dome was done


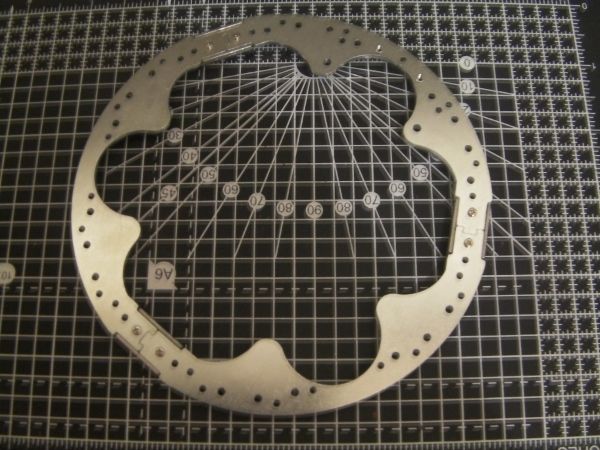
I then put on the last frame piece of the dome and started to attach it to the chassis, going so well then this


I thought Cursing , then I started the bin search, but no there was no screw to be found Cursing somehow, somewhere, despite all my best efforts a screw had gone missing Cursing. I checked the integrity of the dome and chassis and all seems OK, but I will have to have a trip to Maplin to see if I can locate any screws, so after a bit of Cursing then a little Cursing and a final major bit of Cursing I moved on to the next bit


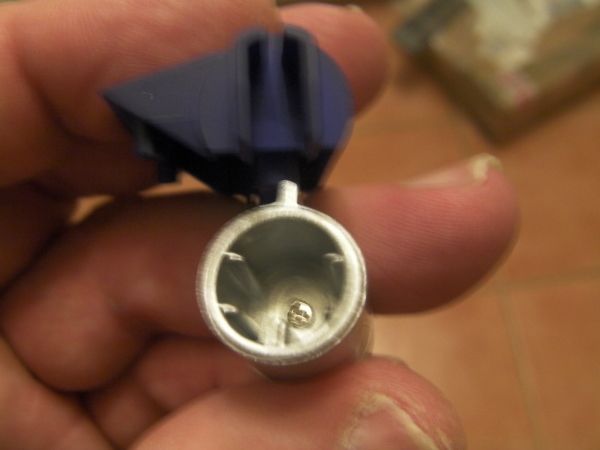
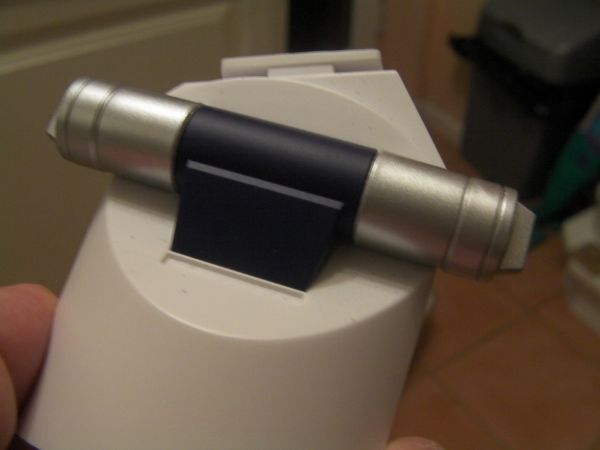
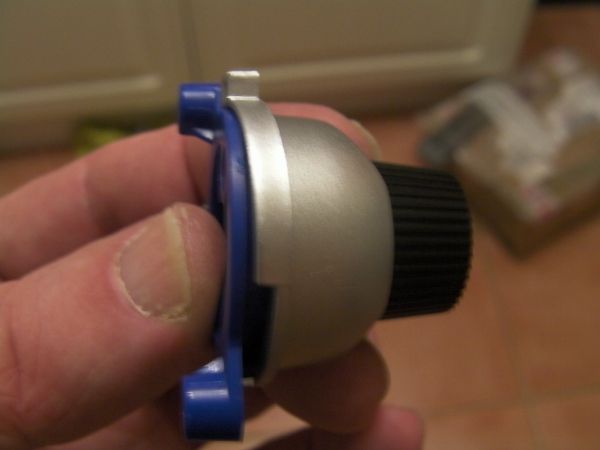
The projector lens, getting exciting now isn't it?? the mention of pro ject or.

Here it is


That's it, remaining screws and UBER lose-able part stored, I now await the next 4 issues, wasn't all bad though my team Lincoln made it through to the semi-final of the FA trophy. Now just to beat Arsenal and make it through to the semi final of the FA Cup LOL LOL
If you build it he will come

Built - Eaglemoss 3D Printer. Building - R2D2


National league Champions 2017
FA Cup Quarter Finalists 2017
Markwarren
#34 Posted : 27 February 2017 21:10:23
Rank: Administration

Publisher Medal: Featured Build of the MonthActive Service Medal: 500 post active service MedalPurple Medal: Super active service medal for 1000 postsTurquoise Medal: Turquoise Medal for model making know-how contributionOutstanding Build: An award for an outstanding buildBuild-Diary Medal: Build-Diary Medal of HonourRed Medal: Red Medal
Groups: Registered, Administrators, Global Forum Support, Moderator, Forum Support Team, Official Builds

Joined: 04/01/2016
Posts: 6,817
Points: 20,768
Location: Northamptonshire, England
Looking good, I know it's still early days for the build, but you can really see it coming together. I'm spray painting parts at the moment, should update the custom build later this week. Keep up the good work.ThumpUp

Mark
Regards
Markwarren
(Mark) Admin
pemberg
#35 Posted : 27 February 2017 21:36:50

Rank: Elite

Publisher Medal: Featured Build of the MonthActive Service Medal: 500 post active service MedalPurple Medal: Super active service medal for 1000 postsTurquoise Medal: Turquoise Medal for model making know-how contributionBuild-Diary Medal: Build-Diary Medal of HonourRed Medal: Red Medal
Groups: Registered

Joined: 20/04/2012
Posts: 1,787
Points: 5,292
Location: Thurso
It's always good to see things starting to take shape, looking good.
Graeme
Impman66
#36 Posted : 27 February 2017 21:38:55

Rank: Semi-Pro Level 2

Build-Diary Medal: Build-Diary Medal of Honour
Groups: Registered

Joined: 04/01/2017
Posts: 83
Points: 252
Location: South Witham
Markwarren wrote:
Looking good, I know it's still early days for the build, but you can really see it coming together. I'm spray painting parts at the moment, should update the custom build later this week. Keep up the good work.ThumpUp

Mark

can't wait to see those Mark, if it's as good as the early pics, and of the full size R2 pic you posted should be great BigGrin
If you build it he will come

Built - Eaglemoss 3D Printer. Building - R2D2


National league Champions 2017
FA Cup Quarter Finalists 2017
zackworld
#37 Posted : 28 February 2017 11:48:37

Rank: Beginner Level 1

Groups: Registered

Joined: 28/02/2017
Posts: 8
Points: 24
Location: UK
Hi
Looking at your pictures you probably haven't lost a screw.

The screws going through DF8 in your picture are the longer silver ones, as per the instructions.
These should actually be the shorter silver screws.
Narayan
#38 Posted : 28 February 2017 15:07:49

Rank: Pro

Build-Diary Medal: Build-Diary Medal of Honour
Groups: Registered

Joined: 22/02/2017
Posts: 155
Points: 474
Location: Ireland
Reading this with great interest. I think your updates will be very useful to me when I start this build. Keep up the great work!

Graham
I was drowning my sorrows. But my sorrows they'd learned to swim.

Impman66
#39 Posted : 28 February 2017 18:53:56

Rank: Semi-Pro Level 2

Build-Diary Medal: Build-Diary Medal of Honour
Groups: Registered

Joined: 04/01/2017
Posts: 83
Points: 252
Location: South Witham
zackworld wrote:
Hi
Looking at your pictures you probably haven't lost a screw.

The screws going through DF8 in your picture are the longer silver ones, as per the instructions.
These should actually be the shorter silver screws.


Yes thanks for that. just consulted the official build, and you do have to use the shorter screws, wonder how the instructions in the magazine got it so wrong Confused
If you build it he will come

Built - Eaglemoss 3D Printer. Building - R2D2


National league Champions 2017
FA Cup Quarter Finalists 2017
zackworld
#40 Posted : 28 February 2017 22:58:18

Rank: Beginner Level 1

Groups: Registered

Joined: 28/02/2017
Posts: 8
Points: 24
Location: UK
Glad to help.
It may have been more helpful if there was a sticky with an amendment rather than a comment in the official build guide.
Users browsing this topic
Guest (4)
5 Pages <1234>»
Forum Jump  
You cannot post new topics in this forum.
You cannot reply to topics in this forum.
You cannot delete your posts in this forum.
You cannot edit your posts in this forum.
You cannot create polls in this forum.
You cannot vote in polls in this forum.

Powered by YAF | YAF © 2003-2009, Yet Another Forum.NET
This page was generated in 0.248 seconds.
DeAgostini