|
|
 Rank: Pro     Groups: Registered
Joined: 09/08/2011 Posts: 400 Points: 1,171 Location: Hertfordshire
|
I have test fitted the piece in place with the screws holding it in, and I thought about the fix as previously posted But its not the entire piece that sits out of place, it's literally the "wings" Everything else lines up properly, with the 2 pins fitting perfectly over the rear wing fixings to the top being level with the air intake Lowering the height of the intake box might fix the side issue, but the cause the top to be too low I think it's purely a packaging error causing stress on the "wings" bending them out of shape, because they do lne up with no gap when I apply a little pressure, it's just as soon as I let go they lift back up I have made an improvement though by bending them back into shape, but I have been trying it very gentle over a number of nights, careful not to fold or crack them I think after a couple more nights of massaging I should be there If I get a result I'll post my findings and how it was done  The Brawn BuildWentworth Court Dolls HouseThe MP4/4 Build The Brawn BuildWentworth Court Dolls HouseThe MP4/4 Build[ulr=http://forum.deagostini.co.uk/default.aspx?g=posts&t=36693]The 97T Build[/url]
|
|
|
Rank: Pro  Groups: Registered
Joined: 12/08/2011 Posts: 100 Points: 323 Location: Kent
|
Tomick wrote:Looking ahead, the rear of the engine cowl is secured with two screws via its wing to the rear fairing fences with two screws. This pulls in the cowl for an improved shape, though this also means that the engine cowl is not an instant 'lift off' item without first removing the screws.
Because the rear of the engine cowl is screw secured, some might want to consider fixing the engine cowl permanently.
Admin/DeAg have been alerted to the matter. My model will be displayed with all body panels in place so if a soulution does not arrive I will probably take lots of photos with the panels removed and then fix the body panels in place with double sided tape or a glue that will allow me to remove the panels if necessary. This approach may not be for all because there is a lot of detail that will be hidden. Also I don't think the engine cowl will stand up to too much taking off and putting back on because the locating pins on the airbox are very secure and a certain amount of flexing is required to remove it. For most of us and hopefully all of us this is not a toy and will be displayed with either panels in place or removed but ultimately we don't want panel gaps and eagerly await a solution from Admin, DeAg or one of the experienced modellers on this forum.
|
|
|
Rank: Pro Groups: Registered
Joined: 09/08/2011 Posts: 400 Points: 1,171 Location: Hertfordshire
|
Well I have had some great progress guys As you can see from the last image below I have virtually no gap now, when you compare it to how it was it's a major improvement! If you are interested in attempting this fix yourself here's what I did Before you start remove the upper part of the air intake cover from the engine cover, this helps with heating and re-shaping Step 1. Hold the engine cover over a naked flame, not too close that it melts in your hand, just far enough so you can feel the piece "warming" Don't hold it in one place either, keep the part moving giving an even coverage With reshaping, a low heat and alot of patience is best Step 2. With the part heated and you feel the part has a little flex, put it into position ensuring the pins towards the rear are in place holding down the rear wing Step 3. Press the front ends in place, making sure correct allignment along both sides Step 4. Keep held in place and apply enough pressure to keep shape until cooled Step 5. Release pressure and make sure new shape has been kept and the part hasn't sprung back into its previous shape These steps may need to be repeated a number of times until the part holds un-assisted Step 6. Re-attach the air intake cover, admire your new gap free engine cover assembly  I only done this because I am an impatient person! I would only recommened doing this if you are the same  No doubt the fix from Tomick/Admin will yield better results and be less of a fire hazard! Heinzy attached the following image(s): The Brawn BuildWentworth Court Dolls HouseThe MP4/4 Build[ulr=http://forum.deagostini.co.uk/default.aspx?g=posts&t=36693]The 97T Build[/url]
|
|
|
Rank: Pro Groups: Joined: 24/08/2009 Posts: 48,827 Points: -13,348
|
Well done for sorting the problem in your own way Heinzy and there is certainly no gap now!! The only concern I have and I don't know if it is just a trick of the light, but it looks like some areas of the cover have a very slight gold(ish) discolouration, maybe from the localised heat of a naked flame? I was wondering if it might have been better to use a hair dryer on a hot setting instead of the naked flame approach maybe?
Whatever, you seem to have resolved the gap issue!! Well done!!
Kev
|
|
|
Rank: Pro Groups: Registered
Joined: 12/08/2011 Posts: 100 Points: 323 Location: Kent
|
Good Work Heinzy
You have proved that heat will work, I am a bit nervous about the naked flame, it will be so easy to damage the paintwork, I think I'll give the hair dryer another go.
|
|
|
 Rank: Elite     Groups: registriert, Registered Joined: 20/03/2011 Posts: 2,356 Points: 7,122 Location: UK
|
Heinzy wrote:Well I have had some great progress guys As you can see from the last image below I have virtually no gap now, when you compare it to how it was it's a major improvement! If you are interested in attempting this fix yourself here's what I did Before you start remove the upper part of the air intake cover from the engine cover, this helps with heating and re-shaping Step 1. Hold the engine cover over a naked flame, not too close that it melts in your hand, just far enough so you can feel the piece "warming" Don't hold it in one place either, keep the part moving giving an even coverage With reshaping, a low heat and alot of patience is best Step 2. With the part heated and you feel the part has a little flex, put it into position ensuring the pins towards the rear are in place holding down the rear wing Step 3. Press the front ends in place, making sure correct allignment along both sides Step 4. Keep held in place and apply enough pressure to keep shape until cooled Step 5. Release pressure and make sure new shape has been kept and the part hasn't sprung back into its previous shape These steps may need to be repeated a number of times until the part holds un-assisted Step 6. Re-attach the air intake cover, admire your new gap free engine cover assembly I only done this because I am an impatient person! I would only recommened doing this if you are the same No doubt the fix from Tomick/Admin will yield better results and be less of a fire hazard! Brilliant fix mate.. could I suggest a few seconds in hot water too for those that don't want to play with a naked flame? should have same results i think
|
|
|
Rank: Pro Groups: Registered
Joined: 12/08/2011 Posts: 100 Points: 323 Location: Kent
|
I've had some good results with a hair dryer. First I tried with the engine cowl in place and heated it for a couple of minutes with a hair dryer, when it was nice and hot I held it in place with my fingers while it cooled, this got rid of about half of the gap so I then removerd the engine cowel and with masking tape I pulled the two sides in and heated the part again, this time when it was nice and hot I put it into the fridge to cool, when it was cold I removed it from the fridge and refitted it to the model and used masking tape to hold it in place while it returned to room temperature, now the gap is almost gone, I think one more go with the hot/cold cycle will have it right.
|
|
|
 Rank: Beginner Level 2  Groups: Registered
Joined: 17/04/2012 Posts: 19 Points: 60 Location: UK
|
Snap!!! I too have issues with the rear cowl but mine refuses to bend with heat and the part nearest the fuel fillers sits higher too than at the rear. I tried everything, even rejigging the entire engine and still it won't fit correctly? How am I supposed to display it in this shape, I can't. Current builds: McLaren MP4-23 1/8 Aston Martin DB5 1/8
|
|
|
 Rank: Semi-Pro Level 1  Groups: Registered
Joined: 02/10/2012 Posts: 72 Points: 212
|
i think they give you a revised induction pod on one of the late issues as the original ones are mis-shaped which give the engine cover a gap. the new engine cover is shaped so there is not a gap
Aidan :D
|
|
|
Rank: Pro  Groups: Registered
Joined: 05/04/2011 Posts: 266 Points: 784 Location: Essexshire
|
Still got my cover not fitting and haven't tried either the candle or hair dryer method and don't fancy taking the model apart.
I would like a response from Deag as to fix this with new parts. Not a limp wristed colour response either thank you
As per the sticky "bad panel fit"
" As a result, the body panels WILL FIT CORRECTLY and the remedy suggested in Japan does not apply to modellers who are building from the English parts and instructions"
I await a response regarding this problem Deag and how to get this one sorted
|
|
|
 Rank: Super-Elite  Groups: Registered
Joined: 04/04/2010 Posts: 3,955 Points: 11,809 Location: uk
|
skiddy,I suspect you will be waiting a long time mate,my is fine with the new airbox,I think you might have something mis-aligned somewhere,I've had to undo front suspension and re-do it to get the steering to line up,so what I am saying is,check,check and check again that everything is as it should be.good luck. Current builds: SotS, USS Consitution, San Felipe, D51 loco, HMS Surprise, RB7, Arab Dhow, Jotika HMS Victory Completed builds: HMS Pickel, Thermopylae, Mississipi river boat, Mary Rose, Cutty Sark, San Francisco II, HMS Victory x5, Titanic Lifeboat, Panart HMS Victory Launch, Hachette Titanic, Virginia Schooner, Endeavour Longboat. http://www.model-space.com/gb/
|
|
|
Rank: Pro  Groups: Registered
Joined: 05/09/2012 Posts: 198 Points: 596 Location: Location
|
Mines the same  Even with the induction box and the old/original and 'revised' air intake taken off it still doesnt fit correct. The exhausts seemed to be the problem but even wedging these 'inwards' to allow the cowl to fit over them still leaves one side with quite a gap! If i hold them in place either side it does fit but the panel lines around the fuel fillers are a little out.... Here you can see .....  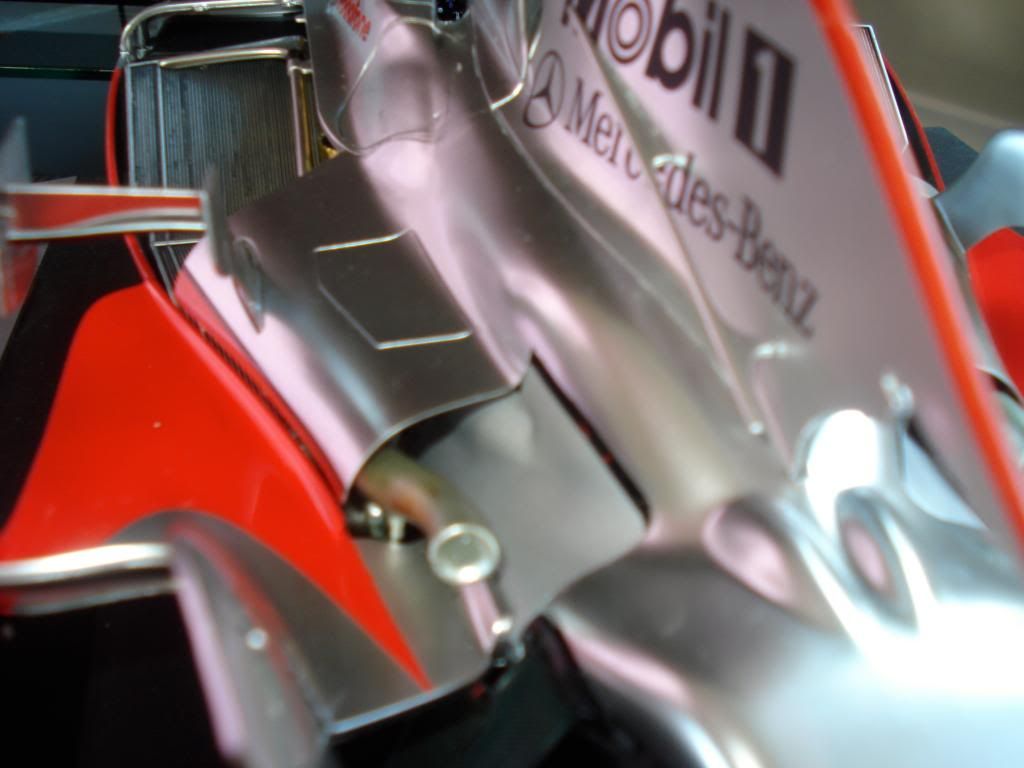 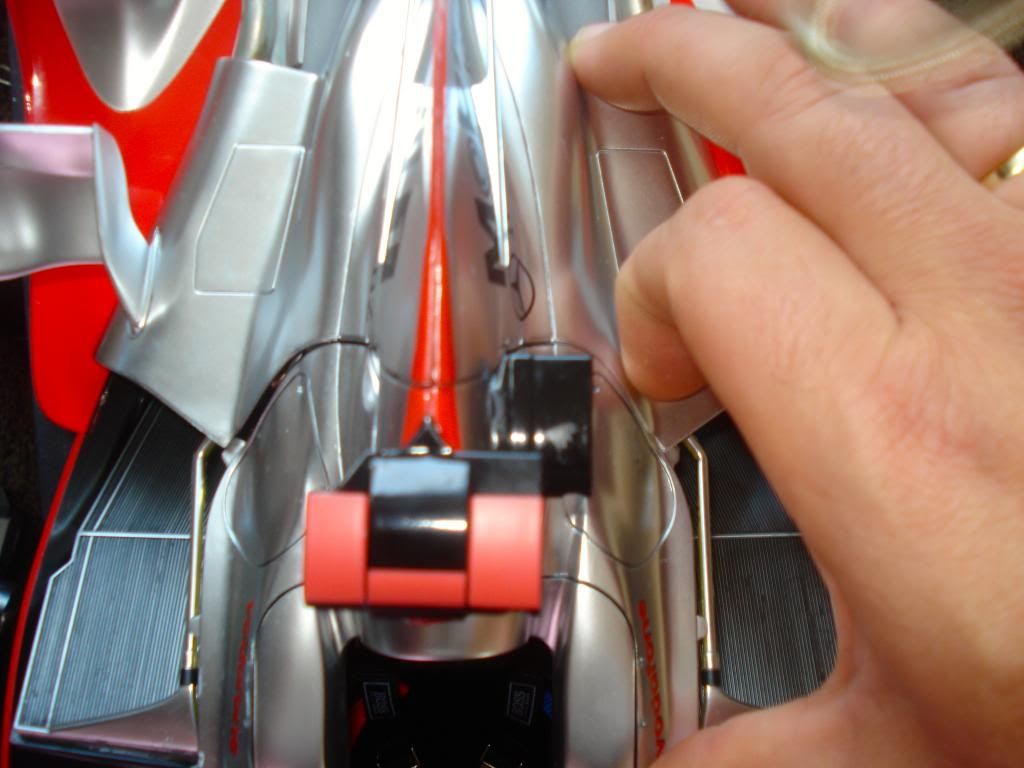 Here, above, holding one side in place disprupts the other quite a bit....  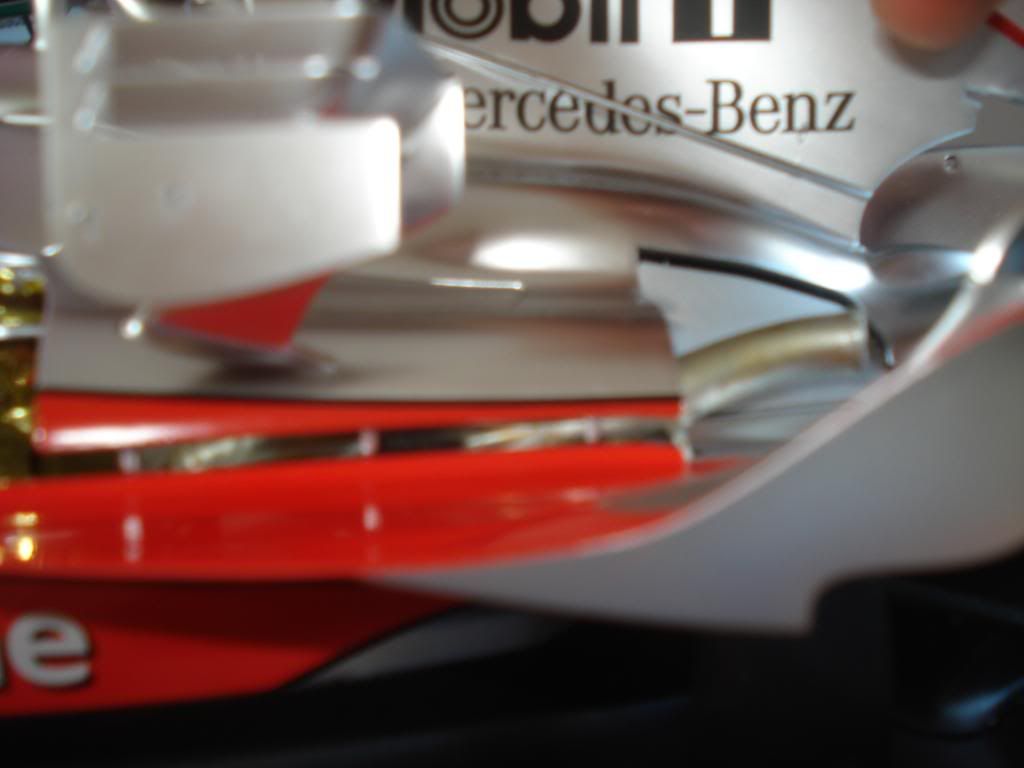 Sorry bout the blurry!! And the connecting wing that fits on the bottom of the induction cowl and is screwed to the side cowls....well, it just pulls everything out of shape so ive removed it for now till i think about this some more !
|
|
|
Rank: Administration  Groups: Administrator, Administrators, Forum Support Team, Global Forum Support, Global Forum Support Team, Moderator, Official Builds Joined: 24/08/2009 Posts: 1,941 Points: 5,835 Location: UK
|
Hi, Some builders have been concerned that when fitting the rear cowl in place at Step 7 on page 15 of Issue 85, there is a visible gap below the outer edges of the panels, as shown in the first picture. This is likely to be due to a temporary distortion of the panel, caused by the parts coming under pressure while in storage. It is simple to correct, but this should be done before continuing to apply the finishing decals. Boil a kettle full of water and gently pour the water onto the inside of the moulding in the area where the panel starts to bend. Be careful not to scald yourself while doing so, as it will take a fair amount of water to soften the moulding enough to allow the sides to flex while you gently pinch the two outer edges together. Hold the panel until the plastic cools, then try the cowl back in place. Repeat if necessary until the gap disappears, as shown in the second picture. Then continue the assembly as shown in the following steps.   Some of you may not have been affected by this, as it appears to be only a small amount that have been affected whilst the parts were in storage, or if they have become a little squashed whilst in the postal system. Thanks Admin.
|
|
|
 Rank: Amateur level 2 Groups: Registered
Joined: 28/03/2011 Posts: 49 Points: 130 Location: salisbury
|
this fix has not worked at all for me and if anything it all looks worse than when started. it seem to have all goine out of shape now and just looks realy bad going to need a new cover
|
|
|
Rank: Pro Groups: Registered
Joined: 05/09/2012 Posts: 198 Points: 596 Location: Location
|
Didn't work for me either so I've took the whole of the left side of the car apart in an attempt to figure just why it doesnt meet up.
Ive also glued the radiator covers to the engine cowl to make one huge cowl. this seems to have improved things, but will update when I've got the side bits back on in place....
|
|
|
Rank: Pro Groups: Registered
Joined: 05/09/2012 Posts: 198 Points: 596 Location: Location
|
Well, after removing the left side of the car, including the exhaust, injector cover, air intake, left sidepod lower cowl, and the radiator...... Then refitting, after cutting down the injector box cover thing like the 'bad panel fit' instructions suggested, although i just snipped away the two poles inside it that it mounts onto the engine with, moving the exhausts a little further inwards and ensuring the left side pod lower cowl was not being pushed out by anything i think im there. Convinced it was the exhausts and the air intake thing that was causing the problem, as it now seems to fit a lot better. Ive had to add a dab of superglue to the radiator top cowl to make it sit flush with the radiator intake near the cockpit. In the process I've messed up some of the chrome finish which annoyed me no end but im sure this can be sorted. The whole engine cover cowl now fits better round the rear wing, which it never did before. A little bending would maybe make it sit even better but tbh im fed up of heating things up and pouring water over things. What id done wrong during construction im not sure as the right side of the car has been fine and i built the left exactly the same! The left side of the car is a little scruffy now due to taking it all apart but this can be fixed, and without force i cant really remove the engine cowl but id rather that than huge gaps everywhere.... 
|
|
|
Rank: Semi-Pro Level 1  Groups: Registered
Joined: 29/03/2011 Posts: 56 Points: 171 Location: WELLINGBOROUGH
|
Hi people, been away for a while and have just been catching up reading the forum, (3 pages worth) im abit confussed as what to do
if i come across this problem, maybe iv just read to much tonight but do i follow the sticky fix that admin say doesnt apply to the uk
build, follow a fix of boiling water or naked flames or is there some sort of replacement part to be sent out, iv got all 85 issues now
and iv checked them all and iv not got any replacement/revised parts for this. sorry if im seeming abit dumb here but this thred seems to have just suddenly stopped so im assuming everyones model is fine now, so what did everyone do??
im just up to the carbon fibre decals so not quite there yet but would like to know whats what before i get to this possible issue.
Thanks in advance and i hope everyone had a nice christmas and wish you all a happy new year.
ja
|
|
|
Rank: Elite Groups: registriert, Registered Joined: 20/03/2011 Posts: 2,356 Points: 7,122 Location: UK
|
Hi Ja and Welcome back! The induction box has been replaced and will make a small change to the adustment but either the hairdryer fix or hot water should do the trick.. just take your time but I advise against the naked flame.. Make small adjustments at a time and repeat until your happy mate Spence
|
|
|
Rank: Semi-Pro Level 1 Groups: Registered
Joined: 29/03/2011 Posts: 56 Points: 171 Location: WELLINGBOROUGH
|
Cheers spence, I wouldn't of used the naked flame technique, that sounds to crazy for me lol. How do I get the replacement then, iv been a subscriber from the start and iv not received it. Does it come as a separate piece or is the one iv got the replacement part?? Ja
|
|
|
Rank: Elite Groups: registriert, Registered Joined: 20/03/2011 Posts: 2,356 Points: 7,122 Location: UK
|
You should have had it in one of the later issues (80 i think)
|
|
|
|
Guest
|
 US
US

