|
|
 Rank: Pro   Groups: Registered
Joined: 22/04/2015 Posts: 134 Points: 378 Location: San Diego, CA
|
colson wrote:Uhg!! I just got notice my next set of parts shipped, but I'm leaving for a 2 week vacation. So I won't get my parts till after the 12th of July. Gonna be a while before more updates. Dying to do more work on the Falcon. Still some other mods I'm considering and looking at, but have not done yet as well. You'll have something nice to come home too, and the time between working on this upcoming delivery and the one after will be nice and short!!! Current Build: Millennium FalconWish List: Lamborghini Countach LP 500S, Red Bull Racing RB7
|
|
|
 Rank: Pro  Groups: Registered
Joined: 30/04/2015 Posts: 263 Points: 795 Location: Los Angeles
|
Impatience wrote: and the one after will be nice and short!!! That's a good point. By the time I start working on the new set, the next one will arrive even quicker. 
|
|
|
 Rank: Beginner Level 2  Groups: Registered
Joined: 11/07/2015 Posts: 10 Points: 30
|
Love what I'm seeing so far! LOL thanks to all these build diaries I have waaaaay too many ideas as to what I'm going to do with my build... I wasn't interested in really sprucing up the interior portions other than the cockpit, but the more I see of them the more I want to! Already ordered some additional fiber for it as well! Keep up the great work! I was thinking of the immortal words of Socrates who said... "I Drank What?!?!"
|
|
|
 Rank: Amateur Level 1  Groups: Registered
Joined: 06/07/2015 Posts: 32 Points: 96 Location: Houston, Texas, USA
|
This is some incredible work and for a newbie, like me, I am astounded by your skill sets. I can't believe some of the things you have accomplished with your model.
This is museum quality work. FANTASTIC !!
|
|
|
 Rank: Pro  Groups: Registered
Joined: 30/04/2015 Posts: 263 Points: 795 Location: Los Angeles
|
Stephan199 wrote:This is some incredible work and for a newbie, like me, I am astounded by your skill sets. I can't believe some of the things you have accomplished with your model.
This is museum quality work. FANTASTIC !! Thanks Stephan199. I just got back from a 2 week vacation and had more parts waiting for me when I got home. Itching to get back into it. More updates soon.
|
|
|
 Rank: Pro  Groups: Registered
Joined: 30/04/2015 Posts: 263 Points: 795 Location: Los Angeles
|
Well, not a large update, but back from my vacation I had issues 13-16 waiting for me. 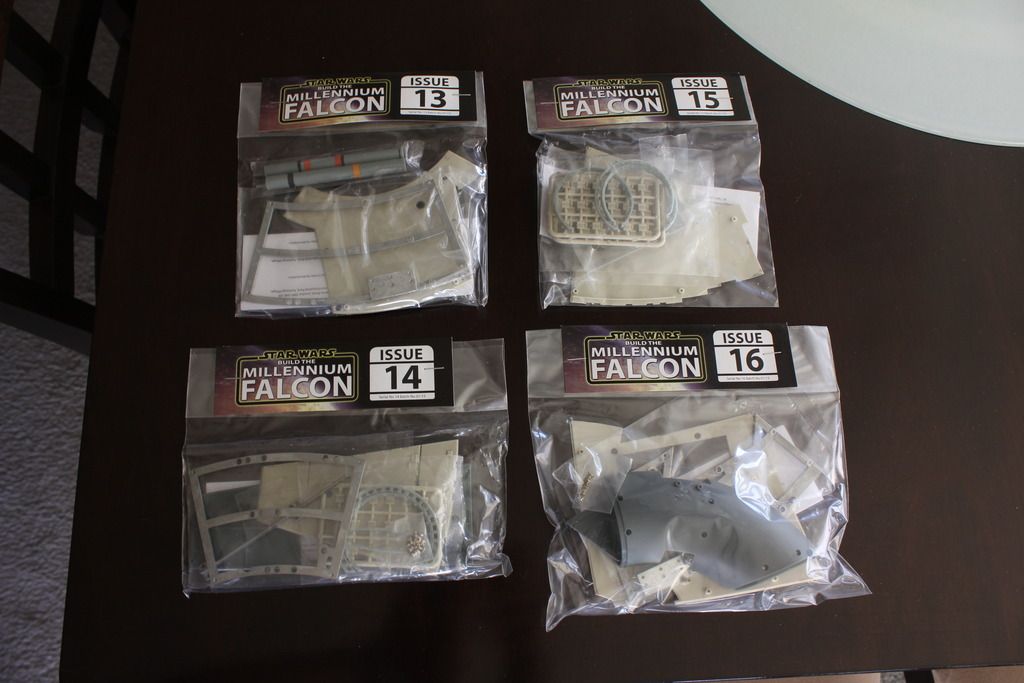 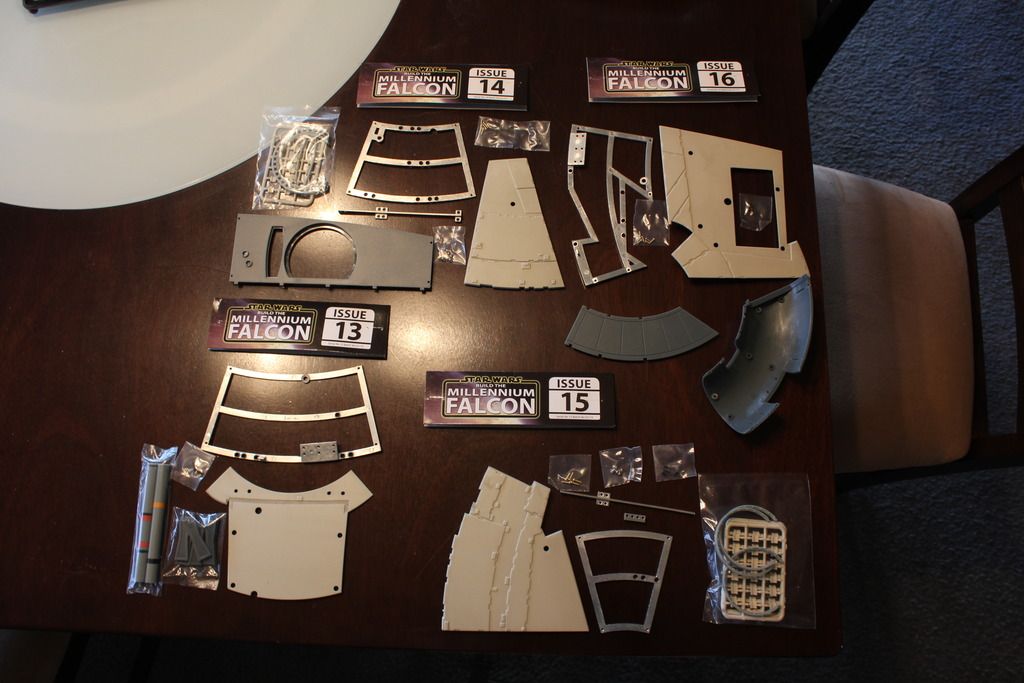 So just to ease back into it, I put together the remaining pieces of the metal framework and test fitted the panels. 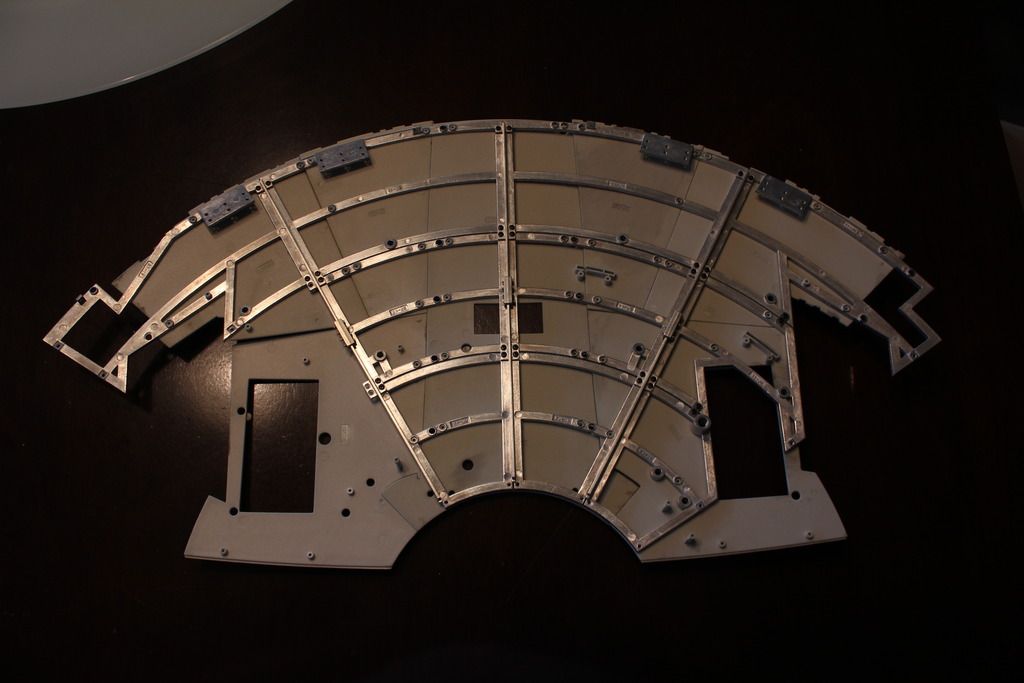 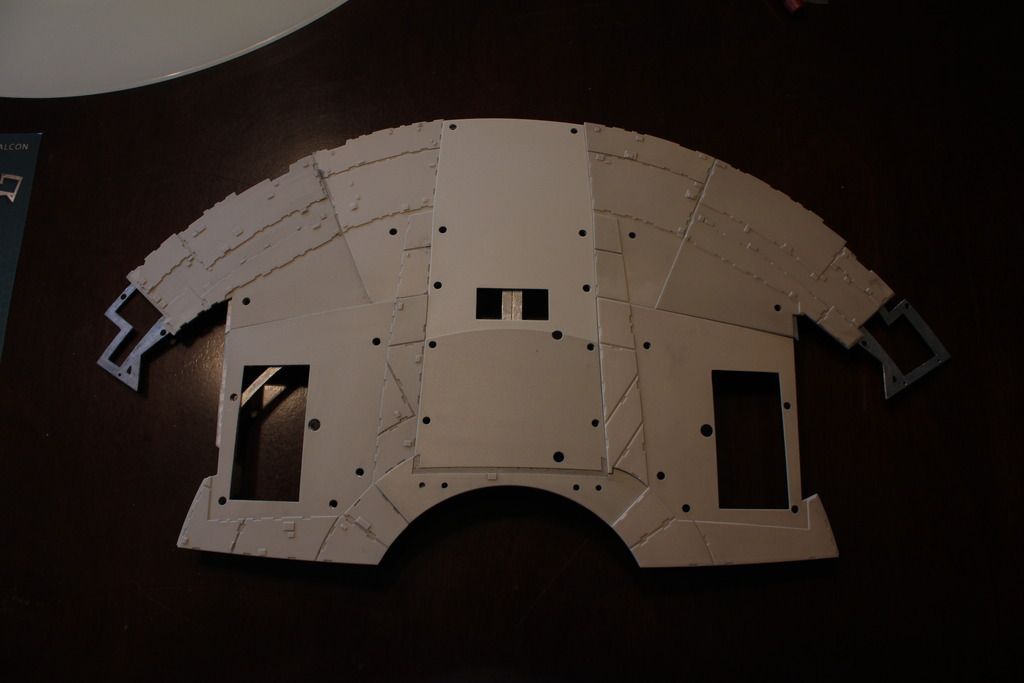 This model is gonna be so big. And it's so exciting seeing the shape of it coming together.
|
|
|
 Rank: Super-Elite       Groups: Registered
Joined: 27/01/2014 Posts: 5,060 Points: 14,980
|
Ooh you are going to love all those little pads  If you are not going to paint the you could stick them all on and then file the edges with a flat file 
|
|
|
 Rank: Pro  Groups: Registered
Joined: 30/04/2015 Posts: 263 Points: 795 Location: Los Angeles
|
I'm gonna be painting all the panels. I'm still trying to decide if I'm gonna do them individually or wait and do them all at once. The pads, yes. That looks very tedious. I think I'm gonna wait till I have all of the corridor pieces before I start working on those, since I'll be painting them as well.
|
|
|
 Rank: Semi-Pro Level 2   Groups: Registered
Joined: 29/05/2015 Posts: 79 Points: 236 Location: Ontario
|
I'm gonna be straight up honest.....I am dreading all those pads. That looks soooo tedious, but hey, what we do for our hobbies, eh? I agree with you, Colson, about waiting until they all come to do them. I'd rather prime and paint them all at the same time. However, I have zero patience so I'll probably start with the first batch  .
|
|
|
 Rank: Pro  Groups: Registered
Joined: 30/04/2015 Posts: 263 Points: 795 Location: Los Angeles
|
Just got packs 17-20. Man, have I got a lot of catching up to do. Issues 13-20. Hopefully in the next week I'll be finished editing video from my Alaska cruise vacation and doing the photo album with my wife. Then I can get back to business. I've grabbed some stills from the ESB Blu-ray of the main hold so that I can add more detail. Looking at cutting on the wall behind the nav console and the wall opposite the game table and adding greeblies and more wires/hoses. So will hopefully have more posts of photos shortly. I'm just dying to get back to work on this kit.
|
|
|
 Rank: Beginner Level 3   Groups: Registered
Joined: 29/07/2015 Posts: 28 Points: 87 Location: San Antonio, TX
|
Love Love Love what you are doing with the lighting, I was thinking of doing the fiberoptics as well but I was thinking for having like maybe 3 multi colored leds and some electronics to get them to cycle colors then run randomly the optic to the 3 different leds so that the lights will randomly change colors. On the Bench DeAgostini Millennium Falcon, Moebius 1/32 Cylon Raider, Moebius 1/32 Colonial Viper, Bandai 1/12 R2D2&R5D4, Bandai 1/12 Scout trooper & Speeder Bike
On their way Bandai 1/48 AT-ST, Bandai 1/48 Snow Speeder
|
|
|
 Rank: Pro  Groups: Registered
Joined: 30/04/2015 Posts: 263 Points: 795 Location: Los Angeles
|
I have alternating blinking lights in there as well. I just decided to use colored fibers so I wouldn't need to use as many LEDs. I just run all the fibers to 1 solid LED and the others to some blinking LEDs.
|
|
|
 Rank: Beginner Level 3   Groups: Registered
Joined: 29/07/2015 Posts: 28 Points: 87 Location: San Antonio, TX
|
hmm, well thats the best part of how this build is over 25 months is it allows time to look at options and decide on whats best for you, and since I just got month 2 today I will have time to see yours progress more before I make the decision on how I want to try this, I already think I have convinced myself to go towards the Force Awakens Falcon since the radar section is already available. On the Bench DeAgostini Millennium Falcon, Moebius 1/32 Cylon Raider, Moebius 1/32 Colonial Viper, Bandai 1/12 R2D2&R5D4, Bandai 1/12 Scout trooper & Speeder Bike
On their way Bandai 1/48 AT-ST, Bandai 1/48 Snow Speeder
|
|
|
 Rank: Pro  Groups: Registered
Joined: 30/04/2015 Posts: 263 Points: 795 Location: Los Angeles
|
Been a while. I was on vacation for a couple of weeks and been doing home renovations the past couple weeks. I'm so itching to get back to the Falcon. Hopefully I'll start some more work on it this weekend. HOWEVER, I just pre-ordered a photo etched floor for the Falcon hold. I had designed my own, but the expense to print a one off is in the hundreds. Paragrafix just posted a hold floor they designed which looks just great. And has some extras as well. So I can finally get my hold done the way I've been wanting. Here's a link to the photo etch floor for anyone who is interested. http://www.paragrafix.bi...tail.asp?PPartNum=pgx195
|
|
|
 Rank: Semi-Pro Level 1   Groups: Registered
Joined: 20/05/2015 Posts: 51 Points: 156 Location: Cary, NC
|
[quote=colson]Been a while. I was on vacation for a couple of weeks and been doing home renovations the past couple weeks. I'm so itching to get back to the Falcon. Hopefully I'll start some more work on it this weekend. HOWEVER, I just pre-ordered a photo etched floor for the Falcon hold. I had designed my own, but the expense to print a one off is in the hundreds. Paragrafix just posted a hold floor they designed which looks just great. And has some extras as well. So I can finally get my hold done the way I've been wanting. Here's a link to the photo etch floor for anyone who is interested. http://www.paragrafix.bi...ail.asp?PPartNum=pgx195[/quote] I am new to photo etch and don't know how you use something like that. Any chance you can describe your plans and process for how this will fit into your build? Charles R.
Building: DeAgostini Millennium Falcon...hasn't built a model since 1996...this is gonna be interesting!!
|
|
|
 Rank: Pro  Groups: Registered
Joined: 30/04/2015 Posts: 263 Points: 795 Location: Los Angeles
|
The photo etch is just very thin metal with some 3 dimensional depth to it, to give whatever it's attached to a raised surface. As far as the hold goes, I'll basically paint the floor black, paint the photo etch whatever floor color, then lay it over the black floor. The floor will look real and the black giving it depth below the grills. I will also probably cut out one of the hatches as well. It'll essentially work much like the 3d printed floor, except I don't have to cut the whole floor out, and the photo etch has a much cleaner and finer detail than 3d printing. For an example, here's the cockpit photo etch they did. It's unpainted, but you can see the detail. https://www.facebook.com...8211924213261&type=3
|
|
|
 Rank: Pro  Groups: Registered
Joined: 30/04/2015 Posts: 263 Points: 795 Location: Los Angeles
|
ALRIGHT. Well, after my 2 week cruise to Alaska, doing a photo album of the cruise for my wife, and a week and a half of home remodeling, I think I'm finally ready to get back into the groove. I've had 2 shipments arrive during this time. Packs 17 - 24. And here they are, in all their glory. 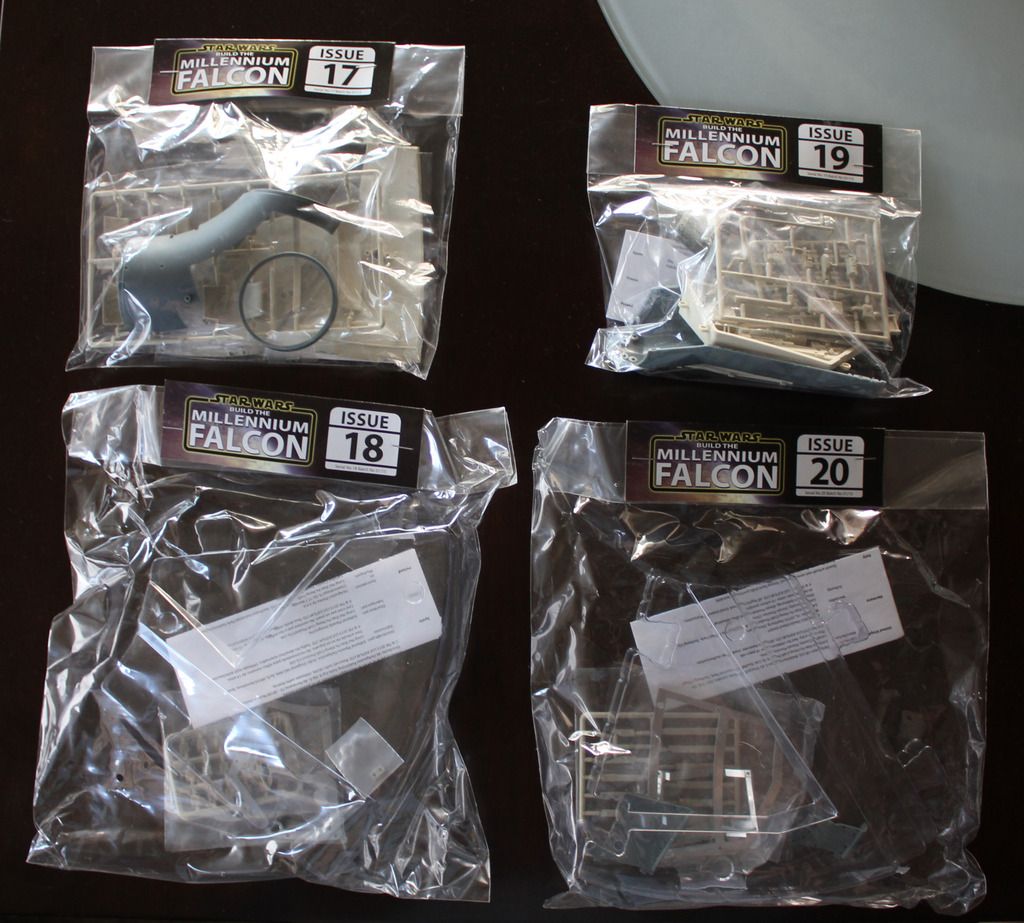 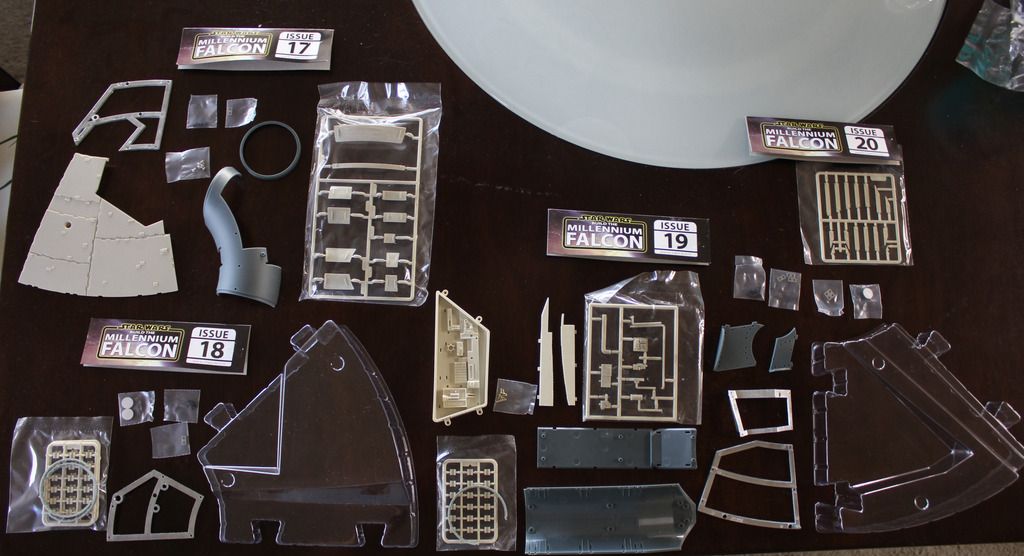 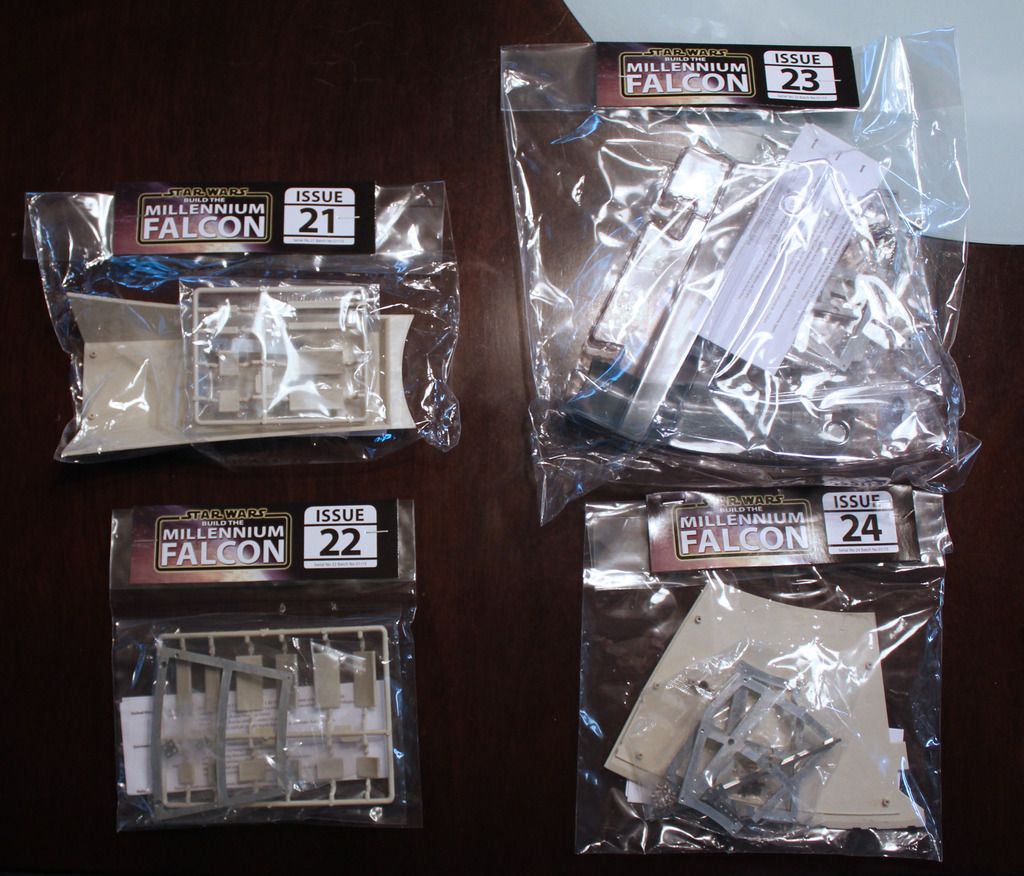 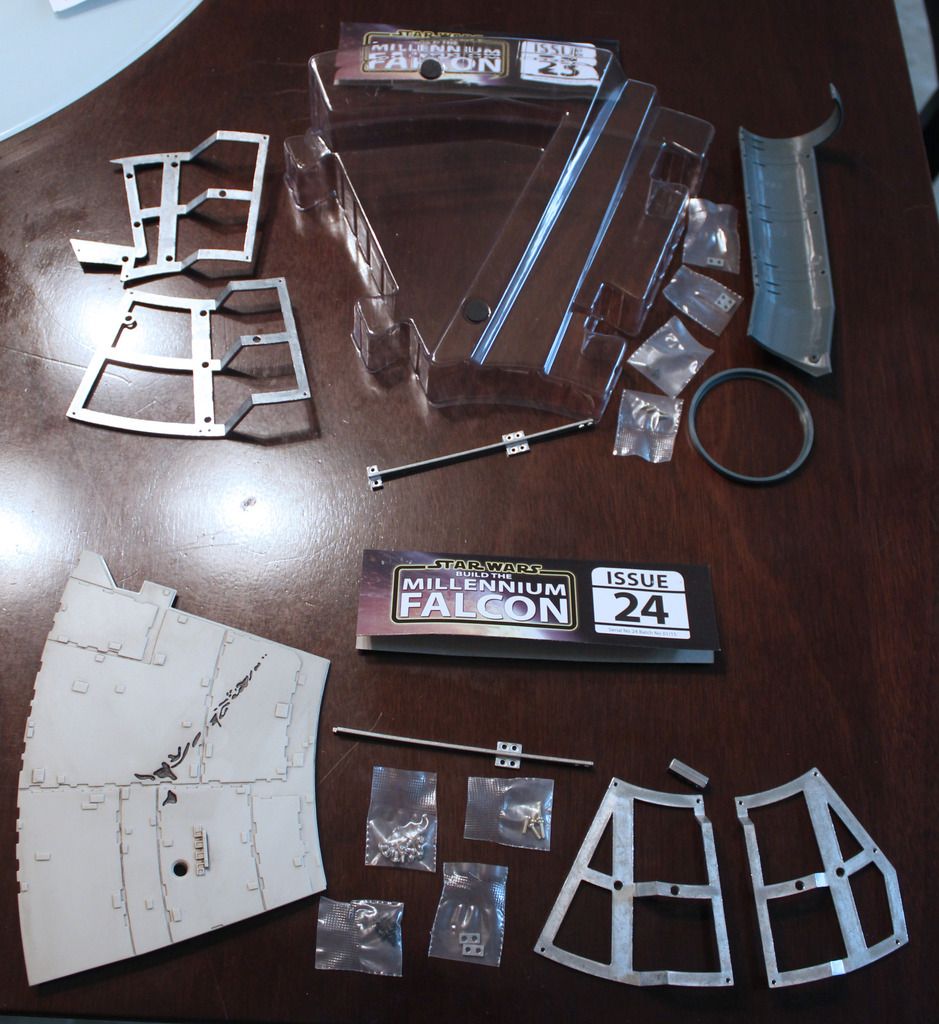 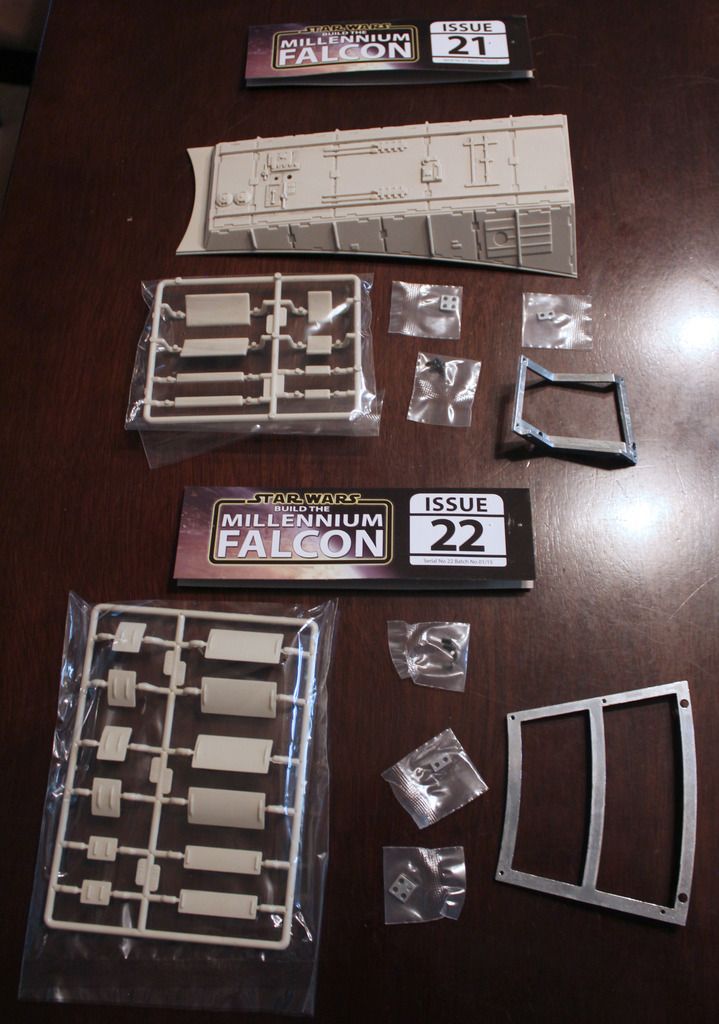 So, with so many packs to work on now, I decided to do the easy part and assemble the framework. I wanna see how big this sucker it gonna be. 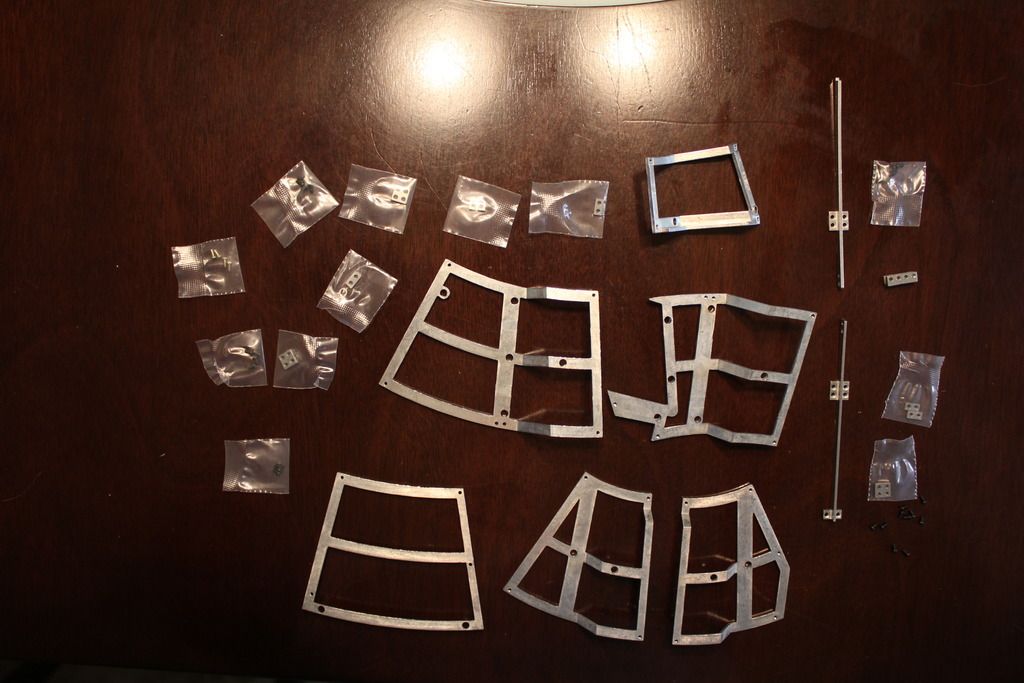 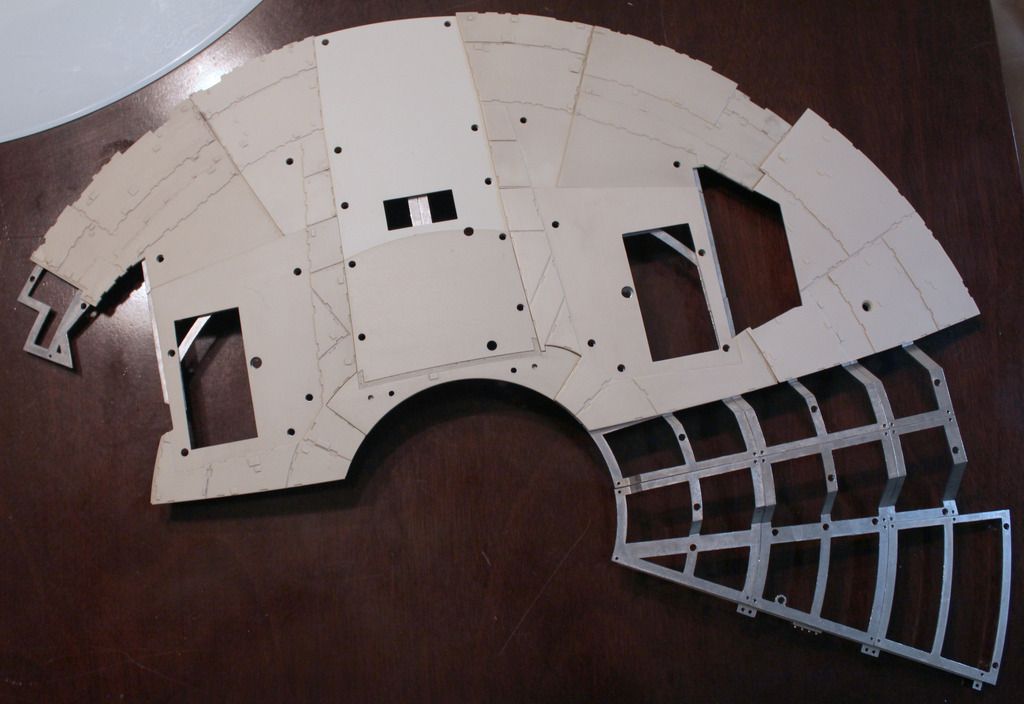 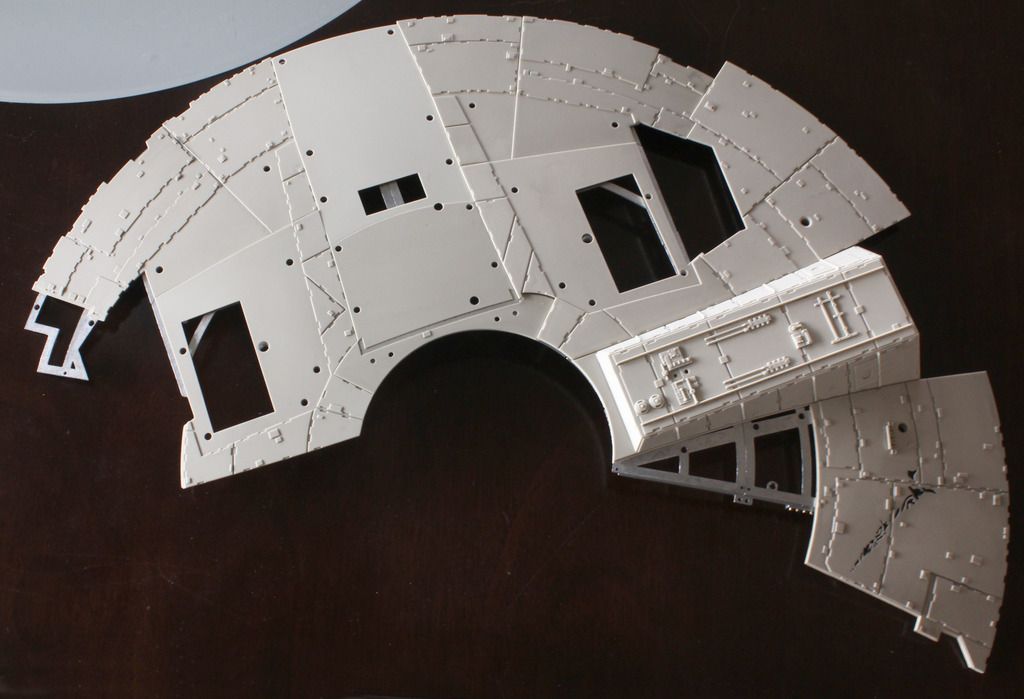 And I realized I haven't put on the little greebly pieces to the outer hull of the cockpit. 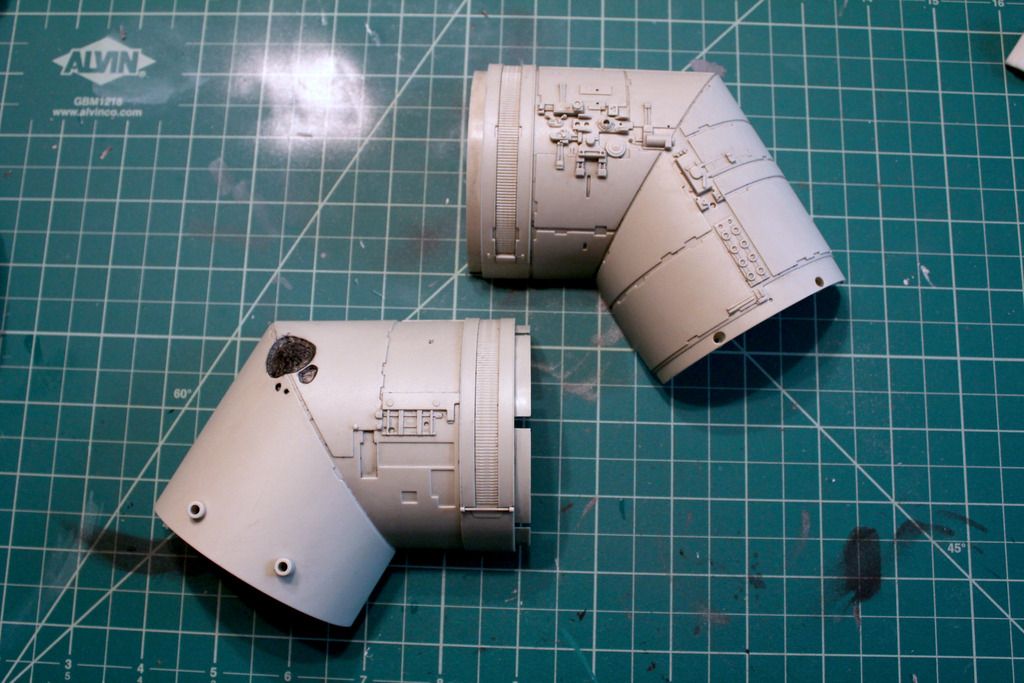 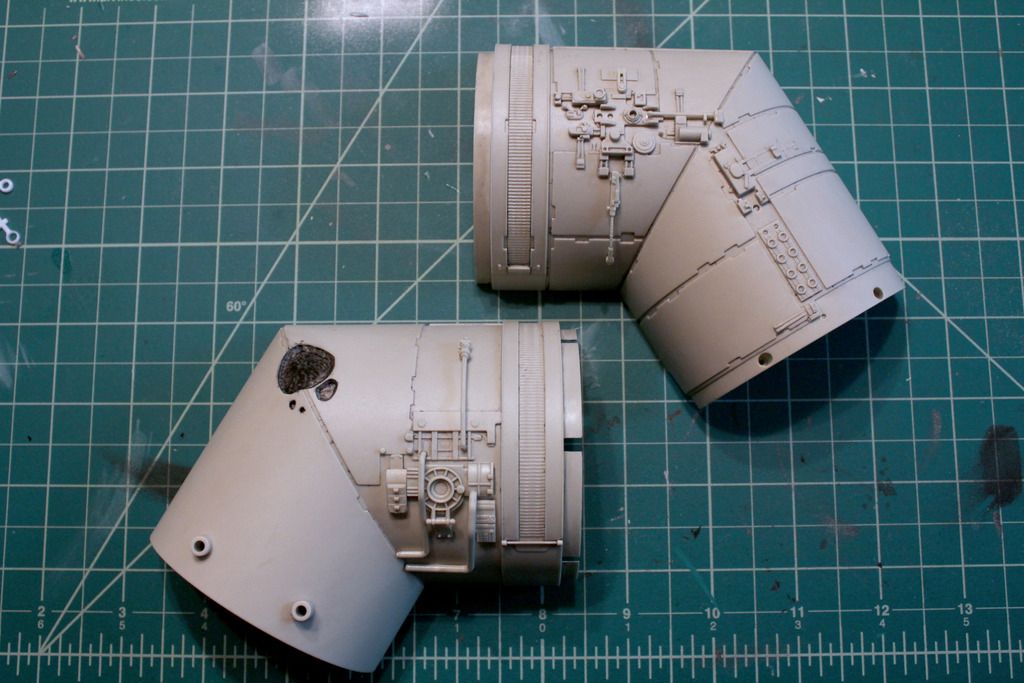 And I put together the bottom hull recess, since that's a pretty easy job. 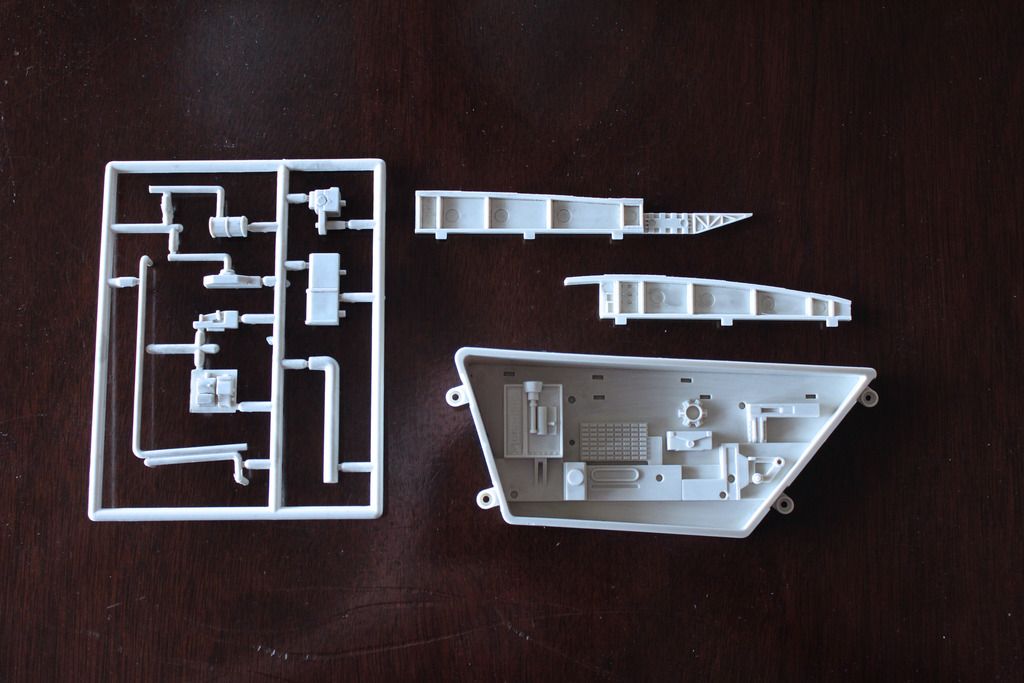 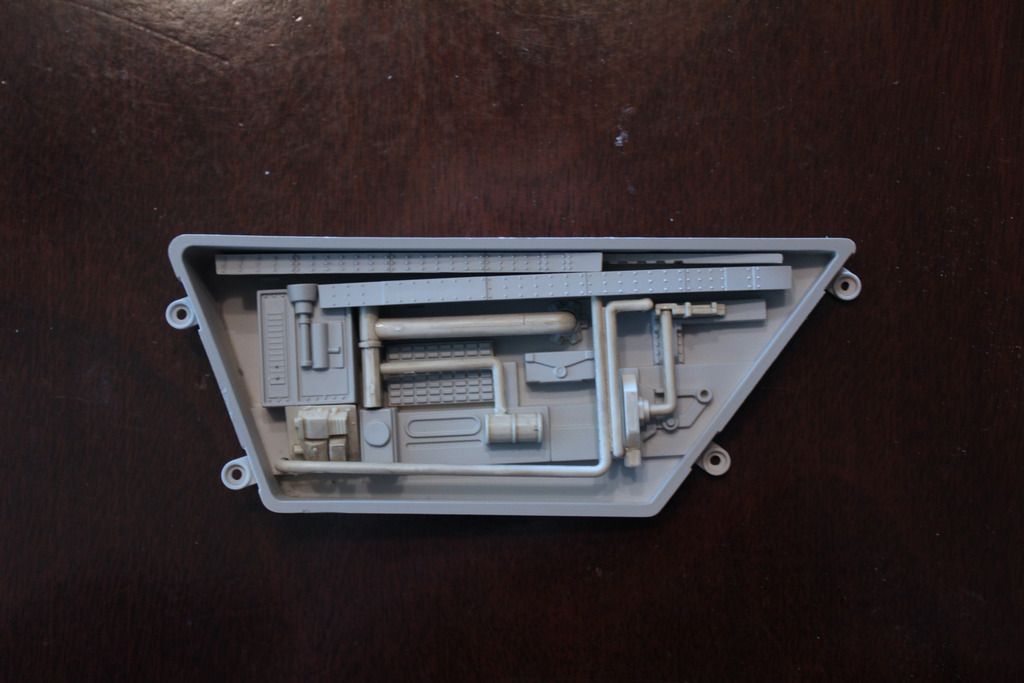 And most of all. Upon looking through some reference photos of the Falcon to see about painting, I was looking over the 5 foot model used in Episode IV and noticed the additional raised pieces on the gun turret. So I decided to use some styrene and add said pieces to my model making it a little more detailed and accurate. So I cut out various squares and placed them in the appropriate location as in the 5 foot reference. 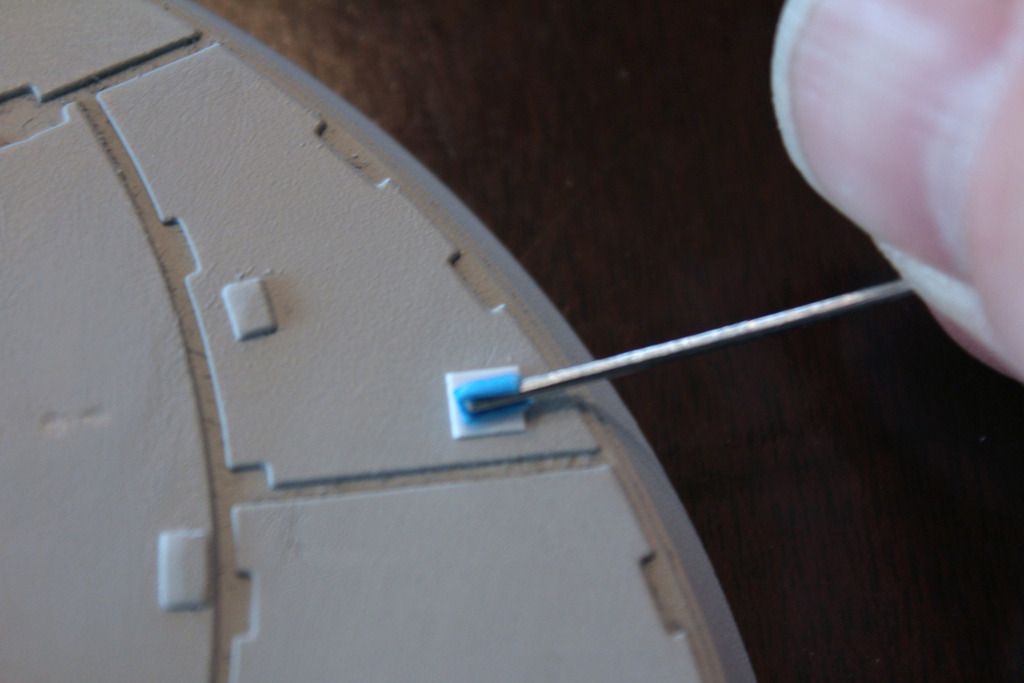 There's also a raised section on the top where the guns themselves attach, which you can see in this reference photo. 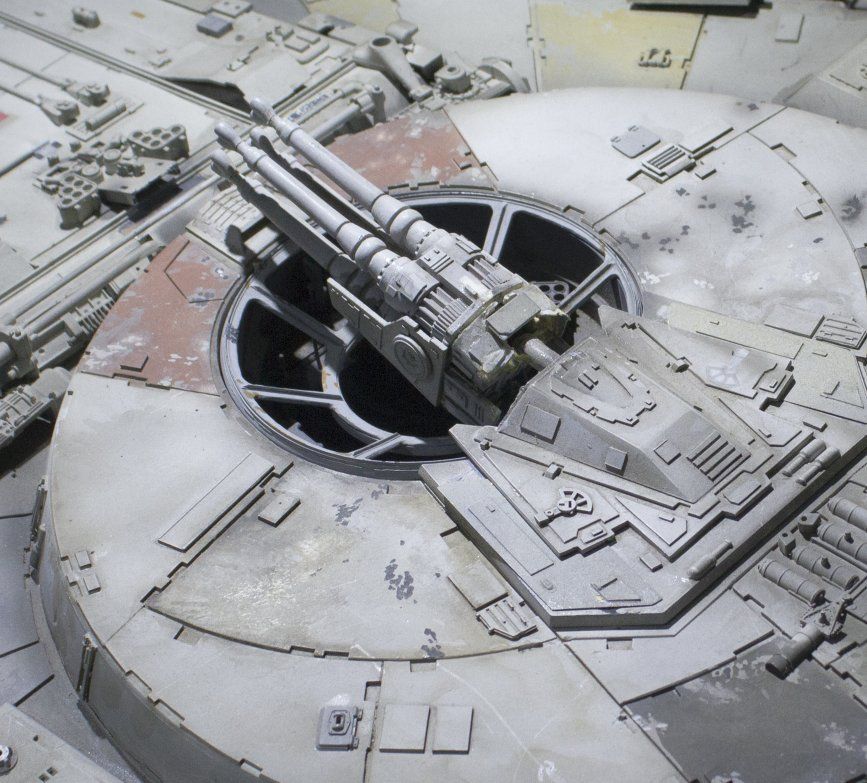 While I can't get it exactly the same, I did cut out a piece as close as possible to the shape on the 5 foot model. Because I was free hand cutting the styrene, it took me about 5 tries before getting the right one. 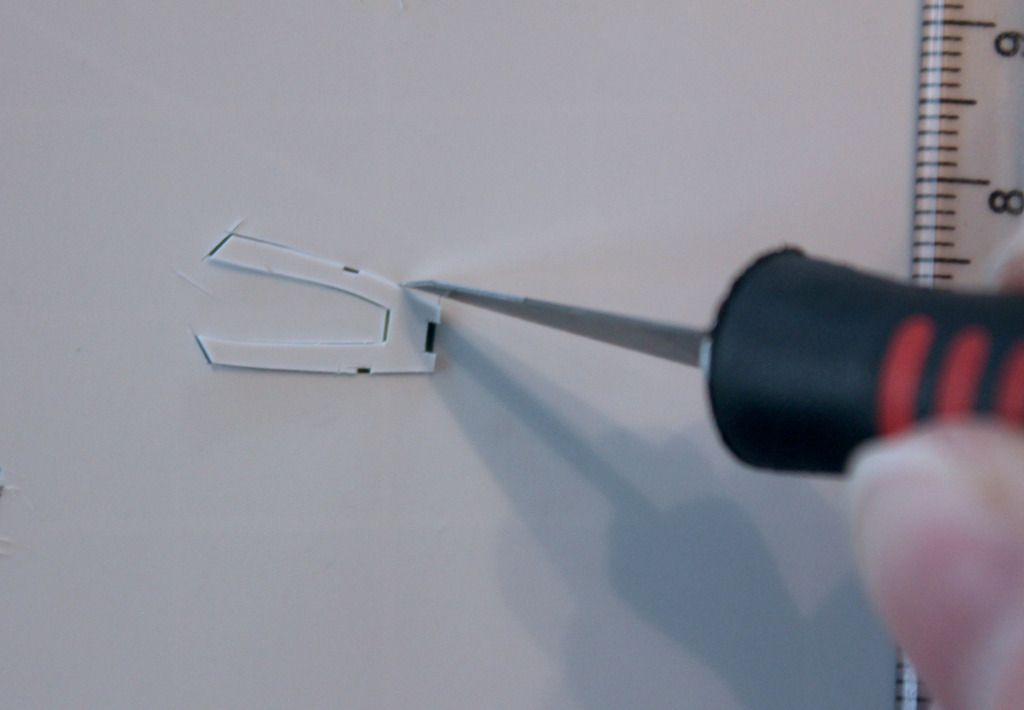 But I did get what I think is a pretty accurate representation and attached all of my pieces to the turret, and then primed for painting. 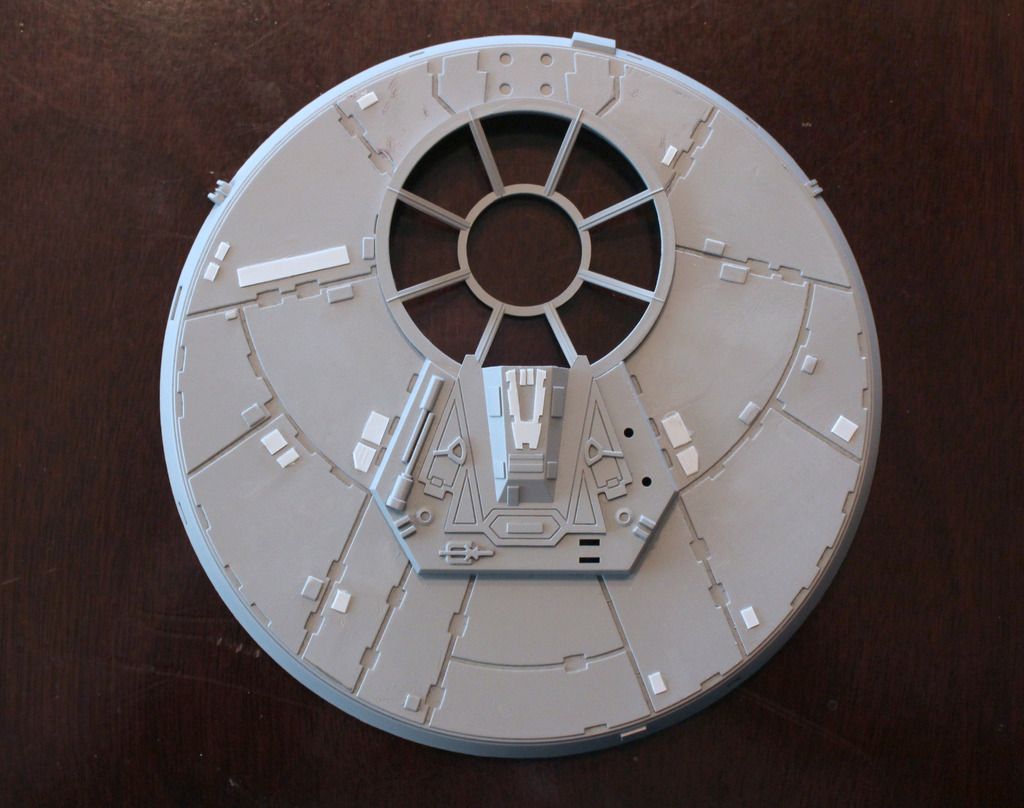 And once primed, I think it looks pretty good. 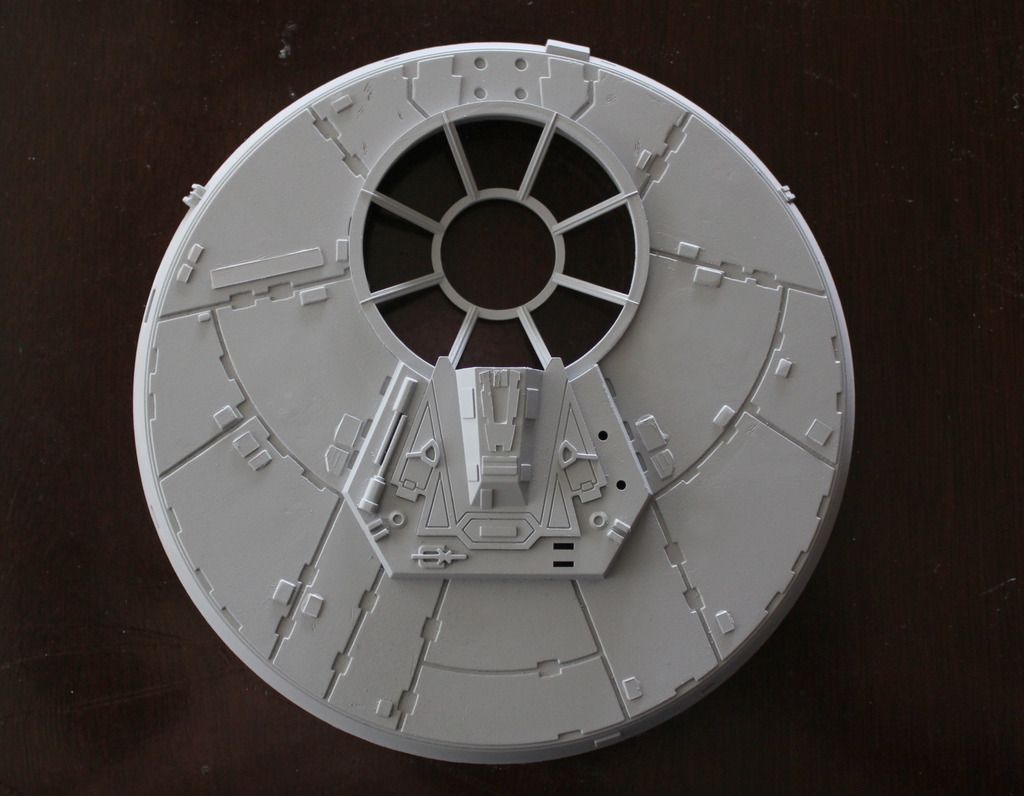 I also had originally said at the beginning of my forum posting that I was planning on keeping the Falcon parts with the paint job they arrived with and just adding additional weathering. Well, I CHANGED MY MIND. I've decided to paint the whole sucker from scratch. So I primed all of the hull pieces to start the process. There's no going back now. 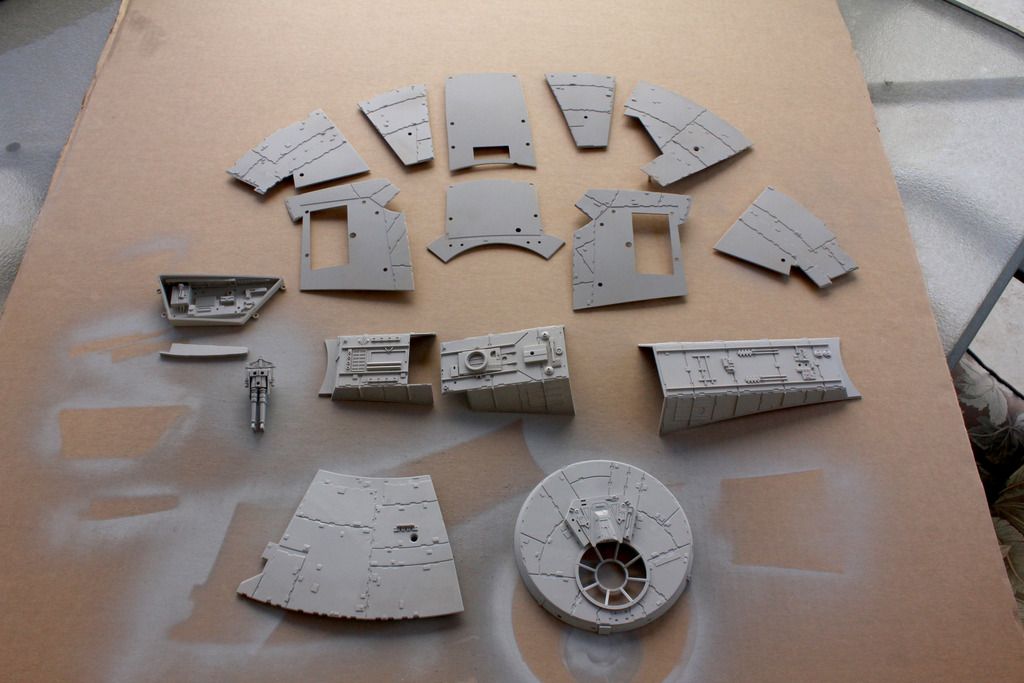
|
|
|
 Rank: Semi-Pro Level 2  Groups: Registered
Joined: 09/06/2015 Posts: 76 Points: 228 Location: Lancaster, CA
|
Looking good Colson. Way to go on taking the extra steps in adding detail. Attention to detail I like it. I've also started to add extra detail to various parts. Lots of .25 fiber. Just waiting on the parts to ship from Shapeways. Tamiya 1/32 P-51D, Revell 1/32 Bf 109G-6 x2 1/32 P-51B, 1/32 Trumpeter Bf109K-4, 1/32 Hasegawa Bf 109E, Testors 1/32 F-117, RMF 1/35 Tiger 1
|
|
|
 Rank: Pro    Groups: Registered
Joined: 06/08/2015 Posts: 276 Points: 817 Location: Monrovia, Ca
|
Nice job adding the extra details, Colson. I don't think you can get the right effect without repainting the hull. There is too much detail that just isn't there the way the pieces come. I'm working on the cargo hold and have been adding a few extras of my own. I'm even stealing your idea of cutting the extra holes in the wall behind the nav computer. Keep the ideas coming. Loving how your build is going. Stephen Current Builds: HMS Sovereign of the Seas /// Lamborghini Countach /// Eaglemoss BTTF DeLorean
Finished Builds: Millennium Falcon
|
|
|
 Rank: Amateur Level 1  Groups: Registered
Joined: 06/07/2015 Posts: 32 Points: 96 Location: Houston, Texas, USA
|
Colson,
It looks incredible. Adding the extra detail was an awesome touch.
Regards, Stephan
|
|
|
|
Guest (4)
|