|
|
 Rank: Pro  Groups: Registered
Joined: 30/06/2010 Posts: 242 Points: 720
|
Good afternoon everyone, thought I'd post some pictures up for you all to look at, partly to get some feedback (good or bad  ) and partly because I do not do a build diary so thought I'd do a one-off of my model so far. Heres where I was the other day; I planked a fair bit of the middle gun deck to get some practice in for later on, despite most of it not being seen later on. I acquired some brass wire which I inserted into the planks and sanded flush to act as trenails, which I think overall looks fairly nice when given a coat of teak oil. I know they arn't brass on the old girl herself but as I'm doing the natural finish I think brass contrasts very well with natural wood. 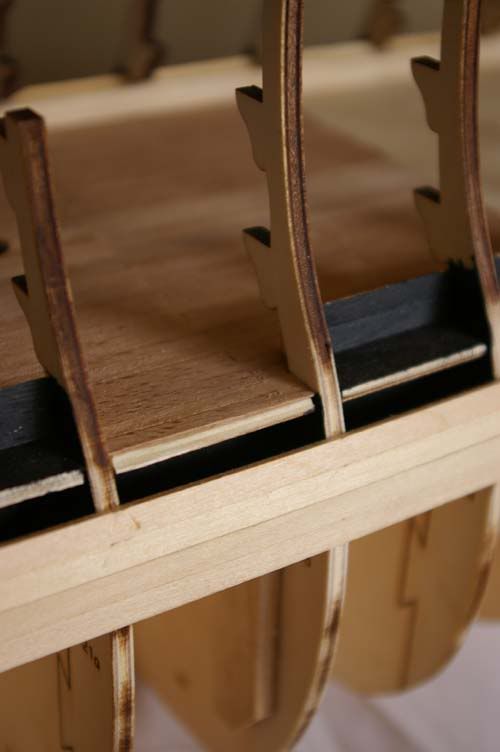 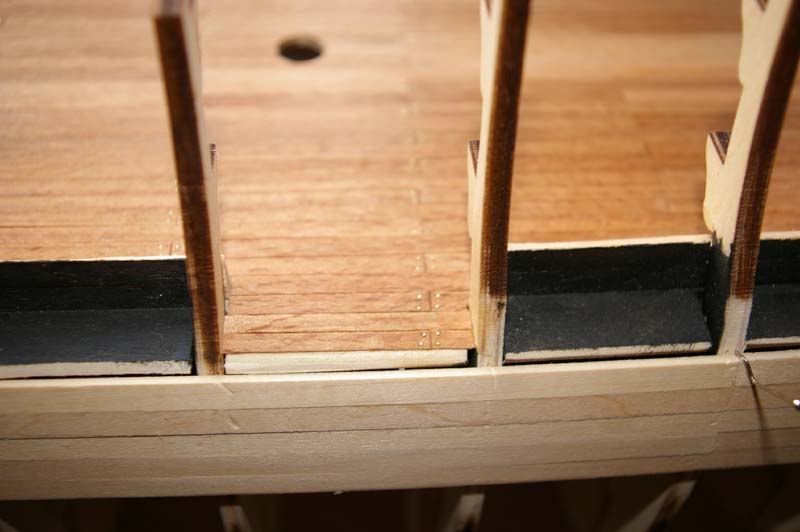 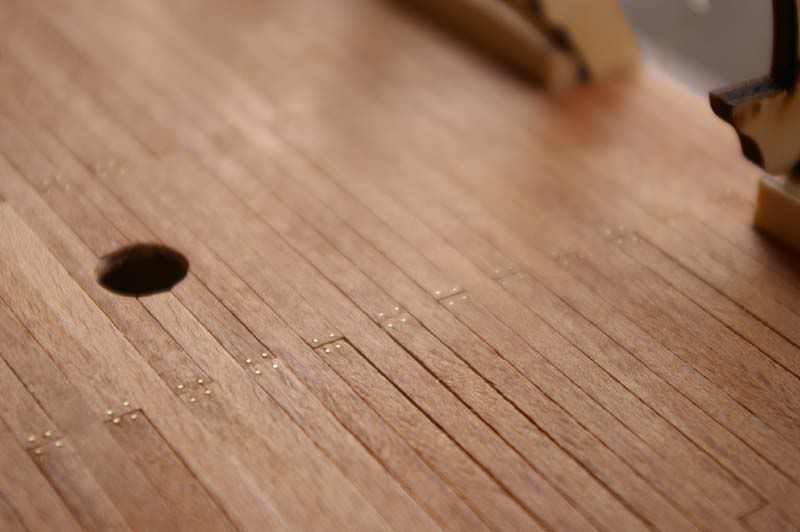  All 6 rows now planked up. This was the first time I've planked a wooden model ship, and overall I'm very pleased with it. When sanded down it goes ever so smooth and its hard to see the individual planks. However, the planks are covered in tiny dents from the pins so will be veneered over later. Saw Tomicks build diary this morning so roughly marked the gunports out. Really want to continue planking the hull but I'm going to wait for the next magazine in case theres something important. 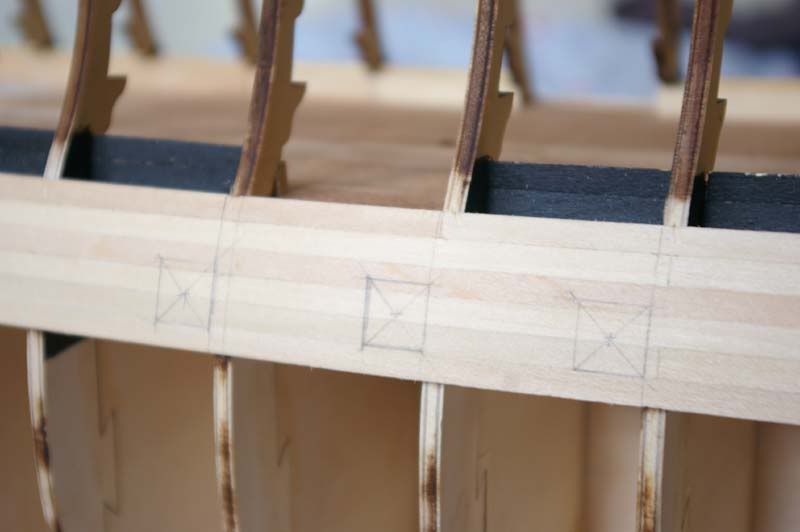 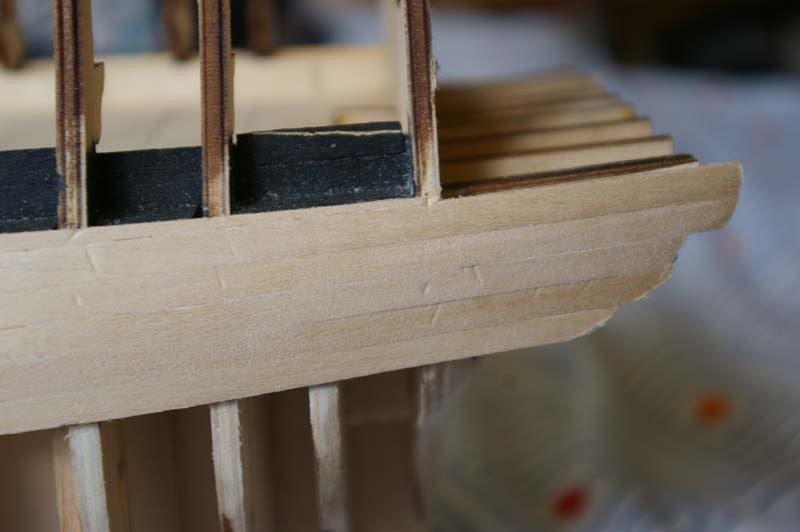 Stern needs tidying up before the veneer can go on. 40 strips of 1x5 Lime veneer should maybe do about half of it  I'm very pleased theres little variation, and when oiled it looks bloody brilliant. 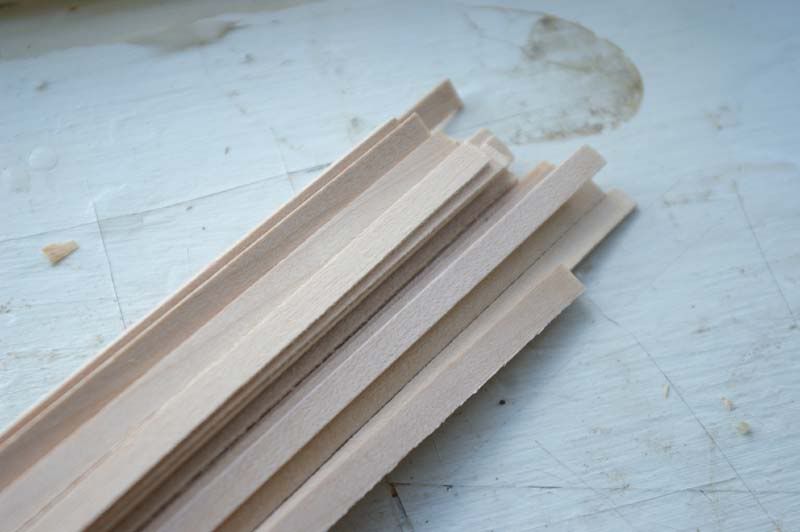 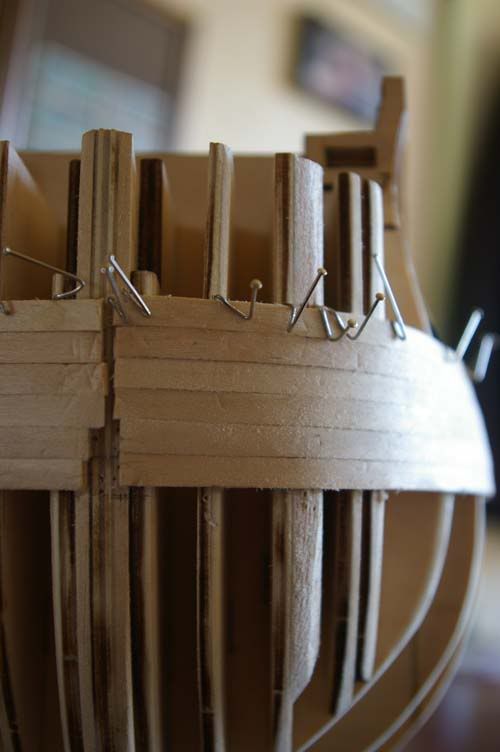 Bow with the pins setting the last strip of the 6th row. Needs tidying up along the keel edge at some point! Finally some pictures of the 12 pounders, which I must thank Cpt Stedders for his cannon to which this was based (ok, copied) 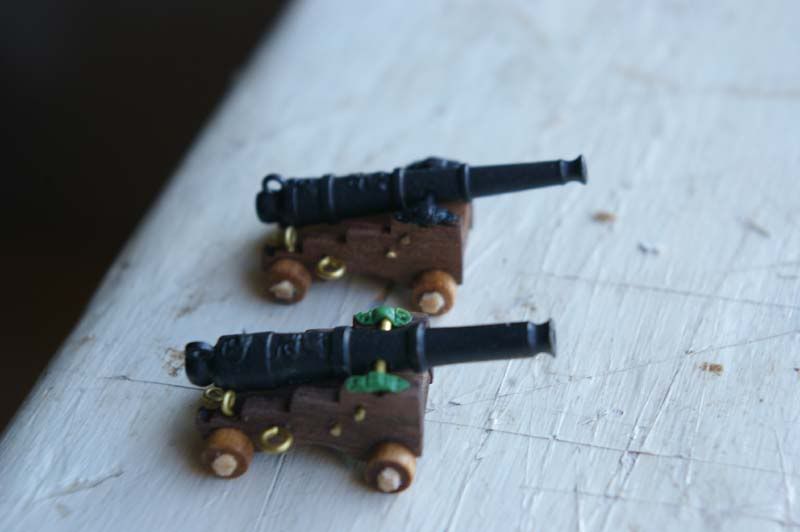 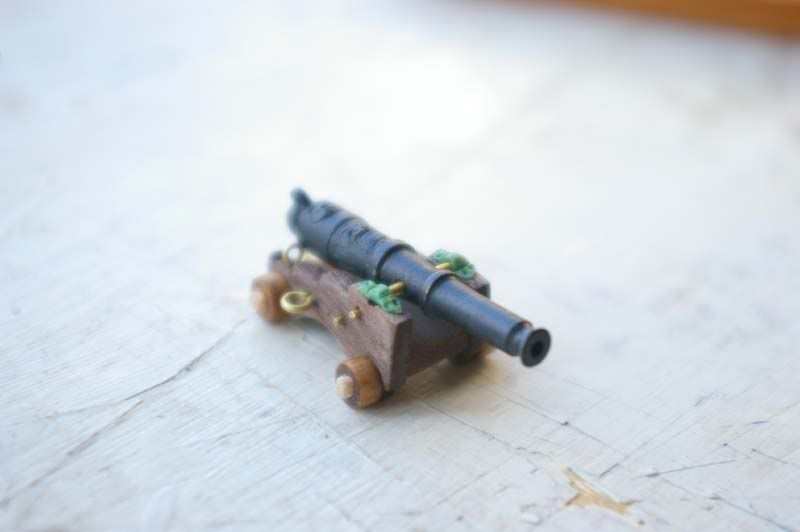 Just some early prototypes; mahogany pillars for the areas which will be seen, and modelled from the real ones on Victory (early designs however and still need tweaking). And finally, I saw some pictures of when the frames for the admirals quarters etc are added and there seems to be a lot of room for improvement; I was inspired by James Choi's incredible Surprise build whereby he made a visible section at the back through the windows, something I hope to recreate on Victory, here is an idea for one of the tables I hope to put in. 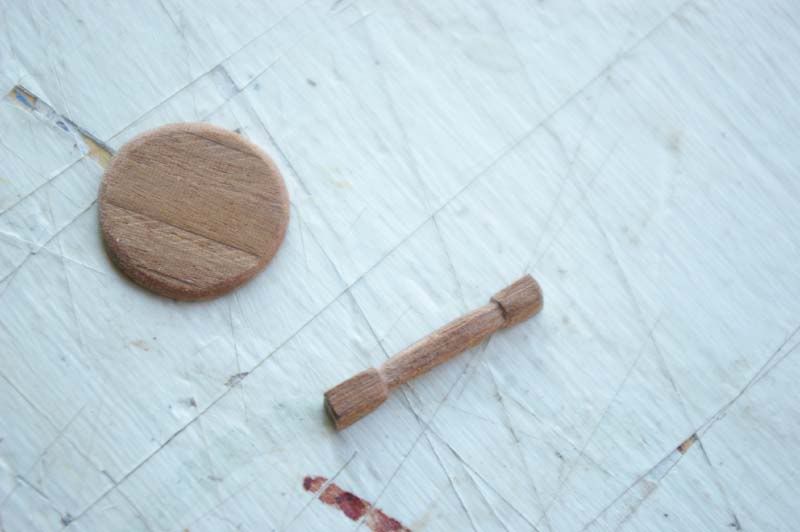 Cheers everyone, Tom
|
|
|
Rank: Pro Groups: Joined: 24/08/2009 Posts: 48,827 Points: -13,348
|
|
|
|
Rank: Pro Groups: Registered
Joined: 08/05/2010 Posts: 236 Points: 808 Location: Manchester
|
Looks amazing, keep the the good work. I agree with you on the brass and natural finish as well.  i dont know what weapons will be used in ww3 but ww4 will be sticks and stones.
|
|
|
 Rank: Master       Groups: Registered
Joined: 08/07/2010 Posts: 1,036 Points: 3,086 Location: Thetford, Norfolk, UK
|
Brilliant idea! I'm working on a natural finish for my build and I agree that the brass and wood look great together, and after seeing your pics - great work by the way! - I'll be using your idea myself. Can you tell me what diameter or gauge the wire is that you are using and is it easy to get hold of?
Hope to see some more of your build as it progresses, liked your close up shots of the gun-port cut-out markings as they show more clearly their relationship to the line of the planking.
Happy building
Daffy09
|
|
|
Rank: Pro Groups: Registered
Joined: 30/06/2010 Posts: 242 Points: 720
|
daffy09 wrote:Brilliant idea! I'm working on a natural finish for my build and I agree that the brass and wood look great together, and after seeing your pics - great work by the way! - I'll be using your idea myself. Can you tell me what diameter or gauge the wire is that you are using and is it easy to get hold of?
Hope to see some more of your build as it progresses, liked your close up shots of the gun-port cut-out markings as they show more clearly their relationship to the line of the planking.
Happy building
Daffy09 Thanks for the comments everyone. Daffy - the brass wire I used is 0.33 diameter, cut at an angled point and merely pierced through the planking and sanded flush. I got it from work - plastics extrusion, the wire goes into the plastic to prevent it from distorting shape and also to give it extra strength. However, I am sure it can easily be gotten hold of. Just did a quick search on ebay and found some 0.4 - http://cgi.ebay.co.uk/20...amp;hash=item2ead370a55
Hope this helps, Tom
|
|
|
Rank: Pro Groups: Joined: 24/08/2009 Posts: 48,827 Points: -13,348
|
Nice one Tom, thanks for that link, not a msassive change is size from 0.33 to 0.4?
are you doing the natural finish? or painting, second planking?
|
|
|
Rank: Pro Groups: Registered
Joined: 30/06/2010 Posts: 242 Points: 720
|
Zeptrader wrote:Nice one Tom, thanks for that link, not a msassive change is size from 0.33 to 0.4?
are you doing the natural finish? or painting, second planking? Thanks Colin. The change would be so small it wouldn't be noticed. May order some different sizes of wire sometime in the near future for various jobs that will arise no doubt. I'm going for the natural finish so I'm paying particular attention to the different woods etc, and have also bought some lime veneer to go over the hull. I know double planking makes a hell of a lot of extra work but I think the benefits will be worth it, especially for a natural finish model. Plus I used the bent pin method for planking and didnt use the supplied brass ones, so I have the odd dent mark here and there which the veneer will cover anyway. Asides from that, I'm chuffed with my first ever wooden planking! Best wishes, Tom
|
|
|
Rank: Pro Groups: Joined: 24/08/2009 Posts: 48,827 Points: -13,348
|
That,s exactly why I asked, some of those dents would show up if your were single planking, but you knew that anyway..
|
|
|
Rank: Pro Groups: Registered
Joined: 30/06/2010 Posts: 242 Points: 720
|
Zeptrader wrote:That,s exactly why I asked, some of those dents would show up if your were single planking, but you knew that anyway.. Really want to start the lower hull planking now!
|
|
|
|
Guest
|
 US
US

