|
|
 Rank: Super-Elite       Groups: Registered
Joined: 27/01/2014 Posts: 5,060 Points: 14,980
|
Build of the year 2015 entryHave settled on this as my entry, Update to this post to follow later this evening with more information and some pictures Many of you will know after following my Yamato that I am not a fast builder but will hopefully plod along at a steady rate PLEASE NOTE: This will be a separate build to my DeAgostini Millennium Falcon. I do not want my thread to be used as a spot the difference or comparison between the two. Please respect my thread and do not ask me to make comparisons. Thank you for your understanding
|
|
|
Rank: Super-Elite   Groups: Registered
Joined: 31/05/2010 Posts: 5,679 Points: 17,011 Location: Wiltshire
|
Dave Great choice of kit. Wish you very well with your new build. I built ( in my opinion) a really great generic lighting kit for a Star Trek enterprise a few years ago just wish I could try and post it as a video as I am sure there would be some interest. Look forward to your updates on the falcon as you have yourself a stunning kit to work with. Happy Modelling
BUILDING: Hachette Spitfire Mk 1A, Constructo Mayflower
SUBSCRIPTION COMPLETE (Awaiting building): USS Constitution, Sovereign of the Seas, 1:200 Bismarck (Hachette)
COMPLETED: Porsche 911, E-Type Jaguar, Lam Countach
|
|
|
|
|
 Nice kit il be looking forward to your build  Current builds:-C57,Zero, Lamborghini Countach, Caldercraft HMS Agamemnon,Robi,R2-D2, MFH Cobra .
|
|
|
Rank: Super-Elite  Groups: Registered
Joined: 30/01/2013 Posts: 4,604 Points: 13,607 Location: Monmouthshire UK
|
Looks a good one Dave and good luck in the comp I'll be watching! Steve
|
|
|
Rank: Super-Elite Groups: Registered
Joined: 27/01/2014 Posts: 5,060 Points: 14,980
|
|
|
|
 Rank: Pro Groups: Joined: 24/08/2009 Posts: 48,827 Points: -13,348
|
This is going to be amazing
|
|
|
 Rank: Elite  Groups: registriert, Registered Joined: 20/03/2011 Posts: 2,356 Points: 7,122 Location: UK
|
Going to be a stunning build Dave and very much looking forward to your progress mate Good luck with your entry Spencer
|
|
|
Rank: Super-Elite Groups: Registered
Joined: 27/01/2014 Posts: 5,060 Points: 14,980
|
The build has begun Decided I will start off this build with the slow tedious job of filing and cutting out all the armour plate notches I havent decided if I am going to attempt the over hang of the armour plate over the mandibles yet, mainly as I really am not too sure how I could go about it or even if I would be capable. For those that arent sure what I am talking about, where I have cut notches on the 4th photo, where the vertical and horizontal meet there shouuld be an overhang rather than a straight wall. One idea I had was to put down some masking tape as a barrier to protect the plastic I dont want touched and then use a small sanding or cutting wheel on the Dremel to gently touch into the plastic  Hope that makes sense. 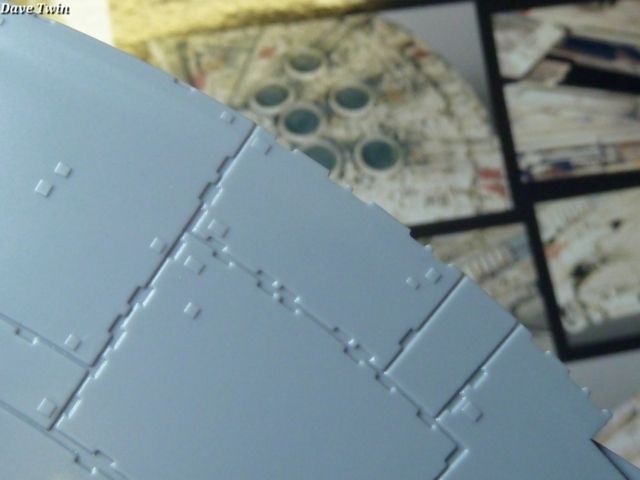 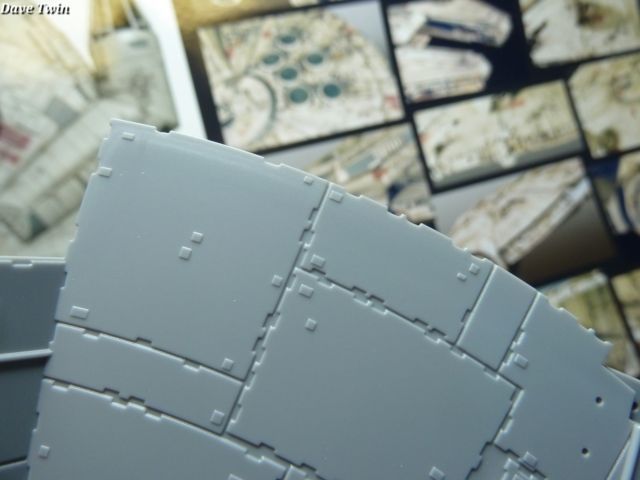 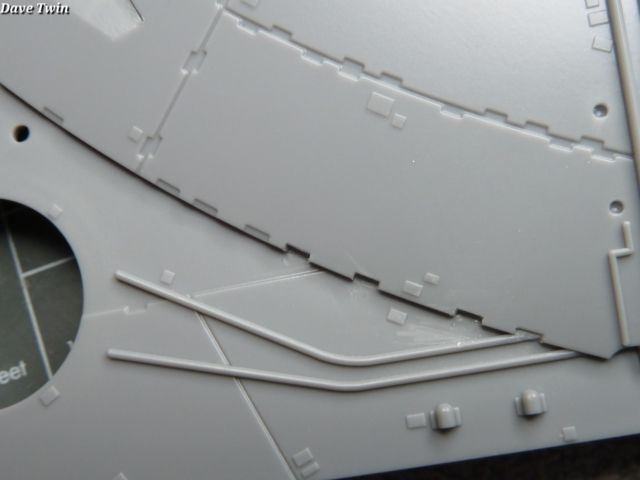 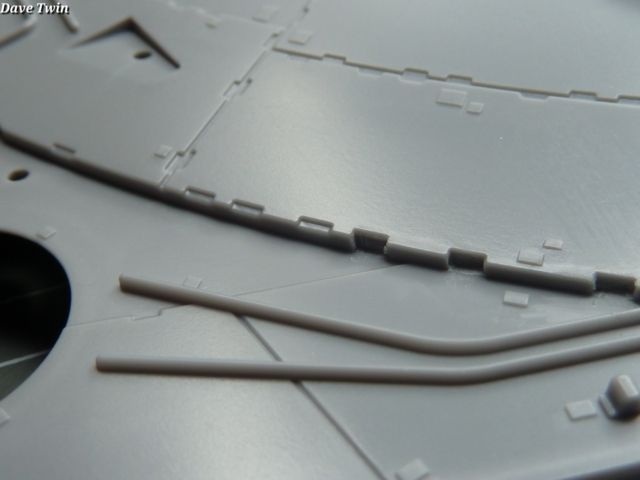
|
|
|
Rank: Elite Groups: registriert, Registered Joined: 20/03/2011 Posts: 2,356 Points: 7,122 Location: UK
|
Top choice Dave and looking forward to this one. Spencer
|
|
|
|
|
Now this is going to be something special!  Looking forward to watching this build!!
|
|
|
Rank: Super-Elite Groups: Registered
Joined: 30/01/2013 Posts: 4,604 Points: 13,607 Location: Monmouthshire UK
|
Nice to see your competition build has kicked off Dave, look forward to more of this Steve
|
|
|
|
|
Nice to see you started Dave, going to be enjoying this one..... Regards Alan
|
|
|
Rank: Super-Elite Groups: Registered
Joined: 27/01/2014 Posts: 5,060 Points: 14,980
|
Thanks for the comments Spencer, Darran and Steve I am thinking of really pushing myself with this, been thinking more about the over hand I think that I can do it with the dremelsanding disk. I have an idea of removing part of the pipe work in picture 4 for access then replacing it with a bit of styrene rod
|
|
|
|
|
|
|
|
Rank: Super-Elite Groups: Registered
Joined: 27/01/2014 Posts: 5,060 Points: 14,980
|
I got a bit carried away on eBay, I actually went on to get hold of a switch and a 9v battery connector but ended up with this lot, wires, LEDs, Fibre optics, resisters and generic on/off PCB The right half is the lighting kit I already had and the left half is my eBay haul  Think I have got every possibilty covered now 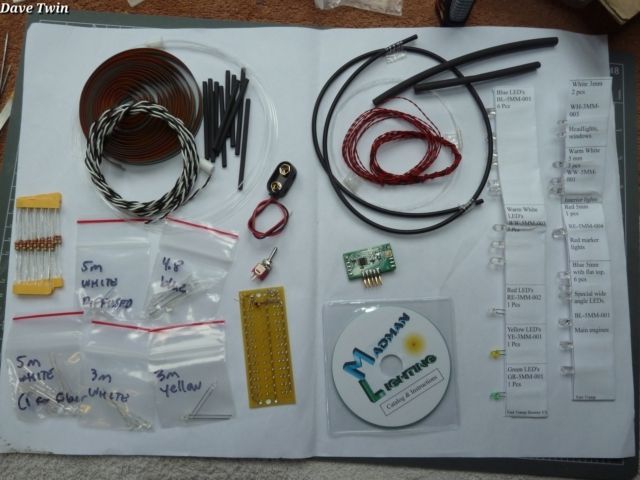
|
|
|
|
|
|
|
|
Rank: Super-Elite Groups: Registered
Joined: 27/01/2014 Posts: 5,060 Points: 14,980
|
Still not a great deal happening with this yet due to Yamato getting in the way, I have all year though and this will become my main build once Yamato has been put to bed Just a small update, I have been searching for quite some time for the clear resin engine nosels to go with the lghting and have not had much success. After recently losing out to a set on ebay I decided to just spend the extra money and order some 3D printed ones from shapeways. They look pretty cool, will be dusted with a layer of Tamiya smoke 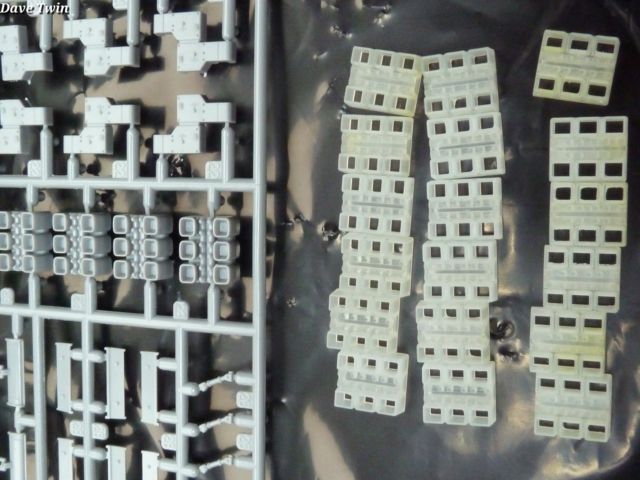 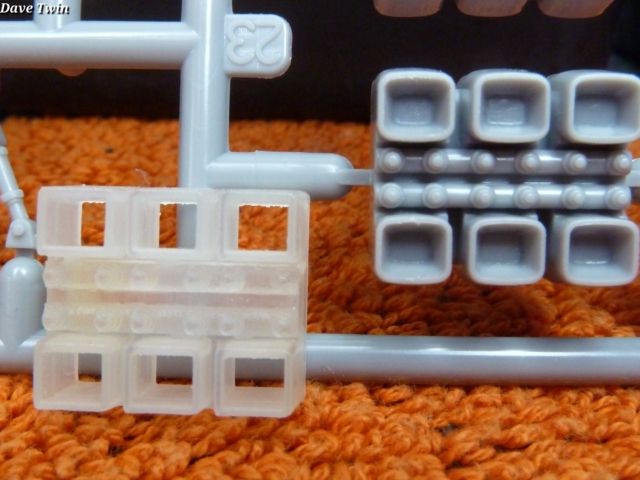
|
|
|
Rank: Super-Elite Groups: Registered
Joined: 17/12/2013 Posts: 3,982 Points: 11,974 Location: NY, USA
|
Dave starship modeler has some replacement clear resin engine grilles too http://starshipmodeler.b...-replacement-parts.html
|
|
|
Rank: Super-Elite Groups: Registered
Joined: 27/01/2014 Posts: 5,060 Points: 14,980
|
Thanks, Everytime I checked them they were out of stock so gave up. All good now, think I have everything, maybe another switch and battery connector
|
|
|
Rank: Super-Elite Groups: Registered
Joined: 27/01/2014 Posts: 5,060 Points: 14,980
|
|
|
|
|
Guest
|
 US
US

