|
|
 Rank: Pro   Groups: Registered
Joined: 01/12/2014 Posts: 102 Points: 312 Location: Chicago, IL
|
Ringo wrote:Hi Jim, Enjoyed looking through your diary  Some lovely details and touches. Can I ask where you got the stencil for spraying the Goodyear logo on the tyres? It looks just like back-in-the-day, very realistic. I was considering using china pencils or white permanent pen to mark up the mechanics scribbles on the tyres, but the decals look very realistic so may have to invest in them... Also, did you use actual (miniature) braided hose for the brake lines? I'm gonna have a mooch on ebay now to look for those brake temperature indicators  Si
Thanks Ringo.
1) For the GoodYear logo, a template is included with the Museum Collection Front Wing decals (D659). You can order it from Autograph or Hobby Link Japan (www.hlj.com). The template is a bit of a pain to work with since it is very thin making it difficult to reuse so you have to be careful.
Note: The GoodYear template does NOT come with Museum Collection's tire scripting decal sheet (D685).
Here are some links:
http://shop.autographmod...en-MP4-4-1/8-front-wing
Museum Collection's page:
http://www.museumcollect...seihin/f1/d659mp44.html
Another alternative is using a photoetched template - Autograph sells them in 1/8 scale (check the script size to make sure it is large enough). The problem is it is expensive (£29/$43). You probably can find it from other Hobby merchants. Here is a link:
http://shop.autographmod...late-tire-scripting-1/8
2) For the brake lines, I just used some solder and the gauge seemed accurate. I use a file on it to try to give it a braided look.
|
|
|
 Rank: Beginner Level 2  Groups: Registered
Joined: 15/03/2015 Posts: 19 Points: 57 Location: Chester, UK
|
Thank you for that useful info, and the links. Mucho appreciado Yes these bits n pieces are expensive aren't they... It's hard to judge the 'font' size on the autograph stencil, not too sure where the radius refers to exactly on the actual script logo. Hmmm... Thats a good tip for the braided hoses, good lateral thinking. I'll probably pinch that  Ta, Si Senna fan since I was tiny. F1 geek. Modelling noob... 😊
Currently attempting:
McLaren MP4/4
Bentley 4.5 litre
|
|
|
 Rank: Amateur level 2 Groups: Registered
Joined: 12/04/2014 Posts: 43 Points: 132
|
Hi can you post the web address for the valve stems and the 1/8 Goodyear stencil , I've got the decals
|
|
|
Rank: Pro Groups: Registered
Joined: 01/12/2014 Posts: 102 Points: 312 Location: Chicago, IL
|
Al wrote:Hi can you post the web address for the valve stems and the 1/8 Goodyear stencil , I've got the decals Hi Al,
You can get the valve stems from rbmotion:
http://www.rbmotion.com/...th=96&product_id=92
For the GoodYear stencil, they come with the Museum Collection front wing decals (NOT the tire scripting decals):
http://shop.autographmod...en-MP4-4-1/8-front-wing
or
https://www.hlj.com/product/MCLDC-659/Aut
Jim
|
|
|
Rank: Pro Groups: Registered
Joined: 01/12/2014 Posts: 102 Points: 312 Location: Chicago, IL
|
Time for an update. So I was backlogged 3 packs worth because I building other models to keep me occupied. So finished through Stage 49 in the last few weeks.
Used the TMM braided lines instead of the kit's (thanks Dan for the info):
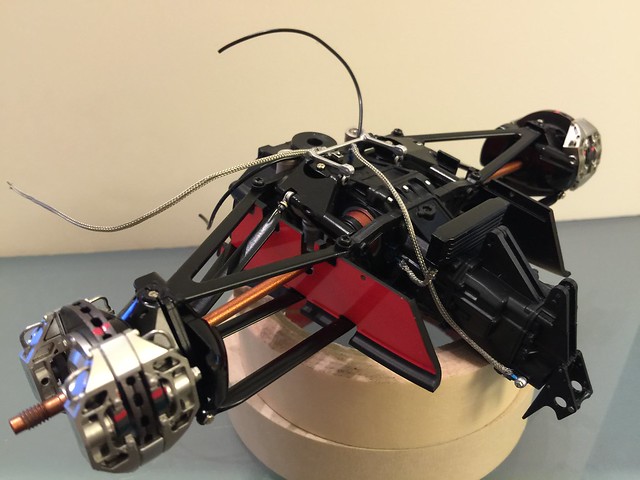
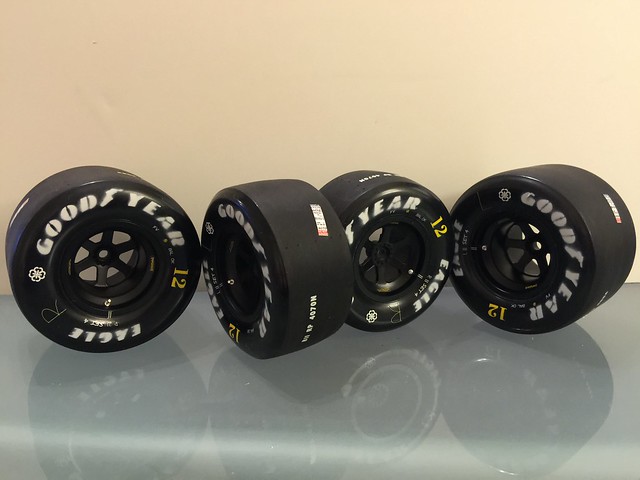
Finished detailing the 4th rear tire!

|
|
|
Rank: Pro Groups: Registered
Joined: 01/12/2014 Posts: 102 Points: 312 Location: Chicago, IL
|
So I would like to say thanks for giving me ideas on additional detailing from these build threads. I also borrowed a lot of ideas from many of the Japanese builder's blogs. Many of you are detailing way more than me so I'm always impressed.
Here's my detailing list of things I've done and plan to do. What's your list??!!!
-Added brake lines (lines within the calipers)
-Caliper decals
-Rotor detailing
-Sprayed on Goodyear lettering
-Tire decals
-Braided line replacement
-Radiator mesh replacement
-Carbon fiber inlet decals
-Dymag wheel decals
-Valve stems
-Added clasp on battery strap
-Various paint detailing on intercooler pipes, solenoid valve unit, etc.
-Senna figure decals
-Additional rubber hoses (future)
-Stitching decals on steering wheel (future)
-Clear coolant hoses (future)
-Rear blinking LED (future)
|
|
|
Rank: Pro Groups: Registered
Joined: 25/09/2013 Posts: 112 Points: 308 Location: UK
|
arpurchase wrote: Hi NSXKid Im pretty sure you can get this or similar in the USA it's called Locktite superglue remover gel, simple to use just cover the area and leave overnight then just wash in warm water. The gel turns the super glue into a white substance that comes away from the part. Link below. http://www.ebay.co.uk/sc...ghostText=&_sacat=0
Regards Andy Sounds like a handy product- but I'm wondering would it damage a pre-painted part, such as a body panel? 
|
|
|
Rank: Pro Groups: Registered
Joined: 01/12/2014 Posts: 102 Points: 312 Location: Chicago, IL
|
Yes painted the clutch packs bronze even though it won't be seen  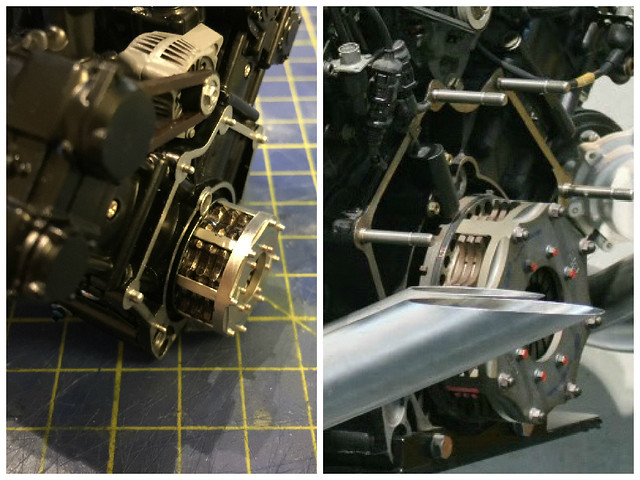
|
|
|
Rank: Pro Groups: Registered
Joined: 01/12/2014 Posts: 102 Points: 312 Location: Chicago, IL
|
Added foil to simulate when they used to wrap (to insulate?) the brake lines: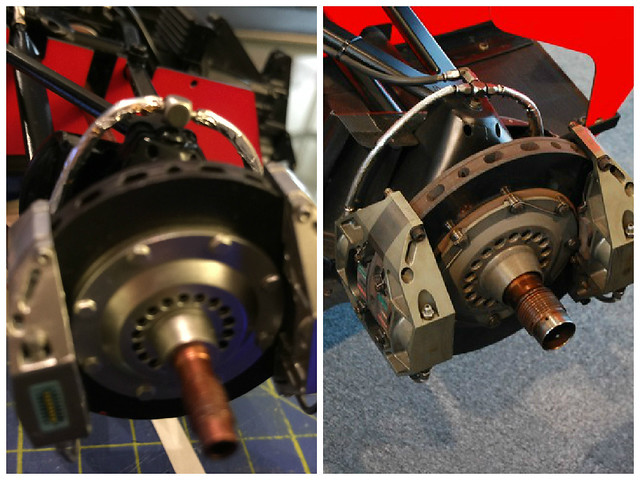
|
|
|
Rank: Pro Groups: Registered
Joined: 01/12/2014 Posts: 102 Points: 312 Location: Chicago, IL
|
Started the process of replacing the visible Philips screws with hex bolts.   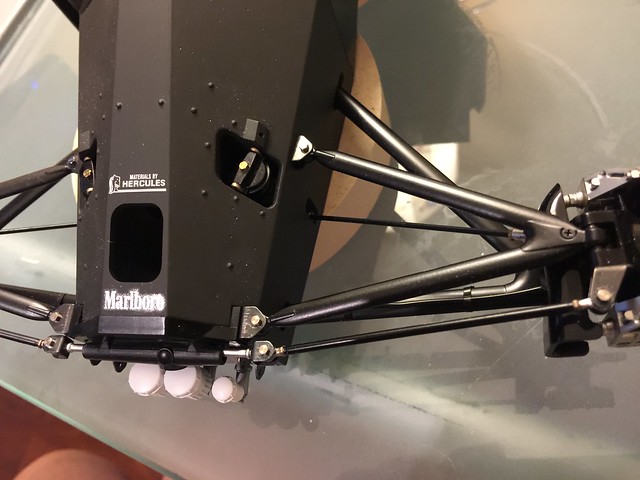
|
|
|
|
|
Nice work on the car as for the super glue remover damaging any paintwork the super glue would have damaged it first so the removal of the glue on painted parts would need a respray anyway Current builds:-C57,Zero, Lamborghini Countach, Caldercraft HMS Agamemnon,Robi,R2-D2, MFH Cobra .
|
|
|
|
|
Those Hex bolts look great. Can you tell me what size ?( and where from ? )
Thanks Malc.
|
|
|
Rank: Pro   Groups: Registered
Joined: 27/06/2011 Posts: 434 Points: 1,309 Location: milton keynes
|
super job as always Jim loving the wheels, great stuff regards Dan Built - MP4/23, Zero, Deagostini Falcon, Model Airways 1903 Wright Flyer, Senna Mp4/4.
Working - Mclaren M23 1/8th scale to complement the Deagostini MP4/23 & Mp4/4
on the bench, Model Airways Sopwith Camel.
|
|
|
 Rank: Super-Elite    Groups: Registered
Joined: 27/01/2014 Posts: 5,060 Points: 14,980
|
Love the look of the hex bolts over the screws Where did you get them?
|
|
|
Rank: Pro Groups: Registered
Joined: 01/12/2014 Posts: 102 Points: 312 Location: Chicago, IL
|
I think these are all the sizes you need for the front and rear suspension area:
1.4mm x 4mm
1.4mm x 6mm
1.4mm x 8mm
1.4mm x 10mm
1.6mm x 6mm
2mm x 6mm
I sourced them from Scale Hardware. I bought the 1.4mm x 10mm from Autograph as Scale Hardware does not carry that size. The two sizes I could not find were the 1.4x4 and 2x6. The worse case scenario is cutting down the bolt a few mm (I bought the 2x8 from Scale, etc). I actually did find a site that has the 2mmx6mm but the site is not in English so I'll see if the 2x8 will work.
I think I forgot about some smaller sizes I may need for the front wing and possibly doing the side pod bolts by the radiators so I'll have to evaluate further.
|
|
|
Rank: Pro Groups: Registered
Joined: 01/12/2014 Posts: 102 Points: 312 Location: Chicago, IL
|
|
|
|
Rank: Pro Groups: Registered
Joined: 01/12/2014 Posts: 102 Points: 312 Location: Chicago, IL
|
dandare wrote:super job as always Jim
loving the wheels, great stuff
regards
Dan Thanks Dan!
|
|
|
|
|
Thanks for the info on the bolts
I'm trying to get a few extra details like that before starting the build.
Malc.
|
|
|
Rank: Pro Groups: Registered
Joined: 01/12/2014 Posts: 102 Points: 312 Location: Chicago, IL
|
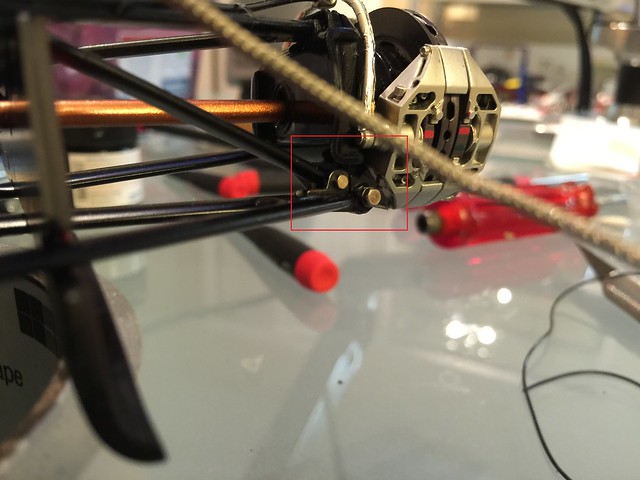
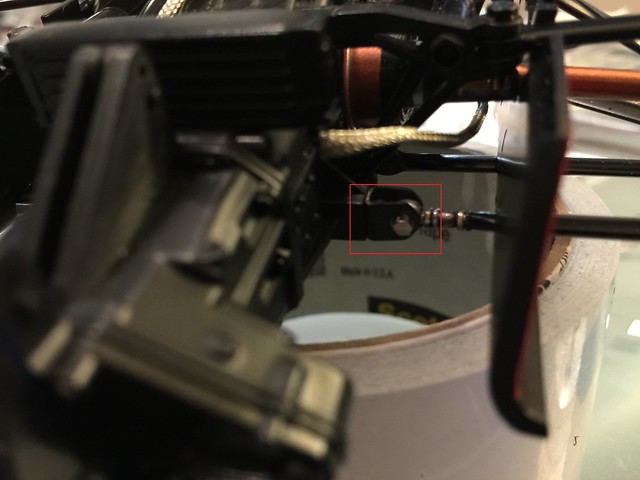
Began working on replacing the screws on the rear shocks and suspension. I'll probably paint the larger 2mm brass bolts flat black.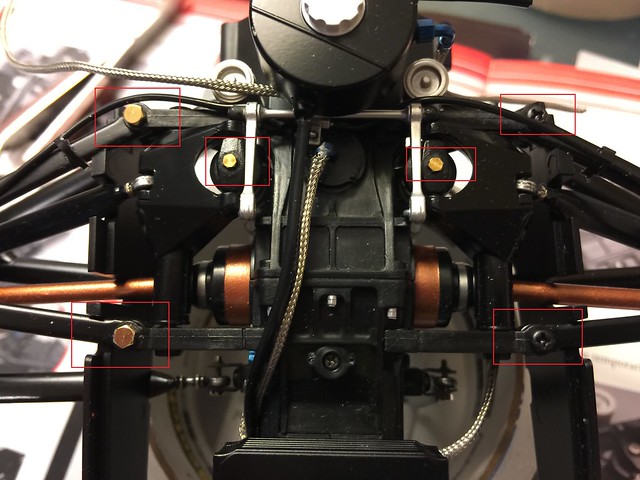
|
|
|
Rank: Pro Groups: Registered
Joined: 01/12/2014 Posts: 102 Points: 312 Location: Chicago, IL
|
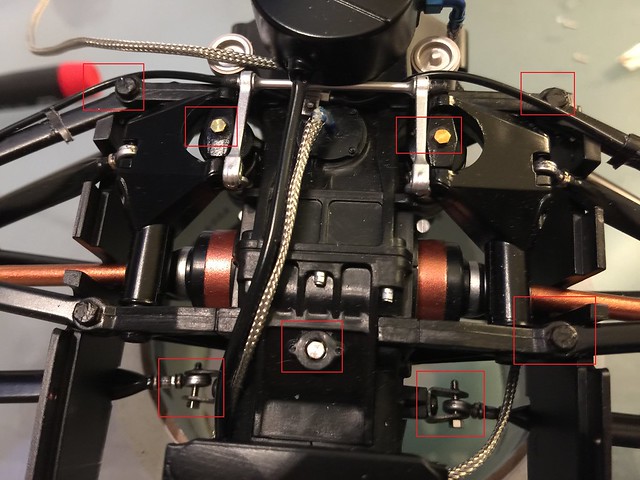
Finished putting the hex bolts on the rear suspension:
|
|
|
|
Guest (2)
|
 US
US

