|
|
 Rank: Semi-Pro Level 1   Groups: Registered
Joined: 17/05/2015 Posts: 61 Points: 189 Location: PIckerington, Ohio USA
|
love the work you have done so far with your kit, i just ordered mine and cant wait to get started, i love the fiber optics and want to add some to mine too. thanks for all the advice and info you have been giving!!!! Adam
Adam
|
|
|
Rank: Semi-Pro Level 1 Groups: Registered
Joined: 17/05/2015 Posts: 61 Points: 189 Location: PIckerington, Ohio USA
|
Colsan, Again, I love how your doing all the fiber optics, i want to add some to my build as well, i was thinking about taking the panel stickers to work and making photo copies and then gluing the photo copies in place to use as a guide for my dermal holes, then painting the panels the way i want them, after that running the fibers thought the holes and then placing the Stickers on top so that the lights will light up behind the sticker would love feed back and thoughts on if you think this is a good way or am i making more work for my self??? Adam
Adam
|
|
|
 Rank: Pro Groups: Registered
Joined: 30/04/2015 Posts: 263 Points: 795 Location: Los Angeles
|
DwCr13 wrote:Colsan,
Again, I love how your doing all the fiber optics, i want to add some to my build as well, i was thinking about taking the panel stickers to work and making photo copies and then gluing the photo copies in place to use as a guide for my dermal holes, then painting the panels the way i want them, after that running the fibers thought the holes and then placing the Stickers on top so that the lights will light up behind the sticker would love feed back and thoughts on if you think this is a good way or am i making more work for my self???
Adam That's actually the way I did it to drill out the hole for the monitor. I photocopied, taped it on the console, then drill out through the copy so it would be in the correct spot. As for the fibers, I actually just drilled through the decal after it was in place. The fibers do stick out just a hair from the plastic, so placing the decal over the fibers would probably... A, cut down on the brightness since they'd have to shine through the decal, and B, would possibly prevent the decal from going down smoothly.
|
|
|
Rank: Semi-Pro Level 1 Groups: Registered
Joined: 17/05/2015 Posts: 61 Points: 189 Location: PIckerington, Ohio USA
|
two very good points, thanks for the advice... Adam
Adam
|
|
|
Rank: Pro Groups: Registered
Joined: 30/04/2015 Posts: 263 Points: 795 Location: Los Angeles
|
So I'm starting to work on my navigation room interior now. I just got the Millenium Falcon Owner's Manual book for my birthday. So awesome. Has fantastic reference photos. This being one of them. Notice the cut outs in the wall with cables and such inside. 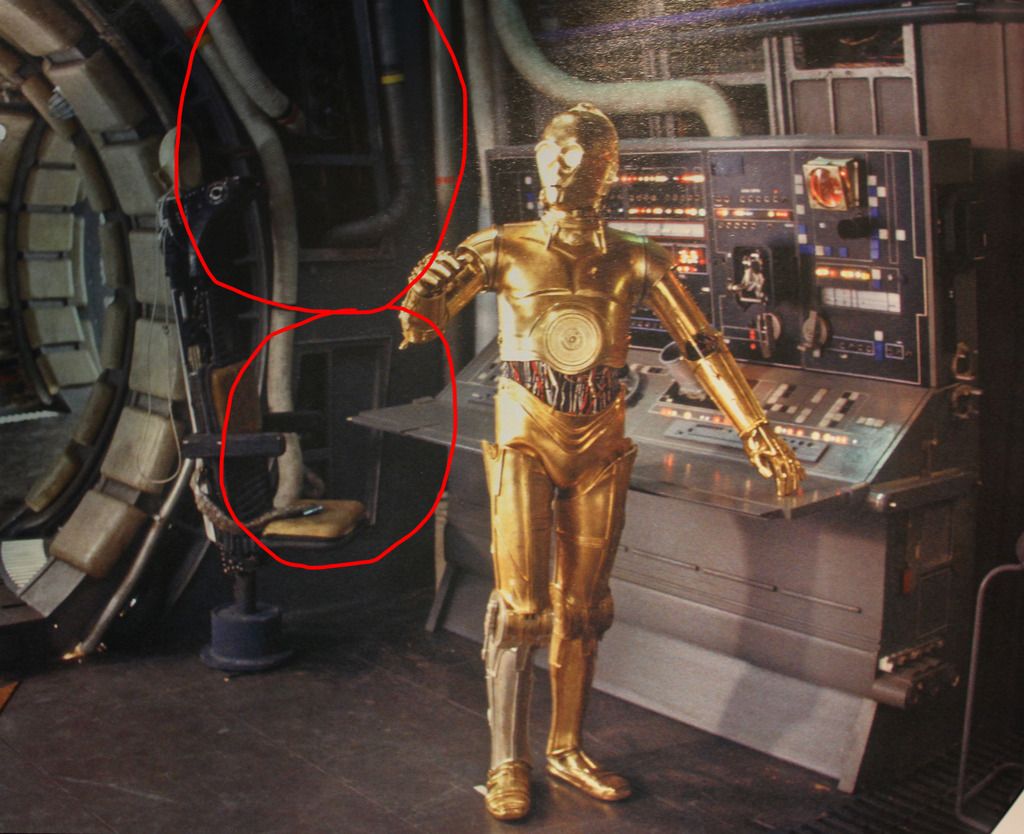 So I decided that would make the model look a lot cooler. So I drew where the cutouts would go on the wall and masked off part of the area. 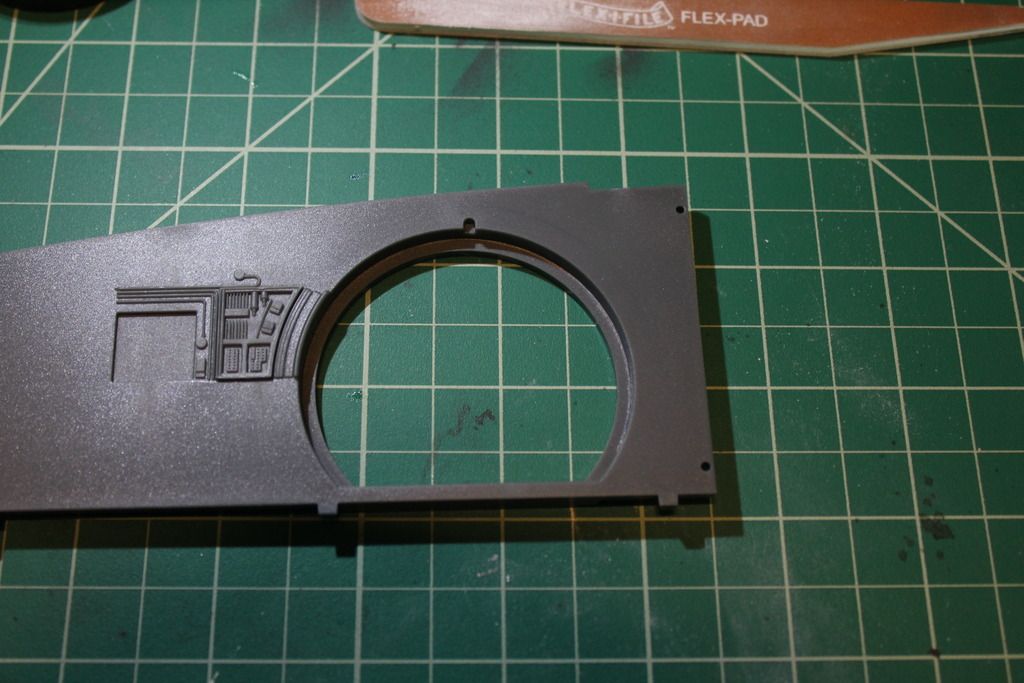 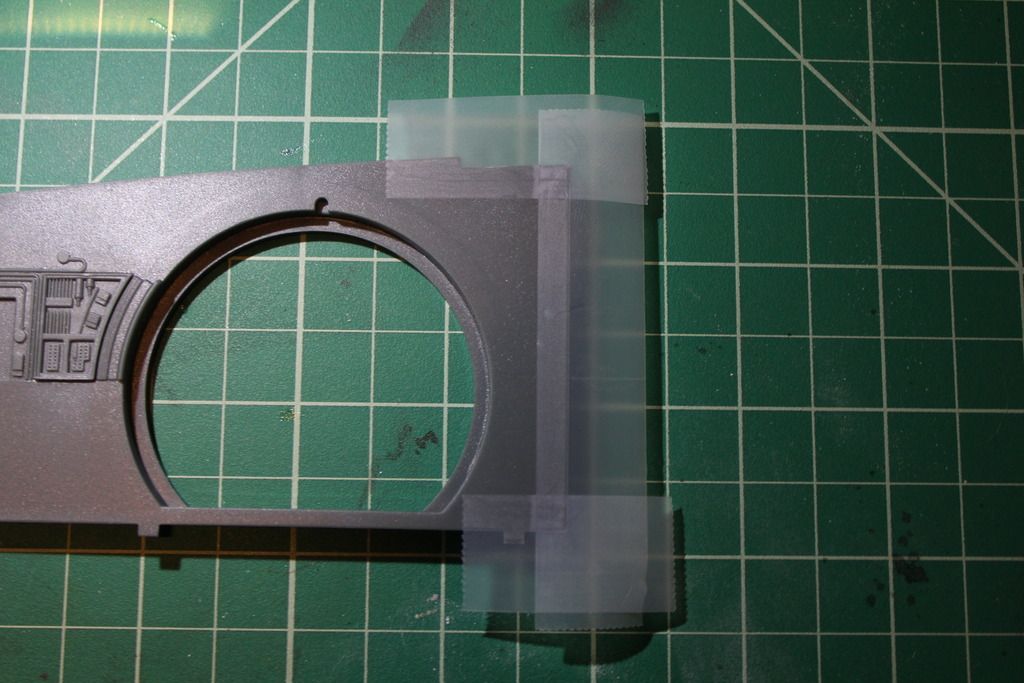 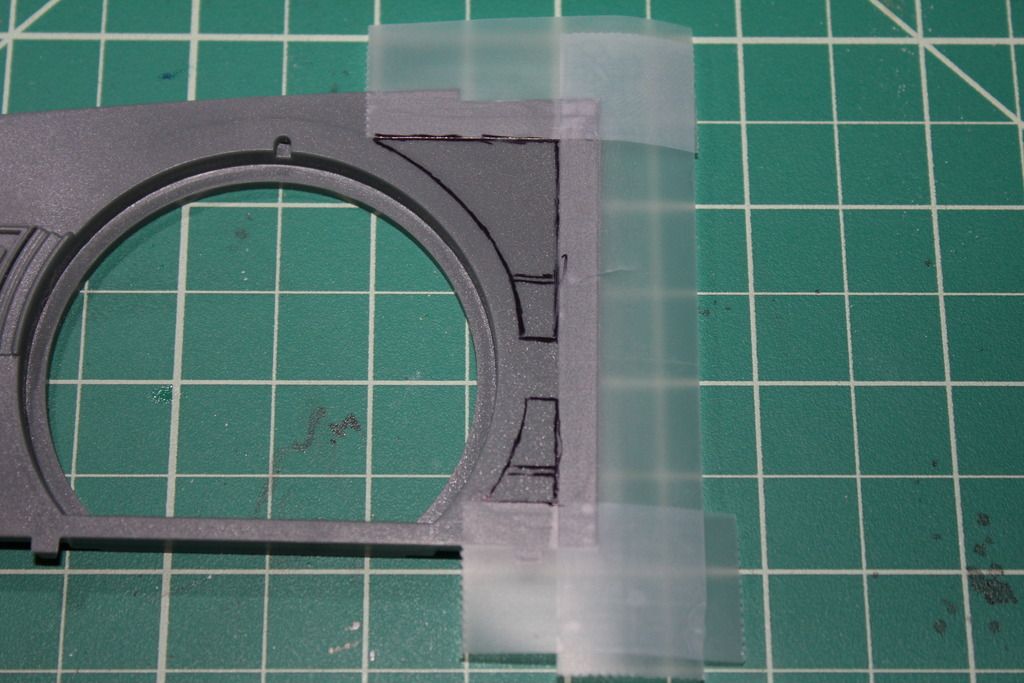 I then drilled some holes around the inside area of the cutouts and then filed down to the desired size. 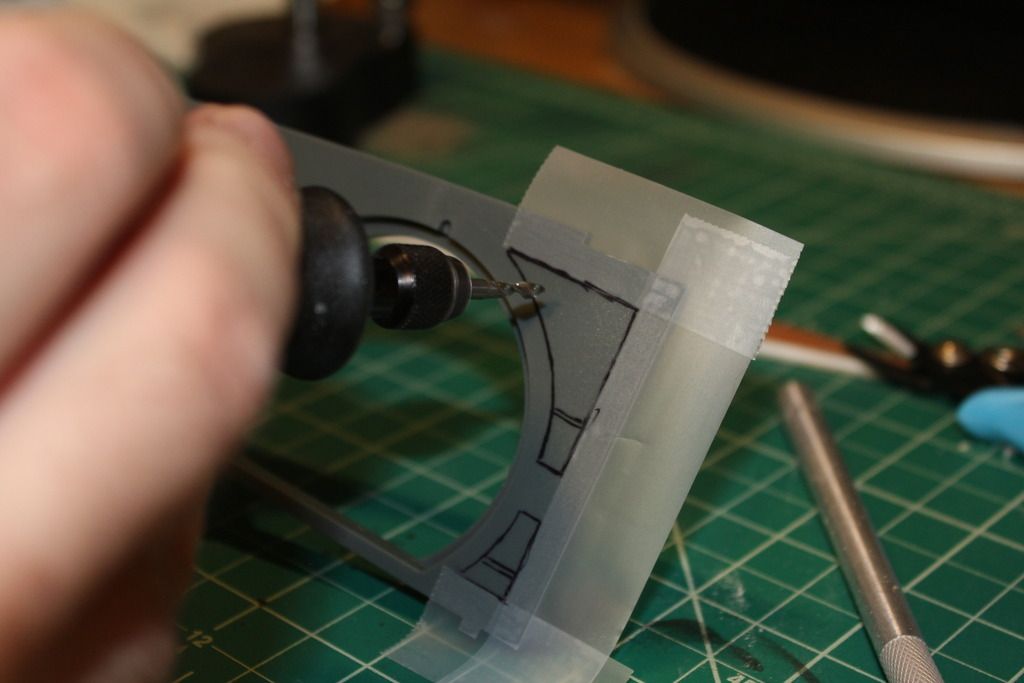 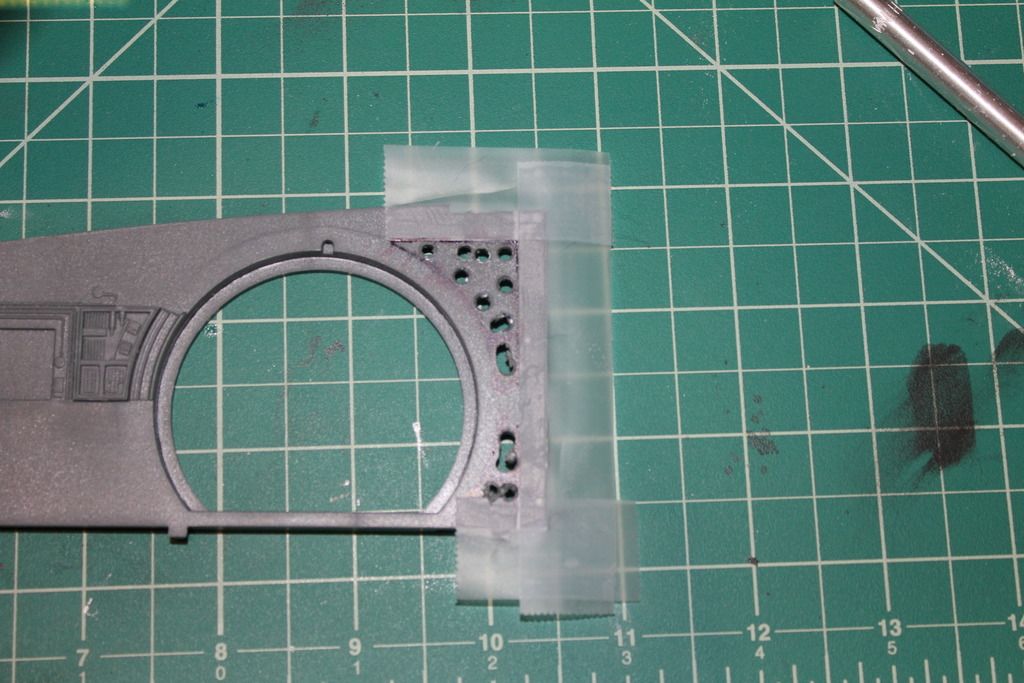 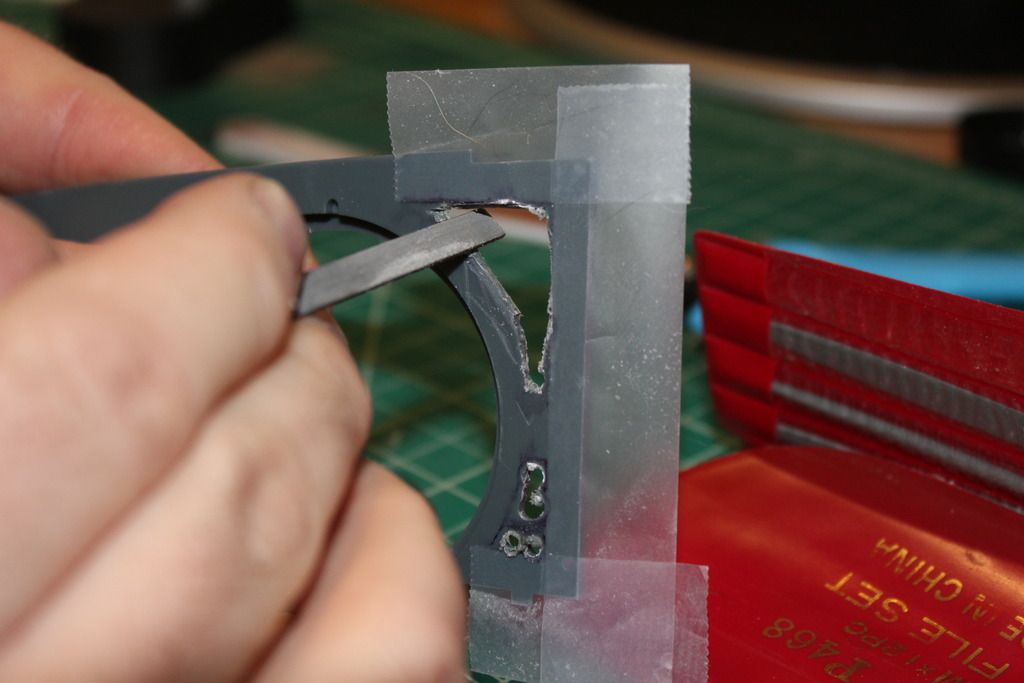 And there ya go. Nice cutouts in the wall. 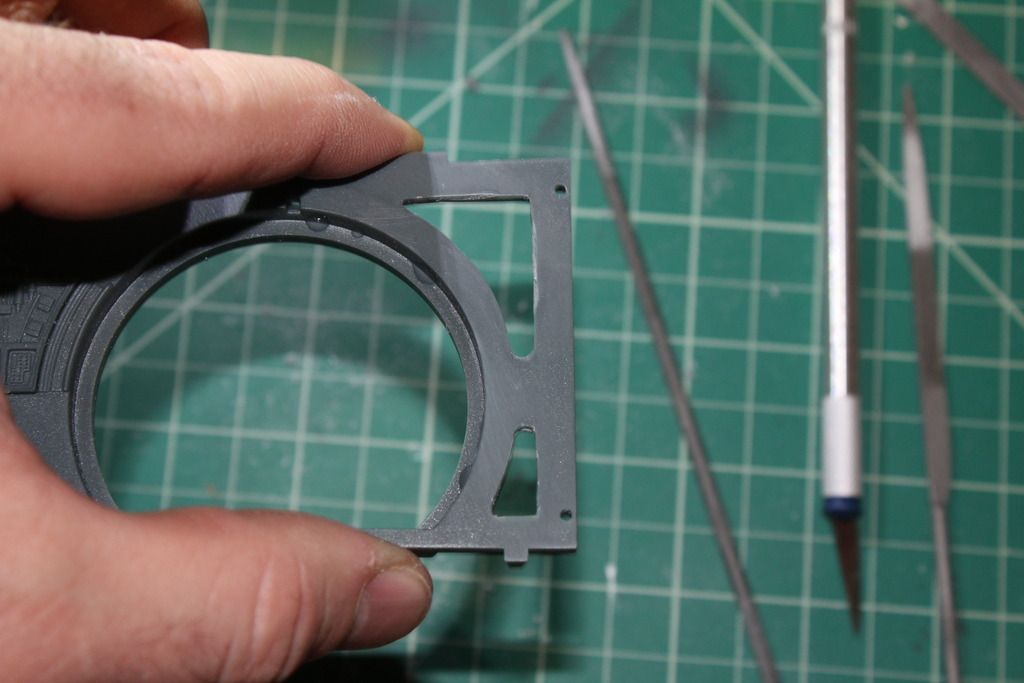 My next step is to get some styrene and make a little trim around the cutouts as seen in the photo above from the movie. I'll then back up the cutouts with probably more styrene and add some wires inside to look like cables and tubing and such.
|
|
|
Rank: Pro Groups: Registered
Joined: 30/04/2015 Posts: 263 Points: 795 Location: Los Angeles
|
|
|
|
Rank: Pro Groups: Registered
Joined: 30/04/2015 Posts: 263 Points: 795 Location: Los Angeles
|
So, I think we all know the navigation room pretty well by now. There's a light just above the bench and below the bed. So, as I'm doing add'l lighting, this needs to work as well.  So I started by getting 2 - 3mm LED bulbs. I filed down the round ends and made the flat. This also helped reduce the size of them to more closely match the model part. I then soldered the lights together like so. 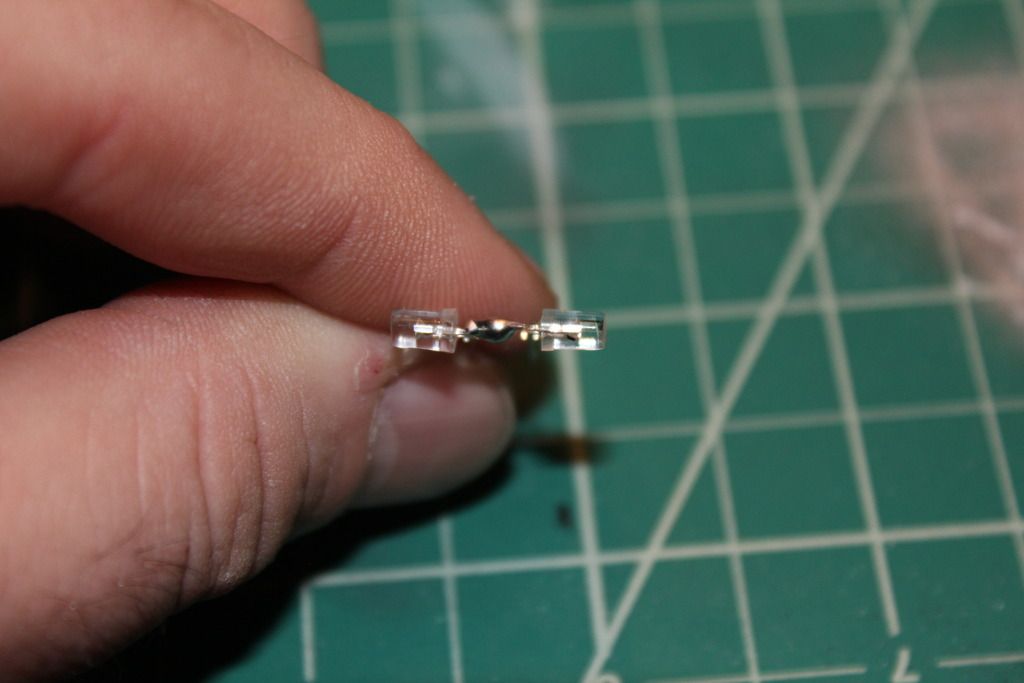 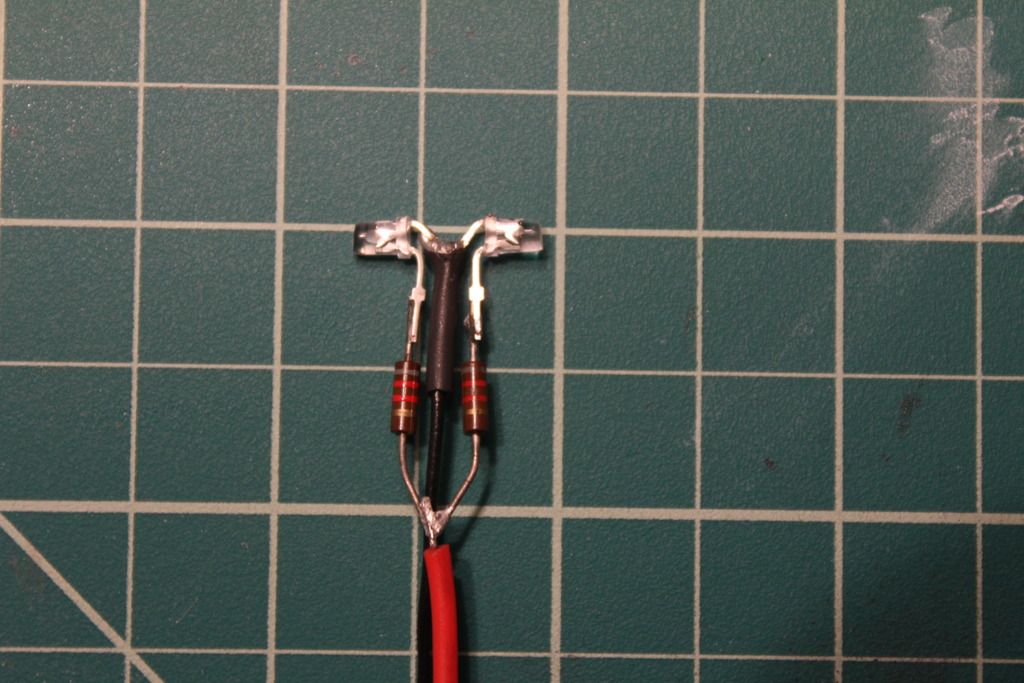 Once together, I painted the bulbs white, so when the lights are off, it still looks nice. Not like a light bulb. 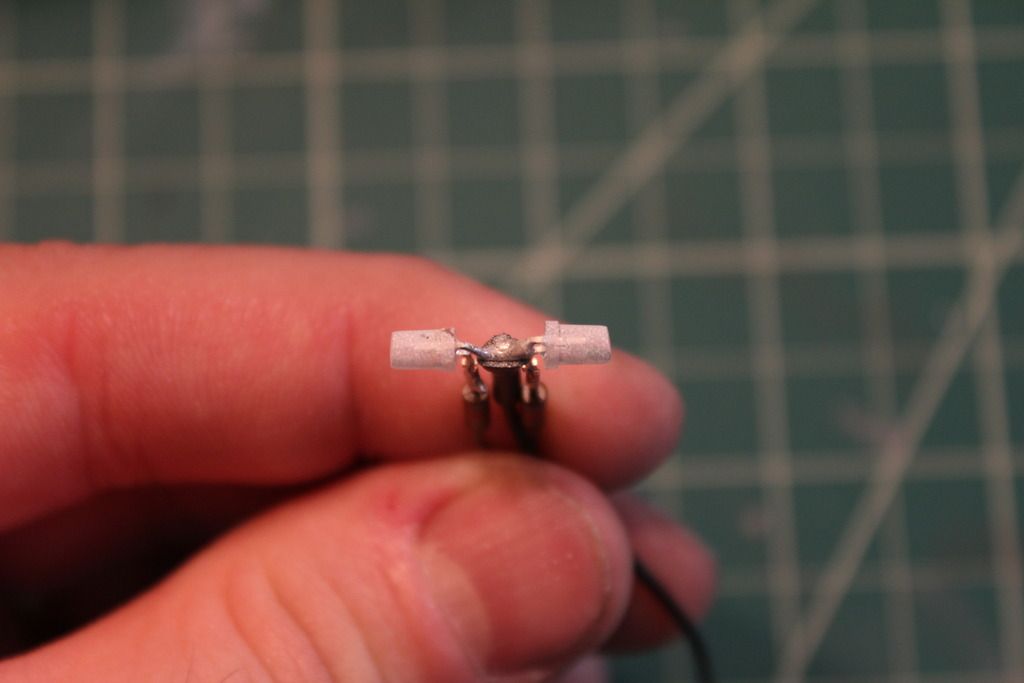 It's just slightly larger than the model part that comes with the kit. 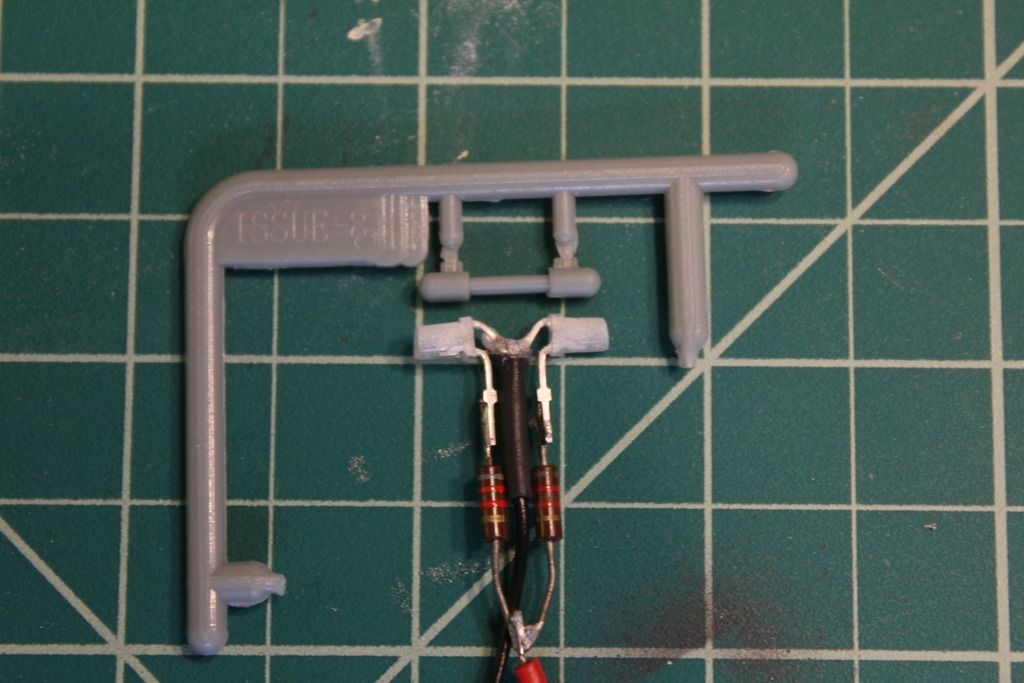 I next needed to do something about in between the bulbs. So I figured I could cut a straw to size and wrap it around. 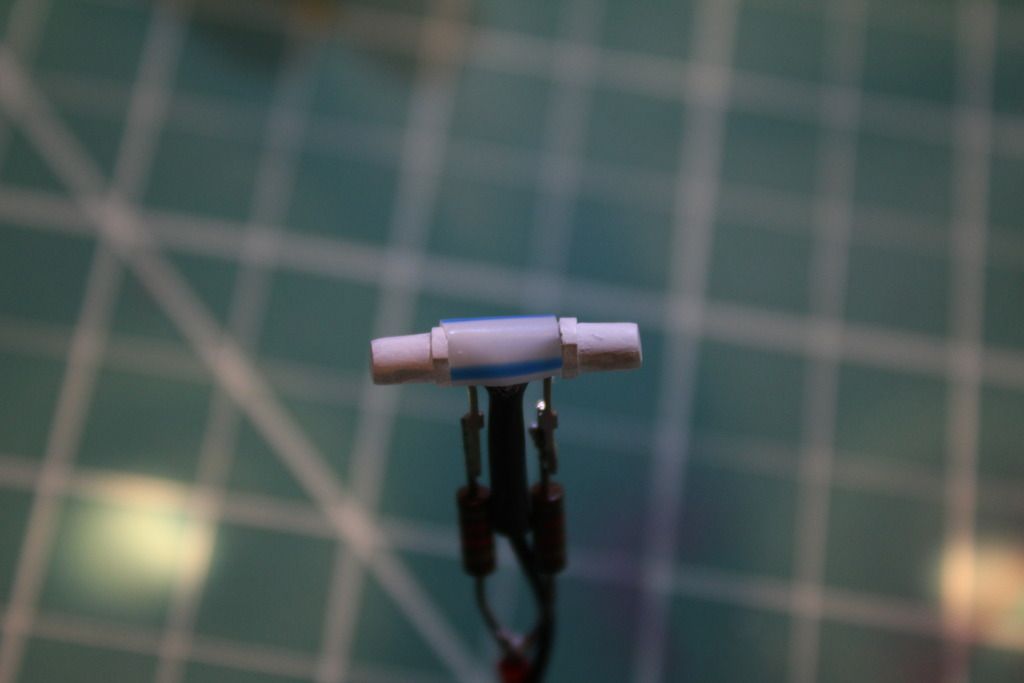 At this point, a little gray paint and it's pretty close to the actual piece with the kit.... 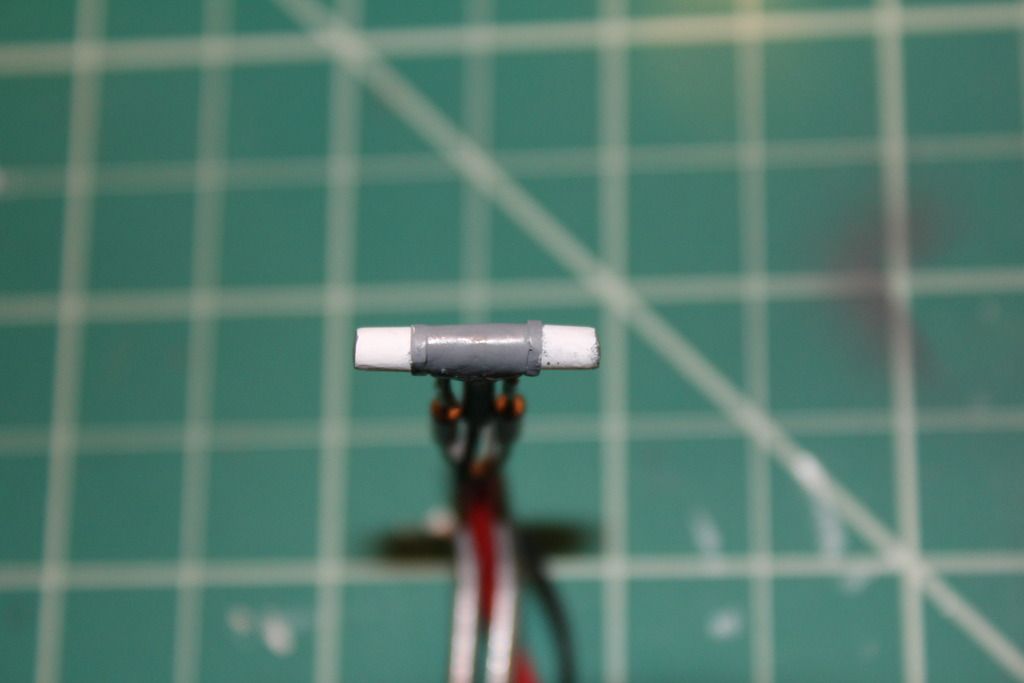 Except it actually lights up. 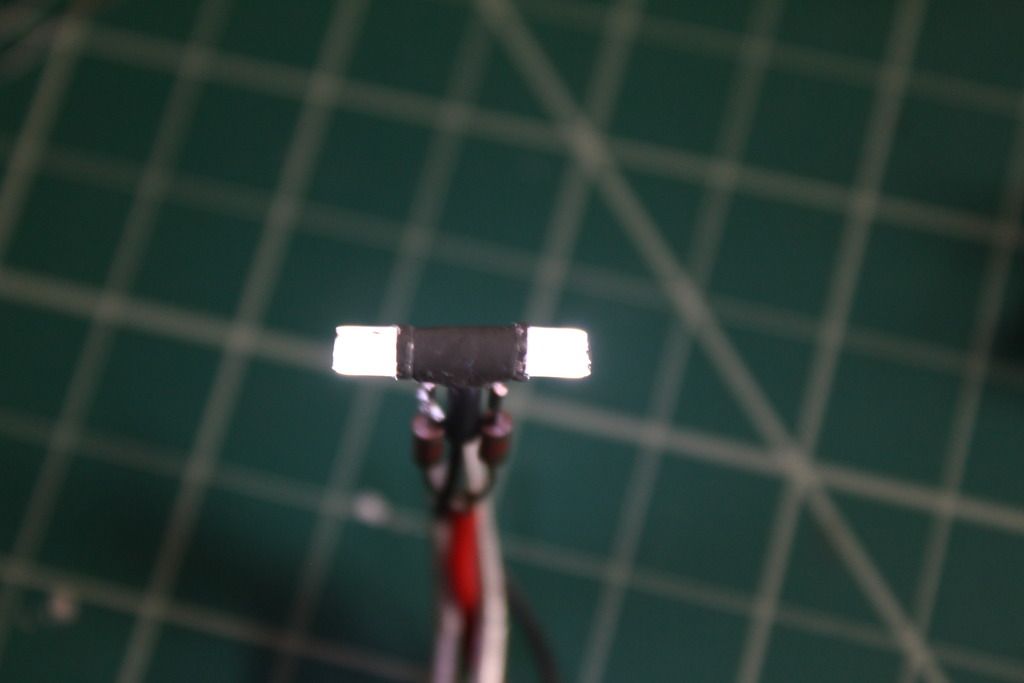 Once I got the bed assembled and puttied... 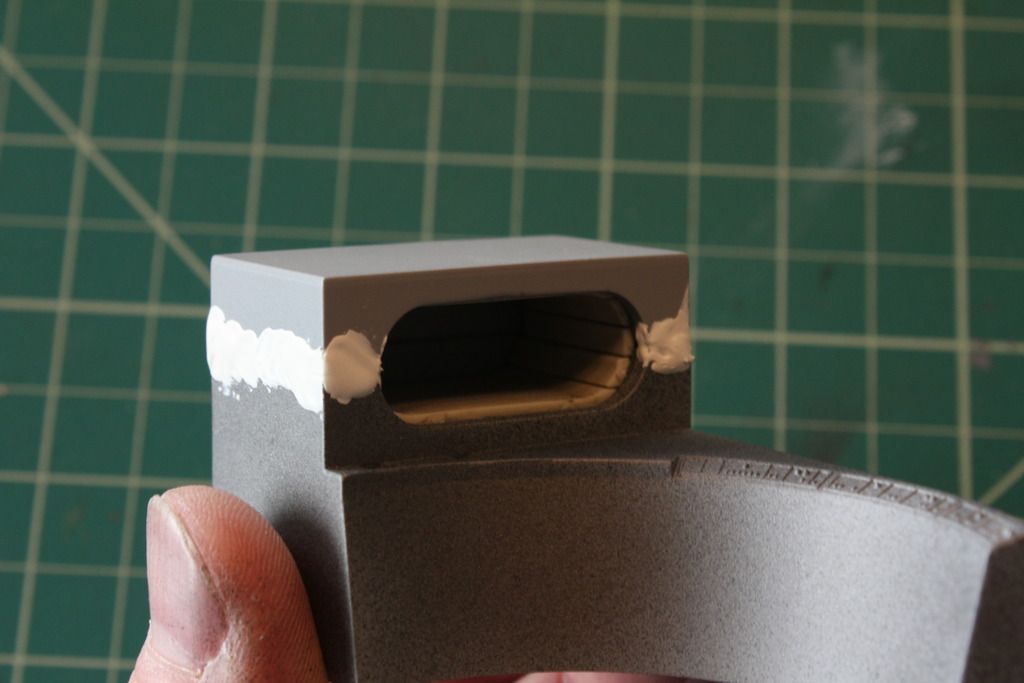 Primed... 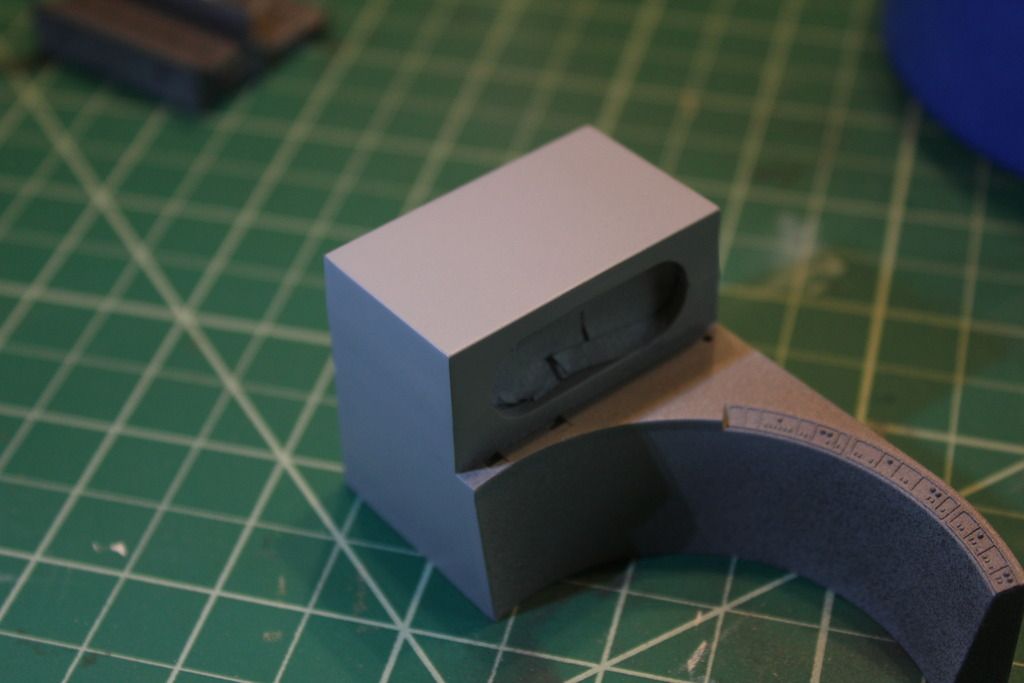 And then painted.. I'm using Tamiya metallic gray. It looks speckeled in the photos, but not to the eye. A little more metallic looking. 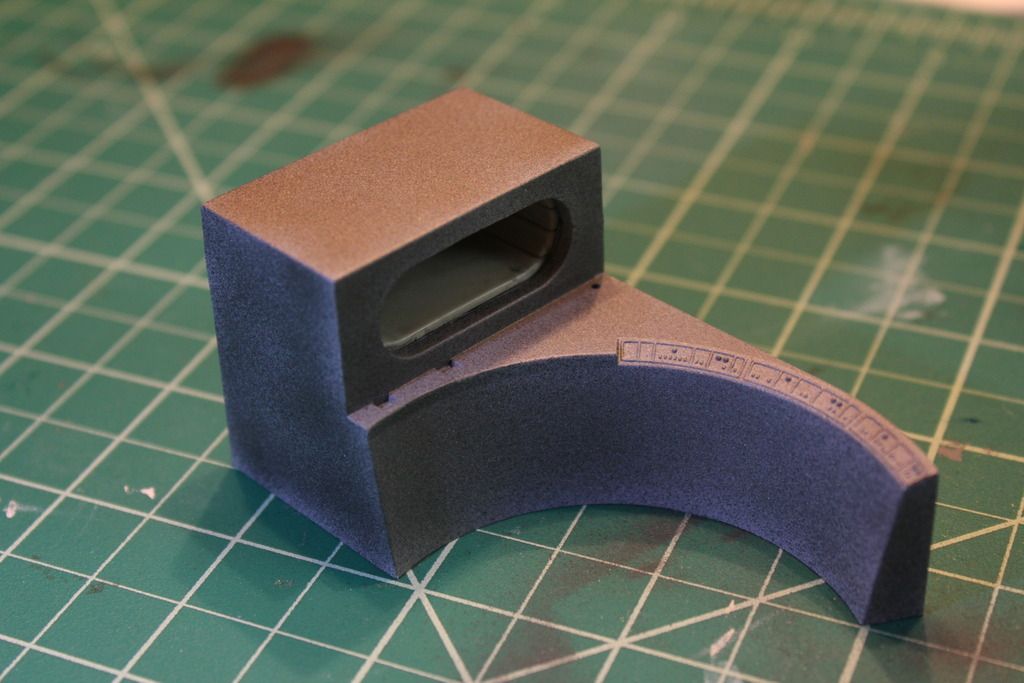 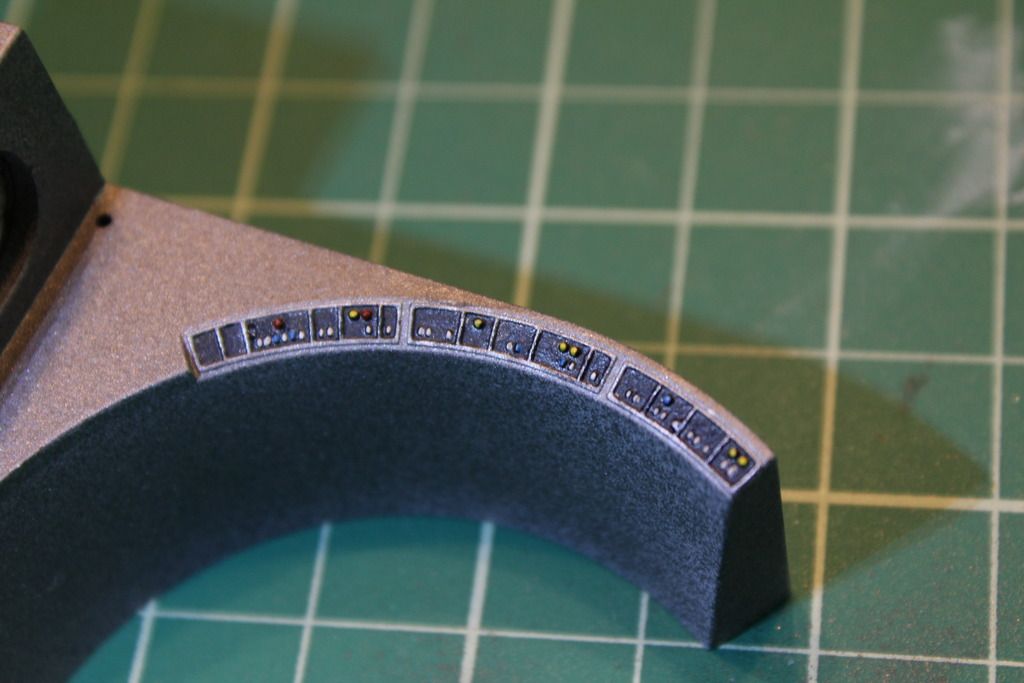 It was then time to drill some holes to put the wires through for the LED lighting. 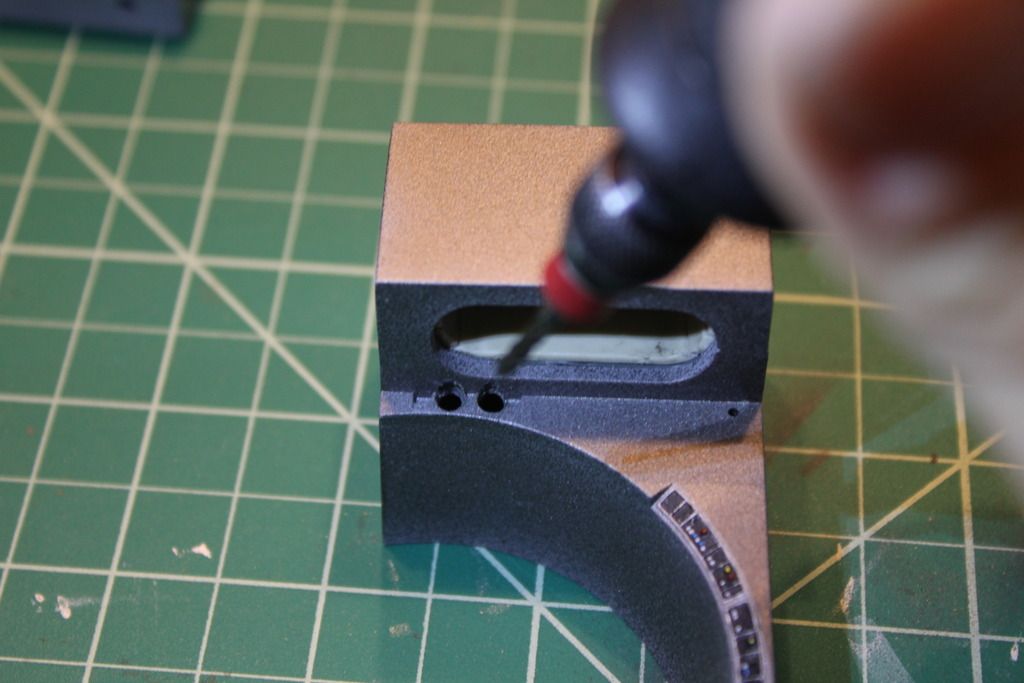 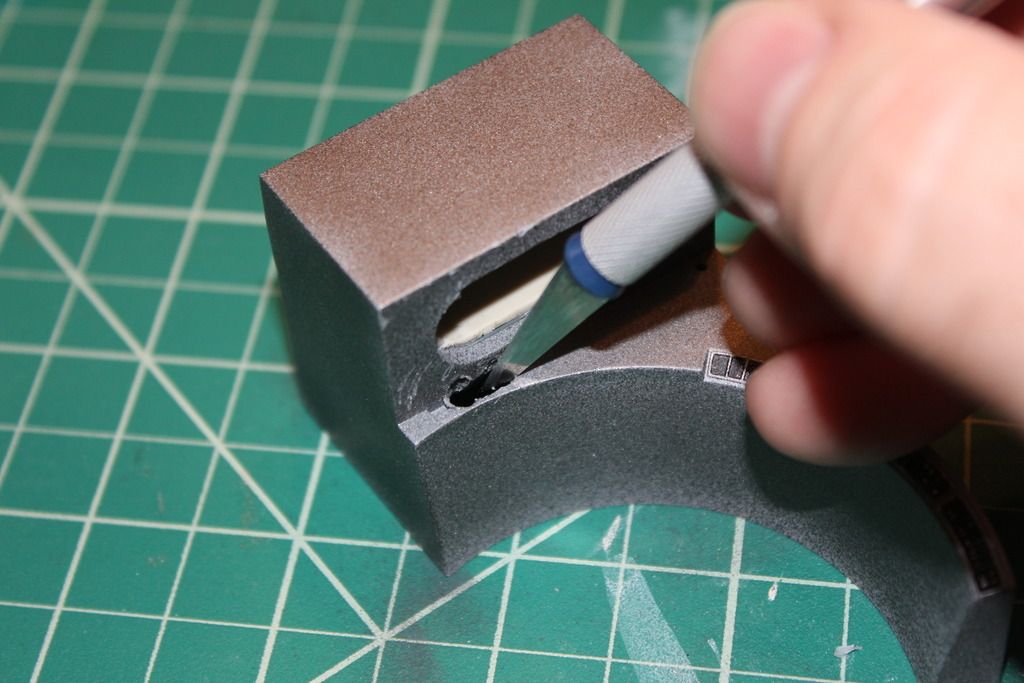 And put in the lights. 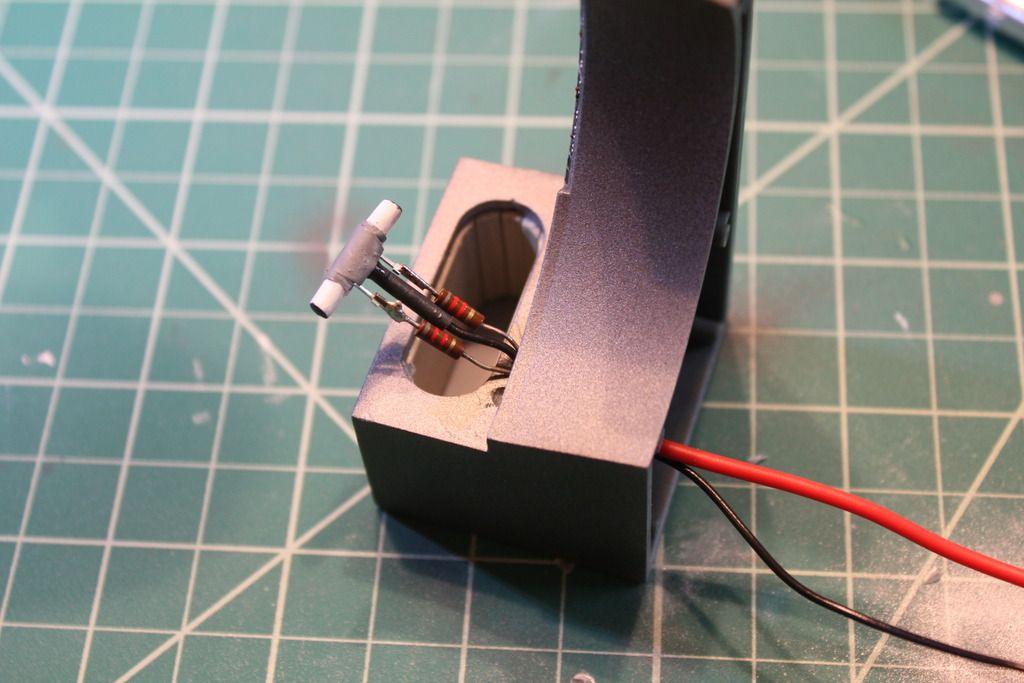 It was then time to run fibers into the seating area.   Paint the seat 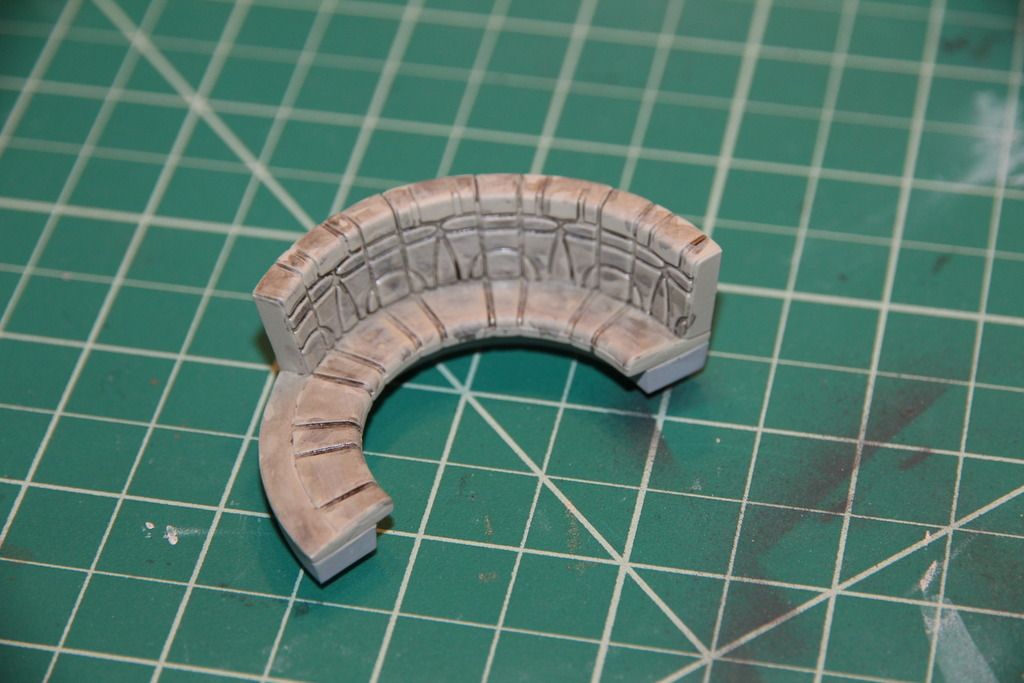 And BEHOLD!! 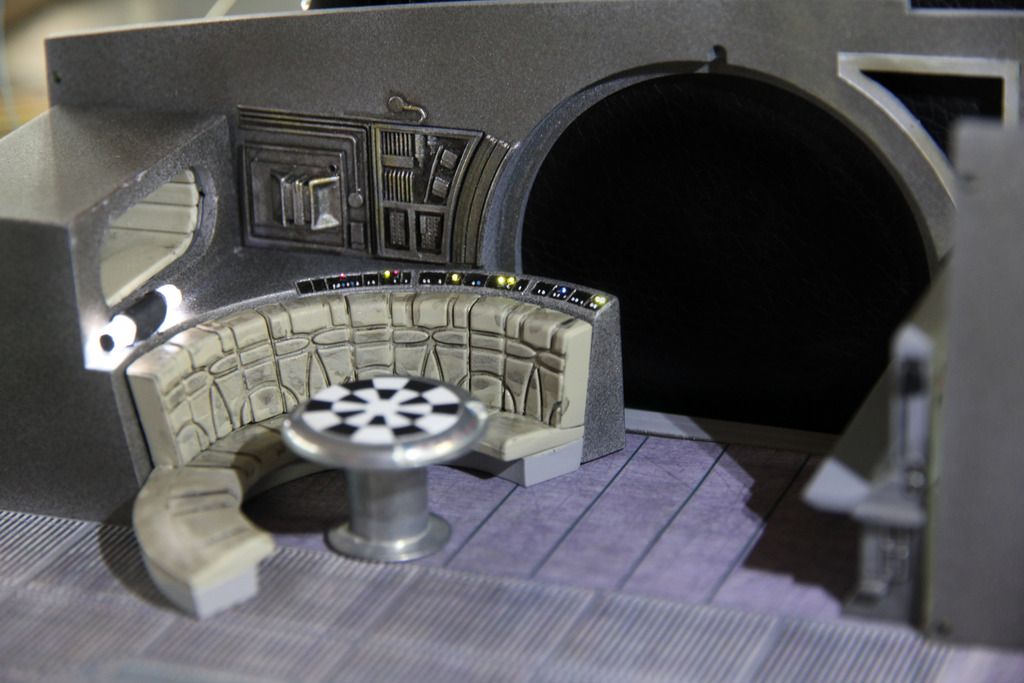 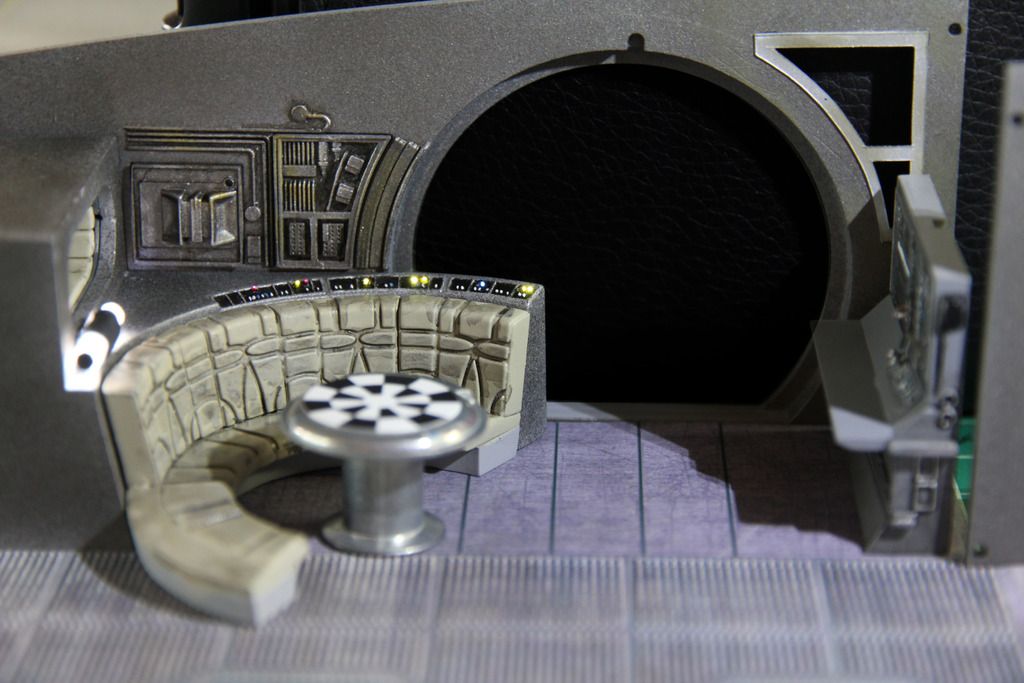 Really coming along. Now it's on to the navigation console. I painted the ends of the bulbs gray as well. You can see in the photo above from the film that the lights are capped gray.
|
|
|
 Rank: Amateur level 2 Groups: Registered
Joined: 01/05/2015 Posts: 43 Points: 132 Location: Clearwater, Florida USA
|
Oooh's and Awe's all around. Fantastic!!
|
|
|
Rank: Semi-Pro Level 1 Groups: Registered
Joined: 17/05/2015 Posts: 61 Points: 189 Location: PIckerington, Ohio USA
|
man, that's looking great!!!
Adam
|
|
|
 Rank: Beginner Level 1 Groups: Registered
Joined: 18/05/2015 Posts: 9 Points: 27 Location: Atlanta, GA
|
Will definitely be borrowing some of these ideas! Great work!
Chuck
|
|
|
Rank: Pro Groups: Registered
Joined: 30/04/2015 Posts: 263 Points: 795 Location: Los Angeles
|
|
|
|
Rank: Amateur level 2 Groups: Registered
Joined: 01/05/2015 Posts: 43 Points: 132 Location: Clearwater, Florida USA
|
Looking great. I love all the lights. Your detail work is fantastic and adds a cinematic feel to your ship.
For your binocular tubes, if you have a hobby shop in your area you might consider looking at evergreen scale models strip styrene shapes. They make a variety of styrene tubes that are perfect for that type of application. Brass tubing is a nice option also.
Keep up the great work and keep posting!
|
|
|
Rank: Pro Groups: Registered
Joined: 30/04/2015 Posts: 263 Points: 795 Location: Los Angeles
|
CRphoto wrote:Looking great. I love all the lights. Your detail work is fantastic and adds a cinematic feel to your ship.
For your binocular tubes, if you have a hobby shop in your area you might consider looking at evergreen scale models strip styrene shapes. They make a variety of styrene tubes that are perfect for that type of application. Brass tubing is a nice option also.
Keep up the great work and keep posting! Thanks CRphoto. I'll check into that.
|
|
|
Rank: Beginner Level 3 Groups: Registered
Joined: 28/05/2015 Posts: 26 Points: 78 Location: Oklahoma
|
Man... this is turning out great! Awesome updates!
I'm planning on buying the fiber optic set you recommended from eBay. Are you aware of any tutorial resources for someone just getting started (ie no experience with lighting) with the wiring. I get the basics of how the fiber optic lights can be installed, but less when it comes to selecting power and getting that all to work.
|
|
|
Rank: Pro Groups: Registered
Joined: 30/04/2015 Posts: 263 Points: 795 Location: Los Angeles
|
galactiboy wrote:Man... this is turning out great! Awesome updates!
I'm planning on buying the fiber optic set you recommended from eBay. Are you aware of any tutorial resources for someone just getting started (ie no experience with lighting) with the wiring. I get the basics of how the fiber optic lights can be installed, but less when it comes to selecting power and getting that all to work. Galacticboy, the fibers come with (what the seller calls) an emitter, which is basically an LED housed in a tube that you insert the fibers into, to illuminate. It powers off of 9v. As far as additional LED's, I'm sure you can find videos online that could show you how to wire and power. 3mm LEDs are what I'm using, but they run off of 3v typically. So you either need to solder resistors on them (which is what I did) so they can take 9v, or you can solder multiple LEDs in series (3- 3v LEDs in series = 9v). I still don't know ultimately what the Falcon will power off of that comes with the kit. I may need to do 2 power sources. Though the LEDs will probably power off of 6v just fine, but may be a little dimmer.
|
|
|
Rank: Pro   Groups: Registered
Joined: 27/06/2011 Posts: 434 Points: 1,309 Location: milton keynes
|
Super Job Colson some really great additions Regards Dan Built - MP4/23, Zero, Deagostini Falcon, Model Airways 1903 Wright Flyer, Senna Mp4/4.
Working - Mclaren M23 1/8th scale to complement the Deagostini MP4/23 & Mp4/4
on the bench, Model Airways Sopwith Camel.
|
|
|
Rank: Semi-Pro Level 1 Groups: Registered
Joined: 17/05/2015 Posts: 61 Points: 189 Location: PIckerington, Ohio USA
|
Colson, it is looking great as alwasy i cant wait to see what you do with rest of the build...congrates on the great work!!! Adam
Adam
|
|
|
Rank: Pro Groups: Registered
Joined: 30/04/2015 Posts: 263 Points: 795 Location: Los Angeles
|
I've come up with a solution for the little binocular section of the navigation console. I know temporarily I wrapped the fibers with tape and painted them, but I just did a test with a piece of my shrink tubing that I use for wiring and used it around fiber, and it shrinks down and makes a very nice solid cylinder that can be painted and glued in place. Will post photos once I've done the update.
|
|
|
Rank: Beginner Level 3 Groups: Registered
Joined: 28/05/2015 Posts: 26 Points: 78 Location: Oklahoma
|
colson wrote:galactiboy wrote:Man... this is turning out great! Awesome updates!
I'm planning on buying the fiber optic set you recommended from eBay. Are you aware of any tutorial resources for someone just getting started (ie no experience with lighting) with the wiring. I get the basics of how the fiber optic lights can be installed, but less when it comes to selecting power and getting that all to work. Galacticboy, the fibers come with (what the seller calls) an emitter, which is basically an LED housed in a tube that you insert the fibers into, to illuminate. It powers off of 9v. As far as additional LED's, I'm sure you can find videos online that could show you how to wire and power. 3mm LEDs are what I'm using, but they run off of 3v typically. So you either need to solder resistors on them (which is what I did) so they can take 9v, or you can solder multiple LEDs in series (3- 3v LEDs in series = 9v). I still don't know ultimately what the Falcon will power off of that comes with the kit. I may need to do 2 power sources. Though the LEDs will probably power off of 6v just fine, but may be a little dimmer. Thanks for the info.
|
|
|
Rank: Amateur level 2 Groups: Registered
Joined: 01/05/2015 Posts: 43 Points: 132 Location: Clearwater, Florida USA
|
colson wrote:I've come up with a solution for the little binocular section of the navigation console. I know temporarily I wrapped the fibers with tape and painted them, but I just did a test with a piece of my shrink tubing that I use for wiring and used it around fiber, and it shrinks down and makes a very nice solid cylinder that can be painted and glued in place. Will post photos once I've done the update. Great idea. I cant wait to see it.
|
|
|
|
Guest
|
 US
US

