|
|
 Rank: Amateur level 2   Groups: Registered
Joined: 15/03/2017 Posts: 46 Points: 138 Location: Outer reaches of the galaxy .... West Midlands
|
Ok so I consider myself the luckiest so and so alive, why? well a couple of months ago I was browsing through a sales app and came across a Deagostini Millennium Falcon all 100 issues for sale for £150! Unfortunately it was 150 miles away but fortunately just around the corner from a very close friend. After some rapid research to make sure it was legit I contacted my mate who agreed to get it for me and drop it down on his next journey south. Well that was several months ago, and a couple of weeks ago he dropped it around and sure enough all 100 issues present and correct and the only missing piece appears to be one of the cockpit throttles which for £150 I can forgive.  Anyway my build probably won't be anything special but I'm going to do the best I can, unfortunately though due to an injury I suffer with some loss of hand motor skills and a neck that cramps and spasms so it's going to be slow progress with inspiration gained from many of the excellent builds on here. Progress so far: I added some packing crate flooring to the cockpit and adapted the cockpit panel (obviously this isn't going to be an accurate build, more an inspired build): 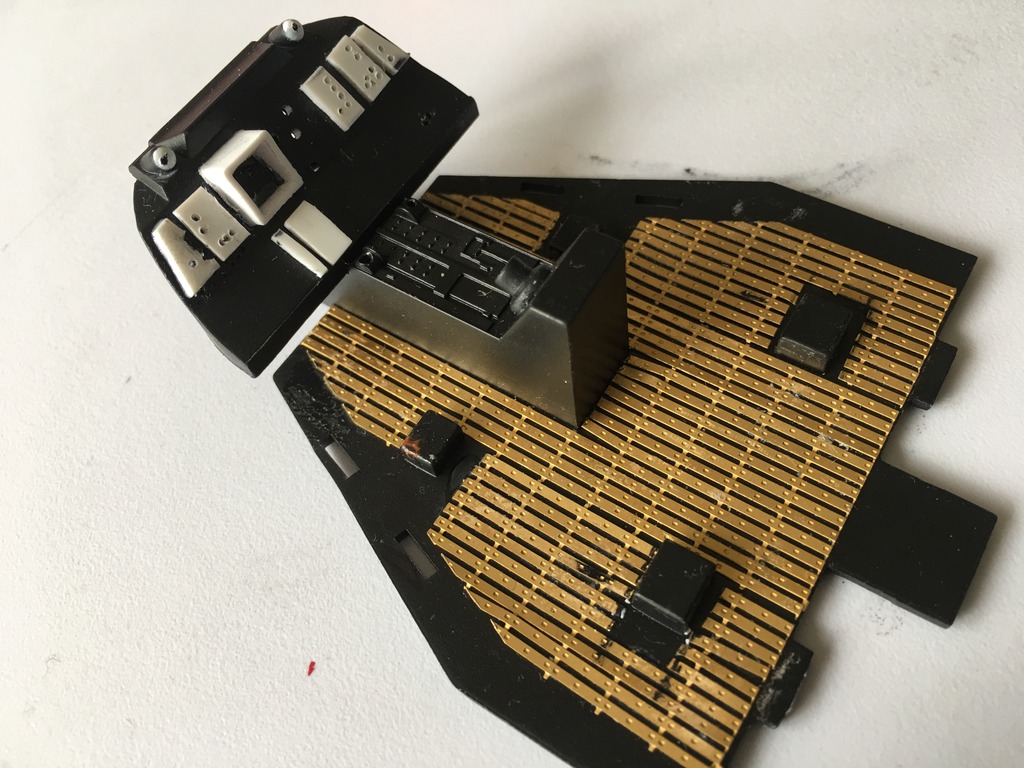 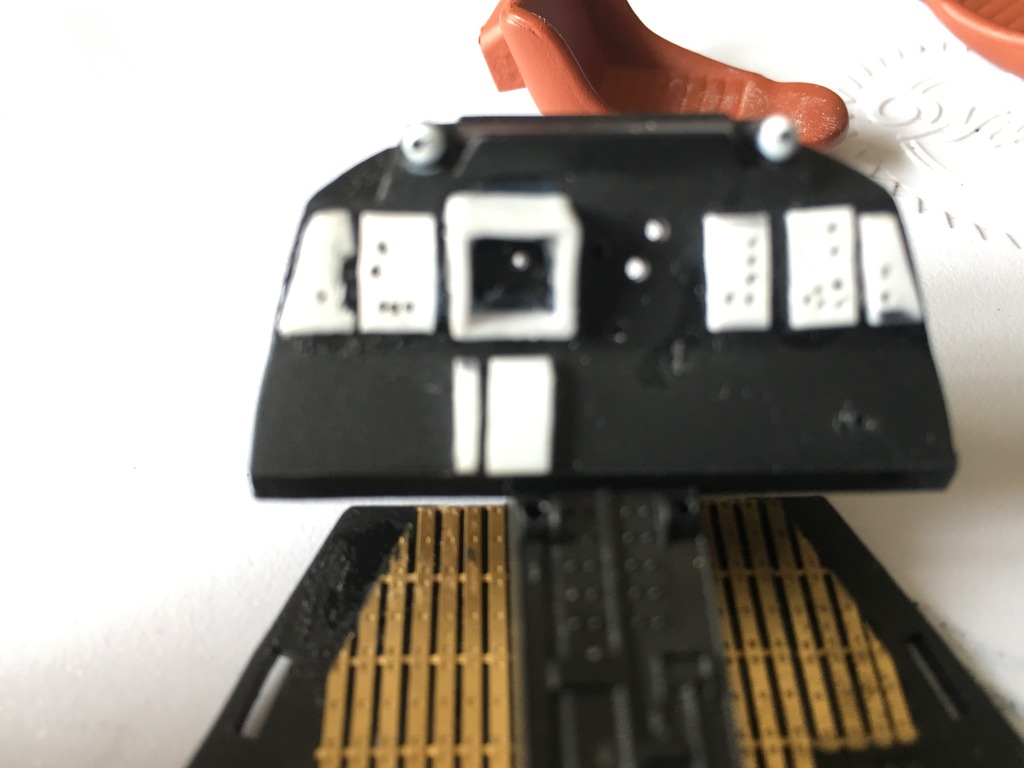 Hacked and filled the back of the rear seats and made some back greeblies for them: 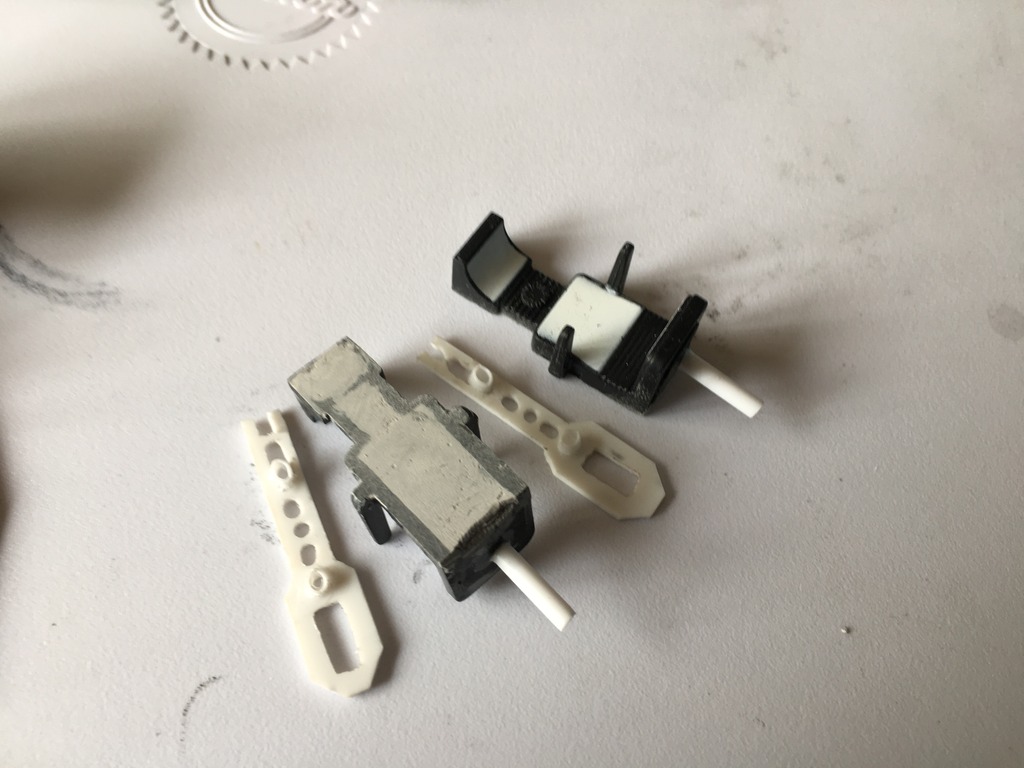 Created a new door to give more depth to the panels and painted the front seats: 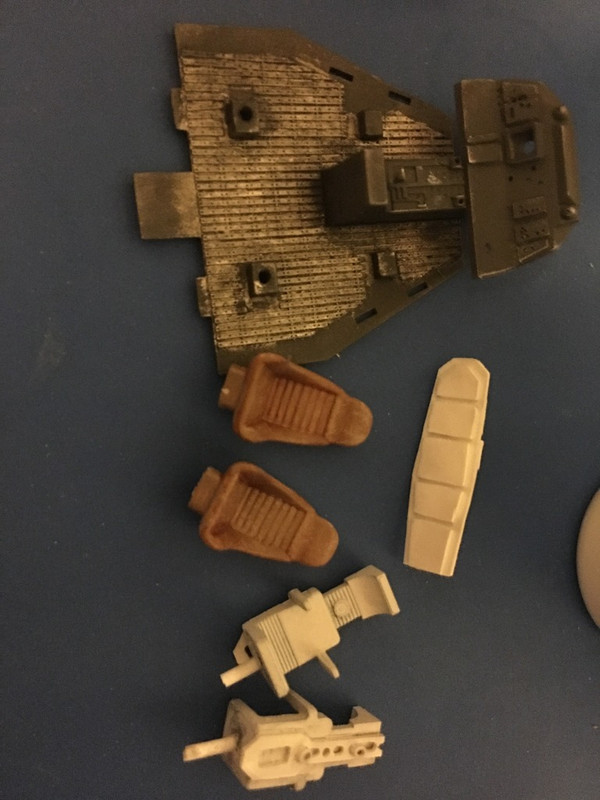 Well since this I have had a few bad episodes so decided to put the modelling aside until I feel better, so I decided to turn my attention to the electronics. Now I am completely new to Arduino but my aim is to have sound, ramp movement and lights all controlled by remote control so I bought an Arduino Mega clone kit from Amazon and have spent the last week learning and playing. Managed to get static and flashing led control sorted and stall, engine start/run and hyperdrive neopixel routines all running concurrently without using the delay function. These LEDs will be used for fibre optics and I will use a pull-up transistor setup controlled by the arduino to run the landing lights. Quick video demo: needs some tweaking of some of the timings but at least I know it's feasible. https://youtu.be/qqDol0KXzys
Hopefully I'll be back to the model soon, and any guidance and advice you can give as I proceed will be greatly appreciated by this ambitious beginner.
|
|
|
 Rank: Super-Elite        Groups: Registered, Forum Support Team, Administrators, Global Forum Support Team, Moderator, Official Builds Joined: 09/11/2012 Posts: 8,520 Points: 24,651 Location: East midlands
|
Hi Chip,  Looks like you got a great deal on this and the start looks good.  Congrats on your "Blue" medal for starting a diary. Regards delboy271155 (Derek) COME BACK GUY FAWKES "YOUR COUNTRY NEEDS YOU"
|
|
|
 Rank: Master      Groups: Registered
Joined: 07/07/2015 Posts: 1,292 Points: 3,928 Location: Allentown PA
|
Love what your doing with this and man that was a steal of a deal.
DeAgostini kit builds:
Millennium Falcon: 18% Complete
Shelby GT-500: 28% Complete
Thunderbird 2: 13.75% Complete
|
|
|
 Rank: Super-Elite        Groups: Registered
Joined: 31/05/2010 Posts: 5,679 Points: 17,011 Location: Wiltshire
|
You had yourself a very good deal on this one. Hope you get lots of enjoyment from your build. Happy Modelling
BUILDING: Hachette Spitfire Mk 1A, Constructo Mayflower
SUBSCRIPTION COMPLETE (Awaiting building): USS Constitution, Sovereign of the Seas, 1:200 Bismarck (Hachette)
COMPLETED: Porsche 911, E-Type Jaguar, Lam Countach
|
|
|
Rank: Administration         Groups: Registered, Administrators, Global Forum Support, Moderator, Forum Support Team, Official Builds Joined: 04/01/2016 Posts: 7,060 Points: 21,487 Location: Northamptonshire, England
|
Great start Chip. Love what you have done to the cockpit, it's not how quick you can build this model, it's how satisfied you feel when you have achieved something, no matter how long it has took. I look forward to seeing some more updates soon. Good luck.  Mark Regards
Markwarren
(Mark) Admin
|
|
|
 Rank: Semi-Pro Level 1  Groups: Registered
Joined: 27/03/2017 Posts: 42 Points: 177
|
£150....just WOW !!! Nice find, have fun building and painting it.
|
|
|
 Rank: Super-Elite       Groups: Registered
Joined: 27/01/2014 Posts: 5,060 Points: 14,980
|
|
|
|
 Rank: Super-Elite        Groups: Registered, Forum Support Team, Administrators, Global Forum Support Team, Moderator, Official Builds Joined: 09/11/2012 Posts: 8,520 Points: 24,651 Location: East midlands
|
£150 certainly was a great deal. One just sold on ebay for £425.      Regards delboy271155 (Derek) COME BACK GUY FAWKES "YOUR COUNTRY NEEDS YOU"
|
|
|
 Rank: Amateur level 2   Groups: Registered
Joined: 15/03/2017 Posts: 46 Points: 138 Location: Outer reaches of the galaxy .... West Midlands
|
Yep I definitely know how lucky I was  Ok I wasn't happy with my first attempt at the lighting routines so I amended the code for what I believe to be a smoother transition pattern. I also started on adding sound with a DFPlayer Mini but it appears to be dead :( so will have to get another, fortunately they are only around £3 so not going to break the bank. The video below shows the transitions of stall, engine start and hyperdrive. I'm still currently using an IR remote to control the Arduino but eventually want to replace that with Bluetooth Low Energy. Again I have never touched BLE before so that will be a learning experience too (if anyone has any advice please feel free!) https://youtu.be/BuOgcopLBXo
If anyone is interested in the coding here is the current code (needs some tidying but will get to that at some point): MFCode_1d
|
|
|
 Rank: Master      Groups: Registered
Joined: 07/07/2015 Posts: 1,292 Points: 3,928 Location: Allentown PA
|
That's some pretty cool stuff there. Gonna look and sound nice when you get it all done.
DeAgostini kit builds:
Millennium Falcon: 18% Complete
Shelby GT-500: 28% Complete
Thunderbird 2: 13.75% Complete
|
|
|
 Rank: Amateur level 2   Groups: Registered
Joined: 15/03/2017 Posts: 46 Points: 138 Location: Outer reaches of the galaxy .... West Midlands
|
Still not feeling up to a lot of head down modelling work at the moment, so continued on with looking at my lighting control program and set up. I had been making progress with my code, however in one of my many google and YouTube searches I came across a video by Lskazkaz01 showing his Arduino lighting and followed it to his blog https://plaza.rakuten.co.../kazuw01/diary/?ctgy=28 his code already covered 80-90% of what I am after so utilising his code and breadboard set up I amended the code for neopixels. I'm very pleased with the results so far, and I added my replacement DF Player Mini (yep the previous was found to be dead!). N.B. The sounds in the clip are not yet finalised. https://youtu.be/OYSq48SYKlo
One neopixel strip for both normal engine drive and for hyperdrive: 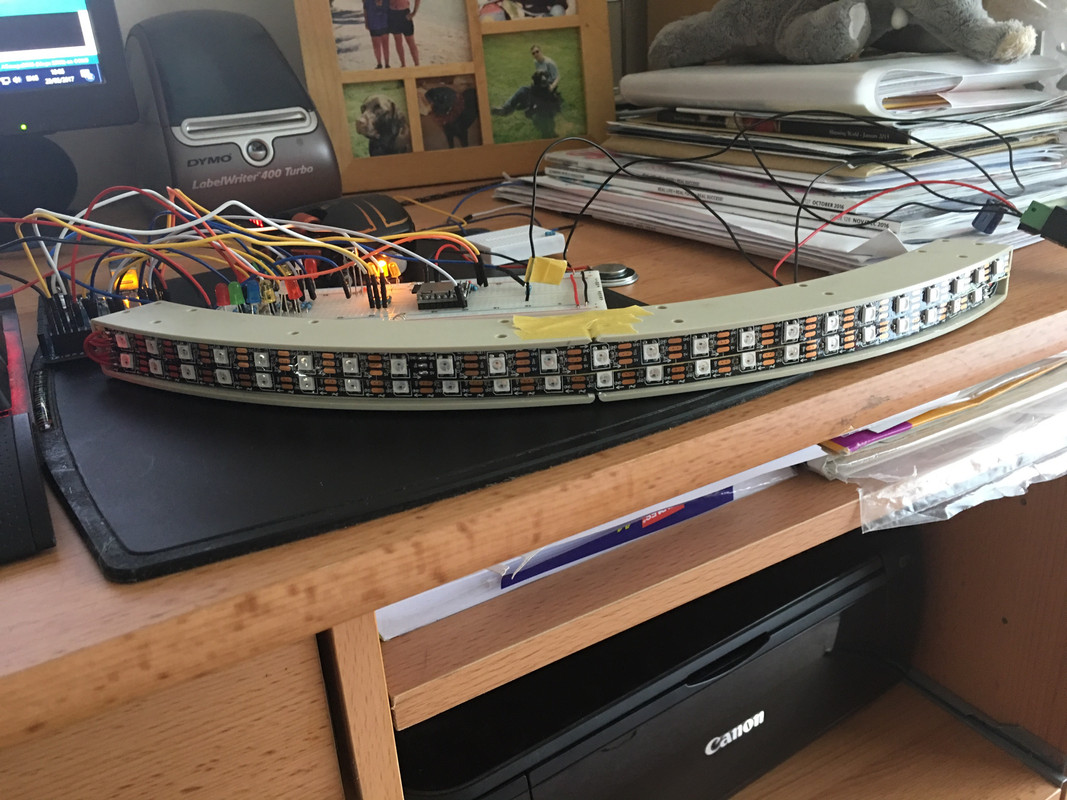 Engine running: 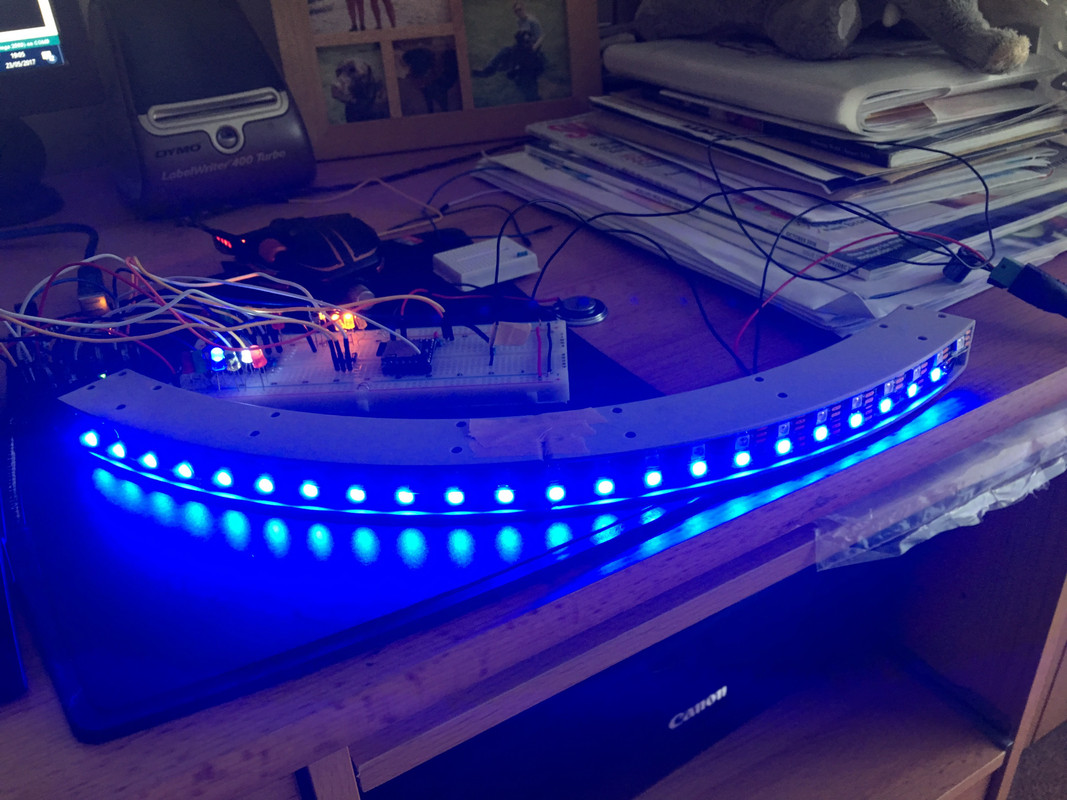 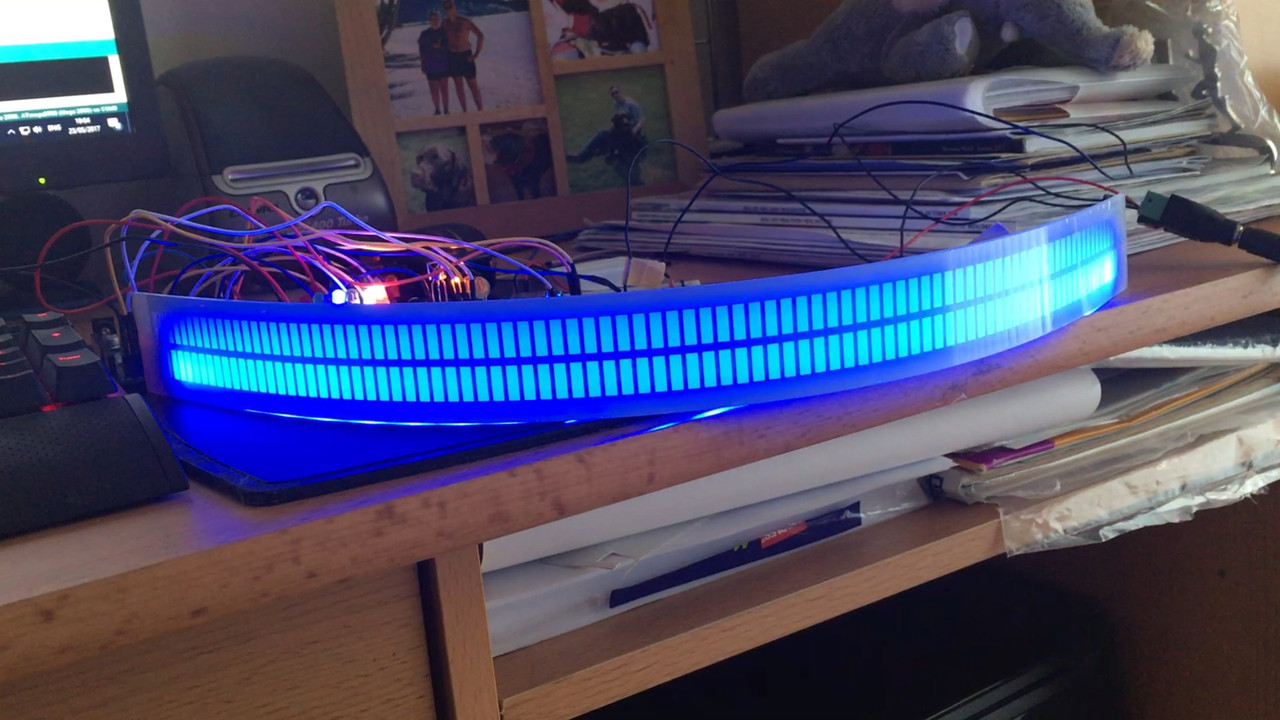 Hyperdrive running: 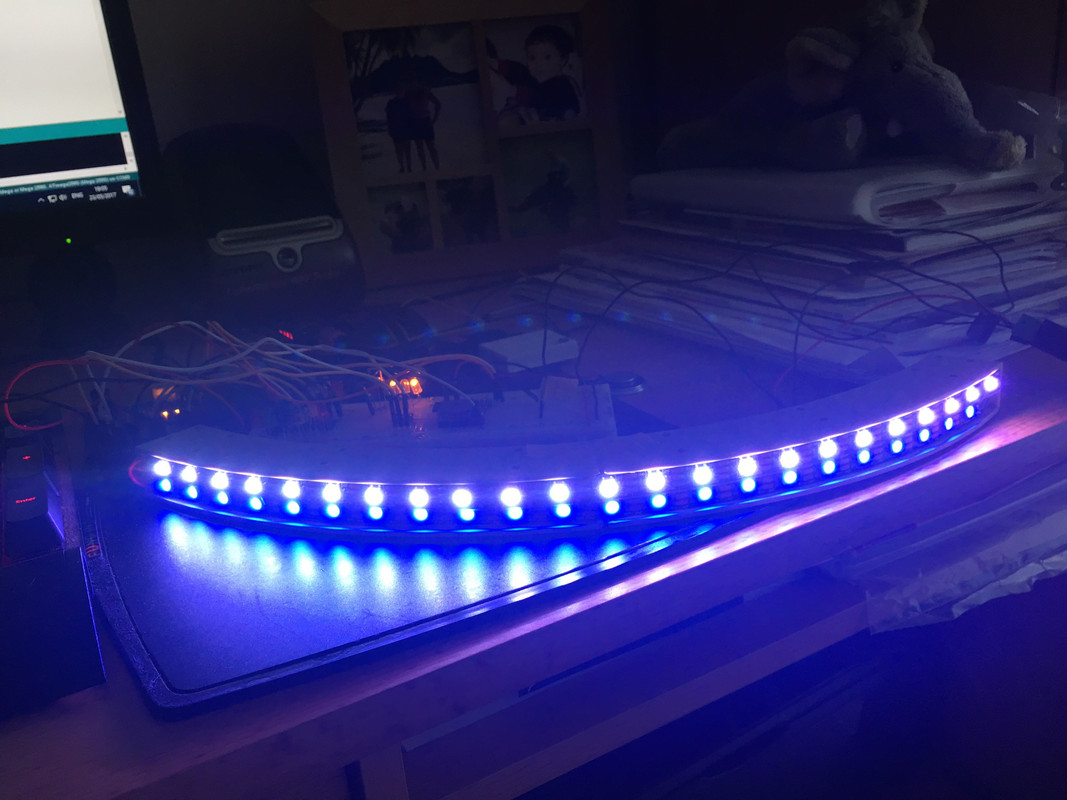 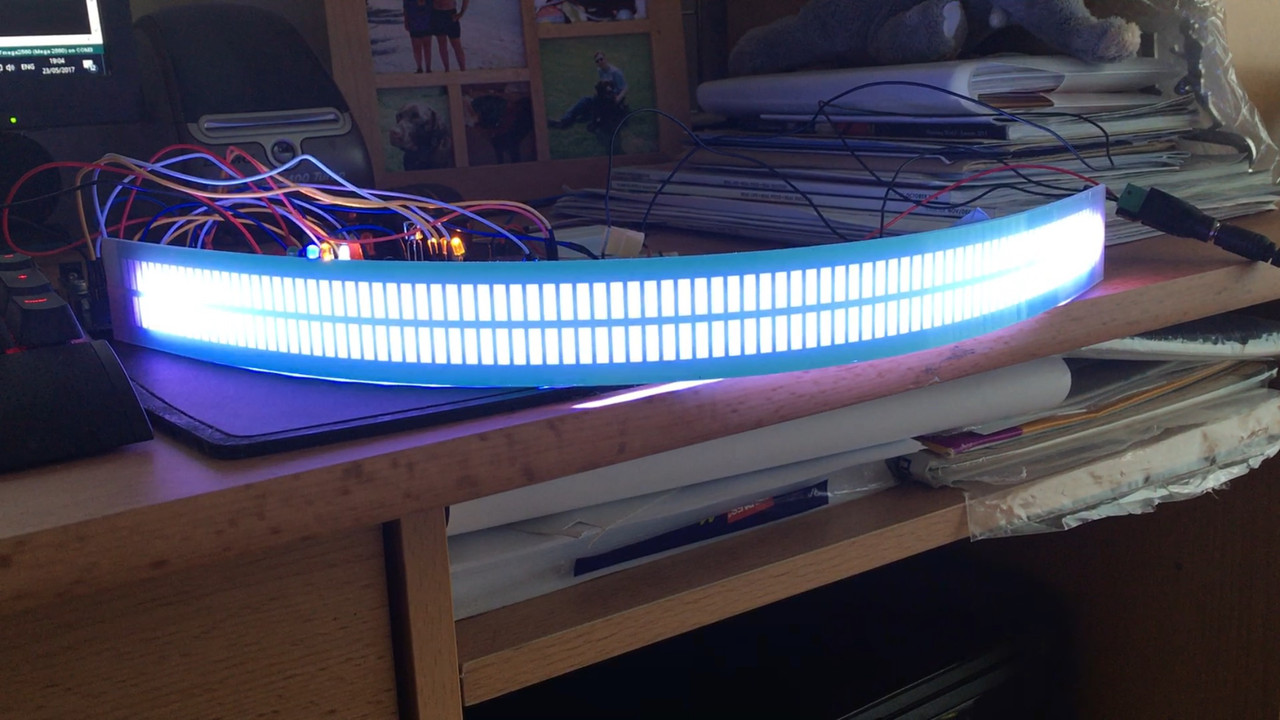
|
|
|
Rank: Administration         Groups: Registered, Administrators, Global Forum Support, Moderator, Forum Support Team, Official Builds Joined: 04/01/2016 Posts: 7,060 Points: 21,487 Location: Northamptonshire, England
|
Looks excellent, very good effect.  Mark Regards
Markwarren
(Mark) Admin
|
|
|
 Rank: Amateur level 2   Groups: Registered
Joined: 15/03/2017 Posts: 46 Points: 138 Location: Outer reaches of the galaxy .... West Midlands
|
A little bit of progress made on the cockpit and on the electronics again. Neck is still playing me up badly, so not getting the time on this as I would like (or the standard I would like) so progress is slow, but hey I'm enjoying it.  Started to add some fibre optics to the instrument panels, I plan to have 3 differing blink rates and 1 steady led to light the panels so to cut down on the current draw I plan to use all white LEDs and colour the ends of the fibres themselves with some clear paints. 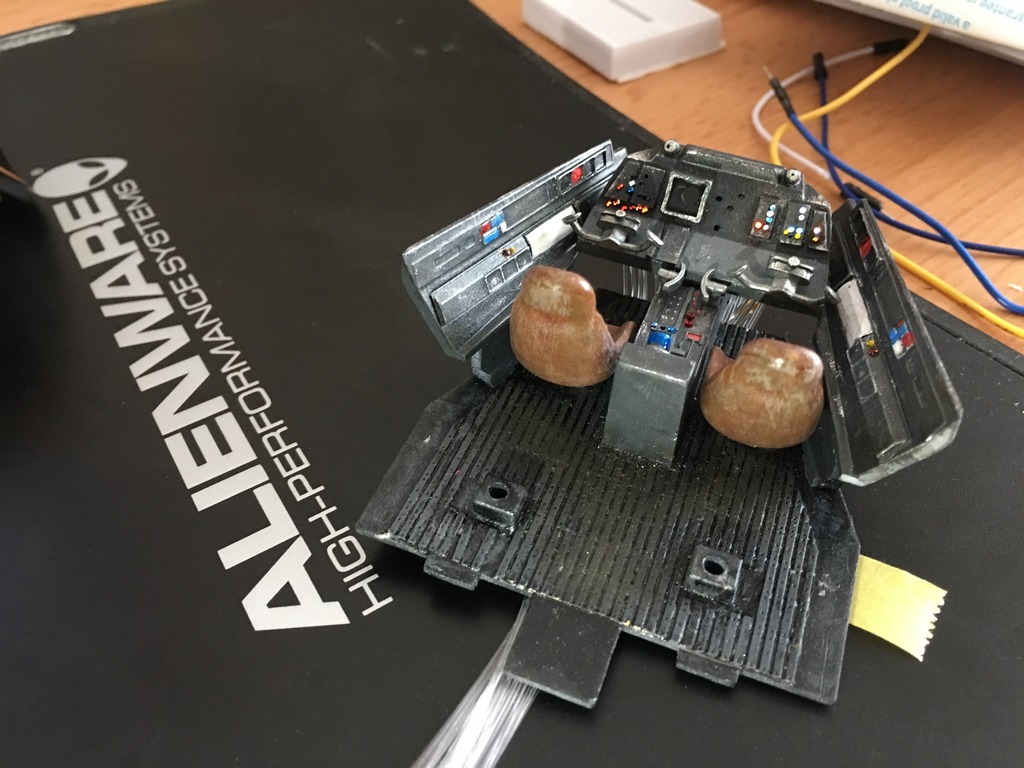 Unfortunately I have run out of FO so waiting for some more (ordered a 50m reel which should suffice  ) As I have said previously I plan to use my Arduino mega for the lighting/sound control, however they are severely limited by the power they can output (collectively and by individual output) so I have been putting together plans to create my own Arduino mega Millennium Falcon Shield, which will provide: 1. 12V external power input line. 2. 10 individual transistor controlled 12V 500mA outputs. 3. Discrete molex connections for non-transistor controlled outputs. 4. DFPlayer Mini on board for mp3 audio and discrete speaker connection. 5. Neopixel 5V output connection. 6. Servo Shield output connection. 7. BLE controller connection. 8. On board easy access reset button. I have been using EasyEDA to prototype the board: My easyEDA pageHave breadboard tested everything so far apart from the BLE, still waiting for it to be delivered, once it has that's all I need to add to my schematic and pcb layout. EasyEDA also provide PCB construction and at present my board is coming in at $15.27 for 5 boards (unfortunately the minimum quantity is 5 but this will allow for any mistakes) but even at that cost I think it's worth it, compared to the £90 (for 1) quoted by some UK firms. Just need to double and triple check my circuitry (another 10 times) before I commit to buying.  Anyone who has experience in these things and spots any errors or potential problems please let me know.
|
|
|
Rank: Administration         Groups: Registered, Administrators, Global Forum Support, Moderator, Forum Support Team, Official Builds Joined: 04/01/2016 Posts: 7,060 Points: 21,487 Location: Northamptonshire, England
|
Your doing an excellent job Chip. You seem to have all the electronics in order so far, they will look great when finished. It's amazing how much fiber optic cable you end up using, I'm sure mine ran into the miles. Cockpit looks excellent. Keep up the good work and pictures coming Regards Mark  Regards
Markwarren
(Mark) Admin
|
|
|
 Rank: Amateur level 2   Groups: Registered
Joined: 15/03/2017 Posts: 46 Points: 138 Location: Outer reaches of the galaxy .... West Midlands
|
Thanks Mark Your custom build is a constant source of inspiration! I will be getting some shapeways parts but hoping to do a lot of mods without having to resort to shapeways so much.
|
|
|
 Rank: Master      Groups: Registered
Joined: 07/07/2015 Posts: 1,292 Points: 3,928 Location: Allentown PA
|
Looks great. Makes me wish I had the patience to do stuff like that but I don't haha. So I will just enjoy watching you do them.
DeAgostini kit builds:
Millennium Falcon: 18% Complete
Shelby GT-500: 28% Complete
Thunderbird 2: 13.75% Complete
|
|
|
 Rank: Super-Elite       Groups: Registered
Joined: 27/01/2014 Posts: 5,060 Points: 14,980
|
Mighty impressive work with the circuitry, will be something special once its all assembled and running  
|
|
|
 Rank: Semi-Pro Level 2  Groups: Registered
Joined: 04/09/2015 Posts: 92 Points: 256 Location: Atlantis
|
OMG Chip... 150?!!! Good for you and enjoy your new project. Very interested to see how your control board sets up. Keep us posted.
|
|
|
|
|
Impressive work Chip, am sure many members will find this very informative and inspirational....   Very well done and thanks for sharing....   Regards Alan
|
|
|
 Rank: Amateur level 2   Groups: Registered
Joined: 15/03/2017 Posts: 46 Points: 138 Location: Outer reaches of the galaxy .... West Midlands
|
Thanks for the kind words. Not much progress in the way of modelling, have been trying to finalise my electronic prototyping using initially BLE (Blootooth Low Energy) and then using a WiFi connection using both Blynk and RemoteXY apps on my phone. Try and try as I might, I couldn't maintain a stable connection and have come to the conclusion that an Arduino Mega does not have the power for maintaining the connection and dealing with the interrupt polling required for the flashing of the various LED / Neopixel circuits, therefore I have 2 possible course of actions to take: 1. Ditch the Arduino and look at utilising a Raspberry Pi which is far more capable of dealing with simultaneous polling etc. 2. Revert back to using a IR receiver and a physical remote. Obviously this bring advantages and disadvantages which ever I pick: Raspberry Pi:Pros:
More capable.
Pi 3 comes with WiFi & BLE built in.
Receiver hidden within belly of the beast, no need for line of sight.
Cons:
More costs.
Doesn't have as many outputs as the Arduino Mega.
Another language to learn.
IR Remote:Pros:
Easier.
Prototyping proven.
No additional costs.
Cons:
Can't be run through iPhone without purchasing an IR Blaster.
IR Receiver requires line of sight, need to work out a place to mount the receiver lens.
No debugging feedback to iPhone, as can be achieved through BLE / WiFi .is less control capabilities.
Is there anyone who has used a Raspberry Pi or overcome the Arduino polling / disconnect issue I am stumped at or used IR and found the best place to mount the lens? As it stands at the moment I am giving my forehead a rest from repeatedly hitting the table and sidelining the coding for a bit and have started making my own inspection Pit modifications from some scrap ABS: 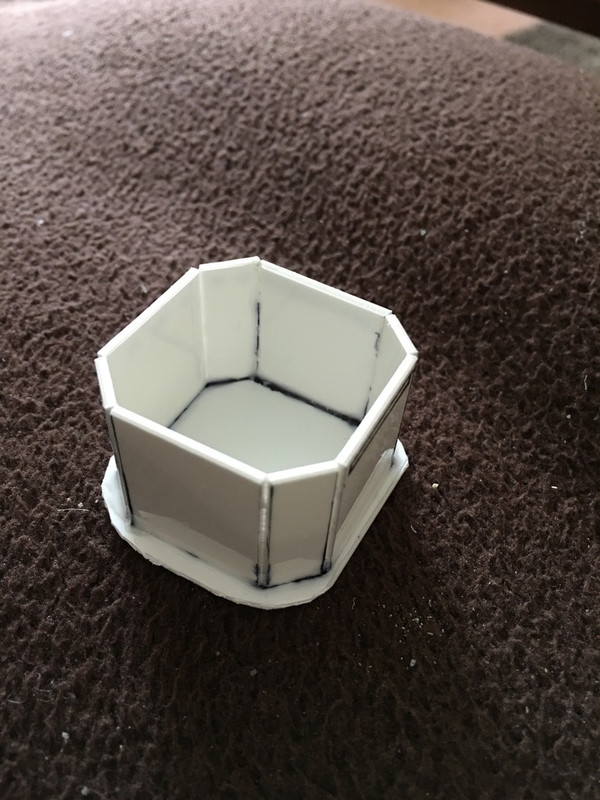 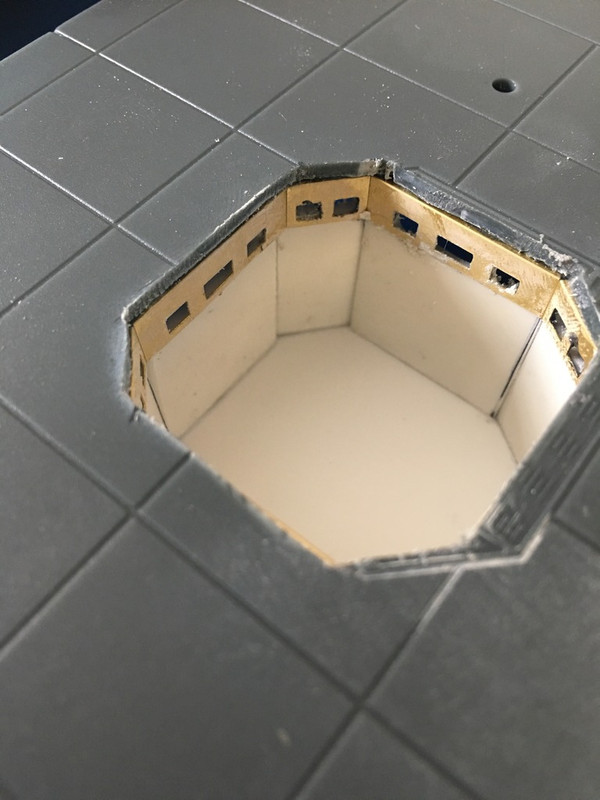 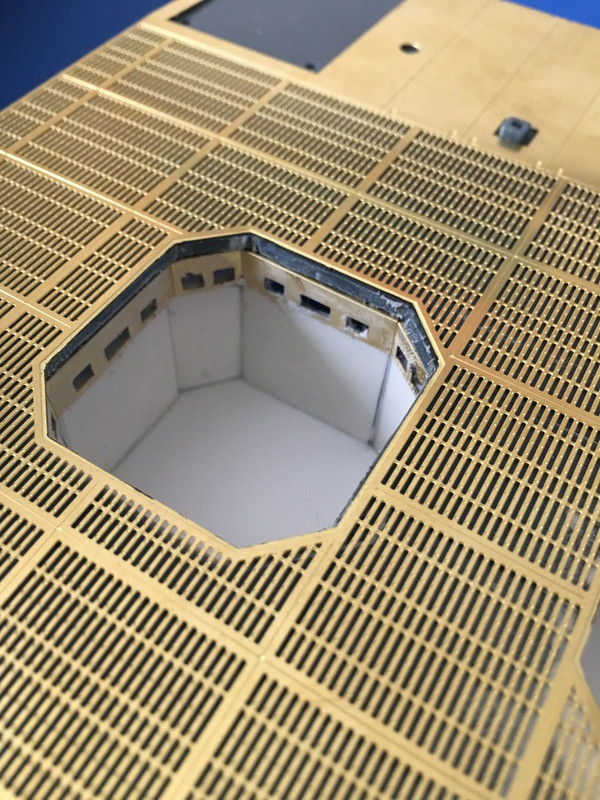 Some filling and sanding to do, and then will add I-beams and piping and some various panels etc. Have already purchased some blue EL wire which I'll use for illumination.
|
|
|
|
Guest
|