|
|
 Rank: Super-Elite        Groups: Registered
Joined: 31/05/2010 Posts: 5,679 Points: 17,011 Location: Wiltshire
|
Well that modified landing pad is a very neat idea. You really have come up with some incredible upgrades to your model and i am really enjoying seeing yours taking shape. Hope it all continues well. Happy Modelling
BUILDING: Hachette Spitfire Mk 1A, Constructo Mayflower
SUBSCRIPTION COMPLETE (Awaiting building): USS Constitution, Sovereign of the Seas, 1:200 Bismarck (Hachette)
COMPLETED: Porsche 911, E-Type Jaguar, Lam Countach
|
|
|
|
|
Nice idea Chip. Look forward to seeing that soon. Mark
|
|
|
 Rank: Newbie Groups: Registered
Joined: 05/09/2016 Posts: 3 Points: 12
|
woooow,
do you sell your PCB and components infos?
|
|
|
 Rank: Amateur level 2  Groups: Registered
Joined: 15/03/2017 Posts: 46 Points: 138 Location: Outer reaches of the galaxy .... West Midlands
|
Wasn’t the plan to go into production tbh but I do have a couple of boards spare, there are mistakes but can be easily rectified. I wasn’t planning on making any rectified boards but if there are 5 minimum I would, other than that if your happy with a current PCB I can provide a step by step. I am away at the moment (in London from The Last Jedi premiere, no spoilers but it doesn’t disappoint) send me a PM and I’m sure I can sort you out.
|
|
|
Rank: Newbie Groups: Registered
Joined: 05/09/2016 Posts: 3 Points: 12
|
Well, this is Alex from Rome/Italy You'll find me on facebook (Alex Mele III) or via mail alexmelekaledon@me.com bye Alex
|
|
|
Rank: Amateur level 2 Groups: Registered
Joined: 15/03/2017 Posts: 46 Points: 138 Location: Outer reaches of the galaxy .... West Midlands
|
Been working on my corridors in the little me time I’ve had over Christmas, before I add the leds for the wall lights there are a couple of adjustments needed: 1. A little bit of light leakage around the straight corridor’s instrumentation wall to be sorted. 2. After adding the mirrors on the end of the corridors which are approx 4mm thick you can see the led strips under the flooring (must admit I hadn’t considered this, but you live and learn) so will need to blank off the the area under the floor at the mirror end. A few pics of current progress with ithe corridor being powered from the floor1 output of my board: 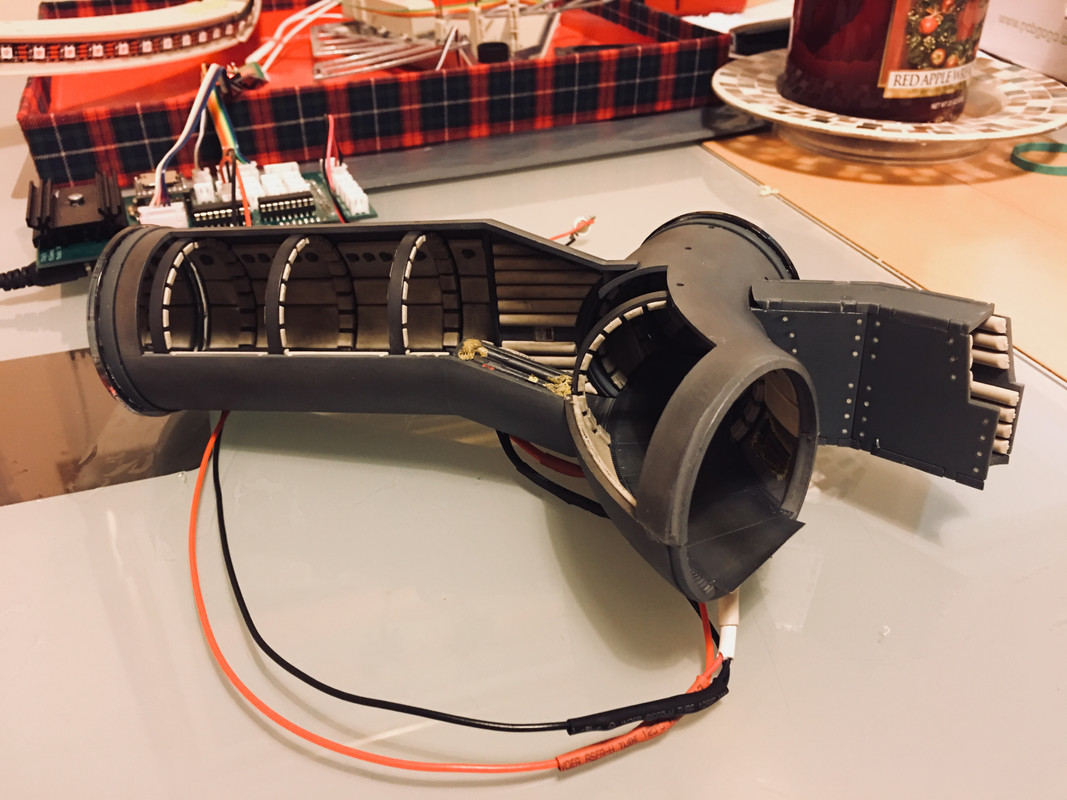 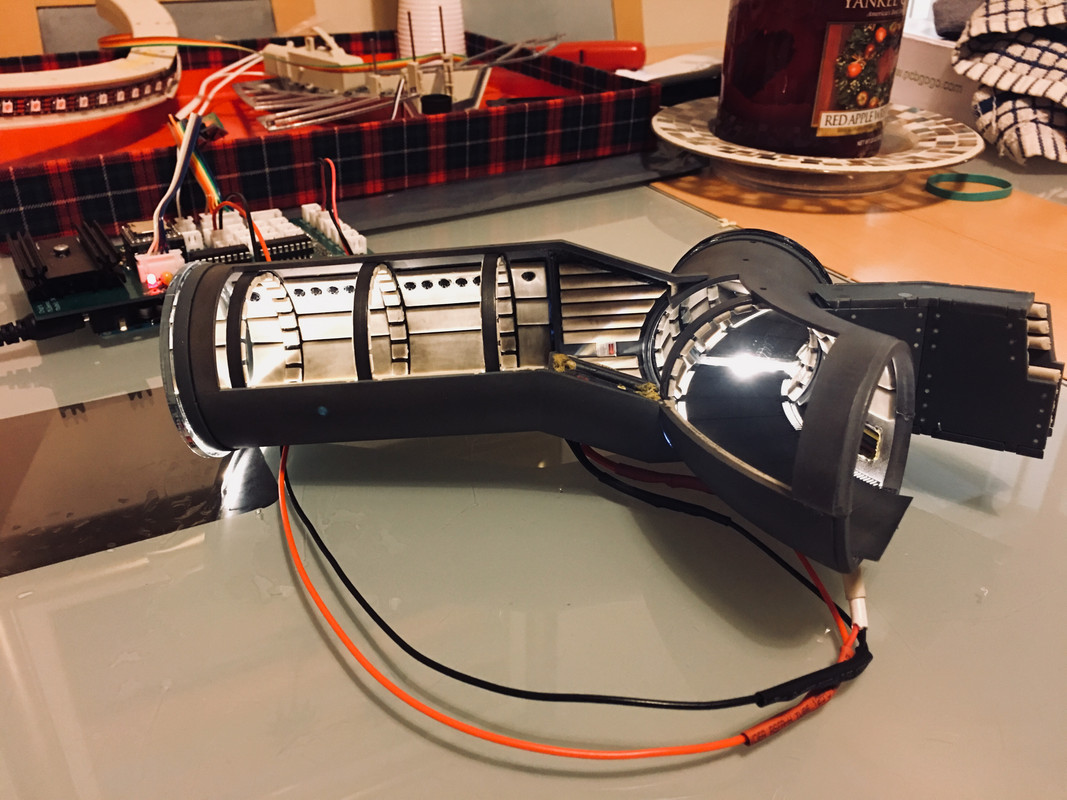 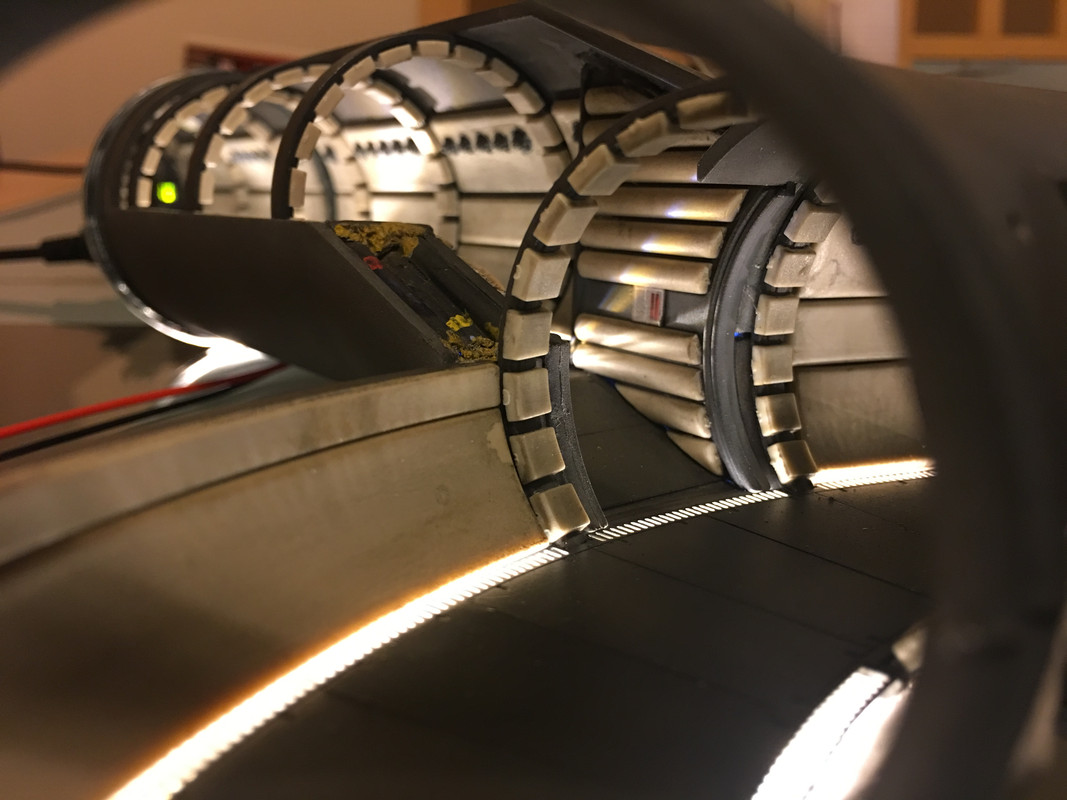 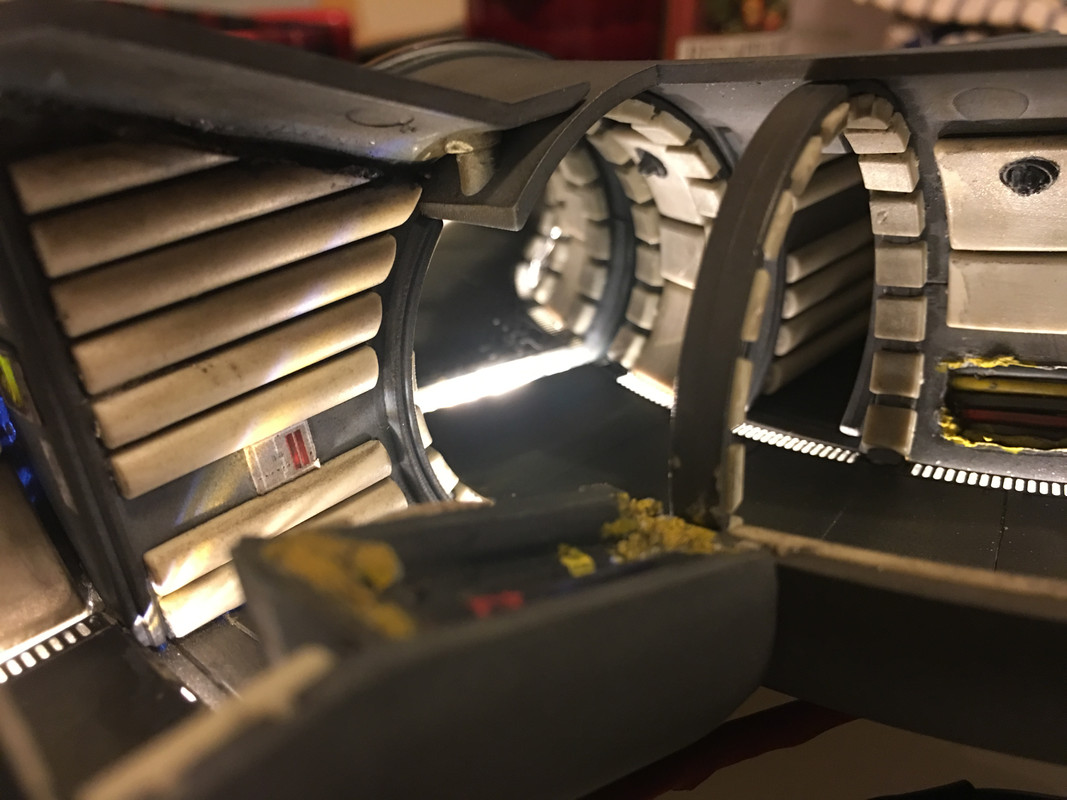
|
|
|
|
|
Lovely work Chip, looks great. I’m sure you’ll sort out the light bleed. It will be all worth while when you see it all connected up inside.  Mark
|
|
|
Rank: Amateur level 2 Groups: Registered
Joined: 15/03/2017 Posts: 46 Points: 138 Location: Outer reaches of the galaxy .... West Midlands
|
Solved my light leak problems using a little bit of black foam sheet I had from hobbycraft for god only knows what, thin malleable and easy to form to correct size and shape saved a lot of cutting and filling: The tiniest sliver of foam indistinguishable from a build up of dirt in the crevice between the console wall and cushions prevents any light leak 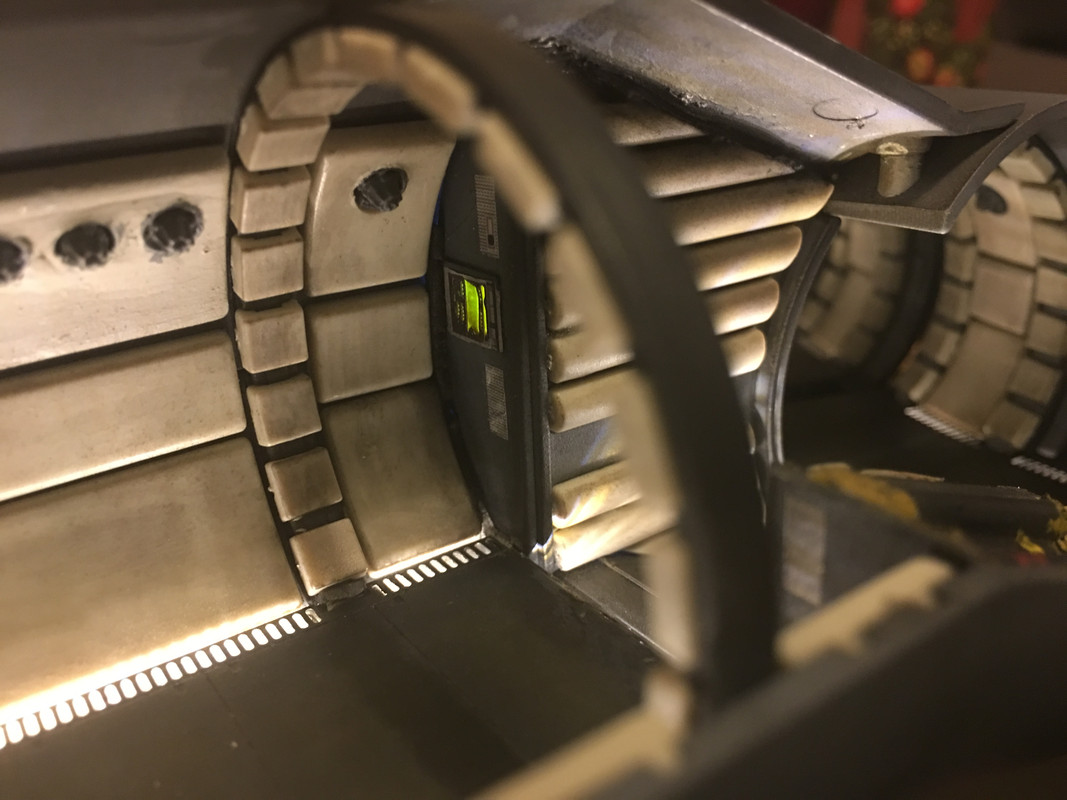 Foam cut to the shape of the underfloor space squeezed in at ends of corridors: 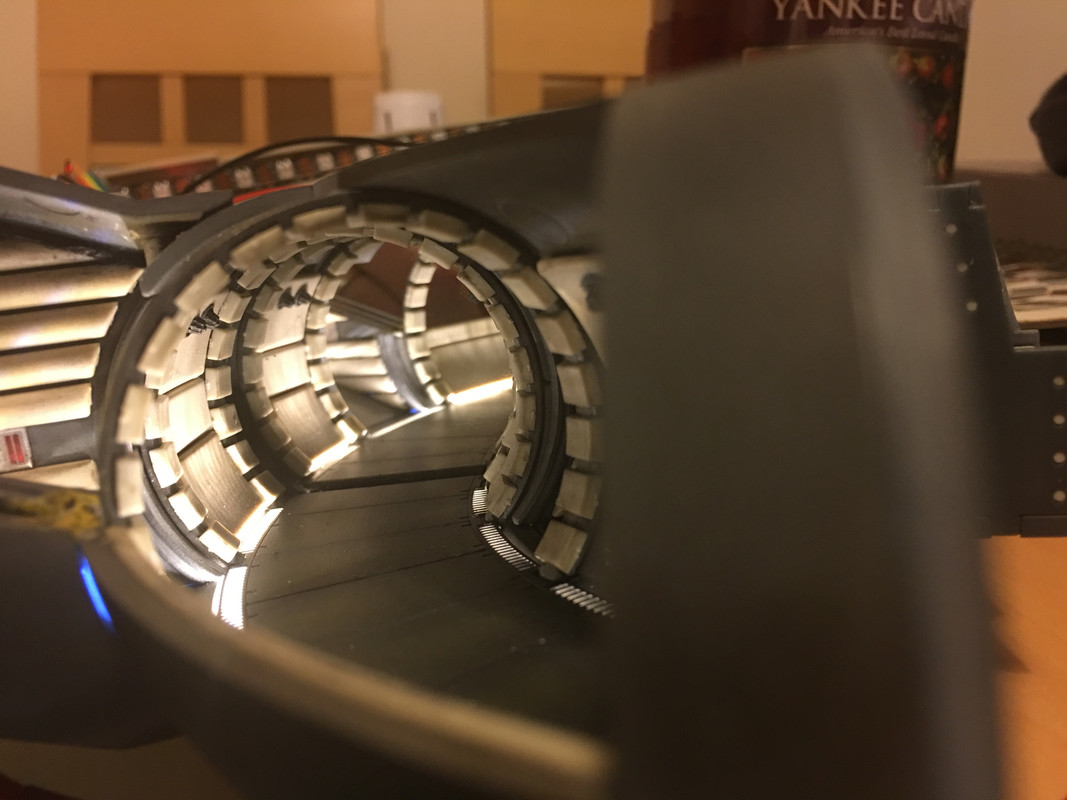 
|
|
|
Rank: Amateur level 2 Groups: Registered
Joined: 15/03/2017 Posts: 46 Points: 138 Location: Outer reaches of the galaxy .... West Midlands
|
Built my static and flashing LED looms and connected them up to the hold so far, these same lines will provide static and flashing for both the turrets and cockpit too. Powered by 4 of the 12V outputs from my custom controller board the 3 differing flash rates and the static illuminate when applying cockpit power (as they power the cockpit lights), the dejarik table illuminates on activating hold lighting on the remote along with the corridor lighting, and the yet to be wired up bed light, inspection pit lighting and computer room lights. 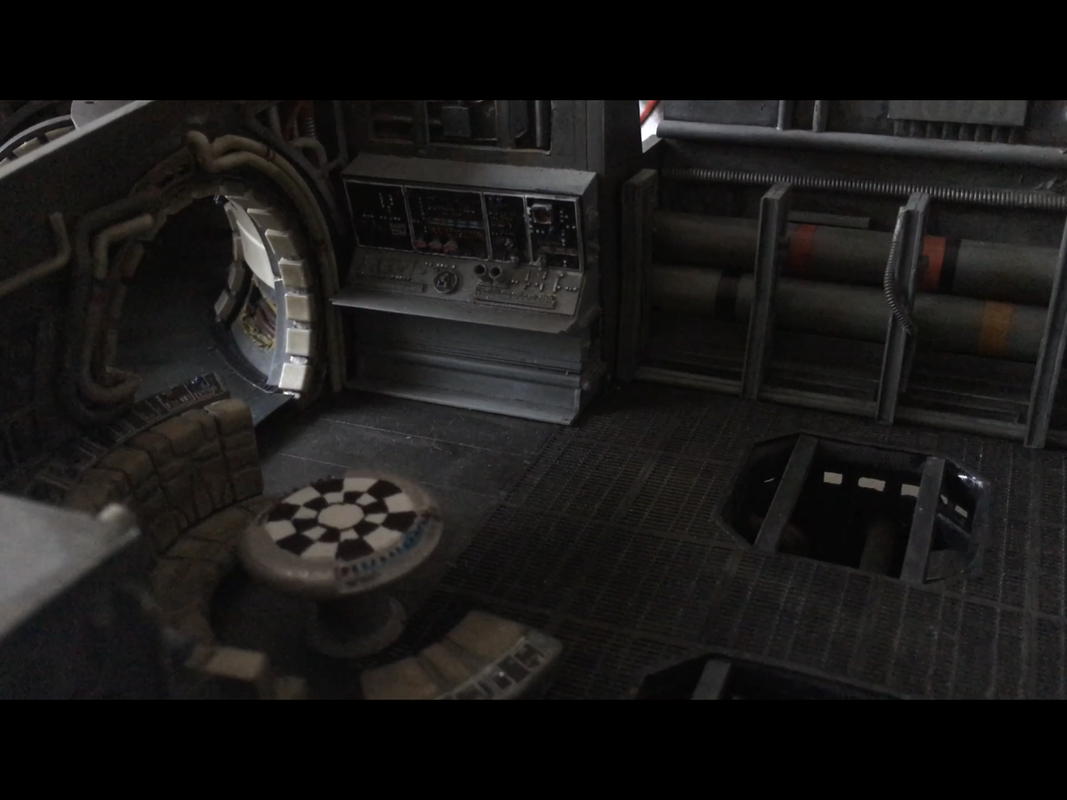  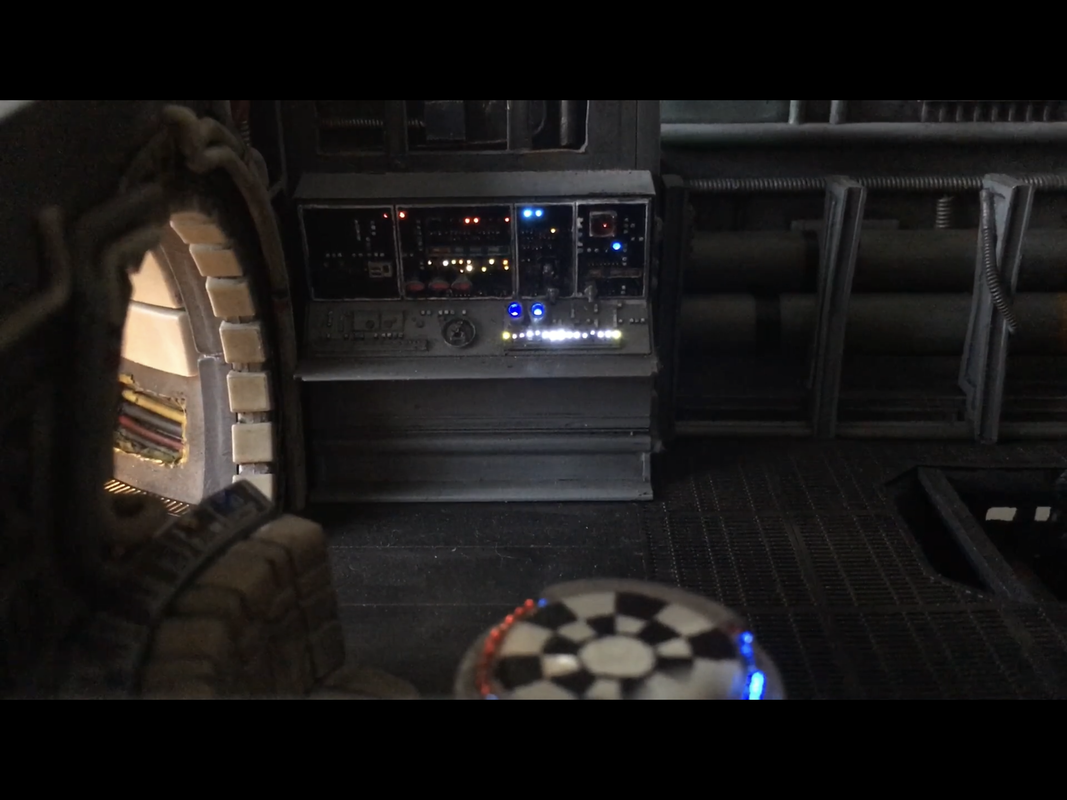 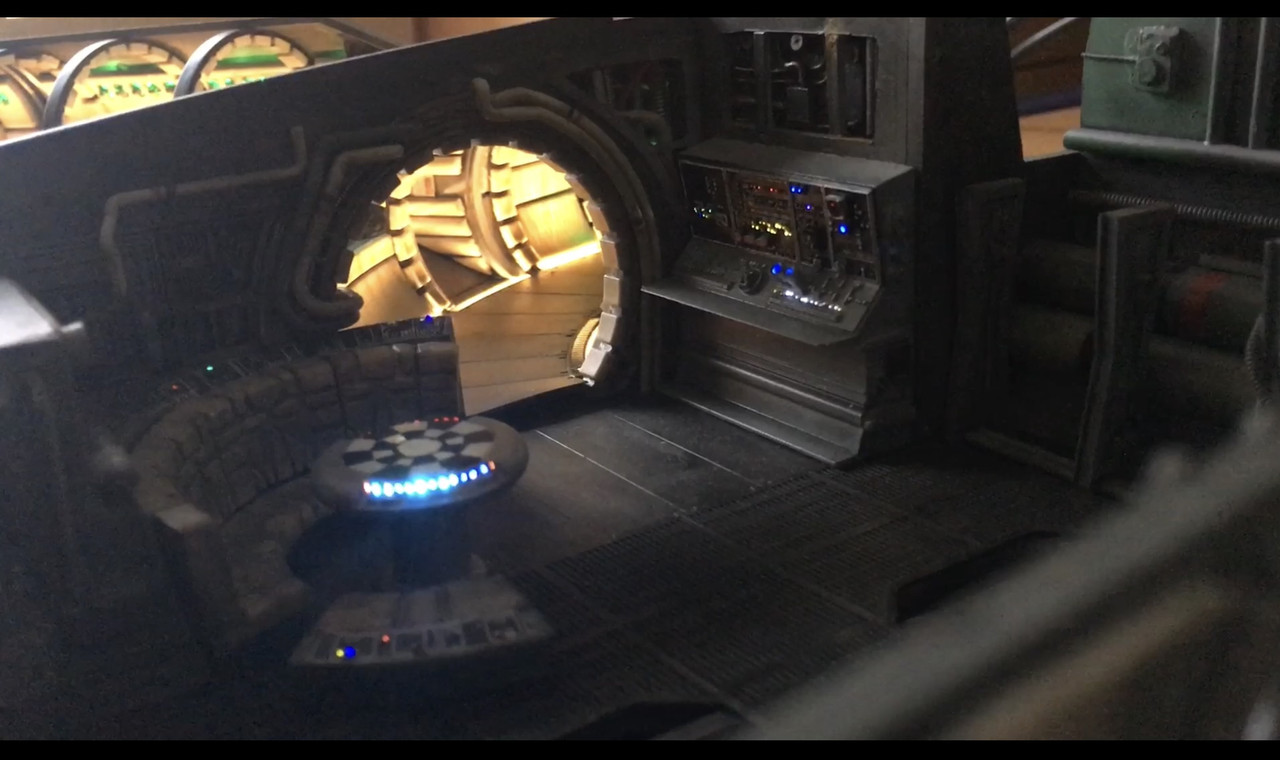 Pretty happy with the effect so far but may tweak the flash rates in the code for a bit of a faster rate from one of the lines. Need to tidy up the corridor lighting as a bit of bleed through some of the covers and need to touch up the dejarik table as had to put more transparent paint on the fibres as was too white and with my twitches most of it ended up on the tables sides lol. Here’s a quick video of the hold lighting so far: https://youtu.be/lRQJv9nDMXs
|
|
|
|
|
Very impressive, looking the biz now. If you are like me, I was always tweaking things.  Mark
|
|
|
Rank: Amateur level 2 Groups: Registered
Joined: 15/03/2017 Posts: 46 Points: 138 Location: Outer reaches of the galaxy .... West Midlands
|
|
|
|
|
|
Nice pictures, looks excellent. Soon be fitted into the Falcon. Mark
|
|
|
Rank: Amateur level 2 Groups: Registered
Joined: 15/03/2017 Posts: 46 Points: 138 Location: Outer reaches of the galaxy .... West Midlands
|
Wow I can’t believe it’s been 10 months since I posted here or did any real progress to my Falcon, 1000 apologies to anyone who has been following this but I have been suffering from health issues and in what spare time I have had has been taken up with other projects: Built and cleared my Biker Scout with the UK Garrion 501st Legion: 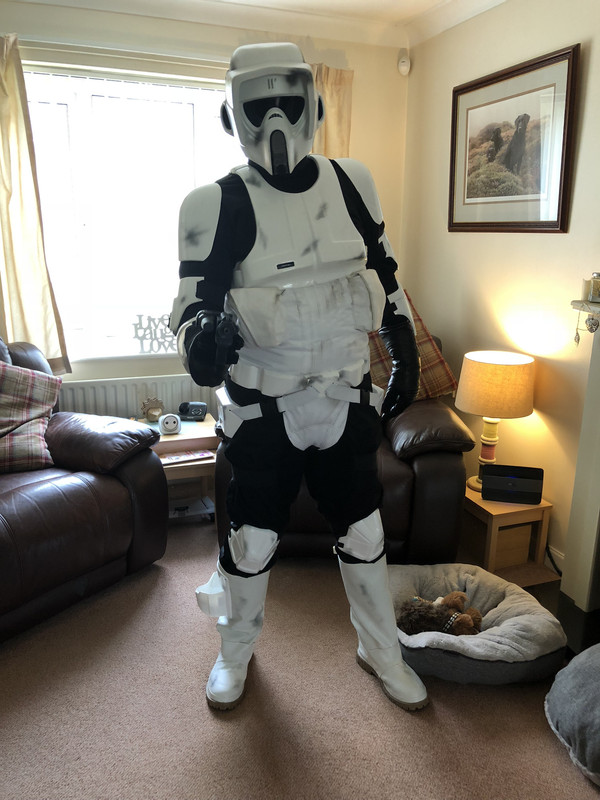 Designed and 3D printed my Biker Scout EC-17 Blaster, with full electronics. This was the first EC-17 with special effects cleared with the UK Garrion 501st Legion: 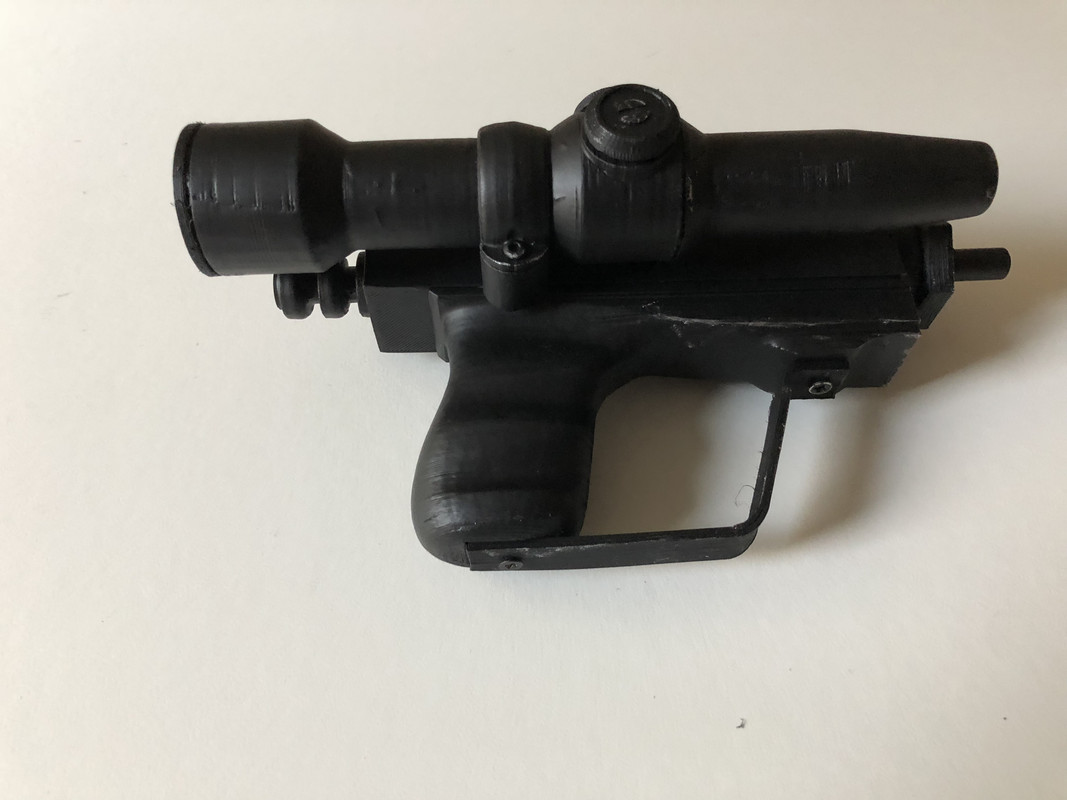 https://youtu.be/7lmLP8glfeY https://youtu.be/7lmLP8glfeY
Also designed and 3D printed my Biker Scout DLT-19X Sniper Rifle, I did this so I had something to use as a walking stick if I began to tire during a troop (which is happening more and more often). Again this included full electronics and I decided to try and make a HUD type scope, the reason.... just because really lol. This again was the first DLT-19X with special effects cleared with the UK Garrion 501st Legion: 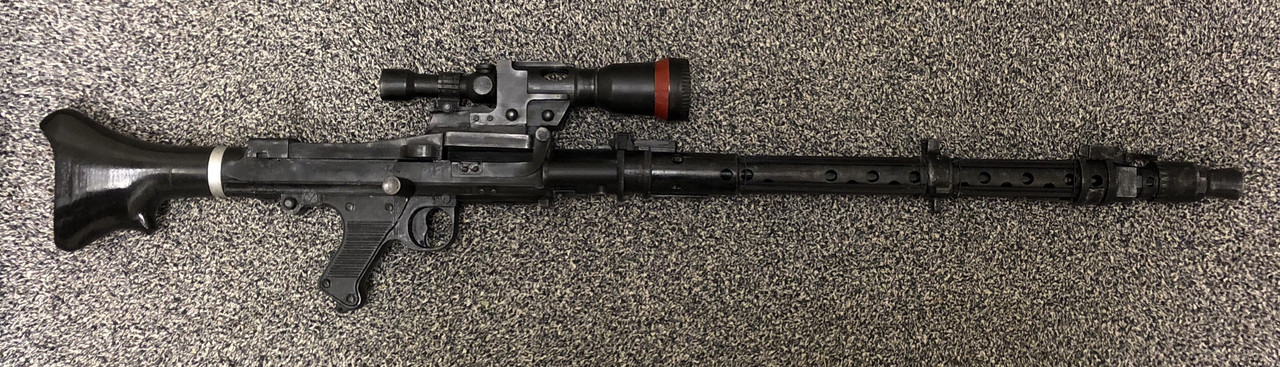 https://youtu.be/YbB-xKhYxKk https://youtu.be/YbB-xKhYxKk
Anyway back to the falcon, after resetting all my previous image links due the hosting site I used changing its servers I can now share my recent update: I have built the lower hull, filled in the tv mount screw holes as I won’t be using this, sprayed the layer with Tamiya Insignia White and drilled and installed landing light LEDs and the red anti-collision lights. 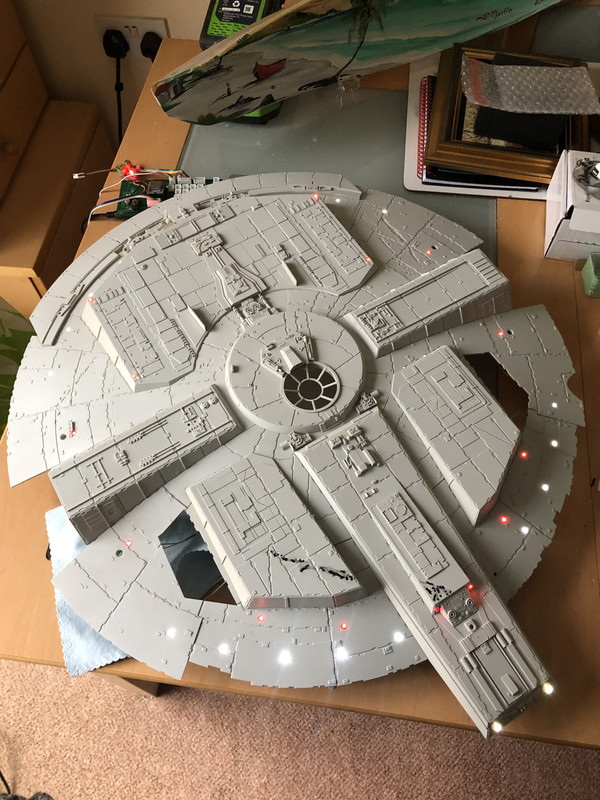 I snipped and soldered the 4 main 5mm landing lamps to join them to my smaller landing lights wiring looms. 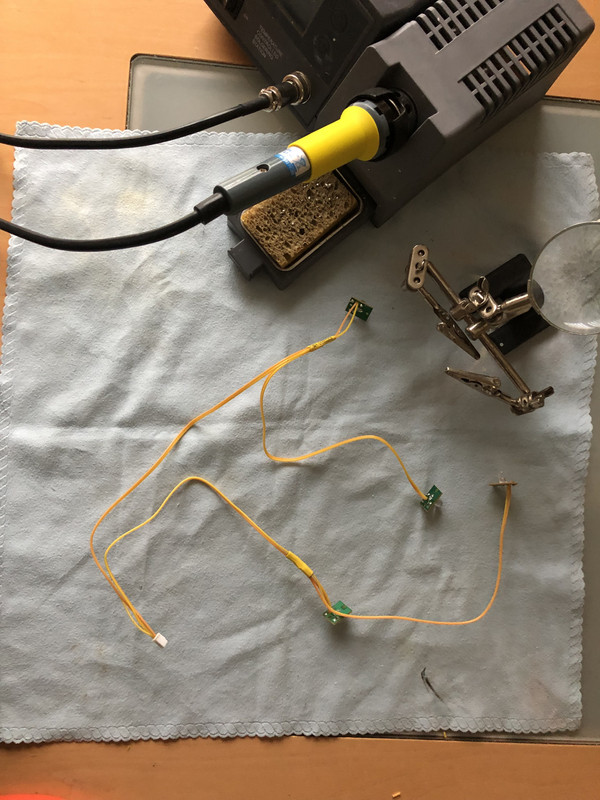 I checked these worked correctly with my phone Blynk controller..... so far so good 😊 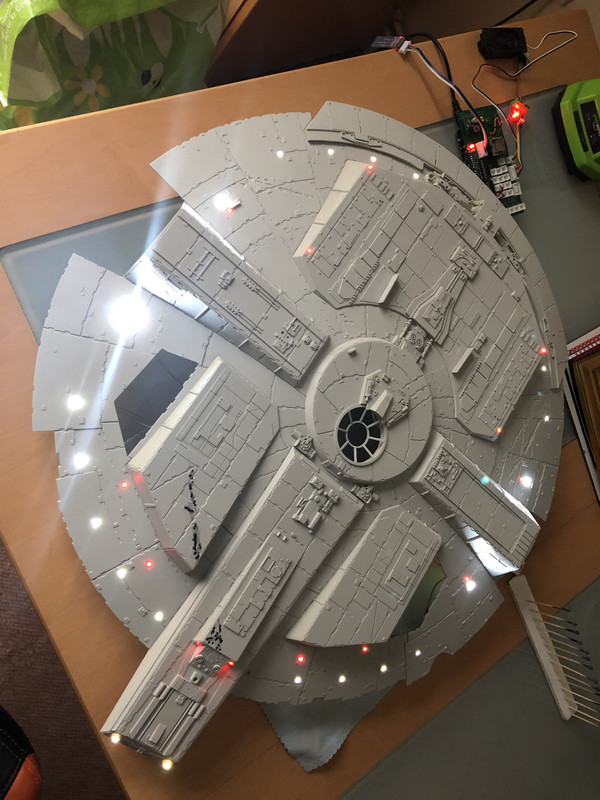 I purchased Anti-Coll shrouds via shapeways and these will be added following painting of the lower hull which I hope to get round to in the couple of days.  So the New Year is now with us and I endeavour to make the Falcon a priority in my to do list in the hopes of finishing it within 2019. But until then I wish everyone a happy new year and wish you health and prosperity for the year to come.
|
|
|
 Rank: Pro Groups: Joined: 24/08/2009 Posts: 48,051 Points: -13,308
|
Sorry to hear of your health matters and good to see your back. Should look amazing when complete 
|
|
|
Rank: Amateur level 2 Groups: Registered
Joined: 15/03/2017 Posts: 46 Points: 138 Location: Outer reaches of the galaxy .... West Midlands
|
Cheers Tomick, unfortunately now getting to the part I dread ...... the painting  Watched numerous YouTube videos on weathering and oil washing and after stalling for as long as I could I finally got down to it. Hull now painted and, I think, sufficiently weathered, amazing how cleaner it looks in a picture compared to reality though. Took a series of pics with/without room lights: 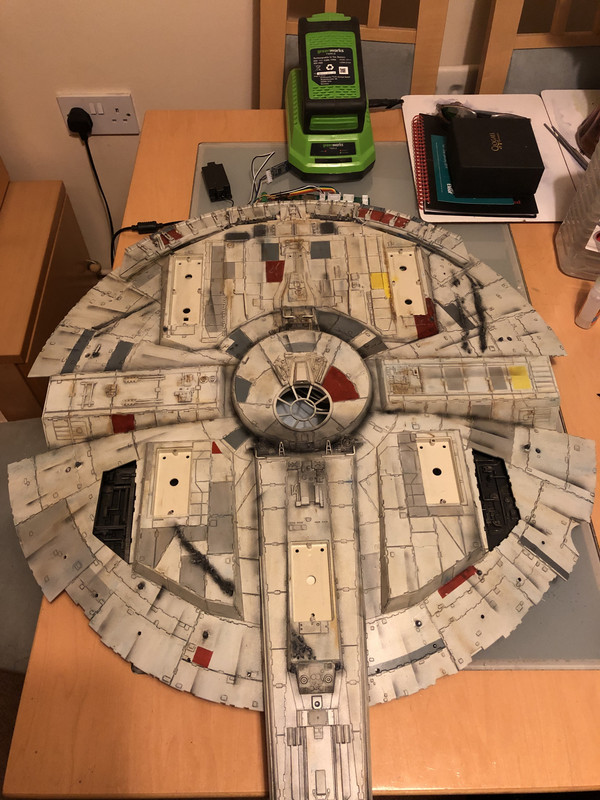  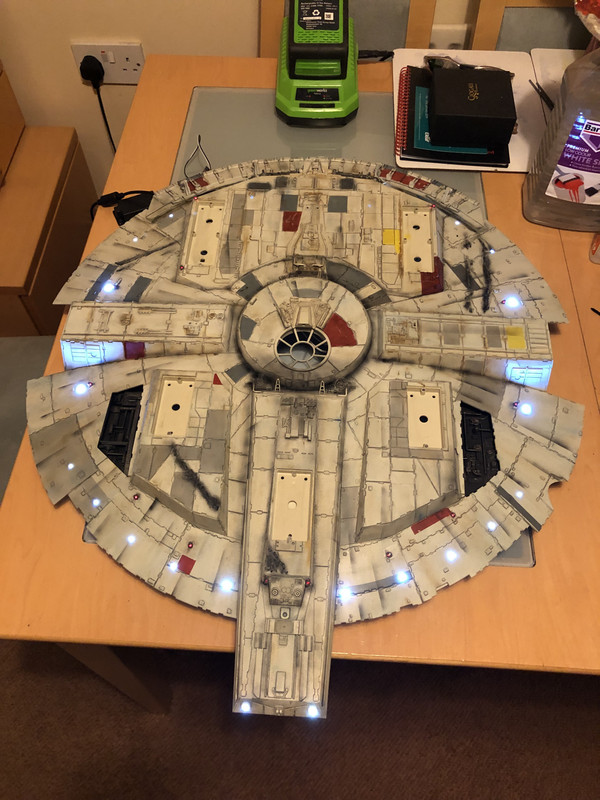 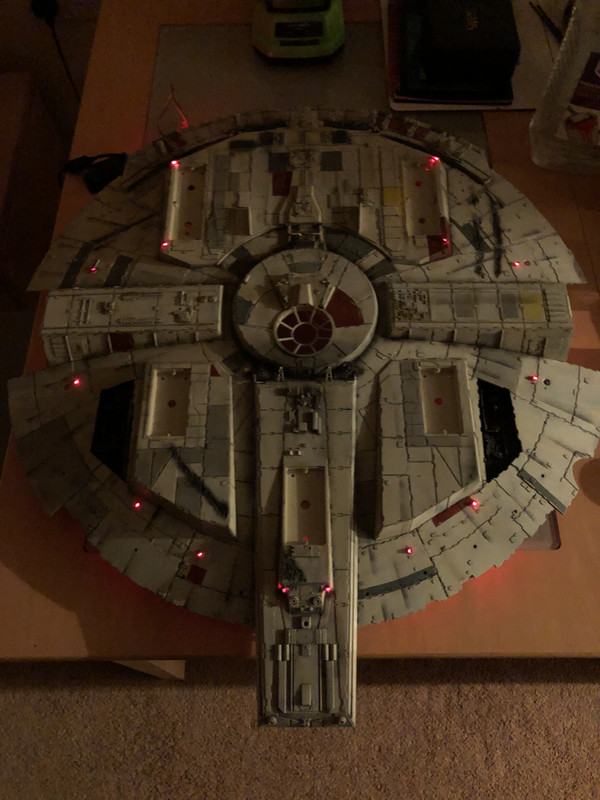 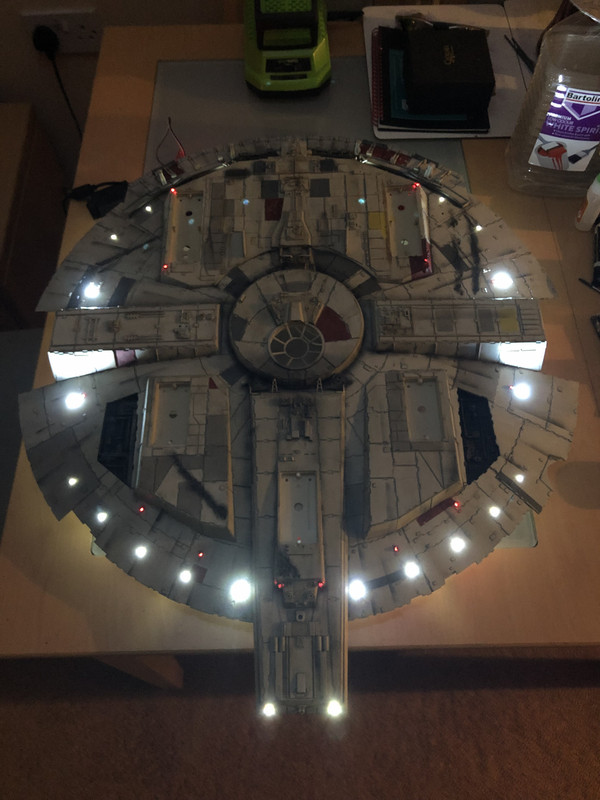
|
|
|
|
|
Lovely job, looks excellent. Nice to see you back on this again.  Mark
|
|
|
Rank: Amateur level 2 Groups: Registered
Joined: 15/03/2017 Posts: 46 Points: 138 Location: Outer reaches of the galaxy .... West Midlands
|
|
|
|
Rank: Superelite  Groups: Registered
Joined: 10/05/2010 Posts: 2,608 Points: 7,519 Location: Lincolnshire
|
Nice to see you back chip, with another great update Great work 
|
|
|
|
|
Nice work Chip, and great to see you back on it again. She’s dirtying up very nice, not overdone. Mark
|
|
|
Rank: Amateur level 2 Groups: Registered
Joined: 15/03/2017 Posts: 46 Points: 138 Location: Outer reaches of the galaxy .... West Midlands
|
Undercarriage doors arrived this week, bought from Shapeways through 308Bits who I’ve purchased most of my 3D printed parts from, including the hollow rear legs for passing the power wires through. Doors painted, panel lined, oil brushed and a bit of weathering powders applied. Glued into place, they make the lower hull look more realistic and love how they illuminate with the landing lights. 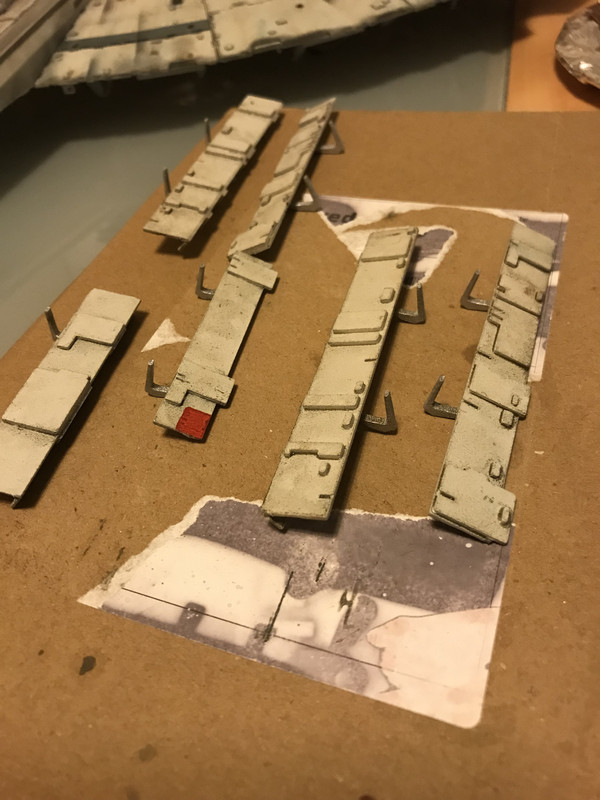 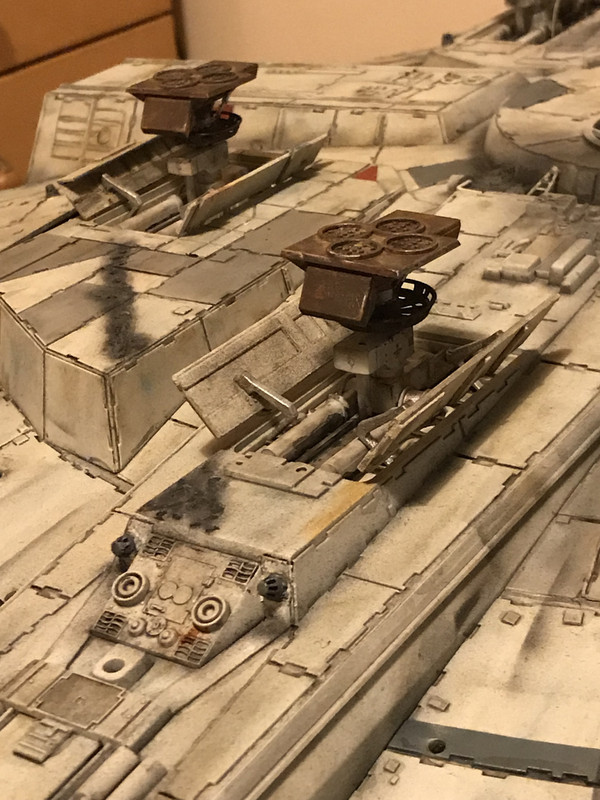 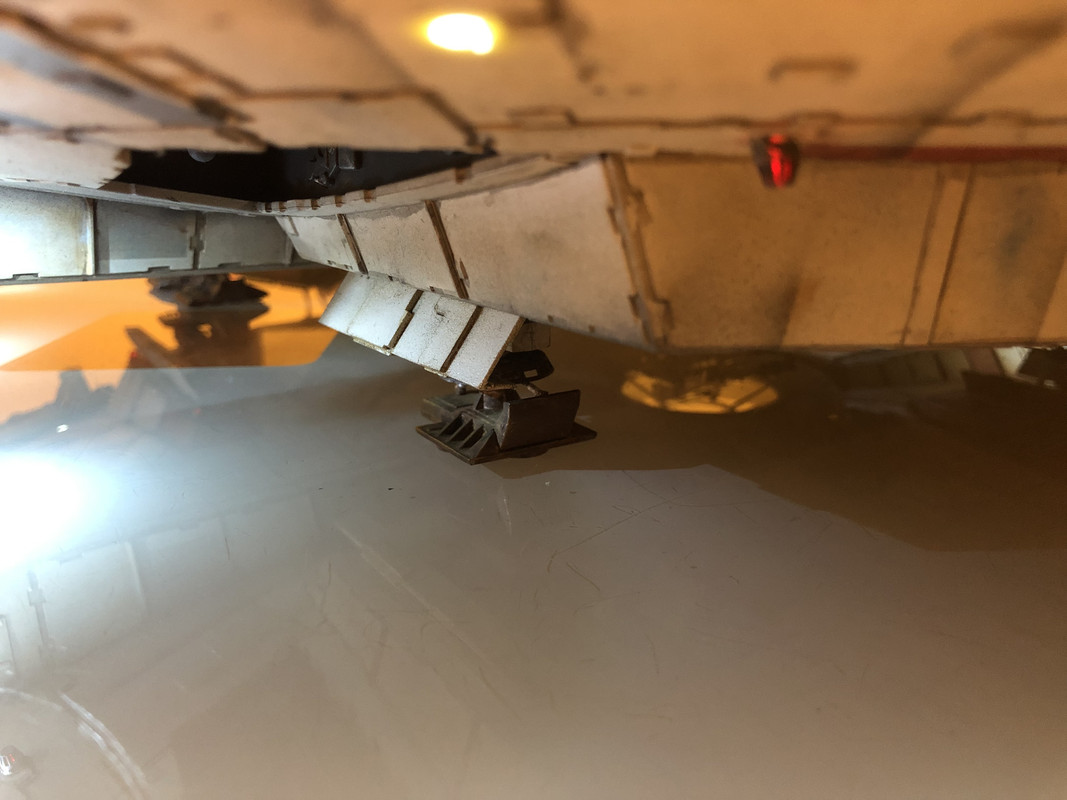  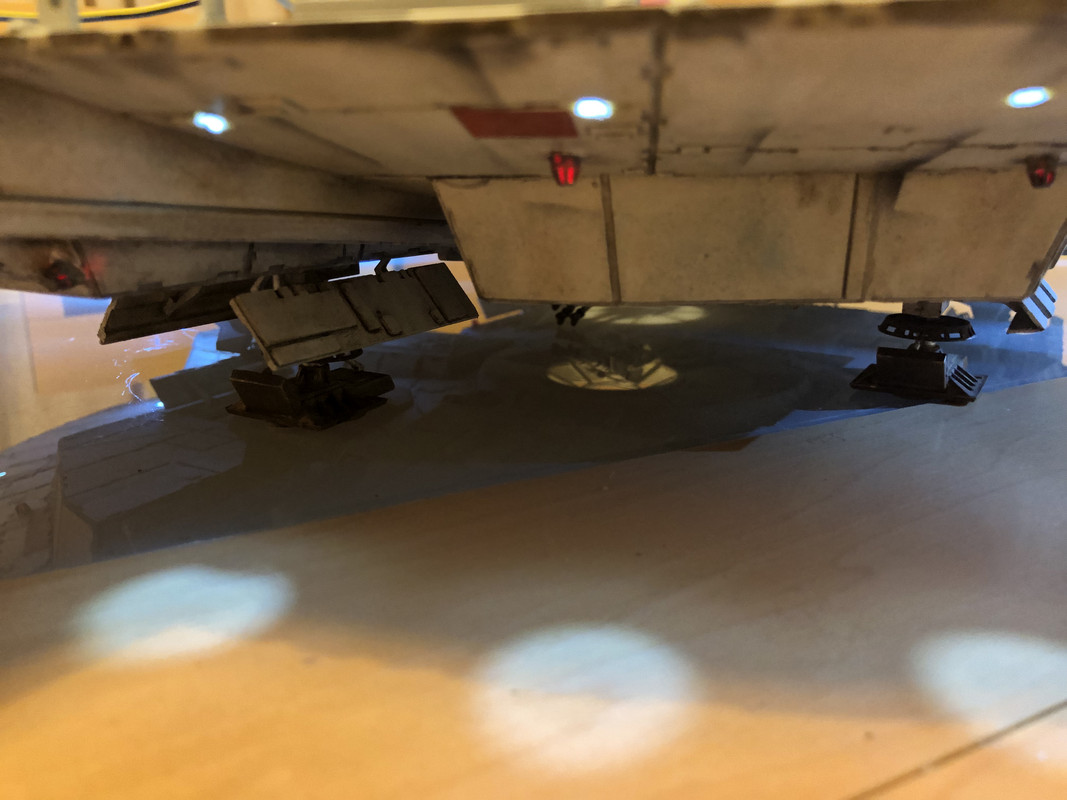 I tried to friction fit the lower cannon, but it still droops (very slowly though) with gravity, think I’ll end up blueing it in place, otherwise the ends of the cannon end up touching the floor (or more accurately the table at present  ) After that I think that will be the lower hull done and I’ll mount the hold and my controller board so I can move it all to a safe place whilst I work on the top hull.
|
|
|
|
Guest
|
 US
US

