|
|
|
|
Jase[/quote] Incorrect if your building in its original guise as you seem to be heading toward - The original materials for the deck planks, ceiling and deck beams were specified to be best "heart pitch pine". Pitch Pine heartwood is a reddish brown colour.
Douglas Fir was used for the Restoration of Constitution and therefore currently not the same wood/colour as originally used and has an antique pine appearance.
[/quote] Thanks for this Tom, feel I have to do the current version as the Model reflects this most closely. to do an earlier version would mean changing the gun ports etc than as you have said before where do you stop. If I do the model as currently she is then the Deck would be Douglas fir, the picture in the instructions looks quite dark too, although I feel the pine will look much more authentic. Feel I am being drawn more to building her in the natural woods supplied, still not 100%  “Whenever you find yourself on the side of the majority, it is time to pause and reflect.”
-Mark Twain
|
|
|
|
|
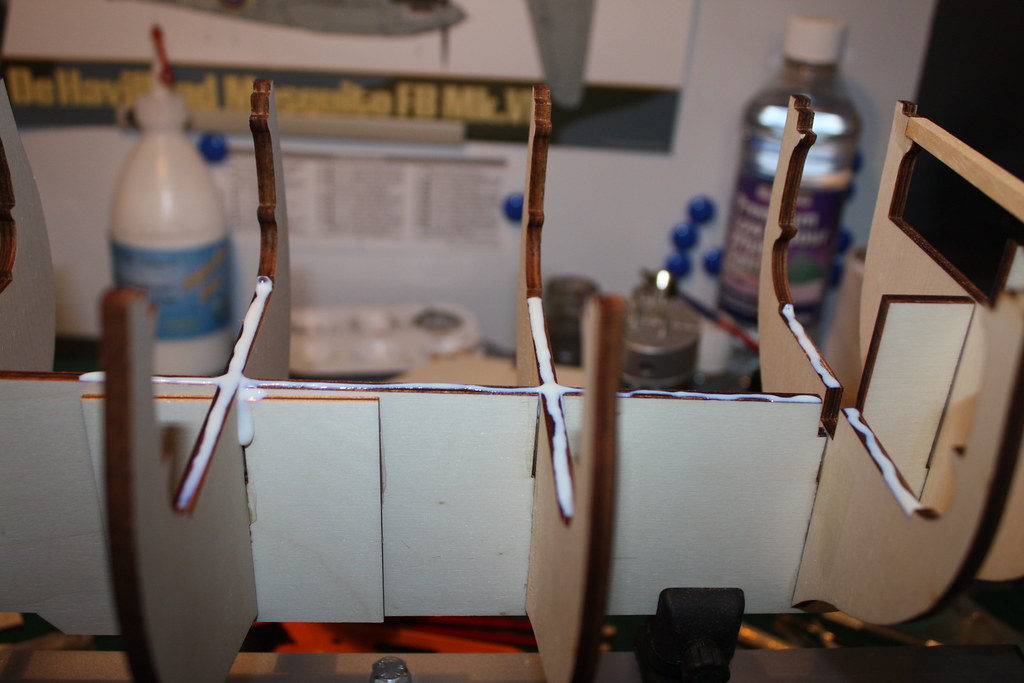
More progress from my first pack...
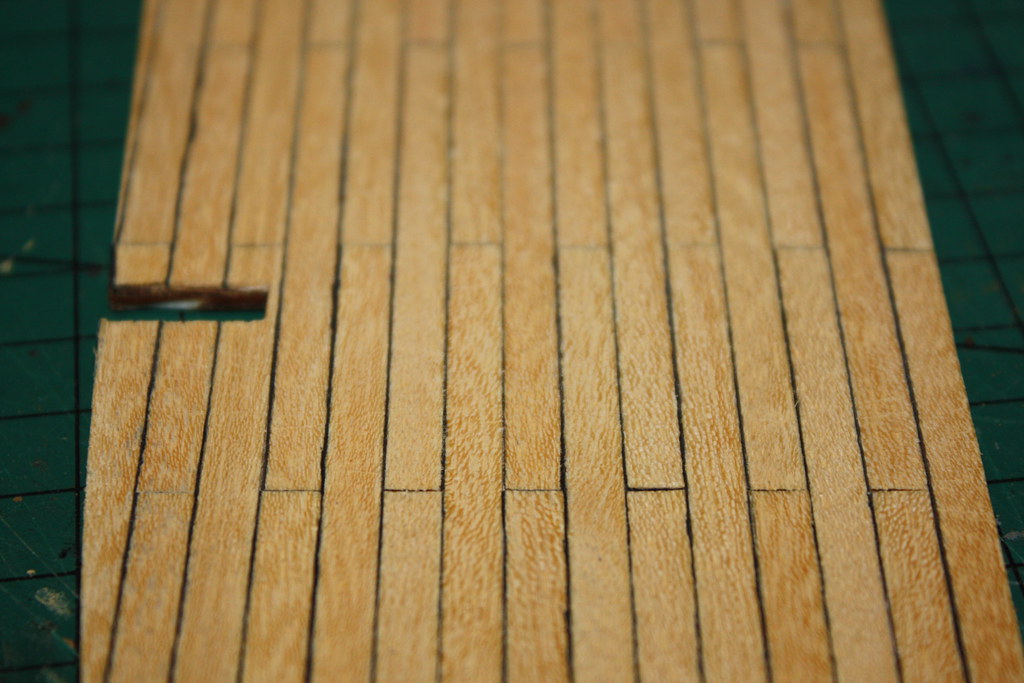
Planking of the first half of the lower gun deck has been completed with no real trauma. Occasionally I found the paper caulking starting to separate but once the plank is down it push back against the plank no problem.
Now before any body spots and feels they need to tell me, I know I have planked up the the joining edge, I have done this for speed really much of this deck won't be to visible and the joints in the planks should not stand out against the calking. Planks were trimmed off.
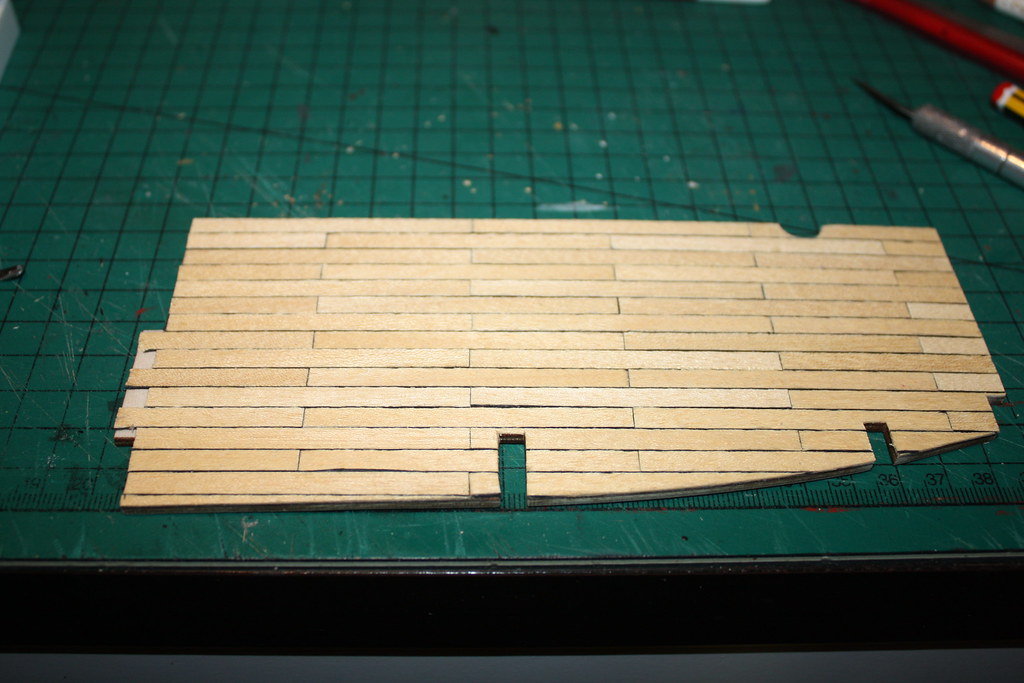
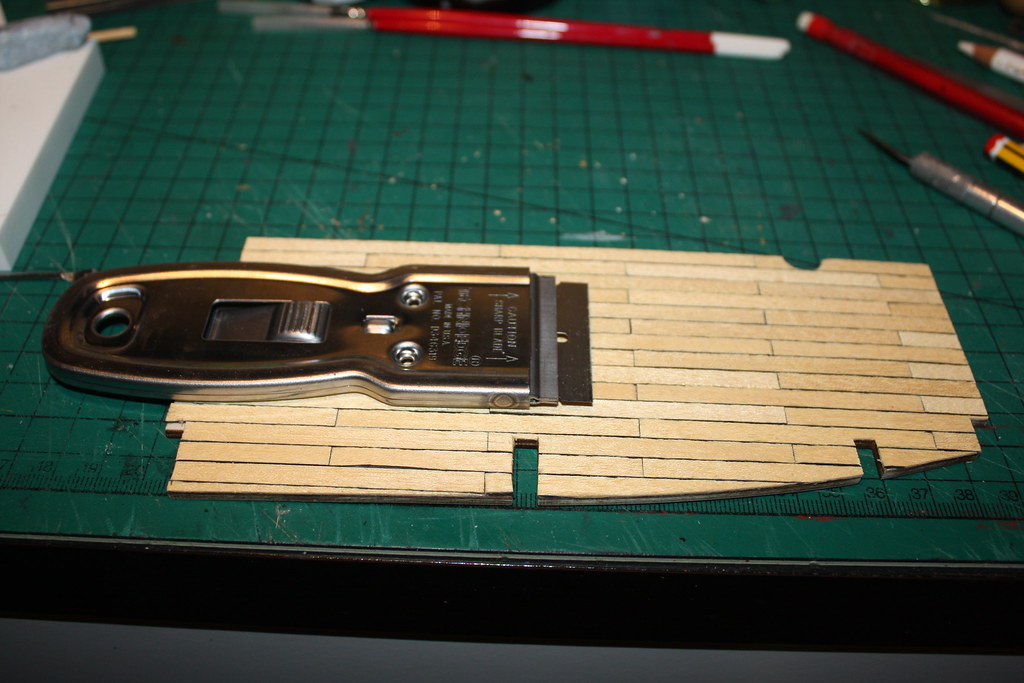
now one of the down sides of using the paper method is that you cannot sand the deck smooth. The fine paper dust gets into the grain of the strip wood, so I have scraped the decks with a razor blade. this removes any raised spots paper that may be sticking up and any glue that may have seeped out without being noticed.

I have decided to not stain my deck and will varnish it matt at some point to seal it.
The first beam was cut to length as per the instructions, in fact I always cut them slightly longer than I marked them and then sand them to fit, experience has taught me that confidently cutting to where I marked off can result in it being a bit short  The off cut from the first beam is the longest off cut from the beams and should be kept for later use. I used supper aliphatic glue for the beams. The off cut from the first beam is the longest off cut from the beams and should be kept for later use. I used supper aliphatic glue for the beams.

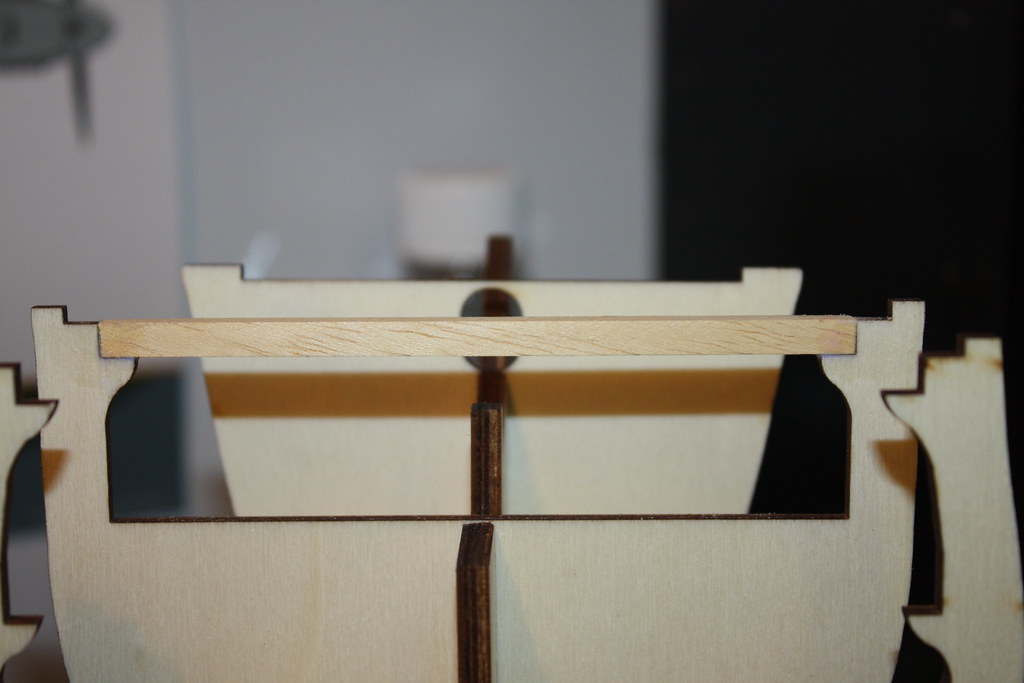
You will notice from the pick above that my beam sits just under 0.5mm proud of the rib, I have sanded this beam top to level it.
The lower false deck when in next, fitted into place like a pair of PVC hot pants! which is to say a snug perfect fit I used Super Aliphatic for this job too. Although it didn't look necisery I did weight the deck piece to ensure good contact.
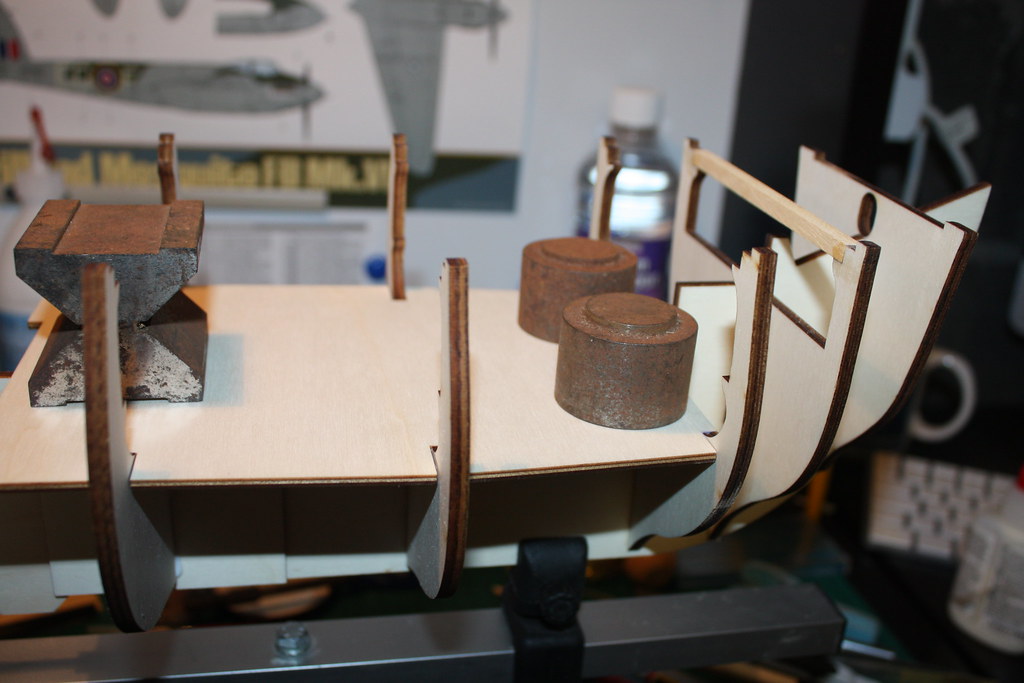
With the next two beams fitted the beam on rib 5 requires a support piece. The instructions do not give a length for this, or I missed it  so I used the oft from the first beam for this job which looked about right to the instructions supplied. I marked the centre point of both the beam and off cut and glued and clamped it so I used the oft from the first beam for this job which looked about right to the instructions supplied. I marked the centre point of both the beam and off cut and glued and clamped it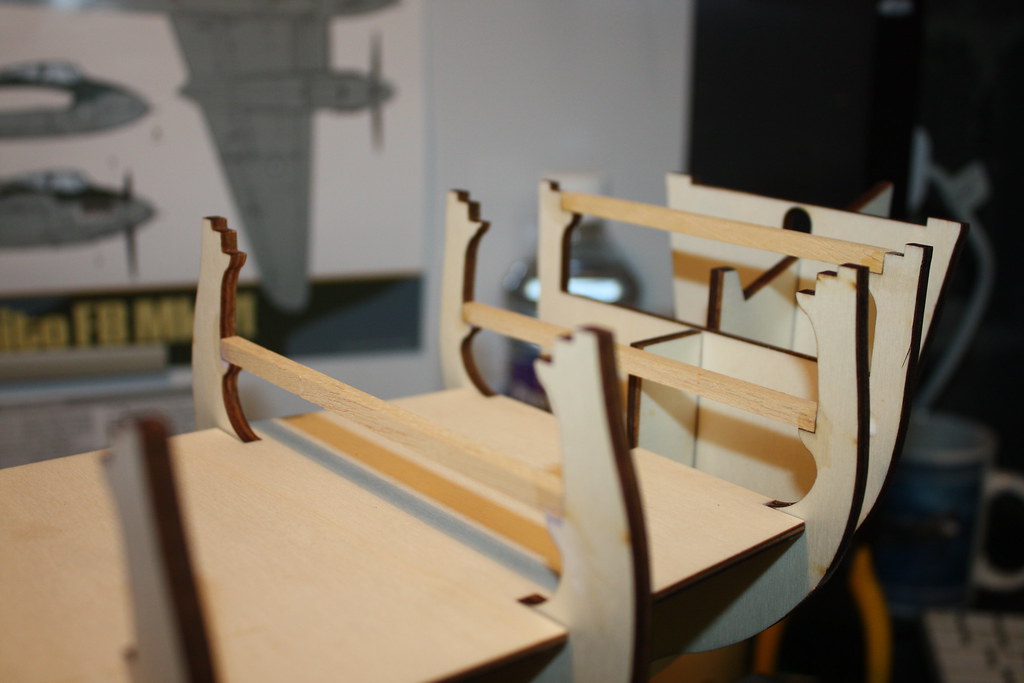 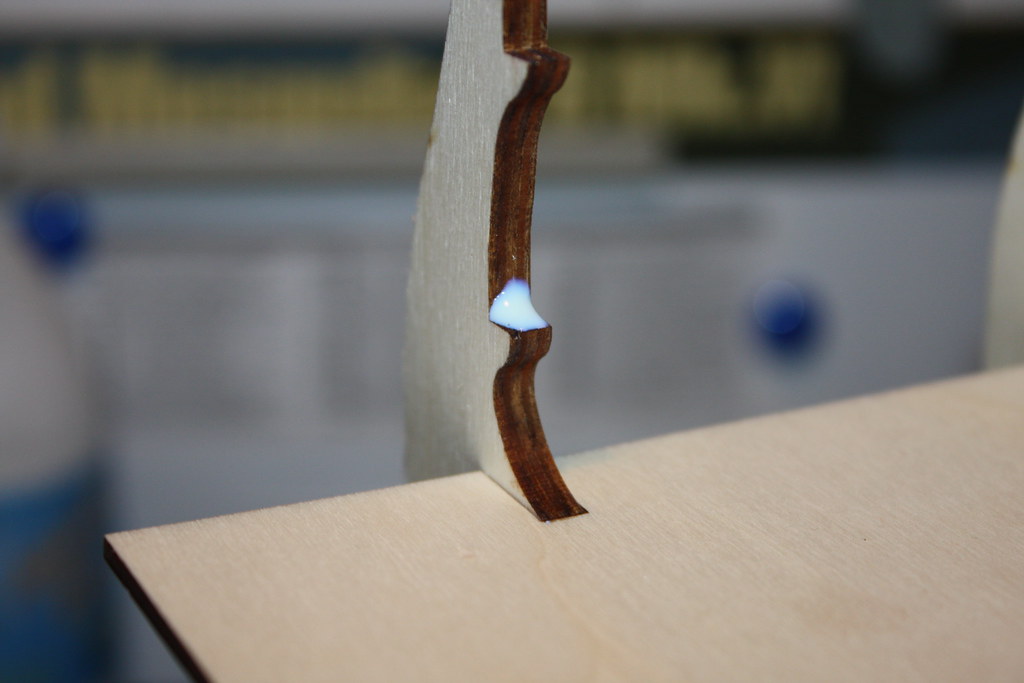  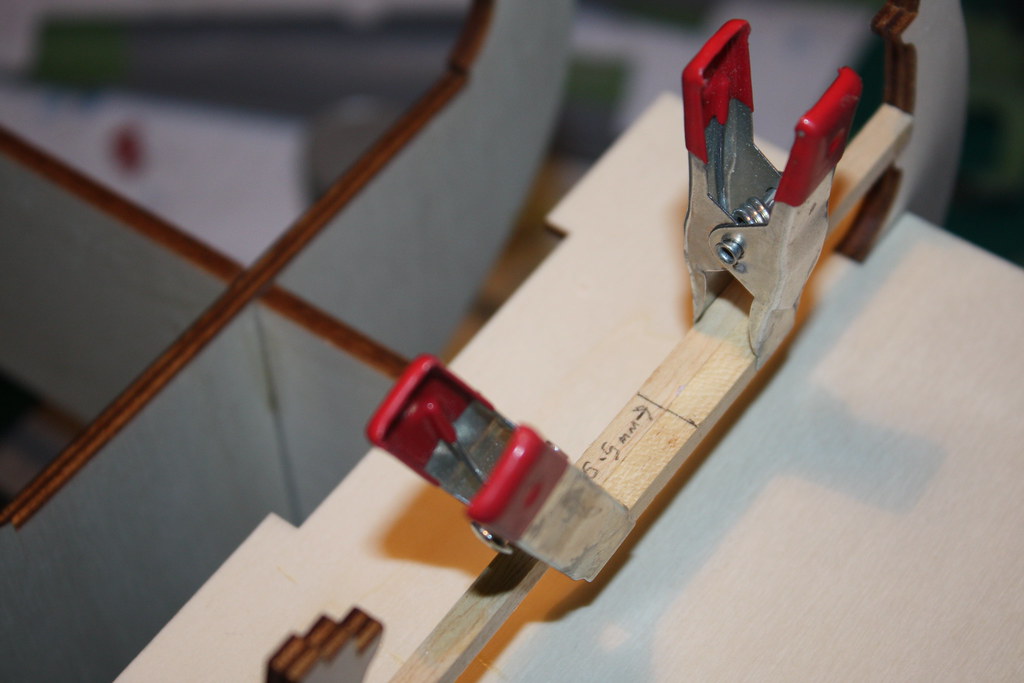 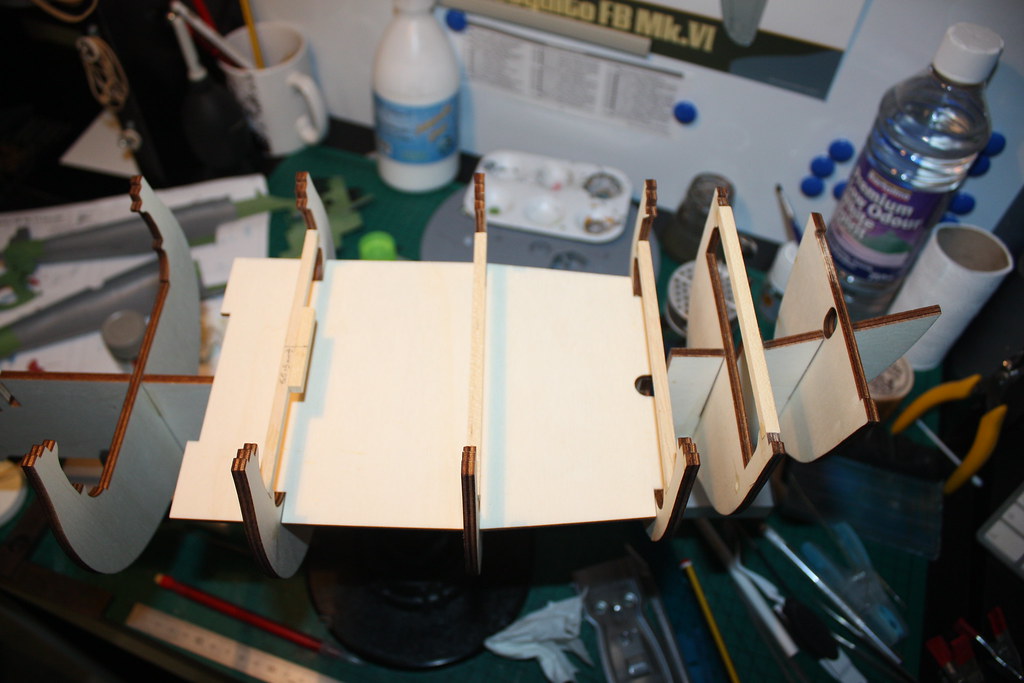 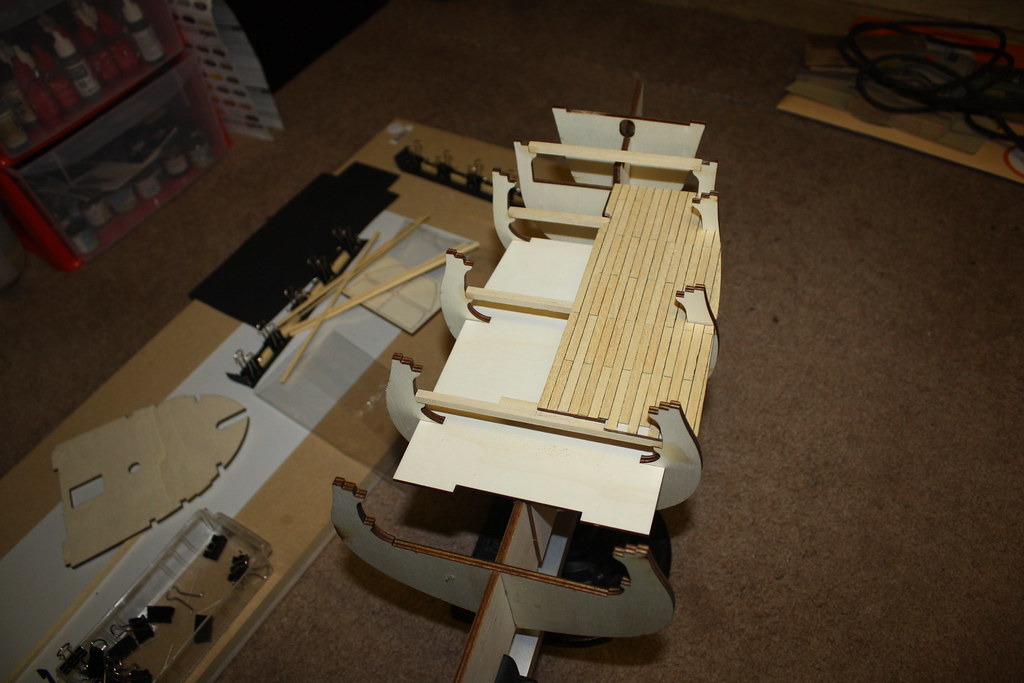 At this point a further 1.5 hours had been spent on her.Before completing the other hand of the planking for the lower gun deck excitement about planking the upper deck got the better of me At this point a further 1.5 hours had been spent on her.Before completing the other hand of the planking for the lower gun deck excitement about planking the upper deck got the better of me So I intend to Joggle the planking on my HMS Warrior and wanted to have a practice run on Conny. So bear with me this is my first attempt, its not perfect but learnt a lot and certainly dose not look to bad... So I intend to Joggle the planking on my HMS Warrior and wanted to have a practice run on Conny. So bear with me this is my first attempt, its not perfect but learnt a lot and certainly dose not look to bad...
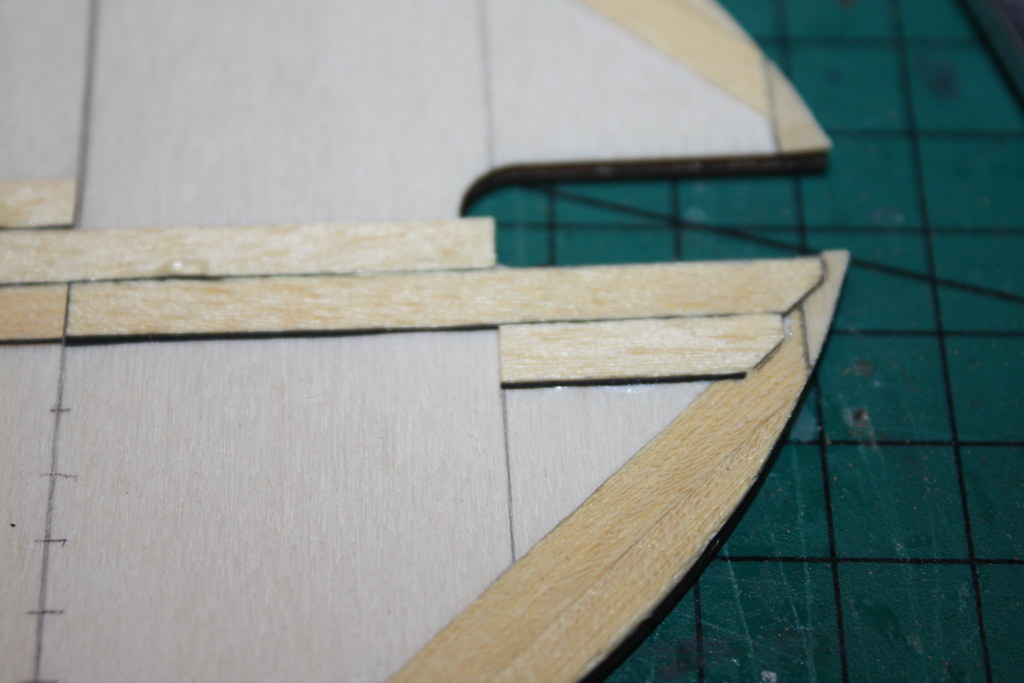
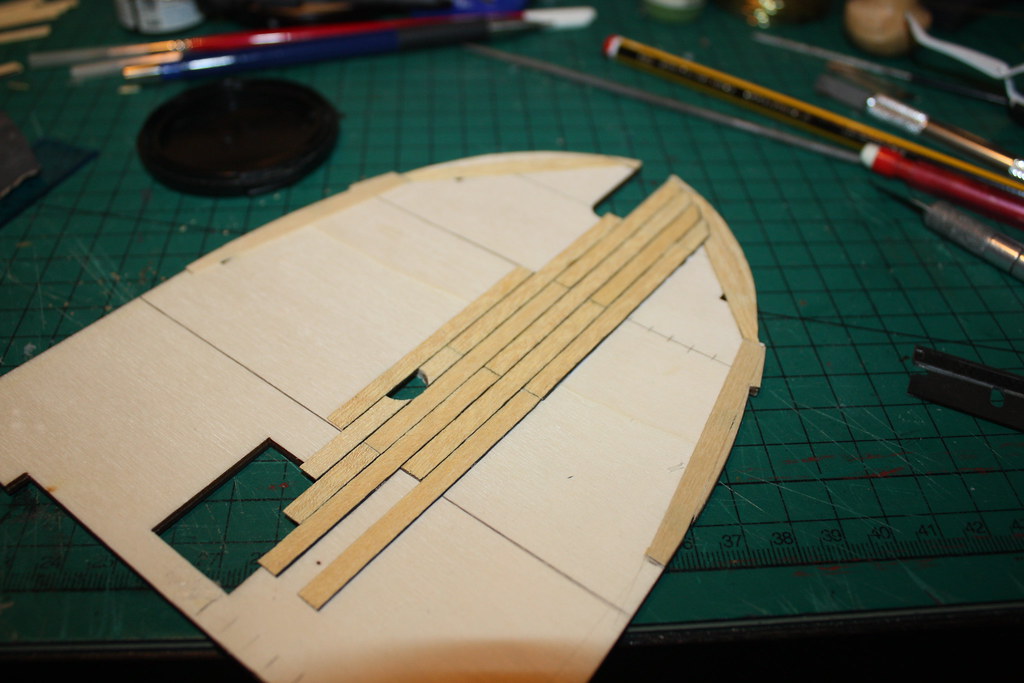
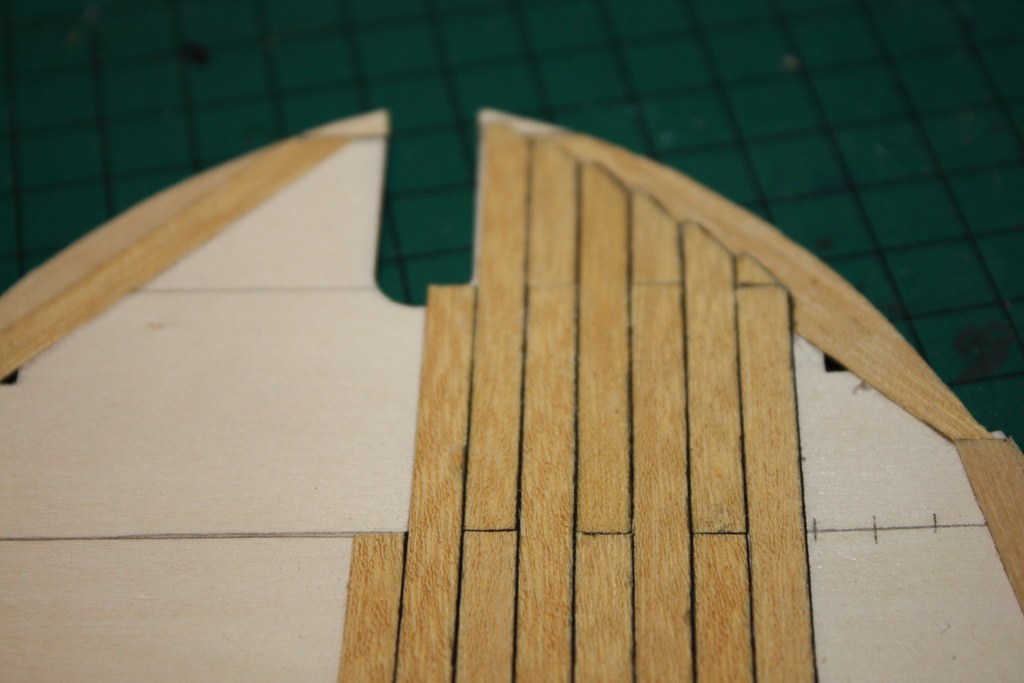
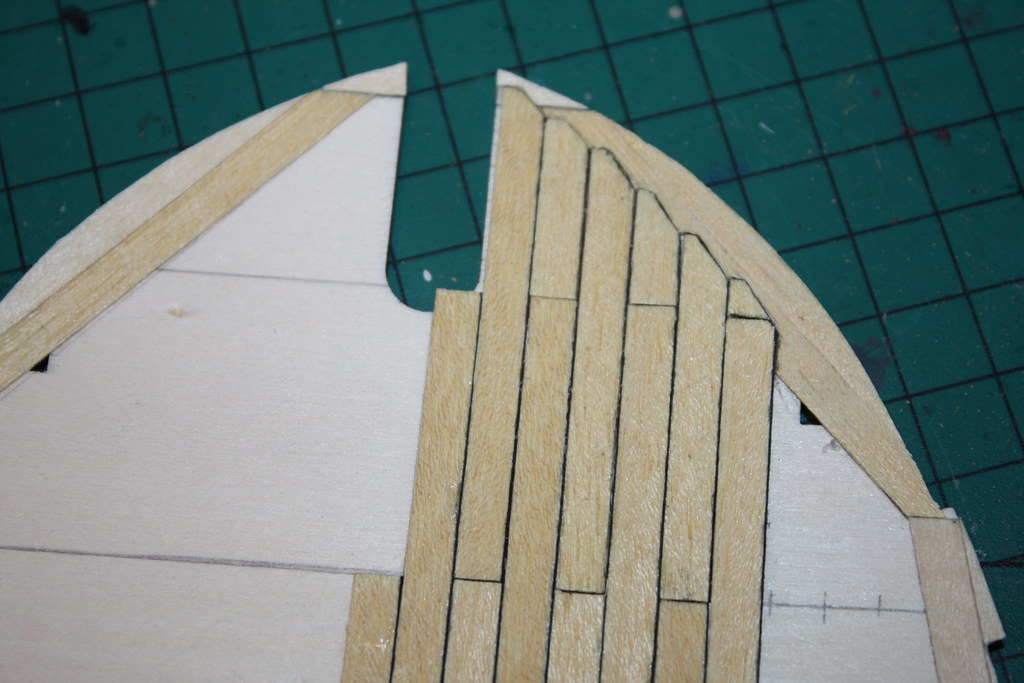
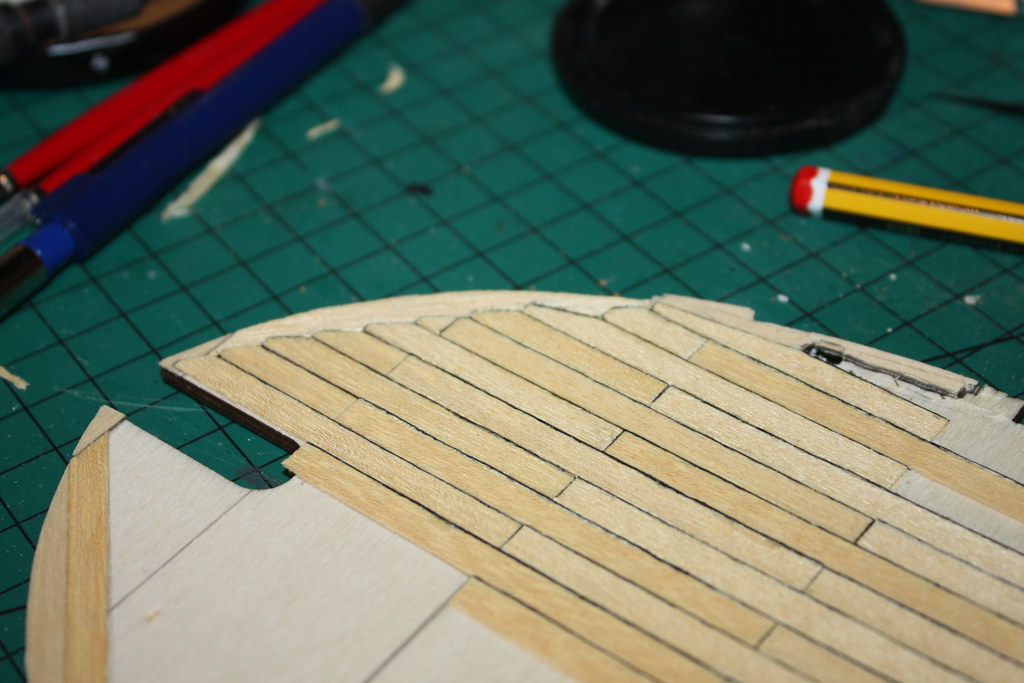
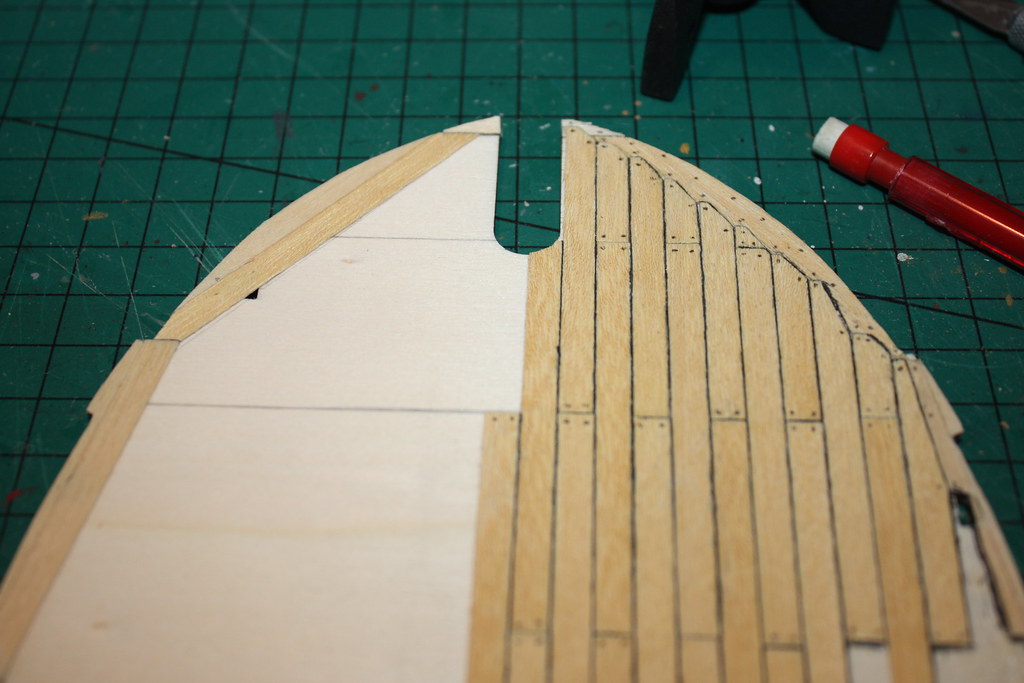
First task is to mark out the centre point then the two butt lines as per the instructions, I found it neciserry to add a third once I started planking to understand the termination points for planks that will over run into the next sections of false deck, I would recommend doing this at the start.
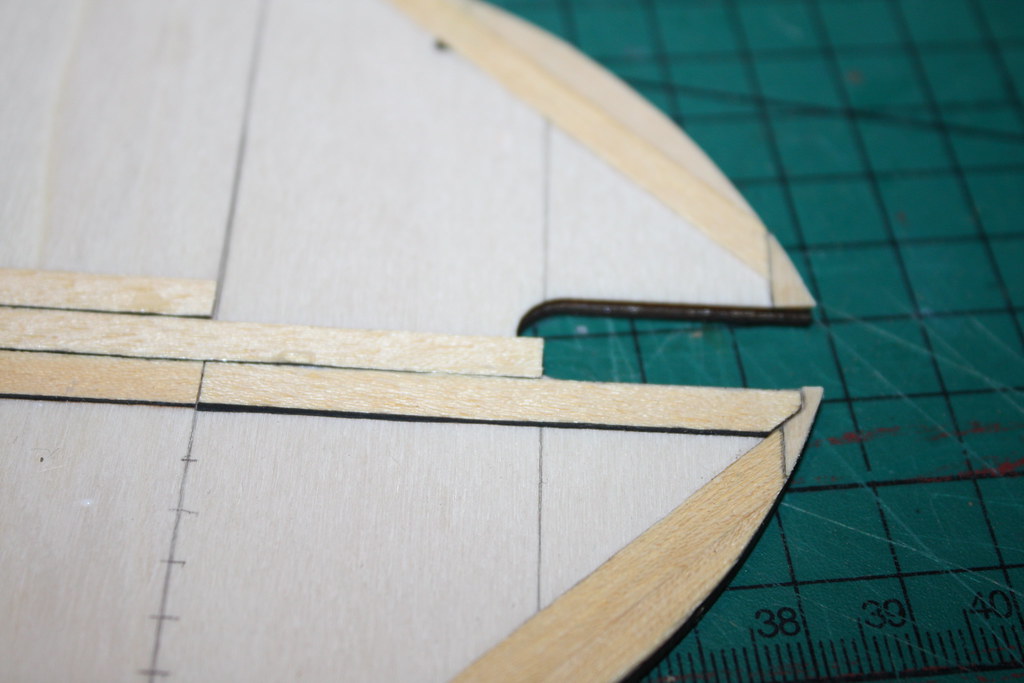
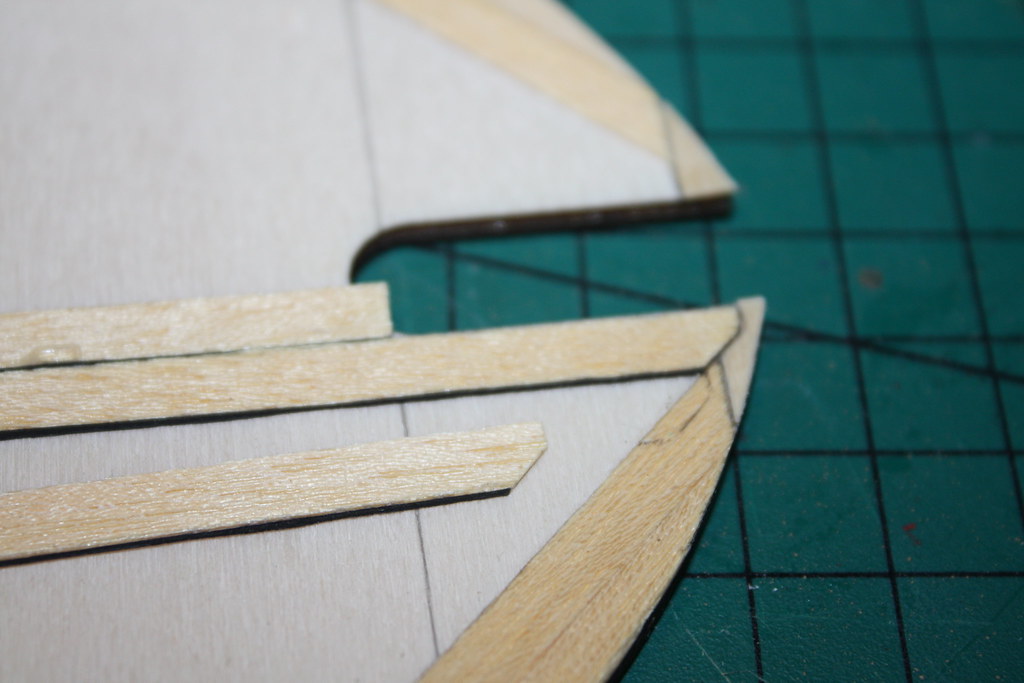
Joggling got started by putting in margin planks. these are typically wider than a standard deck plank. I didn't want them to be longer than the deck planks to keep a sense of scale. so once I was happy with the position for the first and had cut it to length I used it as a template for the other side. A second strips butted up behind the first planks without adding calking to make it look like one wider plank. I continued to add margin planks until I got to the point that a standard plank width would work, effectively at the end of the curve.
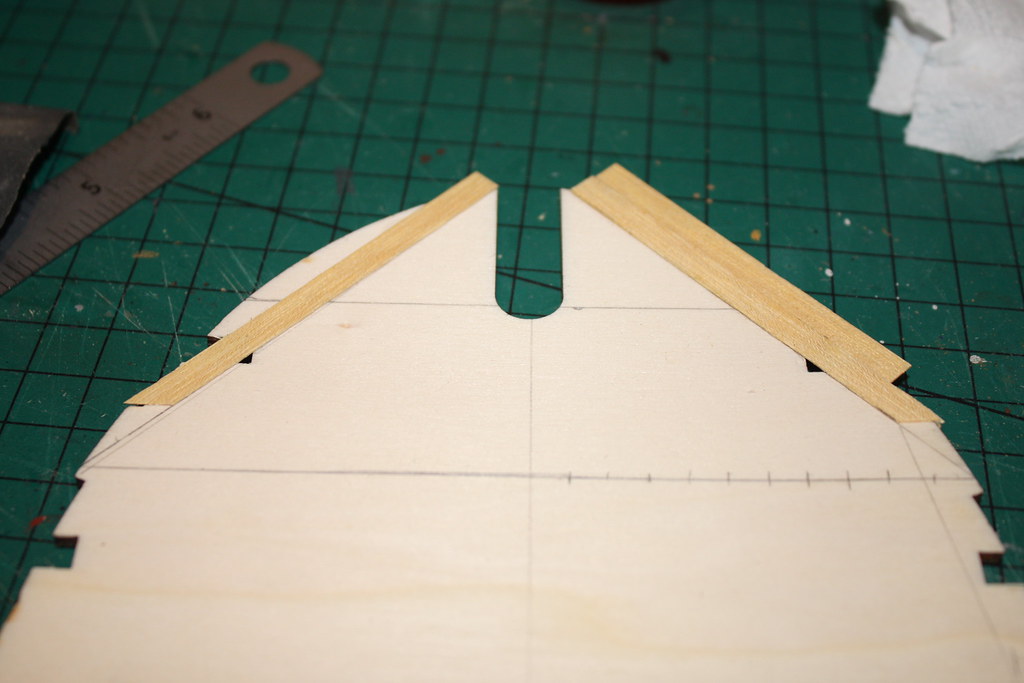
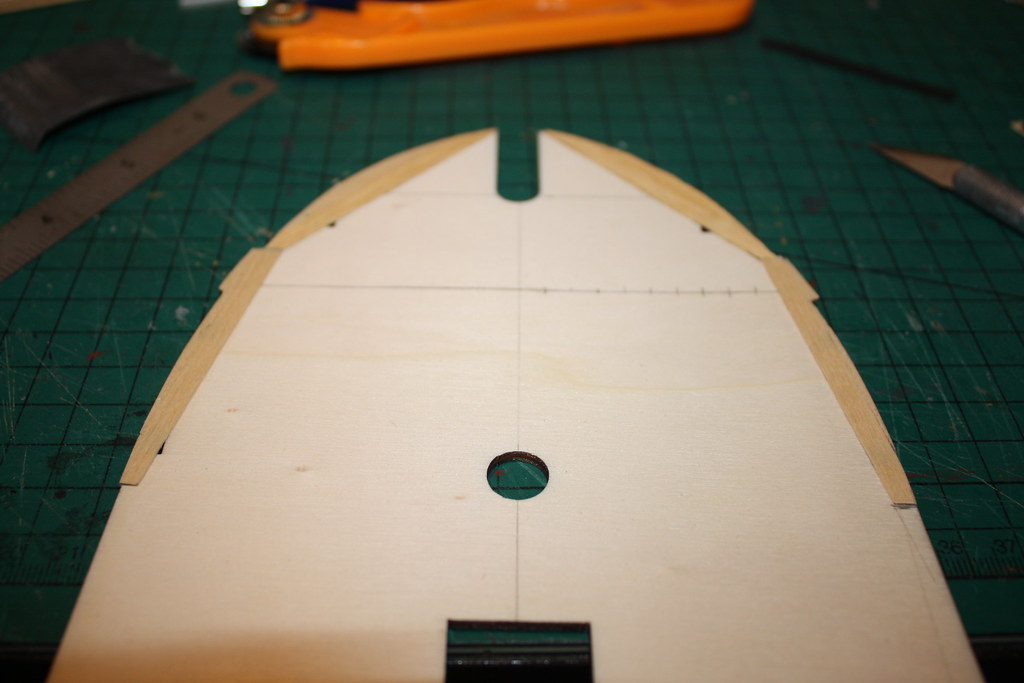
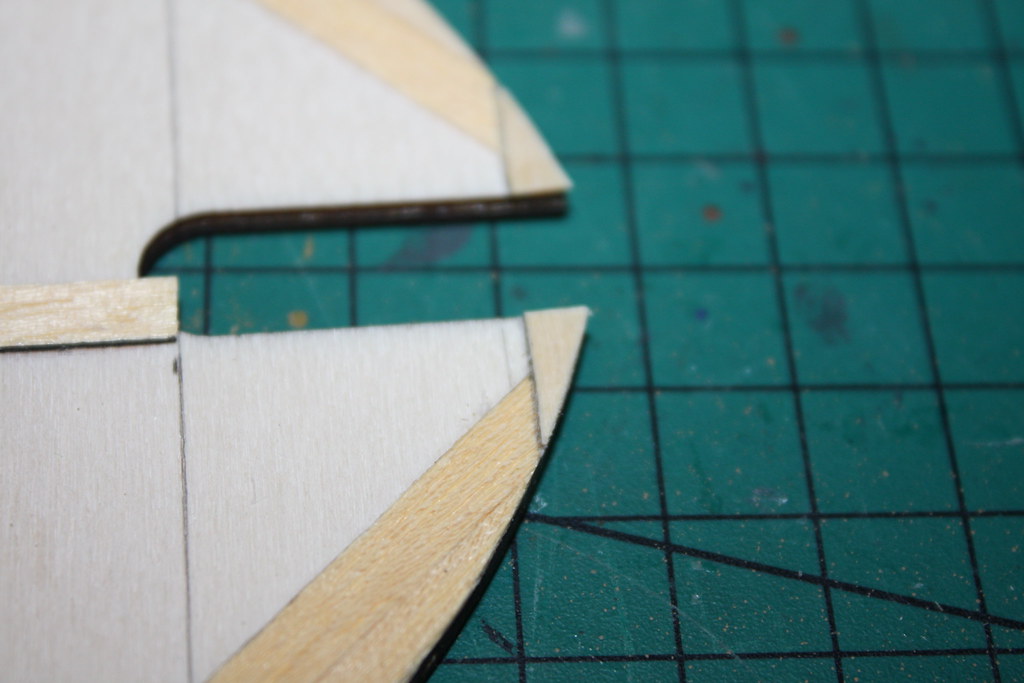
First planks going down are at the centre and terminate at the gap for the bowsprit and so don't need joggling. Its worth noting that the gap for the bowsprit appears to be exactly the width of two planks. some of my off cuts from the gun deck came in handy for the sections around the grating aperture (never throw anything away, you just never know)
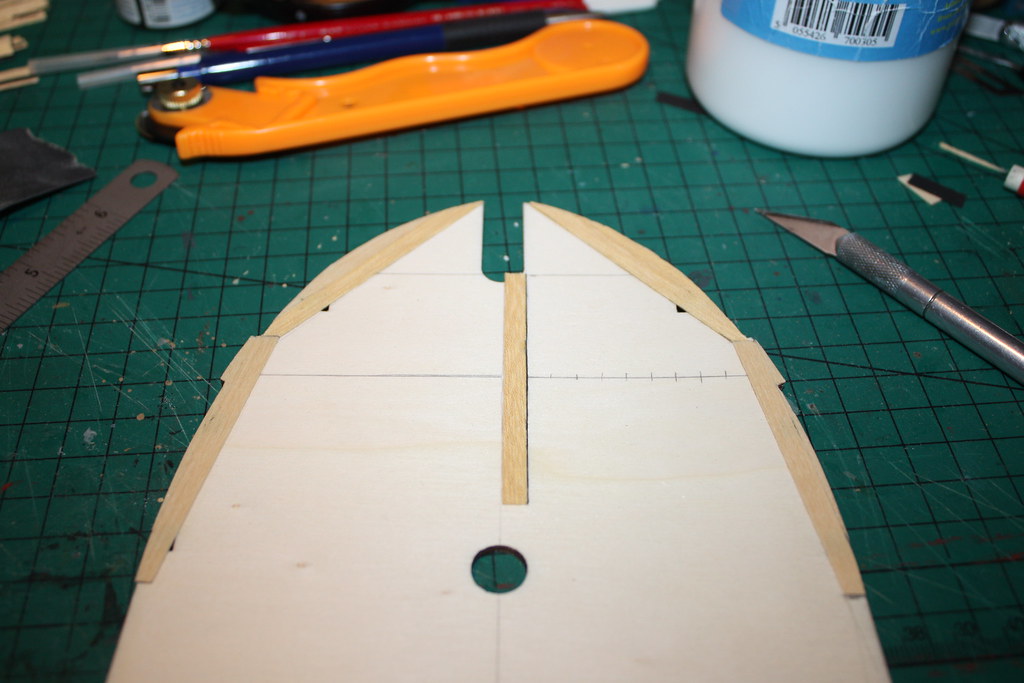
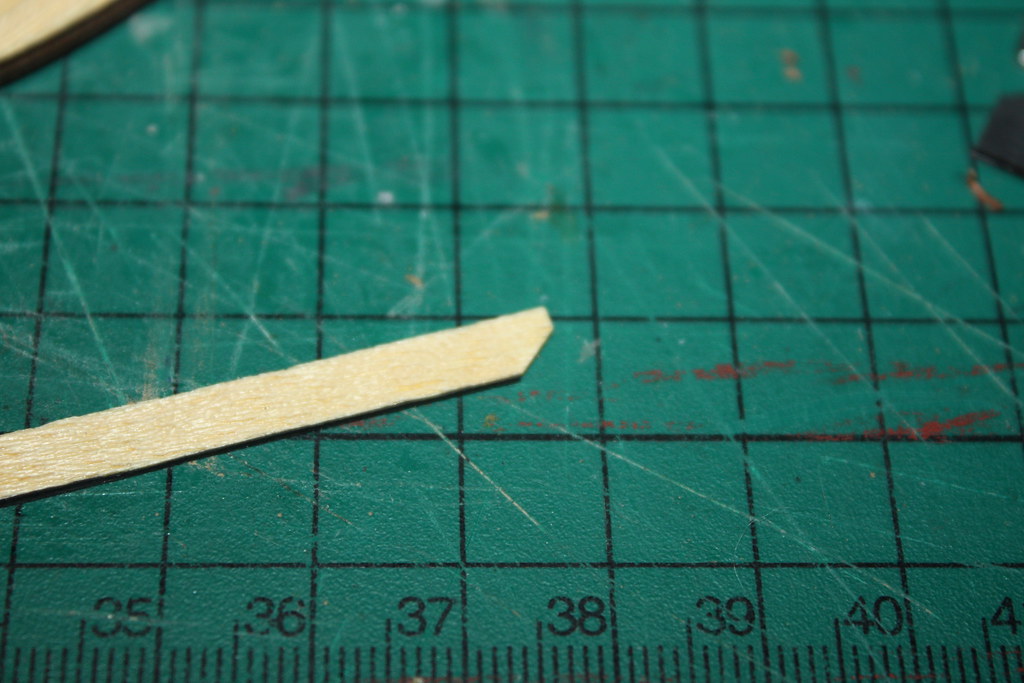
Having read around the subject the plank should be cut no narrower than 1/3 of its Total width, so plumbed with 2mm. the shoulder can vary depending on the depth of the curve. My first two planks had a 3mm long shoulder I then went to 4mm for the next 5 and changed it as required. I am sure there is some clever calculation to work out the right depth of shoulder to get a perfect drop and even cut but I went with winging it  I used a spare strip to cut the first shoulders at each depth change and these have been kept as templates for the other side. I used a spare strip to cut the first shoulders at each depth change and these have been kept as templates for the other side.
the template is used to mark out the cut needed into the margin plank. This was then cut out, caulked with a soft pencil and the first strip fitted.
I cut out the plank that lay across the mast opening as I find this easier than trying to do it when totally planked over. Planking continued steadily until I had to stop and make tea. Sunday modelling session done


build time for the deck joggling thus far 4.5 hours
Total build Time 8.5 Hours.All constructive feedback and comments most welcome
Jase “Whenever you find yourself on the side of the majority, it is time to pause and reflect.”
-Mark Twain
|
|
|
 Rank: Pro  Groups: Registered
Joined: 27/02/2017 Posts: 410 Points: 1,220 Location: Lancashire
|
Hi Jase, The planking looks really good Jase, the paper method your using for the caulking (starting to learn the terms lol) looks very effective, May.
|
|
|
|
|
MFG wrote:Hi Jase,
The planking looks really good Jase, the paper method your using for the caulking (starting to learn the terms lol) looks very effective,
May. Many thanks May, it looks bolder than just using pencil. J “Whenever you find yourself on the side of the majority, it is time to pause and reflect.”
-Mark Twain
|
|
|
Rank: Pro Groups: Joined: 24/08/2009 Posts: 48,051 Points: -13,308
|
jase wrote:MFG wrote:Hi Jase,
The planking looks really good Jase, the paper method your using for the caulking (starting to learn the terms lol) looks very effective,
May. Many thanks May, it looks bolder than just using pencil. J Bolder yes, and is personal preference.,at 1/76 scale it would look feint. It's the same old argument with nails on hull tiles.
|
|
|
|
|
Tomick wrote:jase wrote:MFG wrote:Hi Jase,
The planking looks really good Jase, the paper method your using for the caulking (starting to learn the terms lol) looks very effective,
May. Many thanks May, it looks bolder than just using pencil. J Bolder yes, and is personal preference.,at 1/76 scale it would look feint. It's the same old argument with nails on hull tiles. absolutely agree not necessarily to scale, but nice to try different techniques and aesthetics at the end of the day its all about having fun building the kit which ever way you go. I just fancied the challenge of something different. not at all saying I am doing the right thing, and its certainly a lot of decking to have to do  Jase “Whenever you find yourself on the side of the majority, it is time to pause and reflect.”
-Mark Twain
|
|
|
Rank: Pro Groups: Joined: 24/08/2009 Posts: 48,051 Points: -13,308
|
jase wrote:Tomick wrote:jase wrote:MFG wrote:Hi Jase,
The planking looks really good Jase, the paper method your using for the caulking (starting to learn the terms lol) looks very effective,
May. Many thanks May, it looks bolder than just using pencil. J Bolder yes, and is personal preference.,at 1/76 scale it would look feint. It's the same old argument with nails on hull tiles. absolutely agree not necessarily to scale, but nice to try different techniques and aesthetics at the end of the day its all about having fun building the kit which ever way you go. I just fancied the challenge of something different. not at all saying I am doing the right thing, and its certainly a lot of decking to have to do Jase Further deck info - The spar deck, or top deck, was originally made from a combination of white oak planking (to support the heavy weight of the carronades) with Carolina pitch pine flanking the hatches. The gun deck just below was similarly made of a combination of white oak and pitch pine. The berth and orlop decks, however, were made exclusively of pitch pine. Therefore the decks have a combination of finish appearances.
|
|
|
|
|
Tomick wrote:jase wrote:Tomick wrote:jase wrote:MFG wrote:Hi Jase,
The planking looks really good Jase, the paper method your using for the caulking (starting to learn the terms lol) looks very effective,
May. Many thanks May, it looks bolder than just using pencil. J Bolder yes, and is personal preference.,at 1/76 scale it would look feint. It's the same old argument with nails on hull tiles. absolutely agree not necessarily to scale, but nice to try different techniques and aesthetics at the end of the day its all about having fun building the kit which ever way you go. I just fancied the challenge of something different. not at all saying I am doing the right thing, and its certainly a lot of decking to have to do Jase Further deck info - The spar deck, or top deck, was originally made from a combination of white oak planking (to support the heavy weight of the carronades) with Carolina pitch pine flanking the hatches. The gun deck just below was similarly made of a combination of white oak and pitch pine. The berth and orlop decks, however, were made exclusively of pitch pine. Therefore the decks have a combination of finish appearances. Very interesting stuff, many thanks for sharing “Whenever you find yourself on the side of the majority, it is time to pause and reflect.”
-Mark Twain
|
|
|
 Rank: Master     Groups: Registered
Joined: 29/03/2011 Posts: 1,053 Points: 3,165 Location: Glenvista JHB
|
Hi Jase, Your planking is looking superb. Kind regards, Garth "Measure twice, cut once!!!"
Finished!!! HMS Victory,
Current build: Black Pearl.
On hold: Bismarck, Golden Hind, Flying Scotsman, Victory Cross Section, SOTS, Tiger 1.
Wish list: USS Constitution.
|
|
|
|
|
Garth wrote:Hi Jase,
Your planking is looking superb.
Kind regards,
Garth Many thanks garth your comments are much appreciated Jase “Whenever you find yourself on the side of the majority, it is time to pause and reflect.”
-Mark Twain
|
|
|
|
|
|
|
|
 Rank: Vice-Master   Groups: Registered
Joined: 09/12/2013 Posts: 577 Points: 1,748 Location: smethwick england
|
Really like the way the paper caulking turned out.Also like the extra detailing around the edge of the deck, top job. Man he took his time in the sun Had a dream to understand A single grain of sand He gave birth to poetry But one day will cease to be Greet the last light of the library...We were here!
|
|
|
|
|
nightwisher wrote:Really like the way the paper caulking turned out.Also like the extra detailing around the edge of the deck, top job. Many thanks for looking in and your comments. The Deck joggling is not perfect but, as intended, I have learnt a lot for next time. Jase “Whenever you find yourself on the side of the majority, it is time to pause and reflect.”
-Mark Twain
|
|
|
Rank: Pro Groups: Registered
Joined: 27/02/2017 Posts: 410 Points: 1,220 Location: Lancashire
|
Hi Jase, The paper method you used for the caulking (starting to learn the terms!) looks really good, I'm going to have ago myself with some practice strips I've recently brought. Look forward to your next up date  May.
|
|
|
|
|
MFG wrote:Hi Jase, The paper method you used for the caulking (starting to learn the terms!) looks really good, I'm going to have ago myself with some practice strips I've recently brought. Look forward to your next up date May. Thanks May, its quite tricky and slow. my advice is to cut the strips free from the paper within an hour of gluing them when the glue is still a bit malleable. once the clue is set hard the wood strip is softer than the glue and the knife blade wonders through the stip rather than cutting straight through the glue and paper hope that makes sense jase “Whenever you find yourself on the side of the majority, it is time to pause and reflect.”
-Mark Twain
|
|
|
 Rank: Superelite   Groups: Registered
Joined: 10/05/2010 Posts: 2,608 Points: 7,519 Location: Lincolnshire
|
jase wrote:nightwisher wrote:Really like the way the paper caulking turned out.Also like the extra detailing around the edge of the deck, top job. Many thanks for looking in and your comments. The Deck joggling is not perfect but, as intended, I have learnt a lot for next time. Jase Hi Jase I think you are being too critical on yourself! I think the jiggling looks ace 😍 Once again fantastic work and educational at the same time 😎 Regards Gray
|
|
|
Rank: Super-Elite   Groups: Registered
Joined: 16/08/2010 Posts: 2,771 Points: 8,344 Location: Brighton
|
Hi Jase. Great start look forward to seeing this one come together. Ian  Current builds.Hachettes build the bismark,HMS Victory, HMS Hood.
Finished Builds Corel HMS Victory cross section.
|
|
|
Rank: Master Groups: Registered
Joined: 29/03/2011 Posts: 1,053 Points: 3,165 Location: Glenvista JHB
|
Hi Jase, Your planking is superb, nice update. Looking forward to your next one. Kind regards, Garth "Measure twice, cut once!!!"
Finished!!! HMS Victory,
Current build: Black Pearl.
On hold: Bismarck, Golden Hind, Flying Scotsman, Victory Cross Section, SOTS, Tiger 1.
Wish list: USS Constitution.
|
|
|
|
|
Thanks Garth, should be posting some more next week Jase “Whenever you find yourself on the side of the majority, it is time to pause and reflect.”
-Mark Twain
|
|
|
|
|
Bit behind plan due to the work are re-work etc etc but some pics below of progress.
No deviation from the instructions other than I am laying decks the full length before continuing the planking, just personal preference
jase attached the following image(s): “Whenever you find yourself on the side of the majority, it is time to pause and reflect.”
-Mark Twain
|
|
|
|
Guest
|
 US
US

