|
|
 Rank: Pro Groups: Joined: 24/08/2009 Posts: 48,051 Points: -13,308
|
Nice work Chris, looking good and very nearly finished!!   
I think you might finish before me at this rate - not sure I'm even going to be on the podium!?   
Kev 
|
|
|
 Rank: Vice-Master     Groups: Registered
Joined: 31/08/2011 Posts: 629 Points: 1,963 Location: Plymouth
|
|
|
|
Rank: Vice-Master Groups: Registered
Joined: 31/08/2011 Posts: 629 Points: 1,963 Location: Plymouth
|
|
|
|
Rank: Pro Groups: Joined: 24/08/2009 Posts: 48,051 Points: -13,308
|
Looking good Chris and I see you've installed the radiators now which is a bit of a tight fit? Yet to add the small aerodynamic fins on the top/side of the cockpit yet though, are you leaving those until last?
Good stuff Chris - keep it up!!
Kev
|
|
|
Rank: Pro Groups: Joined: 24/08/2009 Posts: 48,051 Points: -13,308
|
Looking good Chris and I see you've installed the radiators now which is a bit of a tight fit? Yet to add the small aerodynamic fins on the top/side of the cockpit though, are you leaving those until last?
Good stuff Chris - keep it up!!
Kev
|
|
|
Rank: Vice-Master Groups: Registered
Joined: 31/08/2011 Posts: 629 Points: 1,963 Location: Plymouth
|
SennaMentalMe wrote:Looking good Chris and I see you've installed the radiators now which is a bit of a tight fit? Yet to add the small aerodynamic fins on the top/side of the cockpit though, are you leaving those until last?
Good stuff Chris - keep it up!!
Kev Hi Kev The radiators fitted quite nicely....well spotted on the aerodynamic fins. I will fit them last. The only enhancement I am going to do is that very clever Driver feeder pipe that you made  . I have a friend who is going to have a go at making some tyre warmers. If they are ok.....he is going to make me a set to go with the spare tyres I have The only worry I have is the Final fitting of the engine cover. I have read all the stories on dipping them in boiling water and heating them by candle etc. I have two....so will use the one that fits the best! Fingers crossed!!! Chris
|
|
|
Rank: Pro Groups: Joined: 24/08/2009 Posts: 48,051 Points: -13,308
|
|
|
|
Rank: Vice-Master Groups: Registered
Joined: 31/08/2011 Posts: 629 Points: 1,963 Location: Plymouth
|
Thanks for the updates Kev! I will hang on with the Engine cover for now.....I am intrigued mate??? Chris
|
|
|
Rank: Vice-Master Groups: Registered
Joined: 31/08/2011 Posts: 629 Points: 1,963 Location: Plymouth
|
|
|
|
Rank: Pro Groups: Joined: 24/08/2009 Posts: 48,051 Points: -13,308
|
Great build Chris and oh so close to finishing now my friend!!
By the way Chris, I have been working on my alternative fix for the engine cover problem, which involved the use of micro magnets, but to be honest they just aren't strong enough to do the job, so i'm afraid I've ditched the idea and will be using the 'hot water' method of easing the cover into shape, the same as everyone else!! Sorry to keep you waiting mate but it was worth a try at least?
Kev
|
|
|
Rank: Vice-Master Groups: Registered
Joined: 31/08/2011 Posts: 629 Points: 1,963 Location: Plymouth
|
|
|
|
Rank: Pro Groups: Joined: 24/08/2009 Posts: 48,051 Points: -13,308
|
Hello Chris, yeah a shame really as it would have been ideal but the only way I could really make it work would be to increase the size of magnets used which would then look a bit odd when the cover is removed? I will still be using the small ones in a couple of places hopefully, just to pull things together a little more, but I have since used the 'Hot Water' method on my own engine cover and it does work. you just need to do it a little at a time until it fits and it doesn't affect the paintwork at all so don't be too concerned about it mate?
As you say you may be lucky with one of your covers fitting first time and each model is different because of the way we each build our models, so it may be that everything lines up with no problem at all?
Keep up the good work mate!!
Kev
|
|
|
Rank: Vice-Master Groups: Registered
Joined: 31/08/2011 Posts: 629 Points: 1,963 Location: Plymouth
|
Issue 85...part A I will be completing this last issue in parts....as there is a lot to do to finish the model. I am in no rush! 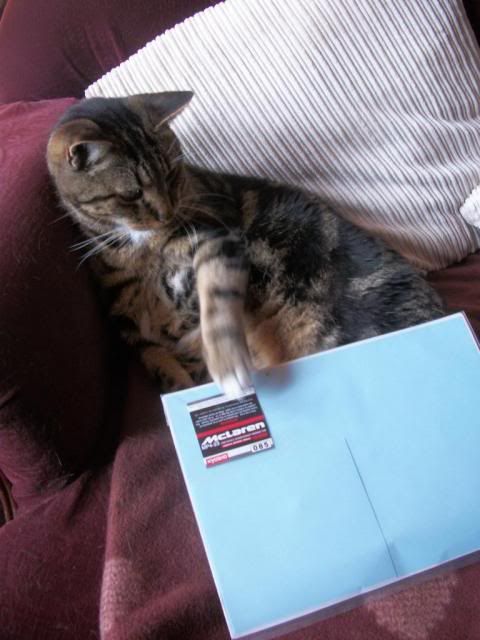 [ 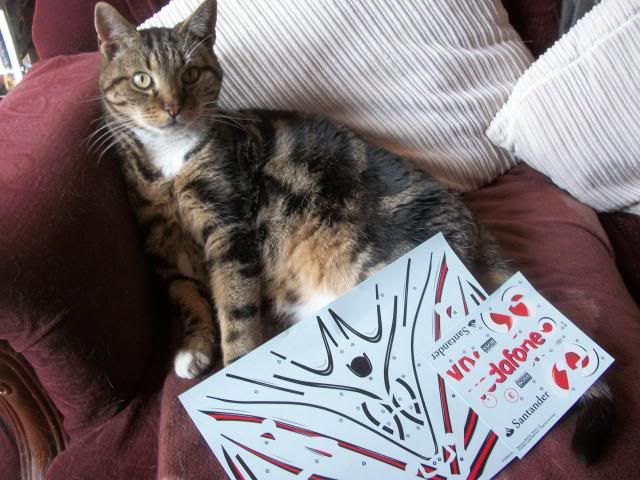   Chris
|
|
|
Rank: Vice-Master Groups: Registered
Joined: 31/08/2011 Posts: 629 Points: 1,963 Location: Plymouth
|
|
|
|
Rank: Pro Groups: Joined: 24/08/2009 Posts: 48,051 Points: -13,308
|
Looking good Chris and oooh so close to the end now!! I'd be a little worried about the cats' claws being so close to that sheet of decals though if I was you!?  
Mine is now finished I'm glad to say, though I have a last update to add to my diary and a little something extra to finish making for it yet and then I'll put it up in the 'Finished Gallery' - just sooo busy at the moment!!
Kev
|
|
|
Rank: Vice-Master Groups: Registered
Joined: 31/08/2011 Posts: 629 Points: 1,963 Location: Plymouth
|
|
|
|
Rank: Pro Groups: Joined: 24/08/2009 Posts: 48,051 Points: -13,308
|
Hello Chris,
Sorry to hear about your mishap mate, I'm sure you'll sort it though and yes, I've sorted the engine cover, still a small gap which annoys the hell out of me being a perfectionist by nature, but I'll just have to live with it I suppose!
Best to start from the front and work your way back with the decals and leave the engine cover until last? Make sure you follow the decal number sequences as instructed in the mag otherwise you could fall foul of things not lining up properly - that is VERY important Chris!
Kev
|
|
|
Rank: Vice-Master Groups: Registered
Joined: 31/08/2011 Posts: 629 Points: 1,963 Location: Plymouth
|
SennaMentalMe wrote:Hello Chris,
Sorry to hear about your mishap mate, I'm sure you'll sort it though and yes, I've sorted the engine cover, still a small gap which annoys the hell out of me being a perfectionist by nature, but I'll just have to live with it I suppose!
Best to start from the front and work your way back with the decals and leave the engine cover until last? Make sure you follow the decal number sequences as instructed in the mag otherwise you could fall foul of things not lining up properly - that is VERY important Chris!
Kev Thanks for the advice Kev.......I promise to be VERY careful with the decals! All the best, Chris
|
|
|
Rank: Vice-Master Groups: Registered
Joined: 31/08/2011 Posts: 629 Points: 1,963 Location: Plymouth
|
|
|
|
Rank: Vice-Master Groups: Registered
Joined: 31/08/2011 Posts: 629 Points: 1,963 Location: Plymouth
|
|
|
|
|
Guest
|
 US
US

