|
|
 Rank: Semi-Pro Level 1  Groups: Registered
Joined: 22/07/2012 Posts: 69 Points: 144 Location: Belgium
|
Hello! My name is Vik & I'm also building the De Agostini HMS Victory boat! Thought i would share my work on this site as well, as I've been reading A LOT on this forum and already took many good advise from you fellow builders: Thank you all BIGTIME for that! Basically my build is the standard kit provided with the weekly issues, but then with added lighting/electronics. The idea implemented is having full control on the lighting once the build is finished: Through computer serial port i'll be able to issue commands to the boat: - program the brightness of each LED individually - Let the boat shoot a salvo (using white flash LEDs) - ... etc. Most commands/functionality still needs to be written in code so the possibilities are endless. Just need to download the new software inside  Hardware electronics are fully present inside the boat, but maybe i'll add a sound generator too.. Ideas at the moment: - Place upward lighting towards the masts as well - Fully work out the back castle (with the windows) with wood & lighting, so one can look inside - No black painted gundecks - Use of lanterns on the top deck by using modified LEDs - ... Here's the status now of the build: 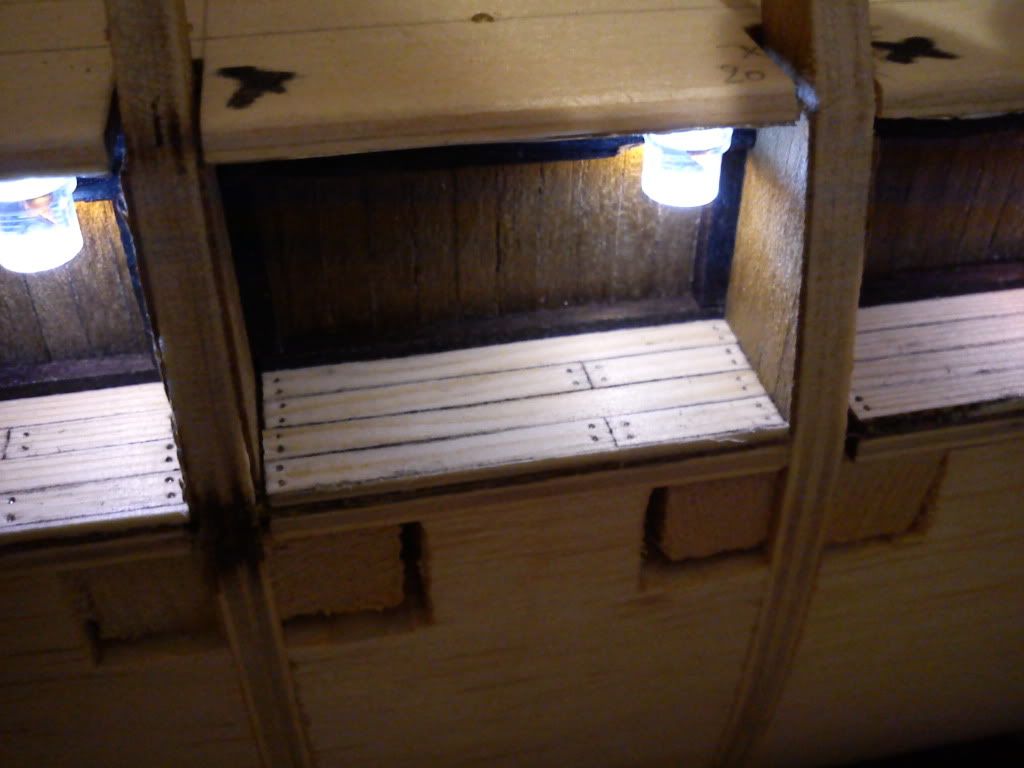 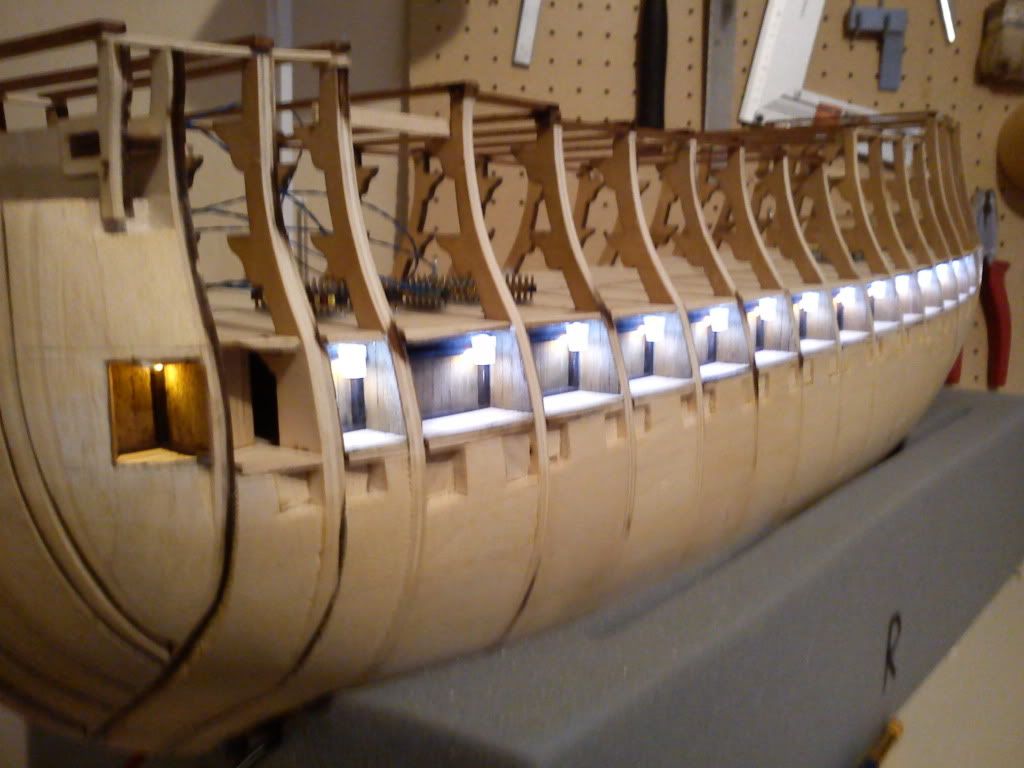  Underside of the ship with the bolts protruding (power & communication -> base/stand later on) 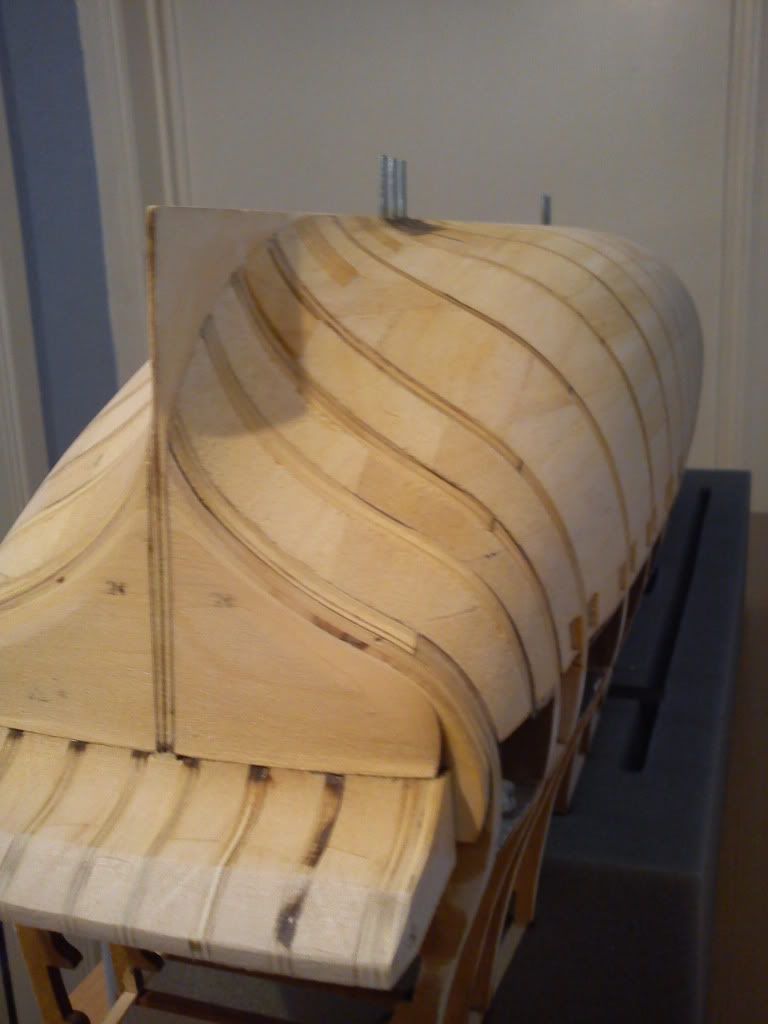 And the wiring on lower gundeck: 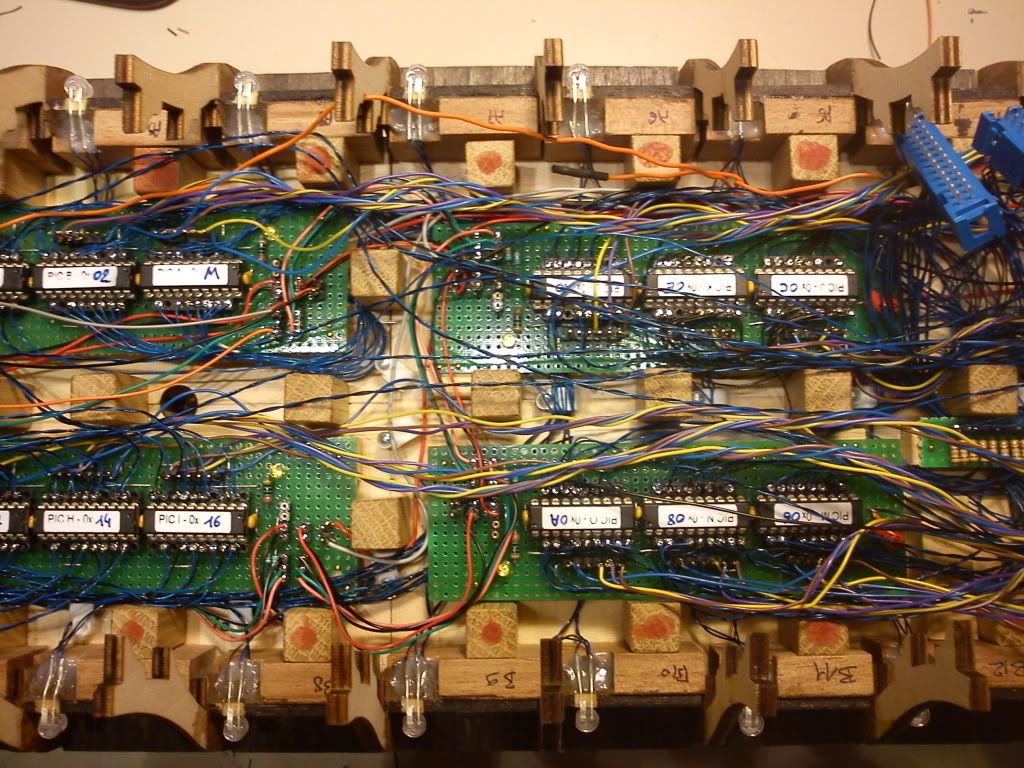 Been working on it since Oct 2011, and running behind about 16 issues. But I don't mind  , as long as it's done right I'm happy with any finalisation date. I'll be posting 'old' photo's later on as well. Best regards, Vik
|
|
|
 Rank: Super-Elite      Groups: Registered
Joined: 24/04/2010 Posts: 5,787 Points: 17,662 Location: Stafford, United Kingdom
|
Hi Vik a big warm welcome to the forum, your ideas regarding the lighting are awesome,  I look forward to seeing your build as it progresses. Thank you for sharing this very interesting enhancement. Regards Mike  MWG BUILD DIARIES: HMS VICTORY, SOVEREIGN OF THE SEAS, SAN FRANCISCO II, HMS HOOD, HMS ENDEAVOUR LONGBOAT, HMS VICTORY X-SECTION, 007 DB5, NISSAN GTR, CUTTY SARK, RB7, AKAGI, BARK HMS ENDEAVOUR, HUMMER H1, MITSUBISHI ZERO.
|
|
|
 Rank: Pro Groups: Joined: 24/08/2009 Posts: 48,827 Points: -13,348
|
Hi Vic!  WOW! WOW!  A lot of electronics in your ship! Fantastic! Can't wait to see your other pictures mate!  Darron
|
|
|
 Rank: Pro Groups: Joined: 24/08/2009 Posts: 48,827 Points: -13,348
|
Welcome to the forum Vic  A very interesting build and look forward to seeing the end result 
|
|
|
 Rank: Semi-Pro Level 1  Groups: Registered
Joined: 22/07/2012 Posts: 69 Points: 144 Location: Belgium
|
Ok so here we are on the update since start of the build: One of the anchors, but i'll redo it later on as i'm not happy with the thickness/gluing of the brass bands 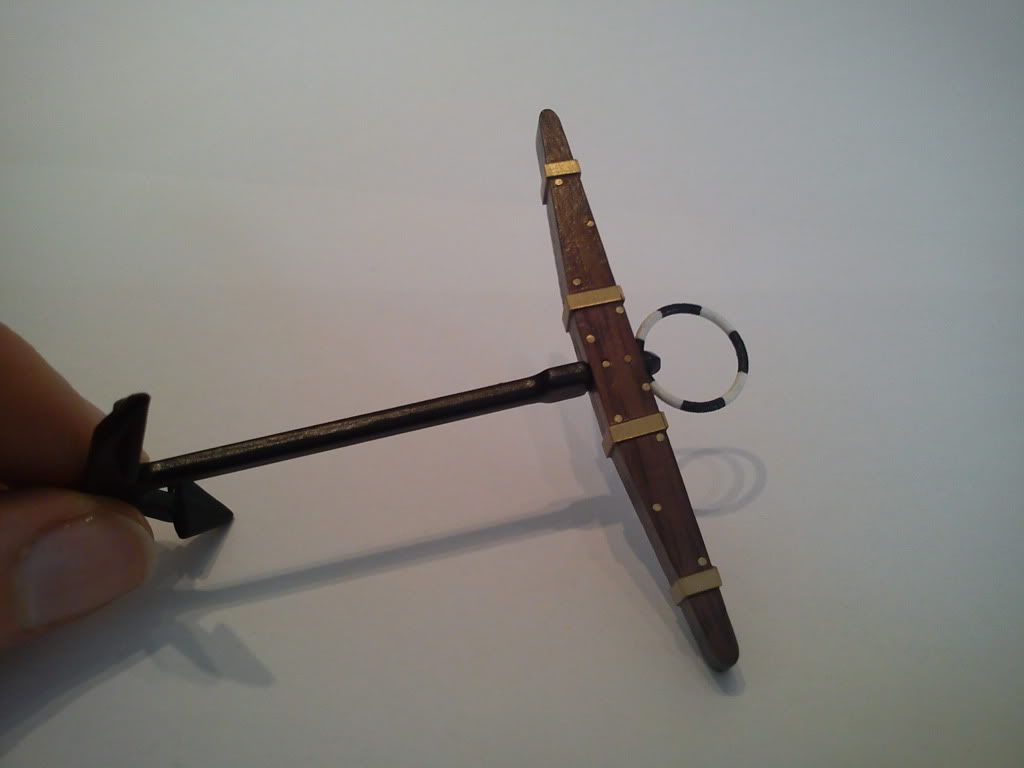 The small boat... also going to redo it as i will go for the non-painted version of the boat (thanks to Darron's progress seen that paint is waste of the beauty of the wood itself). If anyone in Belgium can use this small boat, let me know 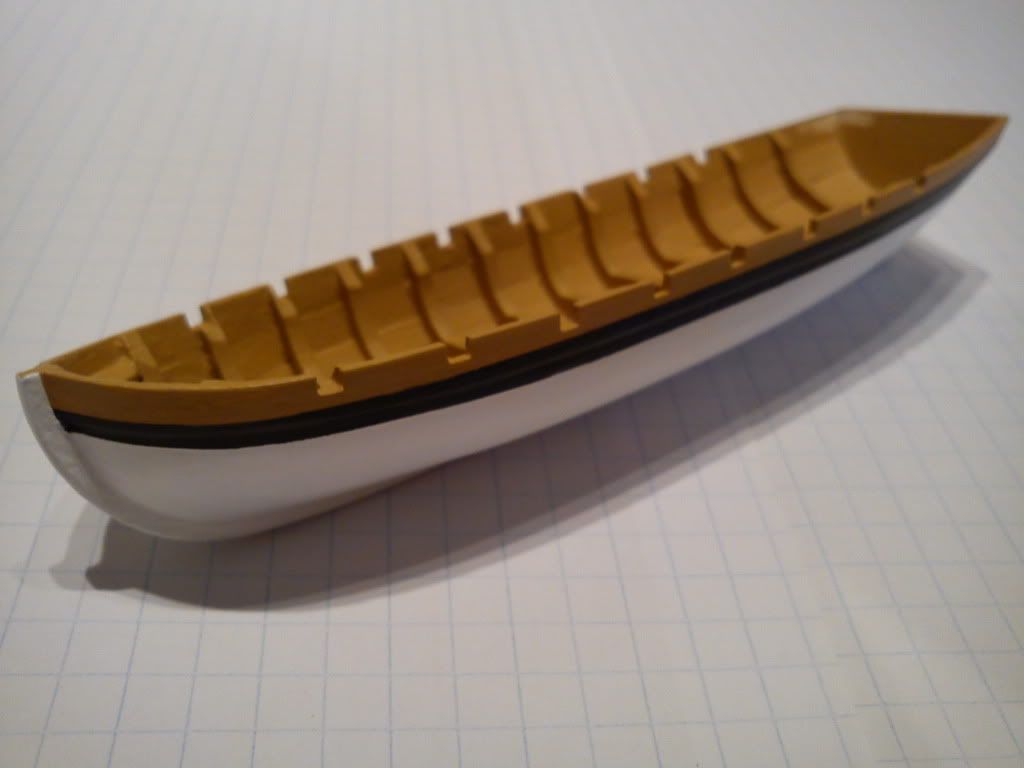 The base framework... added a lot of additional fixes just to make sure it won't bend/twist like my Cutty Sark did a few years ago causing me to stop that build  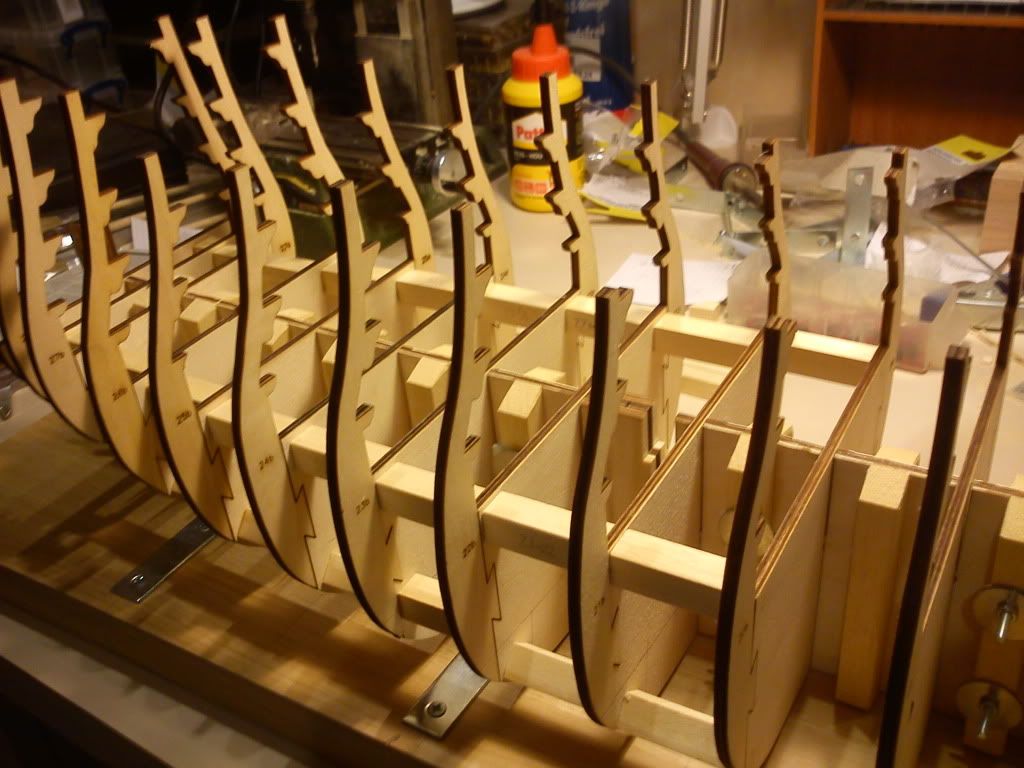 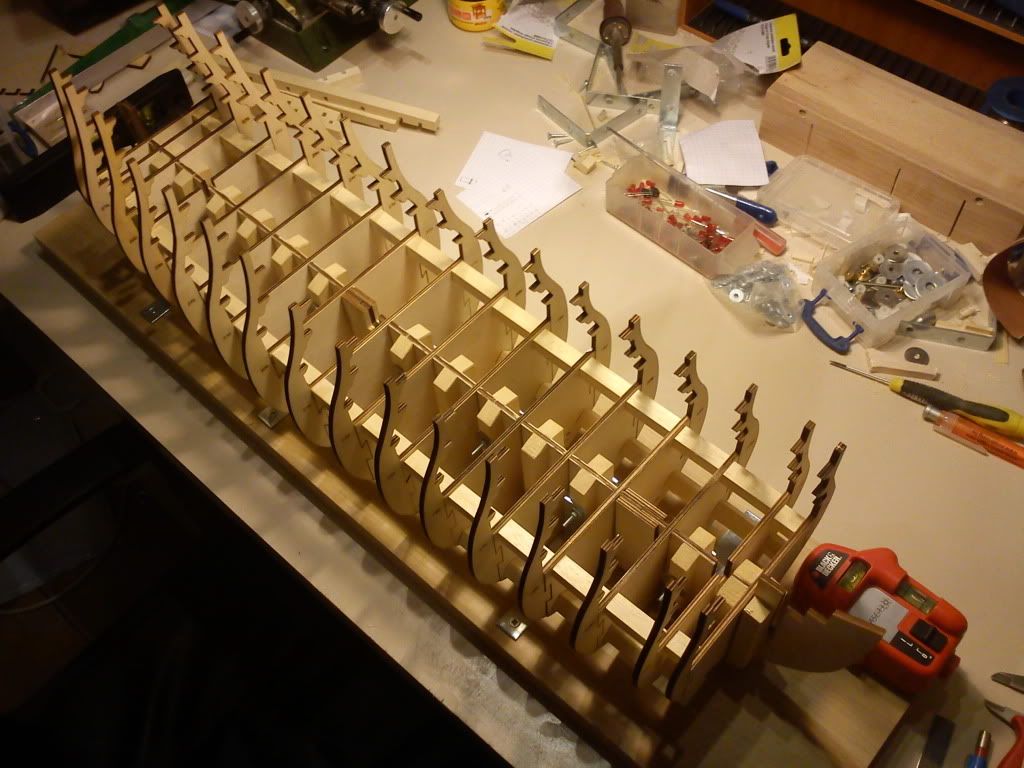 Bit obsolete picture, as i changed the yellow light to SMT version instead of throughhole LED 3mm. The higher the gundeck, the less place you'll get what would rend the 3mm LED unusable 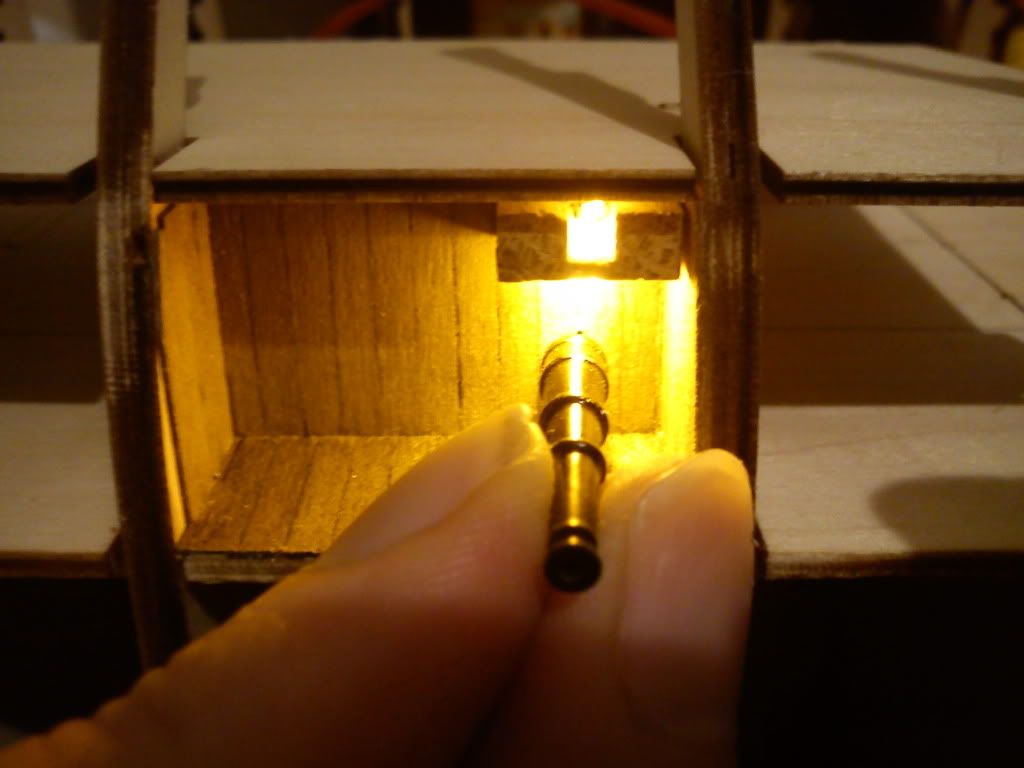 SMT version instead (yellow LED & 180E in series): 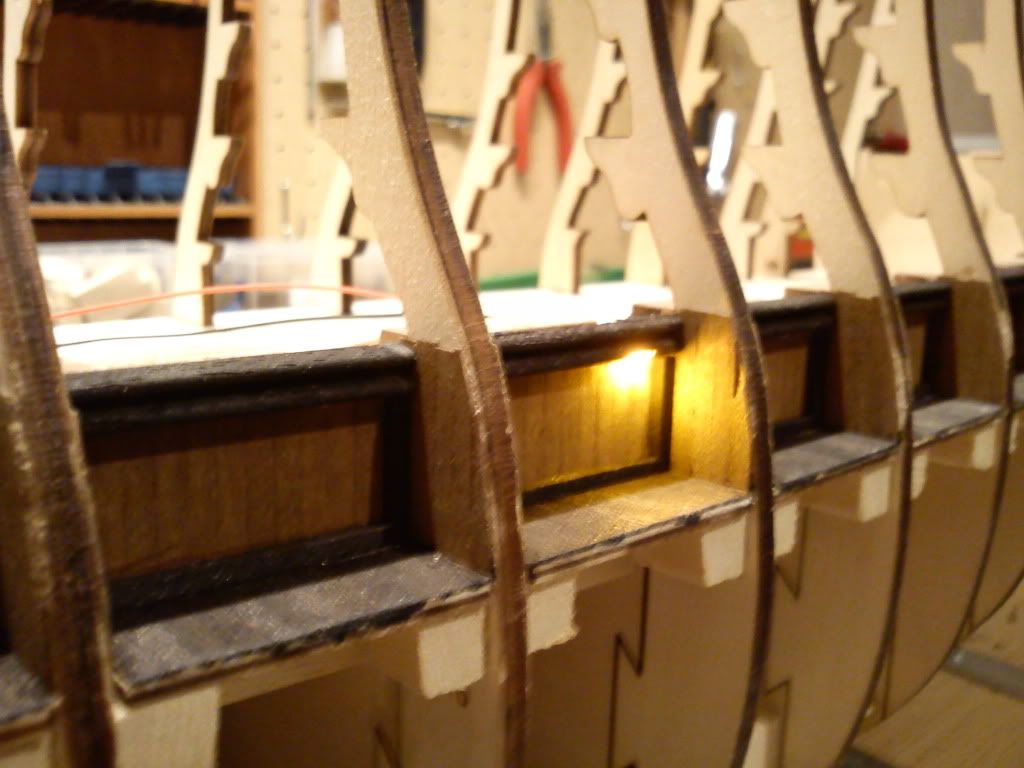 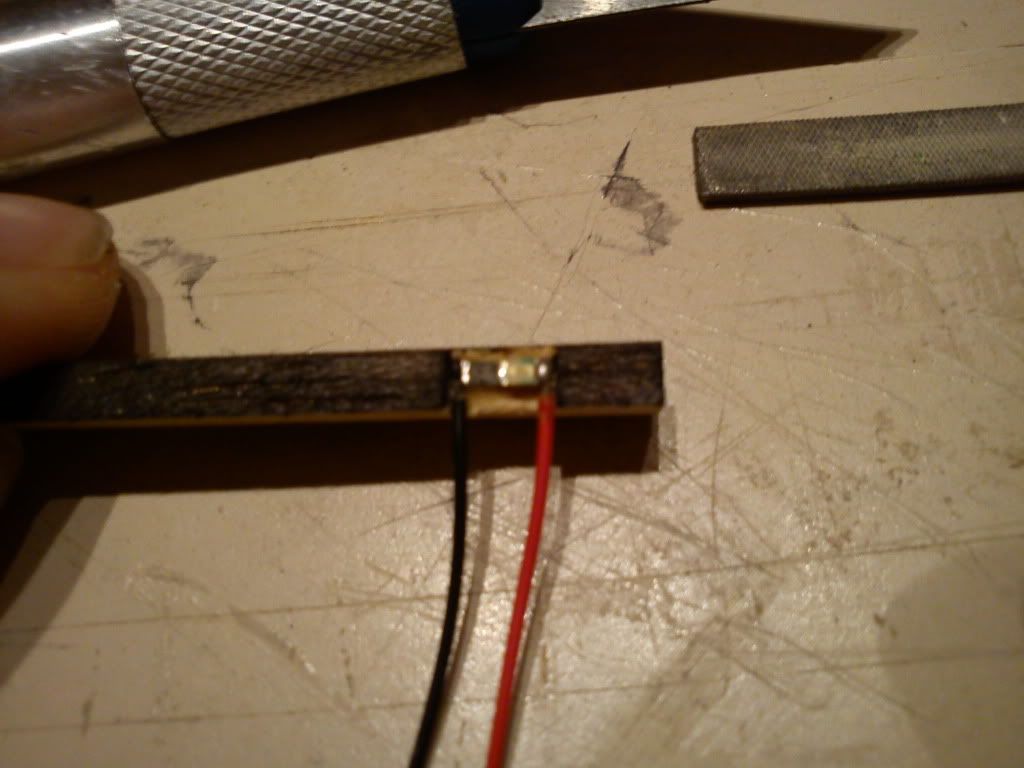 The solution presented within the issues on providing support for the middle deck seemed a bit bad to me, made some studs instead & distributed those on the surface 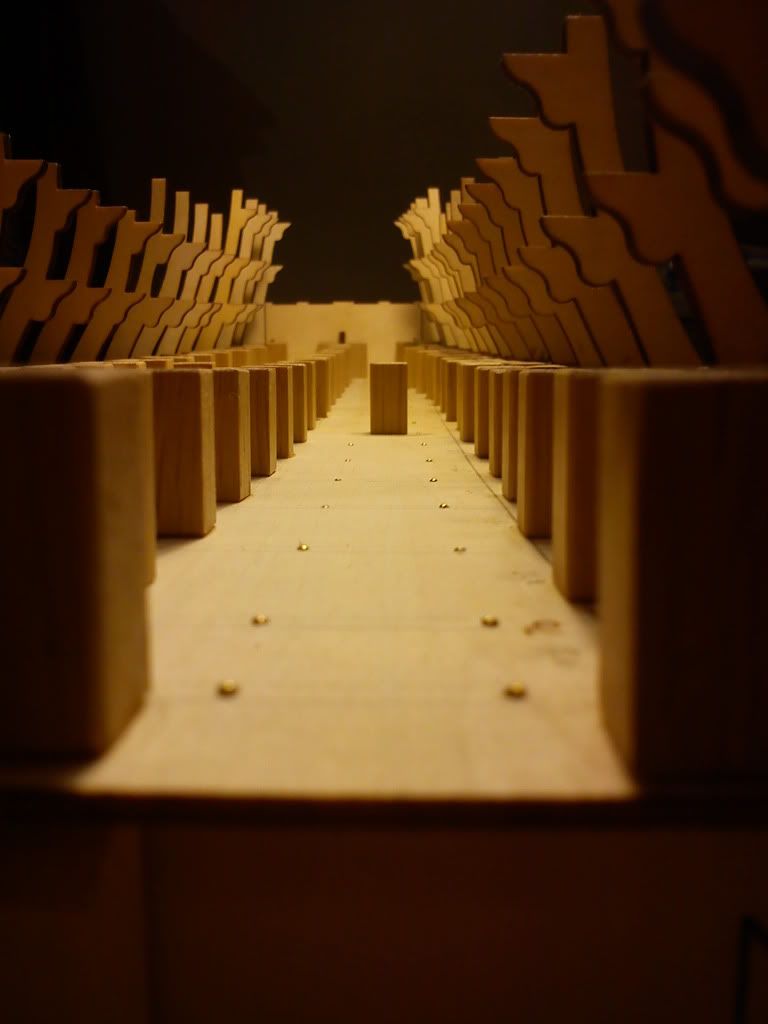 Couldn't help myself in wiring the leds to the powersupply once one side was finished  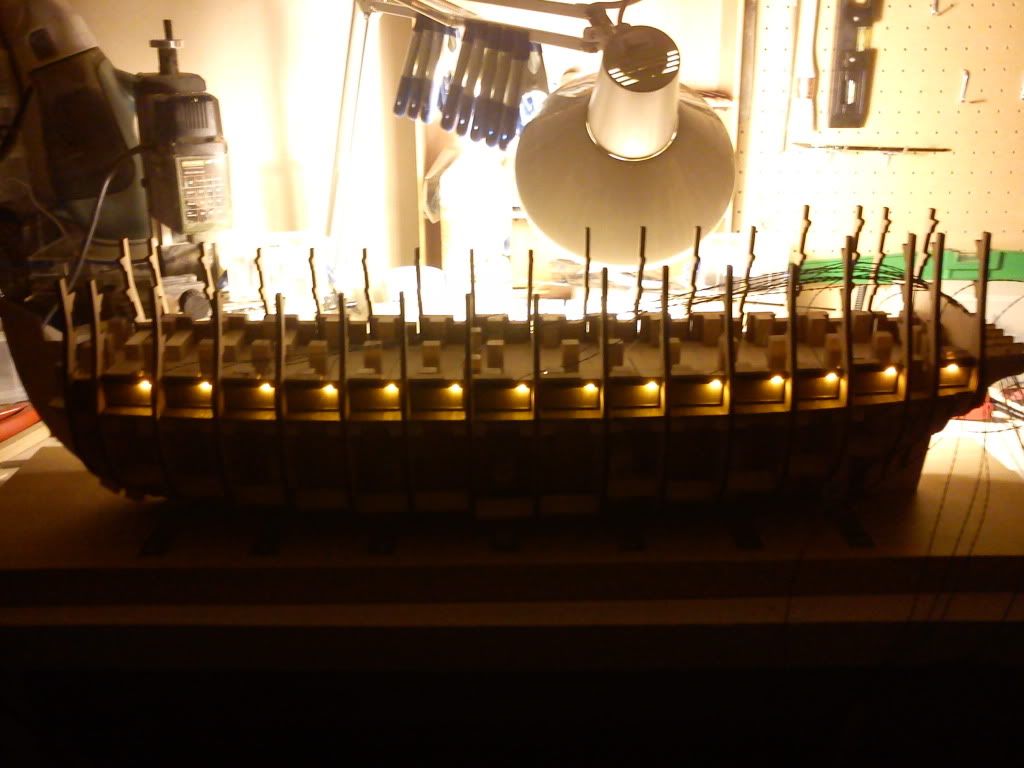 The electronic cards, own design though very simple schematic. Uses PIC controllers from Microchip. Each controller can directly drive 15LED's each, 3/card, 5 cards = 225LEDs possible. Controllers talk to eachother using I2C protocol. Code is written in C language 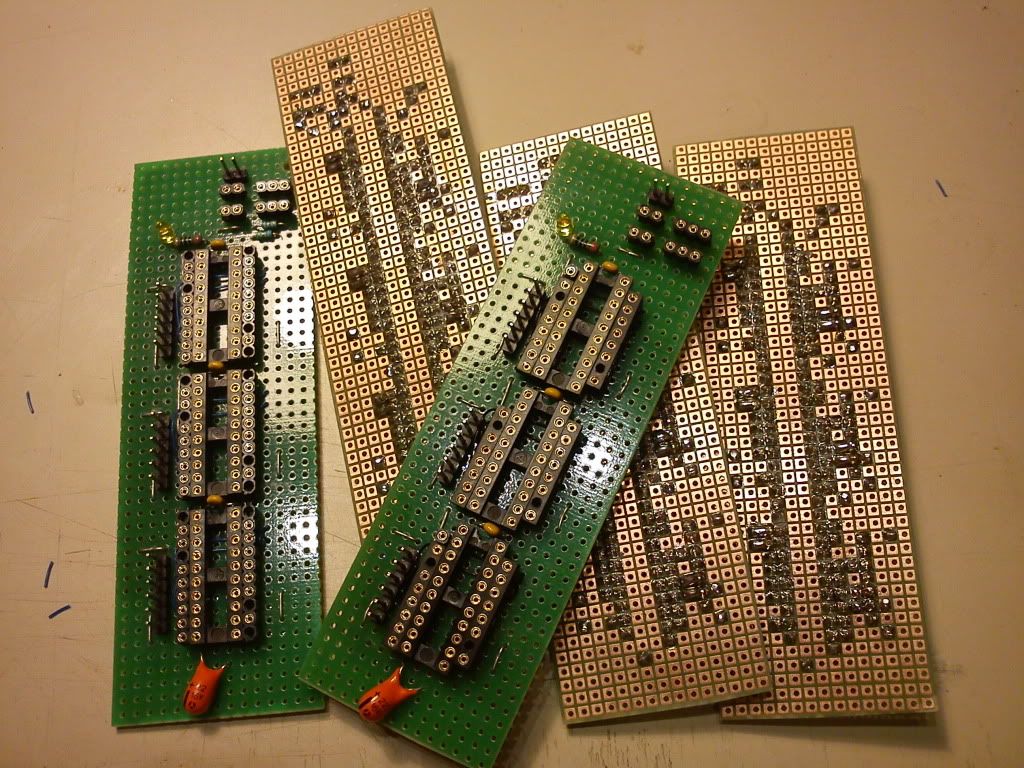 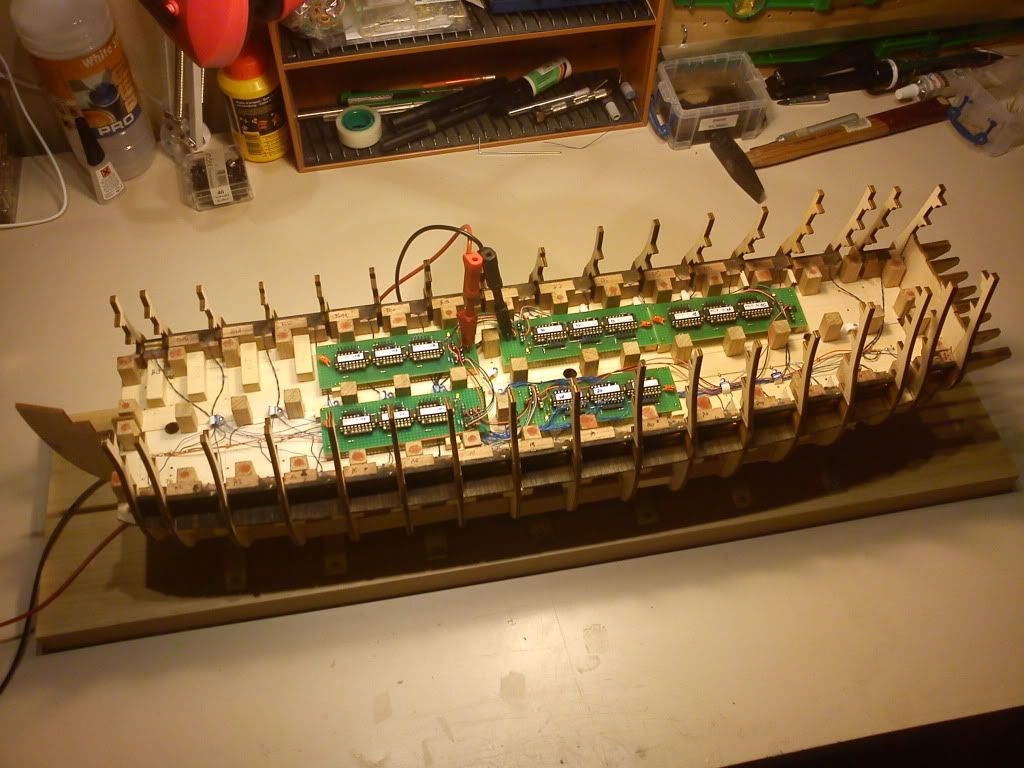 Added the Flash LEDs (5mm throughhole, 5Cd each  ) 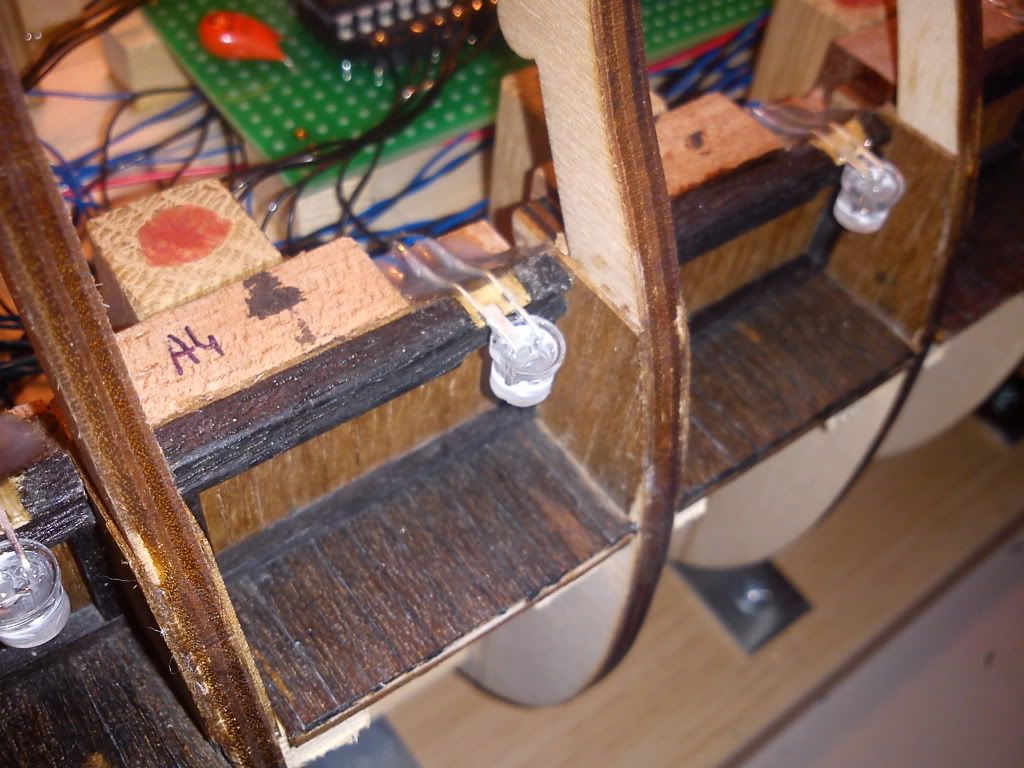 Once the boat is finished, i'll need to power the whole thing & communicate with it. Didn't want to have wires visibly running in the display later on, so after a few tries this seems to be the best solution + gives me fixation possibility as well to the base! 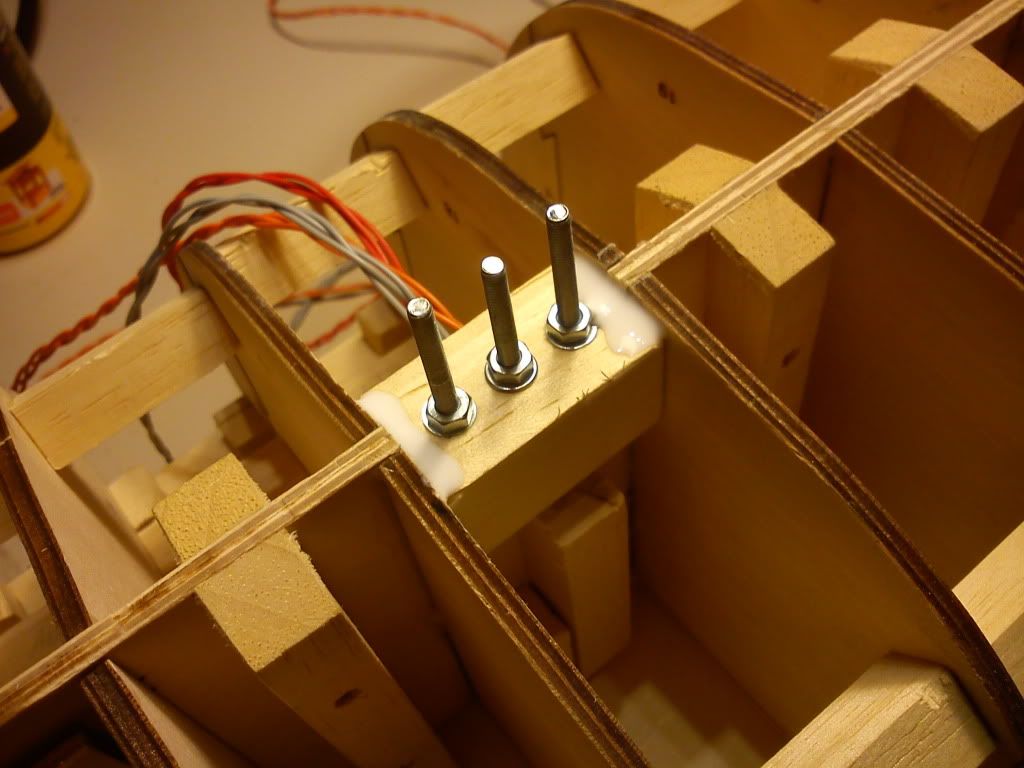 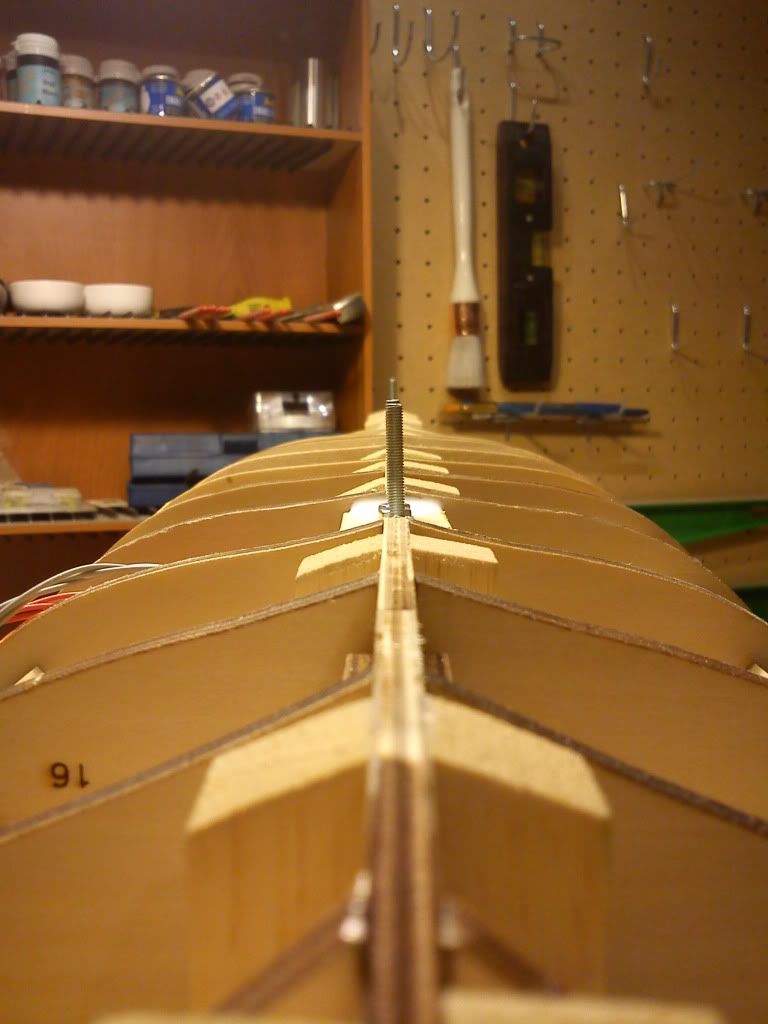 These are the wires that should go into it, wasn't sure at that time if i would have place enough. Luckyly i did :) 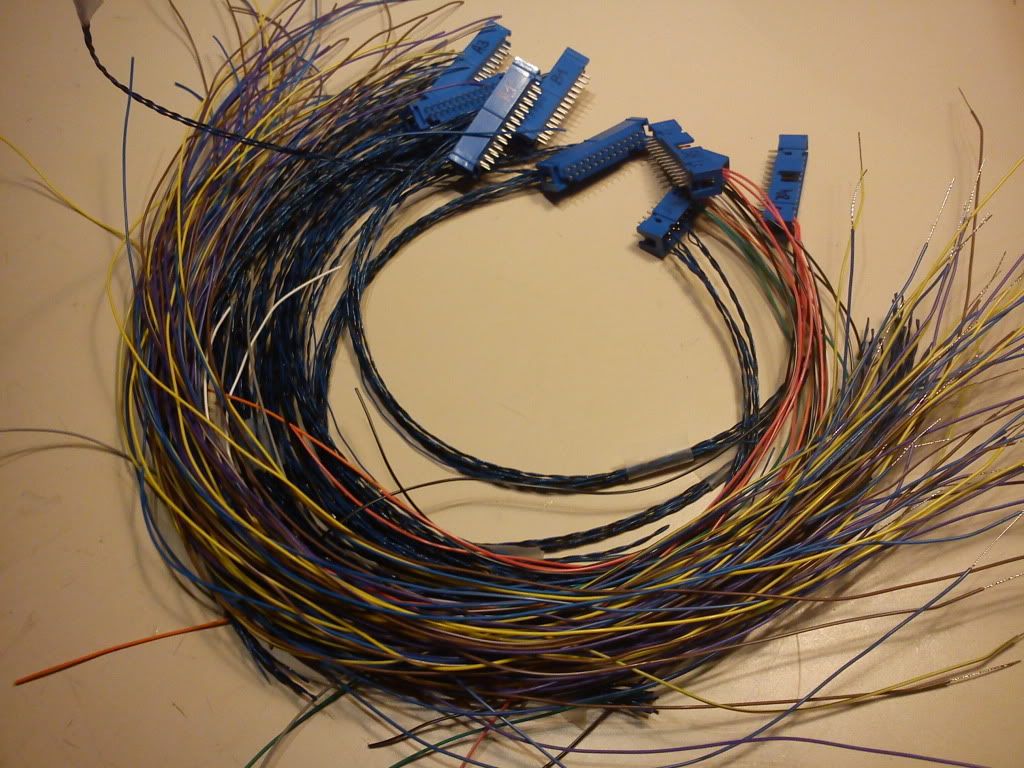 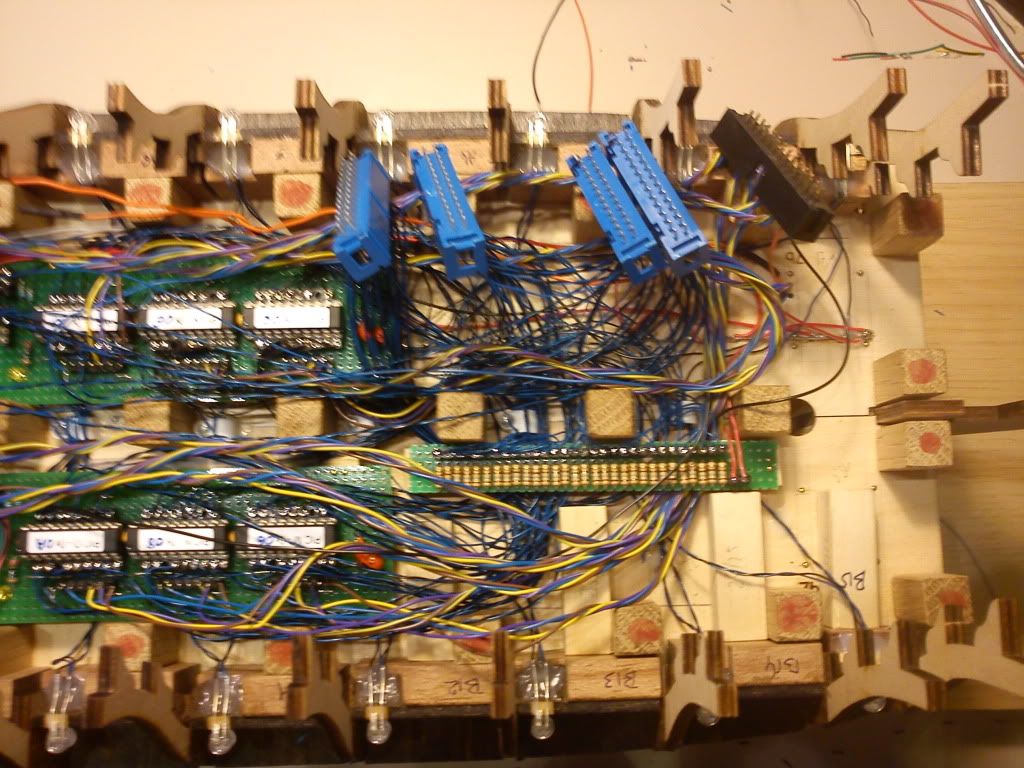 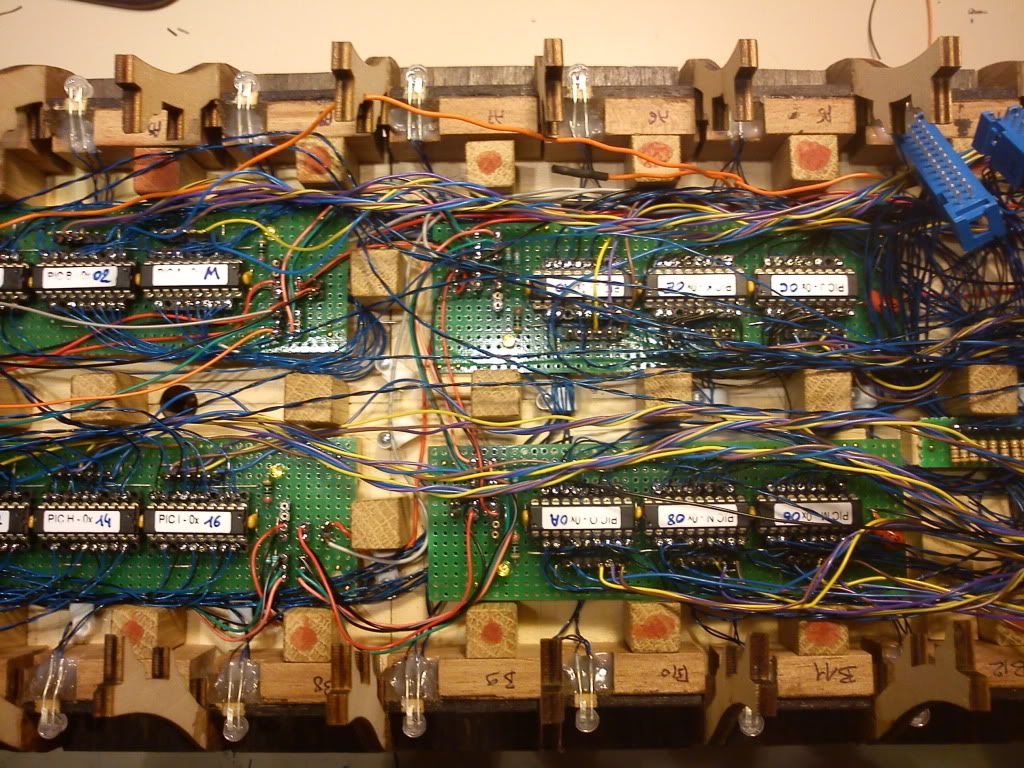 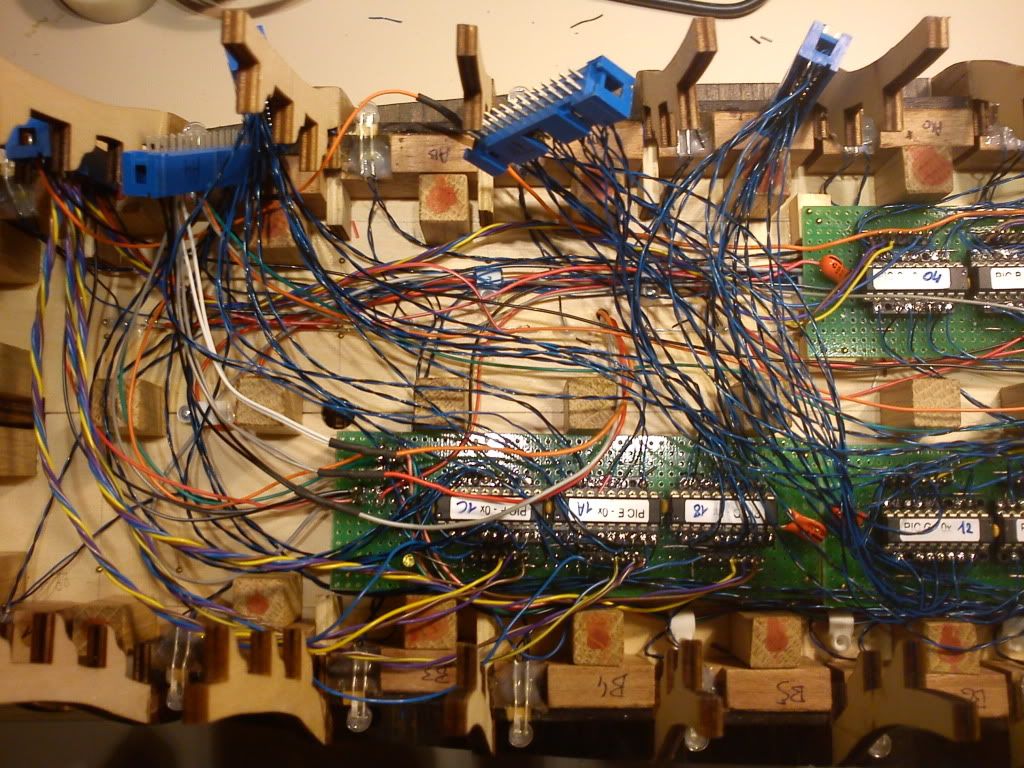 After hours of *testing* the whole hardware side of the electronics, i finally decided to close it all up. Afterwards most of the wiring isn't accessible anymore, but the necessary signals are fed through the wood towards the middle deck: Remainder LED drive signals, power, communication & all PIC programming pins (4ea). So i'm still able to update the software 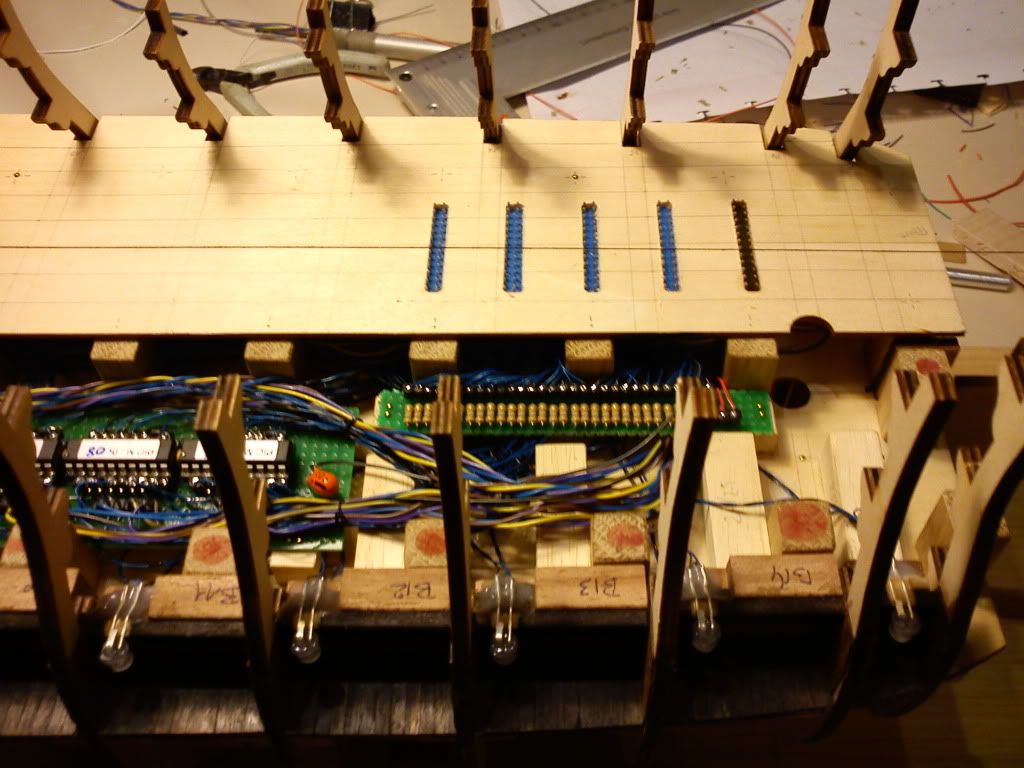 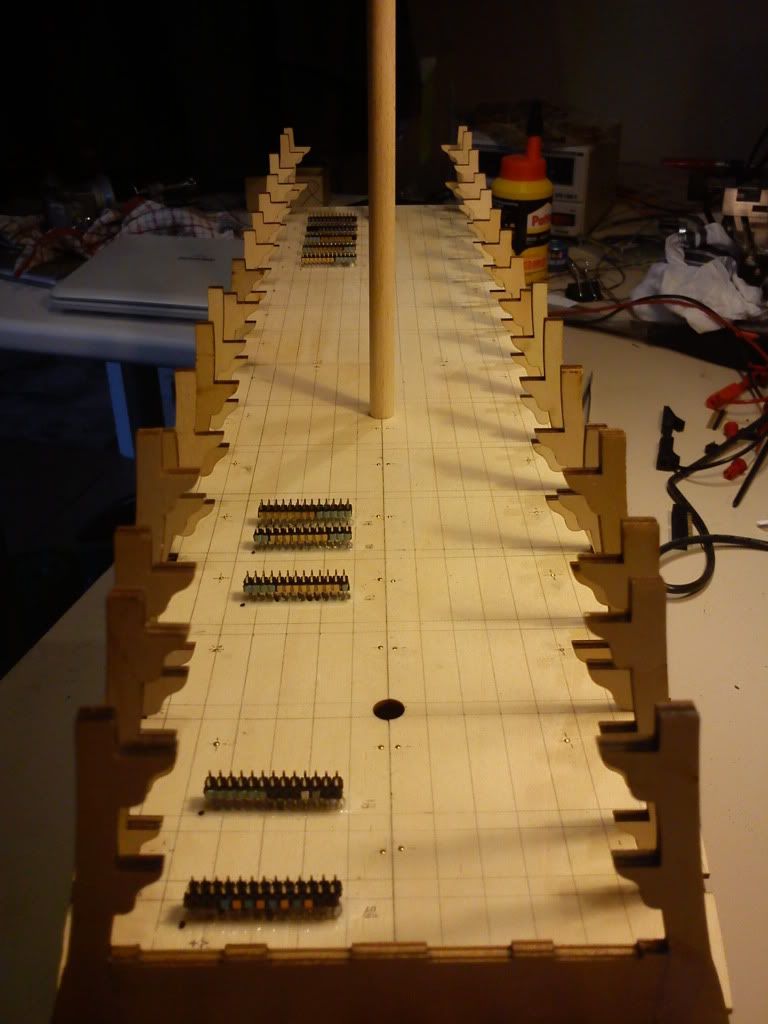 Pre-sanding. Stuffed the whole hull up with balsa blocks. Thanks to dad for cutting all the pieces!! 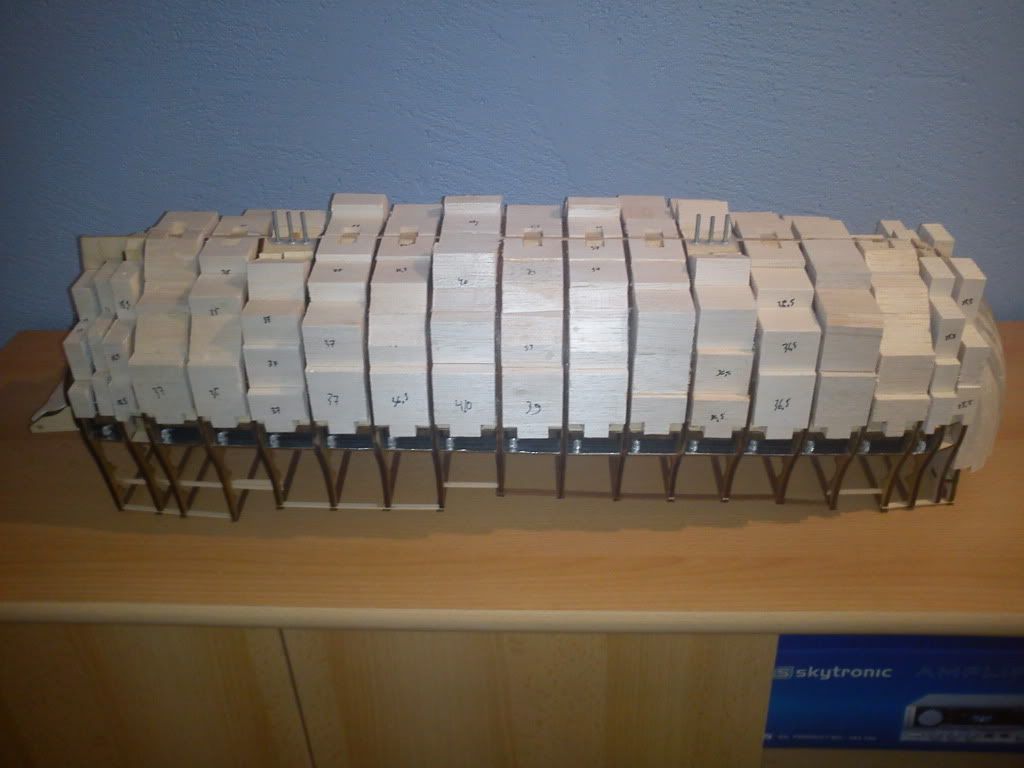 After the rough sanding & cutting work.. 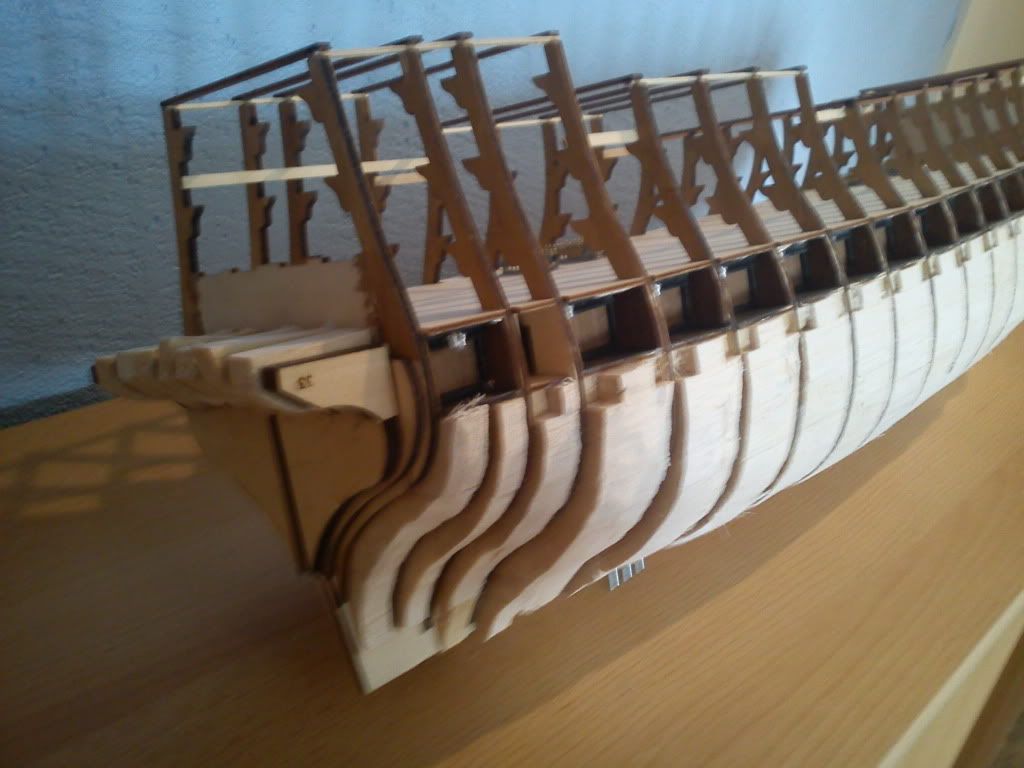 After the finer sanding 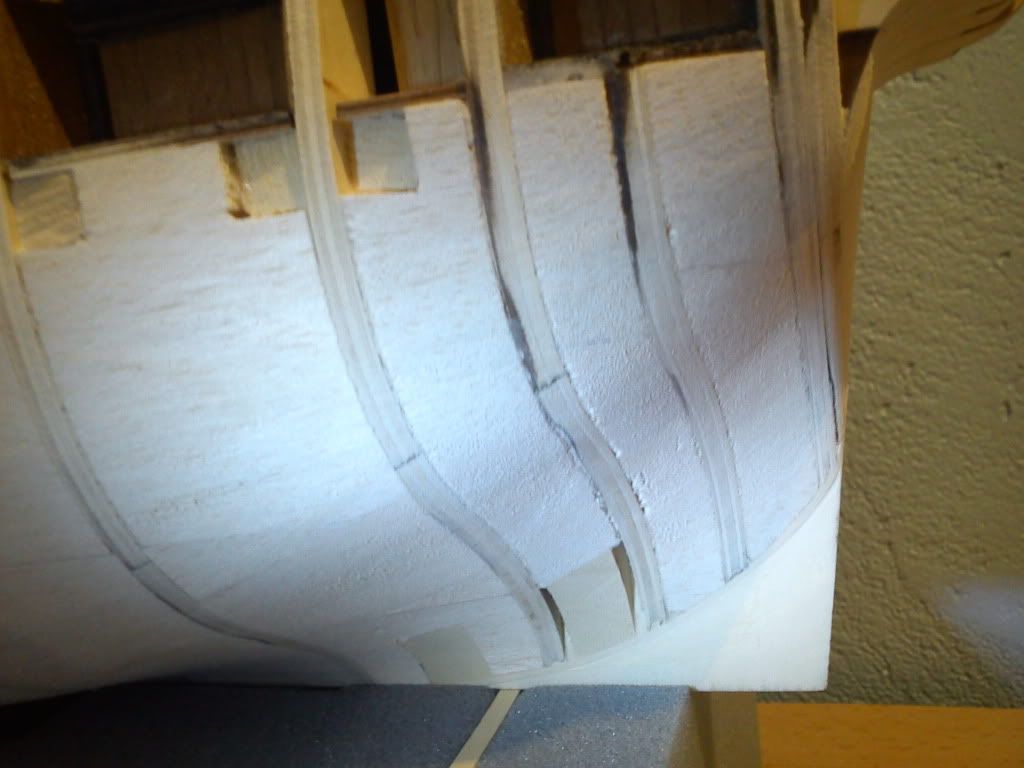 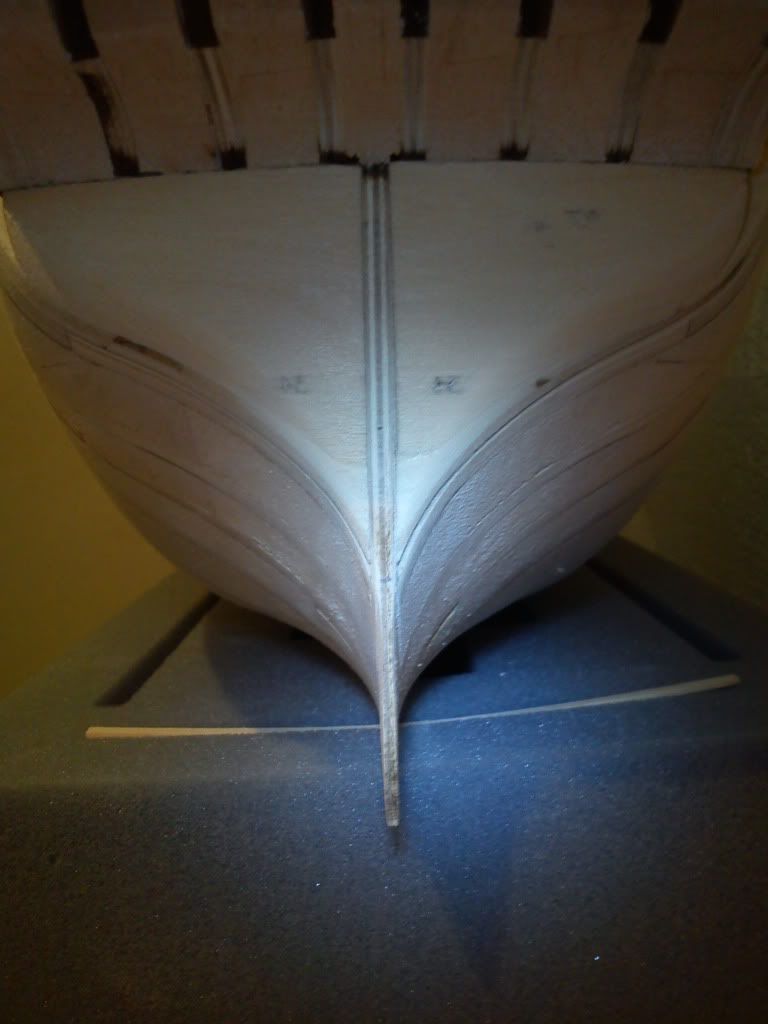 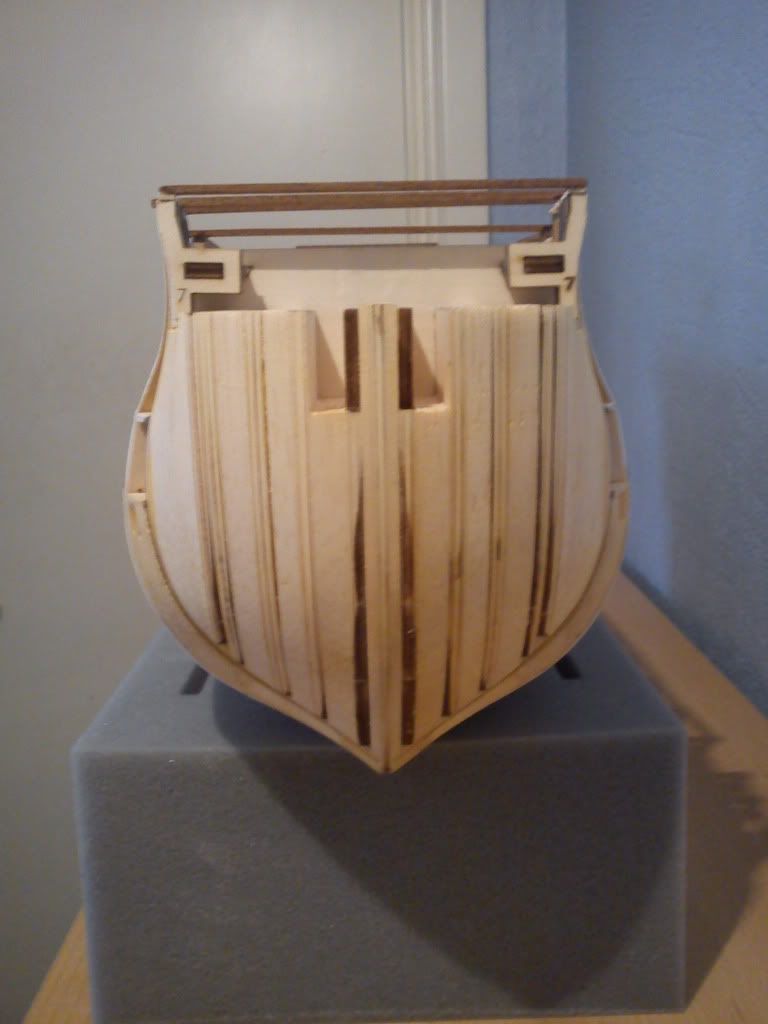 Then i saw that i'd need a lot of brightness... and went for reworking the bottom of each gun compartiment to have bright strips on the bottom instead of the dark planks. Is a lot better. Also added reflective aluminium foil to the bottom of the middle deck. I think it will be needed to 'isolate' the planking so the light won't shine through it. Perhaps black paint or something, not sure yet what to use. In the dark you can see the LED through the outer planking strips.. too much powah - hehe  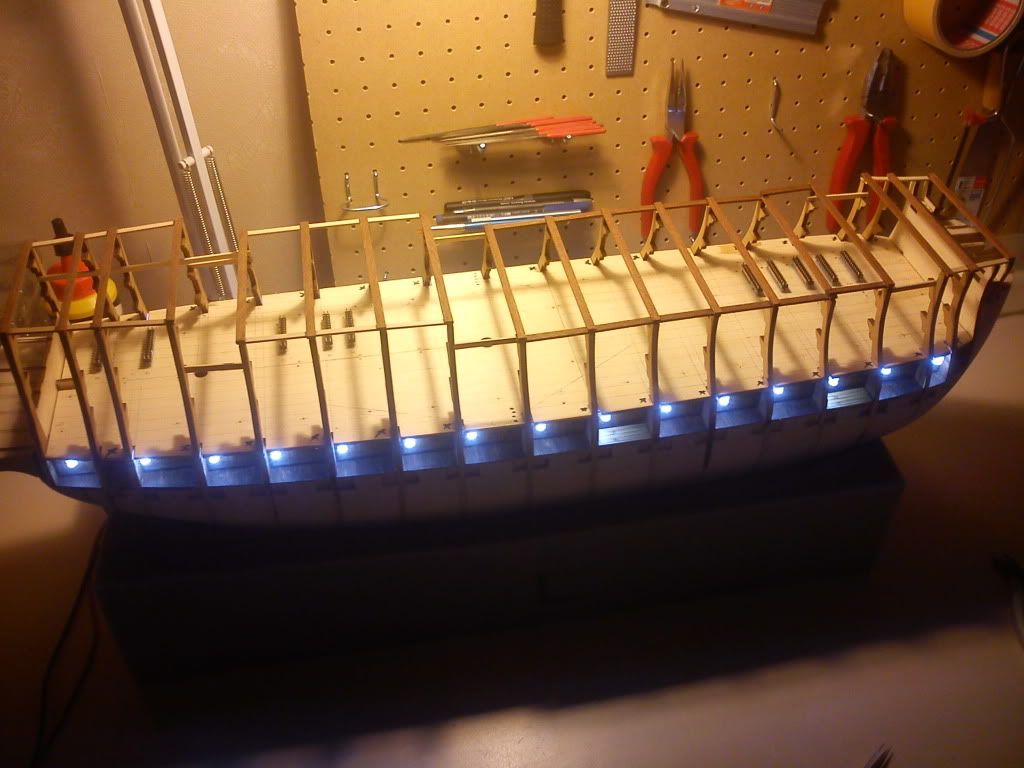 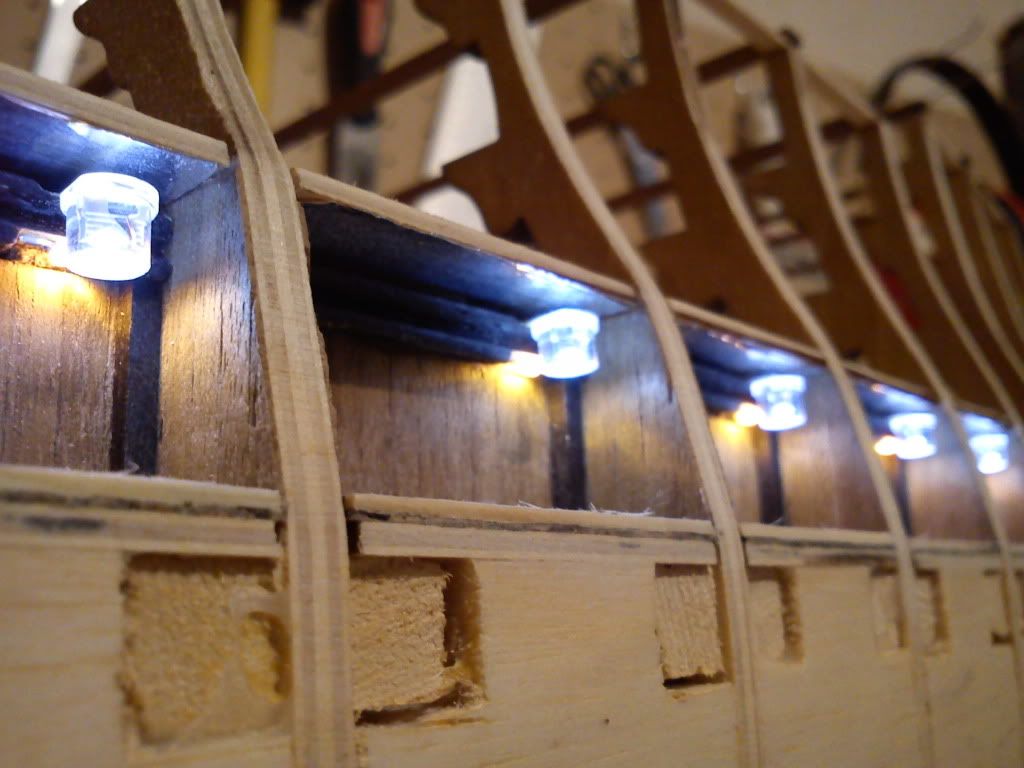 Both sides with full power on software on all outputs 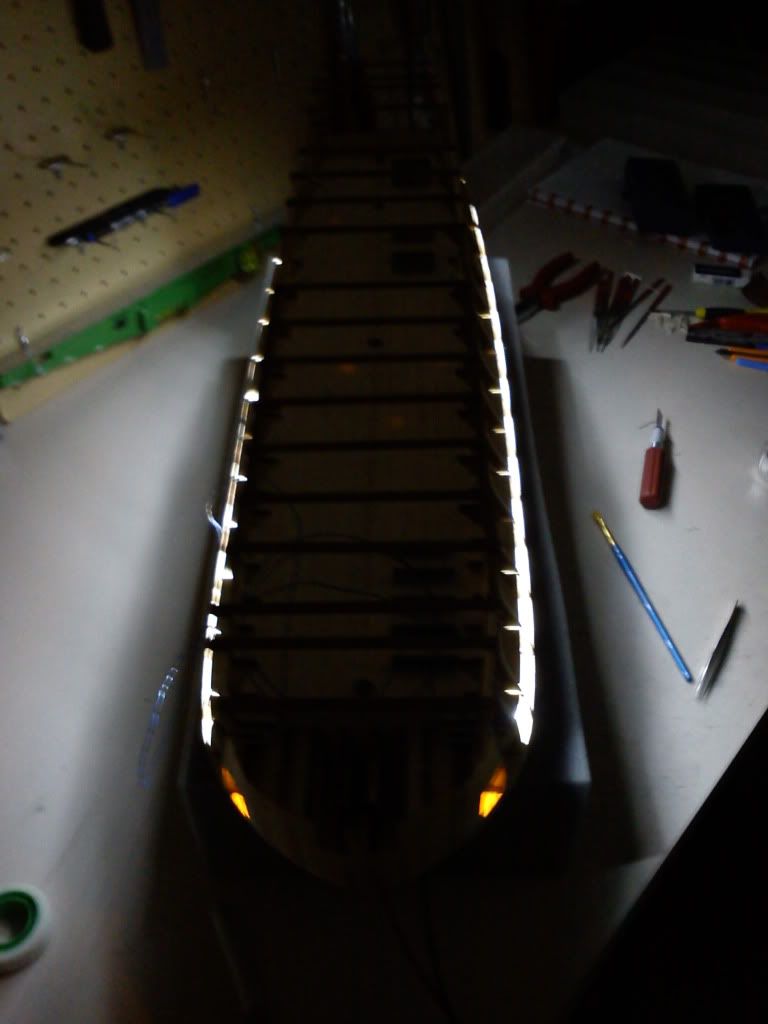 Added the front compartiments as well.. i'll leave the doors of them open instead. And a yellow LED ofc. No white one as there is no cannon here 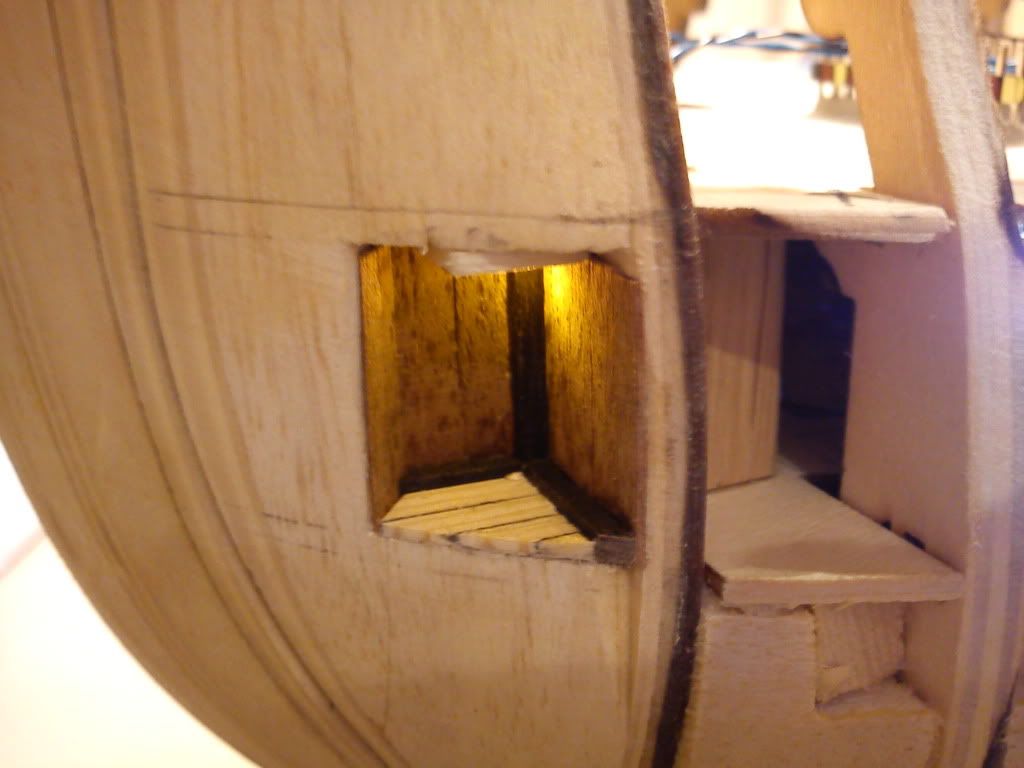 Now i'm doing the gun support drilling, using the calibre depiced here in a Google Sketchup drawing. Dimensions are full courtesy of Son of Bulwark :p (thanks!!) 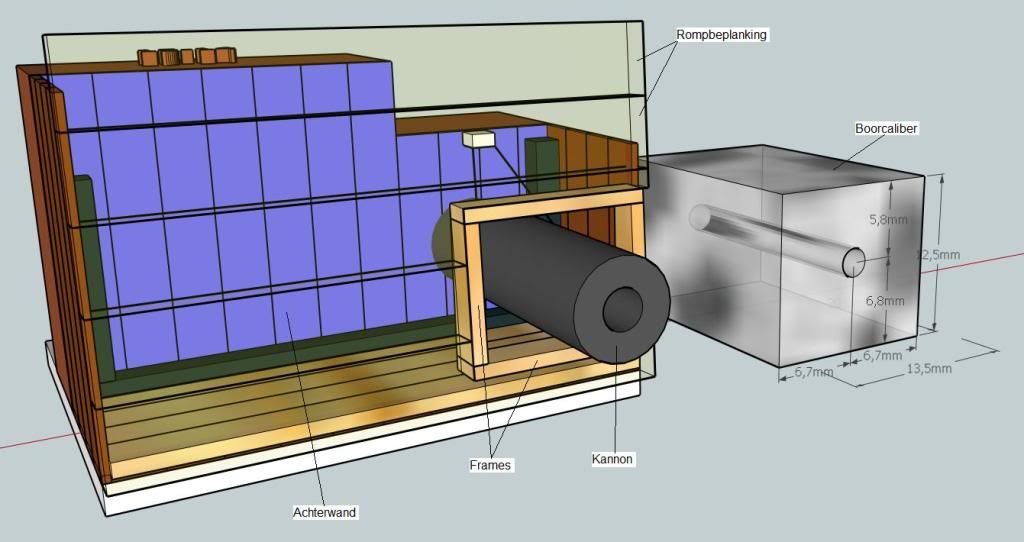 So that's it at the moment, hope you enjoyed it. It spans Oct 2011 - early May 2012. "Lost" a lot of time on the electronics & testing of it. Regards, Vik
|
|
|
 Rank: Amateur Level 1 Groups: Registered
Joined: 06/03/2011 Posts: 34 Points: 98
|
Fantastic work on the lighting, if the rest of your build is to that standard, you will have a truly great model, worthy of any museum.
Check with Tomick about the banding on the anchors, I cannot say with certainty, but I thought it was rope binding when I last visited Victory at Portsmouth, although again that is some good work you have done with the anchor.
|
|
|
 Rank: Super-Elite      Groups: Registered
Joined: 24/04/2010 Posts: 5,787 Points: 17,662 Location: Stafford, United Kingdom
|
Hi Vik, thank you for showing all your hard work  I too like to add balsa wood to all the Hull, it makes planking so much easier. Well done  Regards Mike MWG BUILD DIARIES: HMS VICTORY, SOVEREIGN OF THE SEAS, SAN FRANCISCO II, HMS HOOD, HMS ENDEAVOUR LONGBOAT, HMS VICTORY X-SECTION, 007 DB5, NISSAN GTR, CUTTY SARK, RB7, AKAGI, BARK HMS ENDEAVOUR, HUMMER H1, MITSUBISHI ZERO.
|
|
|
 Rank: Semi-Pro Level 1  Groups: Registered
Joined: 22/07/2012 Posts: 69 Points: 144 Location: Belgium
|
Drills for dummy cannons later on & the calibre i made for them 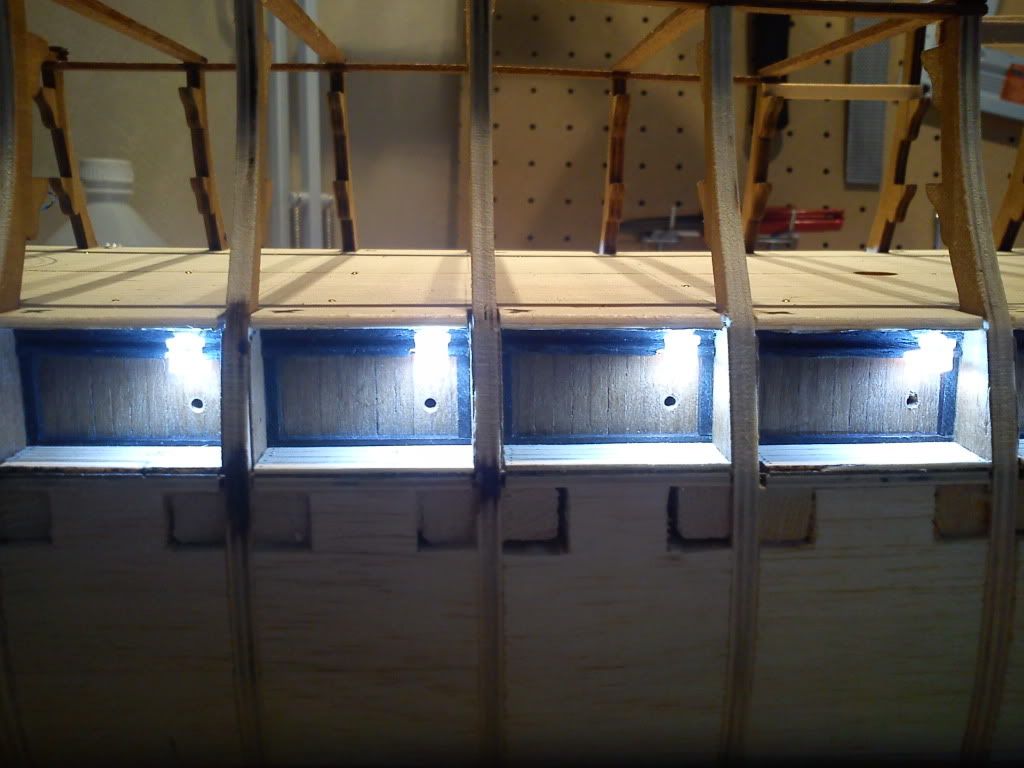 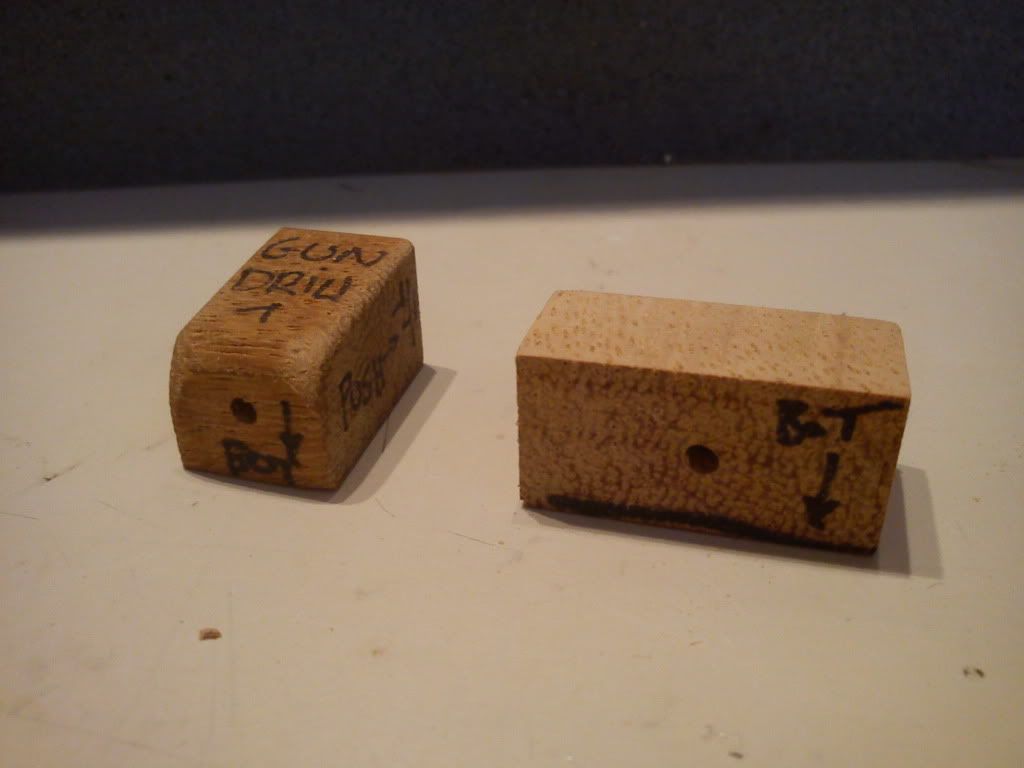 On the following i need some feedback on what to do.. tried to depict it as good as possible: 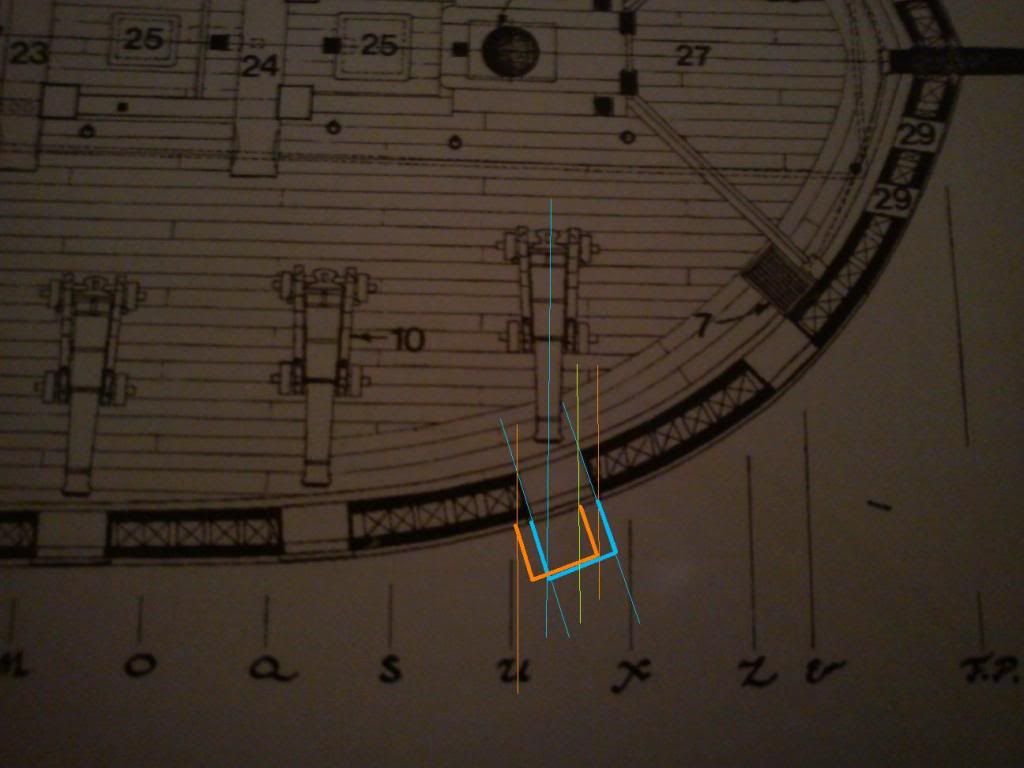 According the book i bought, it seems that the gunport at the lower deck & at the curvature of the bow needs to be cut like the blue lines, but is this correct? Or should i cut out the orange lines, but then the lid covering the port would be way bigger, unless i use the green line for the right cut-out out of the outer planking? Anybody any ideas? Im about to start milling the planks.. Thanks, Vik
|
|
|
 Rank: Pro   Groups: Joined: 04/05/2012 Posts: 362 Points: 1,089
|
Hi Vik Your Victory looks very good  A good idea with the lights 
|
|
|
 Rank: Semi-Pro Level 1  Groups: Registered
Joined: 22/07/2012 Posts: 69 Points: 144 Location: Belgium
|
Ahoi! I've finished the first layer of planks to be fitted on the boat! Milled out the gun ports for 1.2mm in this line of planks & pre-drilled the nail locations with a 0.5mm drill. No more cracking of the wood - woohoo  The 1st line of planks for one side: 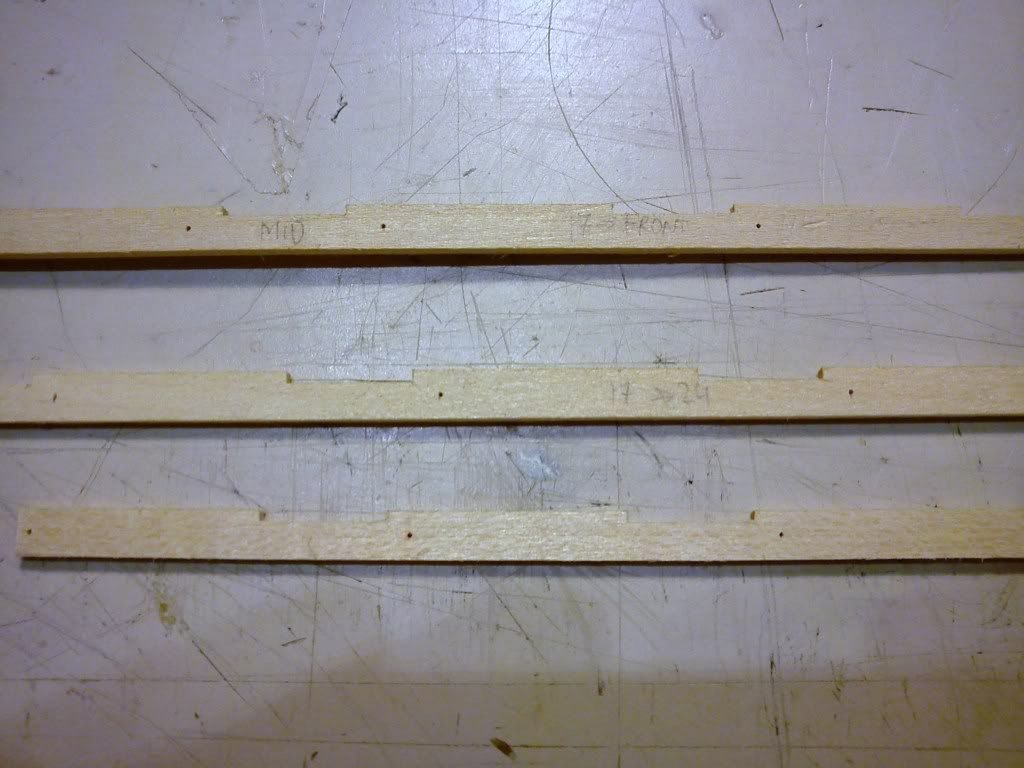 Then attached some strips on the hull, acting as support for the pieces pictured above. They'll go off again once that first line is fixed/dried 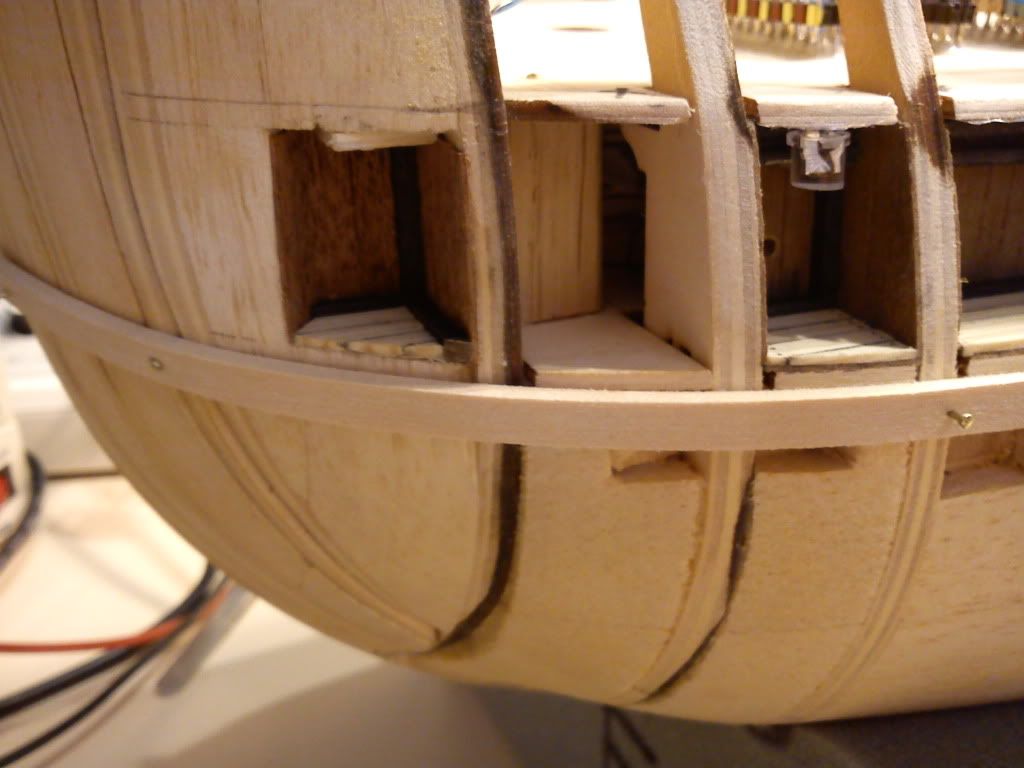 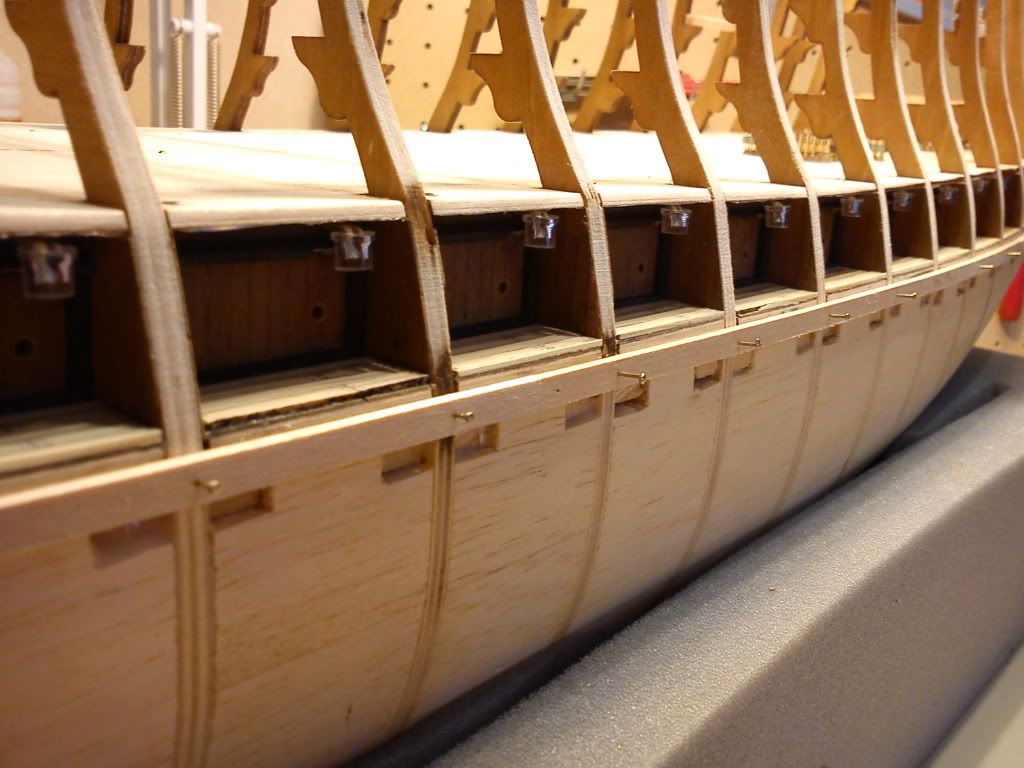 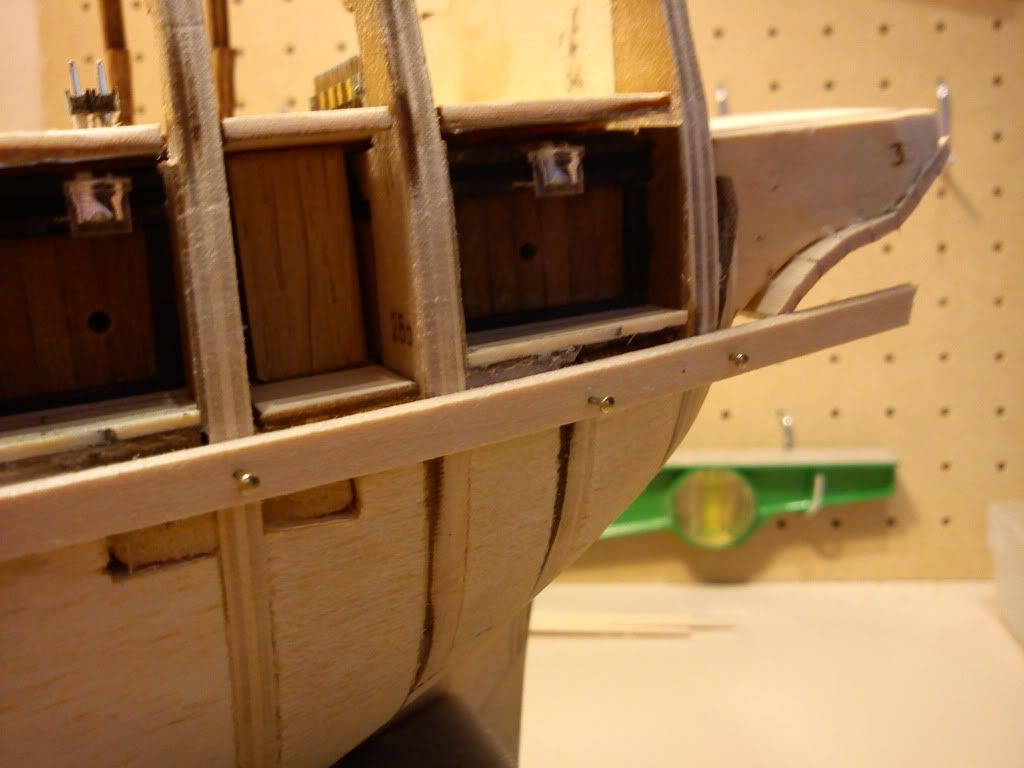 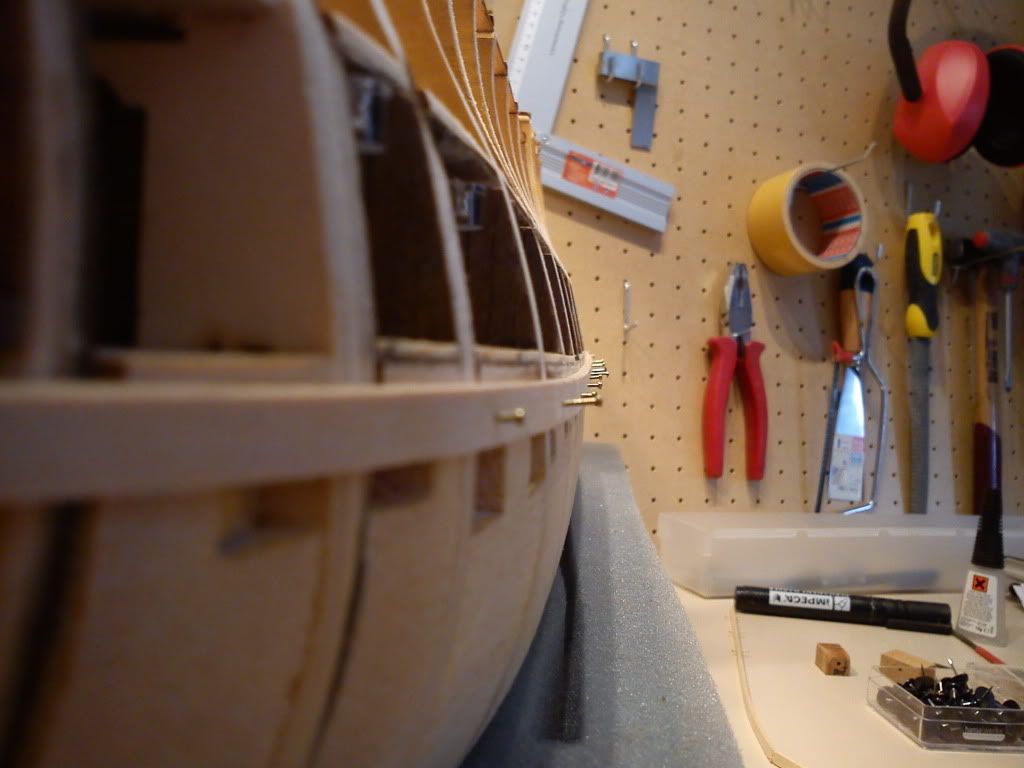 Now going to make the other side as well! Best regards, Vik
|
|
|
 Rank: Pro Groups: Joined: 24/08/2009 Posts: 48,827 Points: -13,348
|
|
|
|
 Rank: Pro  Groups: Registered
Joined: 25/08/2010 Posts: 170 Points: 537 Location: Germany
|
Looks like the birth of another masterpiece !!!
Great build, mate.
Keep it up 
Cheers, TimmMy build diary hereCurrent Build:HMS Victory
|
|
|
|
|
 Welcome to the forum and its nice to see a diffrent build from the norm nicley done regards Andy  Current builds:-C57,Zero, Lamborghini Countach, Caldercraft HMS Agamemnon,Robi,R2-D2, MFH Cobra .
|
|
|
 Rank: Semi-Pro Level 1  Groups: Registered
Joined: 22/07/2012 Posts: 69 Points: 144 Location: Belgium
|
Ok.... somehow my account was removed?!
Also 'forgot password' option didn't help out: User unknown?!
Lol...
|
|
|
 Rank: Super-Elite      Groups: Registered
Joined: 24/04/2010 Posts: 5,787 Points: 17,662 Location: Stafford, United Kingdom
|
Hi Vik, another good days work on your build  Looking great  Regards Mike MWG BUILD DIARIES: HMS VICTORY, SOVEREIGN OF THE SEAS, SAN FRANCISCO II, HMS HOOD, HMS ENDEAVOUR LONGBOAT, HMS VICTORY X-SECTION, 007 DB5, NISSAN GTR, CUTTY SARK, RB7, AKAGI, BARK HMS ENDEAVOUR, HUMMER H1, MITSUBISHI ZERO.
|
|
|
 Rank: Pro   Groups: Joined: 04/05/2012 Posts: 362 Points: 1,089
|
Hi Vik The same happened to me two weeks ago Does the Admin know why that is happening? 
|
|
|
 Rank: Semi-Pro Level 1  Groups: Registered
Joined: 22/07/2012 Posts: 69 Points: 144 Location: Belgium
|
No idea Peter... it's a strange thing.
Regards,
Vik
|
|
|
 Rank: Newbie Groups: Registered
Joined: 01/06/2012 Posts: 1 Points: 3
|
 I bought a set of 120 (mains operated) led strip lights solar lights. The "control unit" has 1-8 different programs on it ie. flash, chase, twinkle etc but the problem is I have it on a timer and the default is to go through all the sequences one after another - but I just want the lights to come on LED Fluorescent LED Light Bars permanently and stay on (no flashing, twinkling etc) anyone know how I can modify the control unit to do this (no, the unit doesn't remember the last setting).
|
|
|
 Rank: Semi-Pro Level 1  Groups: Registered
Joined: 22/07/2012 Posts: 69 Points: 144 Location: Belgium
|
Here's another update! Been working mostly on the 2nd level of lights, but i need to re-write the code for lighting the LEDs contstantly. They're all working but are now flashing randomly. In the mean time i started to make some planks 1mm x 3mm x 74mm for planking the 2nd deck. Drilled 0.5mm holes in each side & marked them with a small pencil. then started to plank the deck itself with it, unfortunately not in the correct fashion. Luck is a bit on my side as the deck won't be THAT visible in the end & i'll correct the pattern on the decks above. 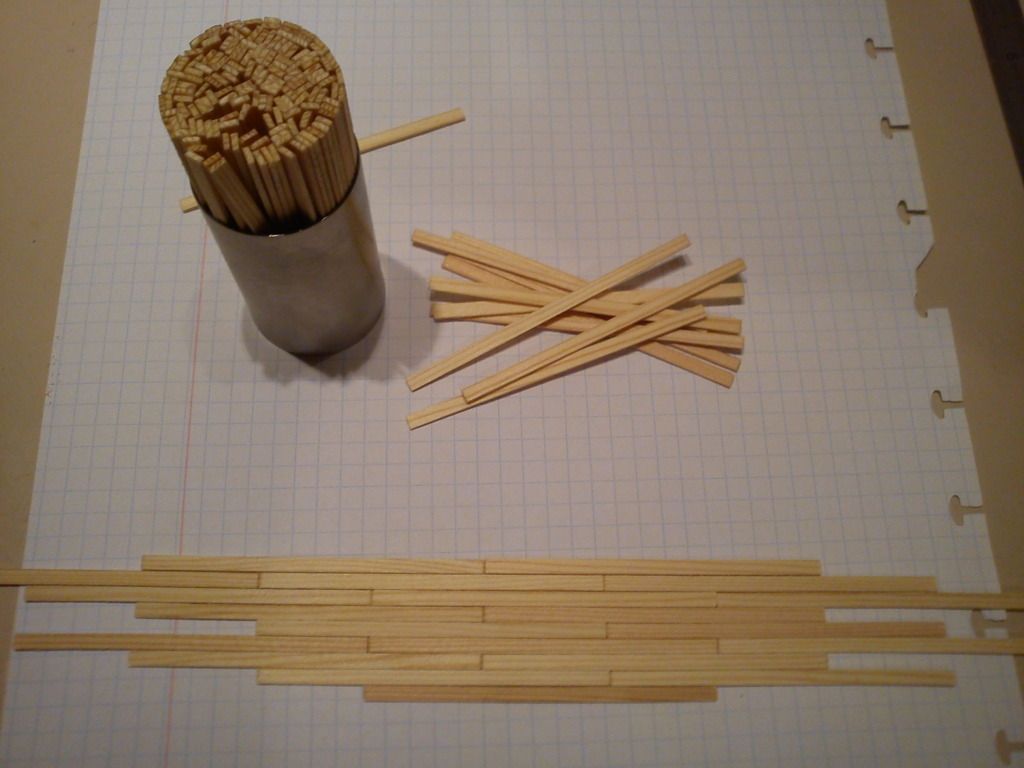 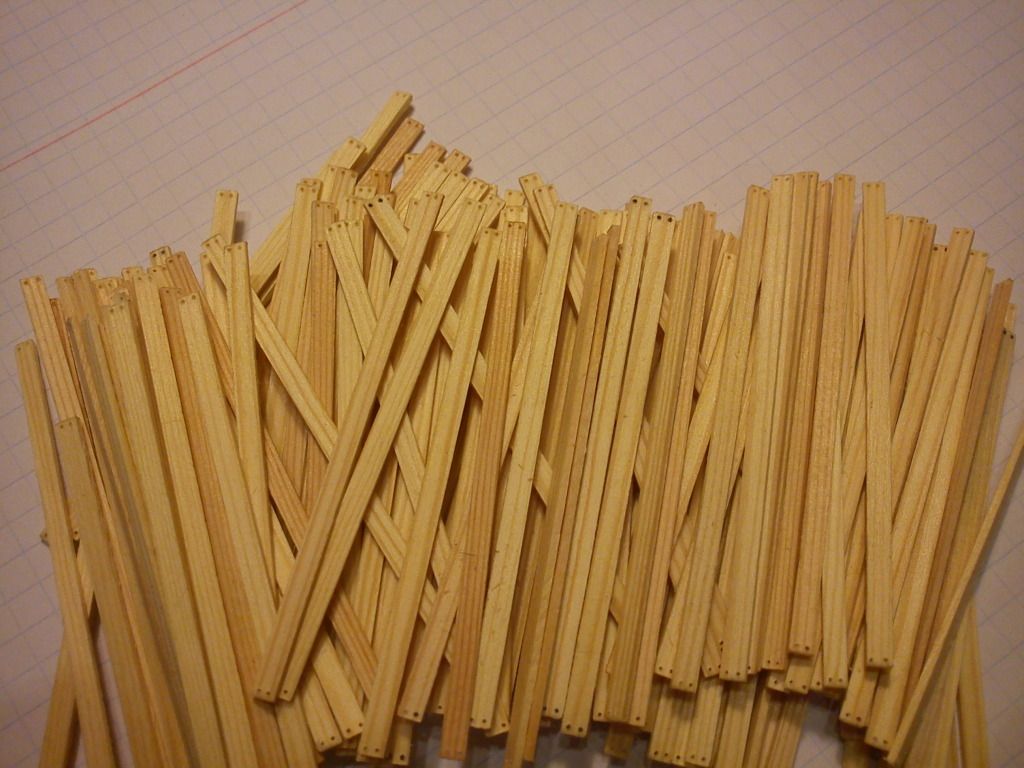 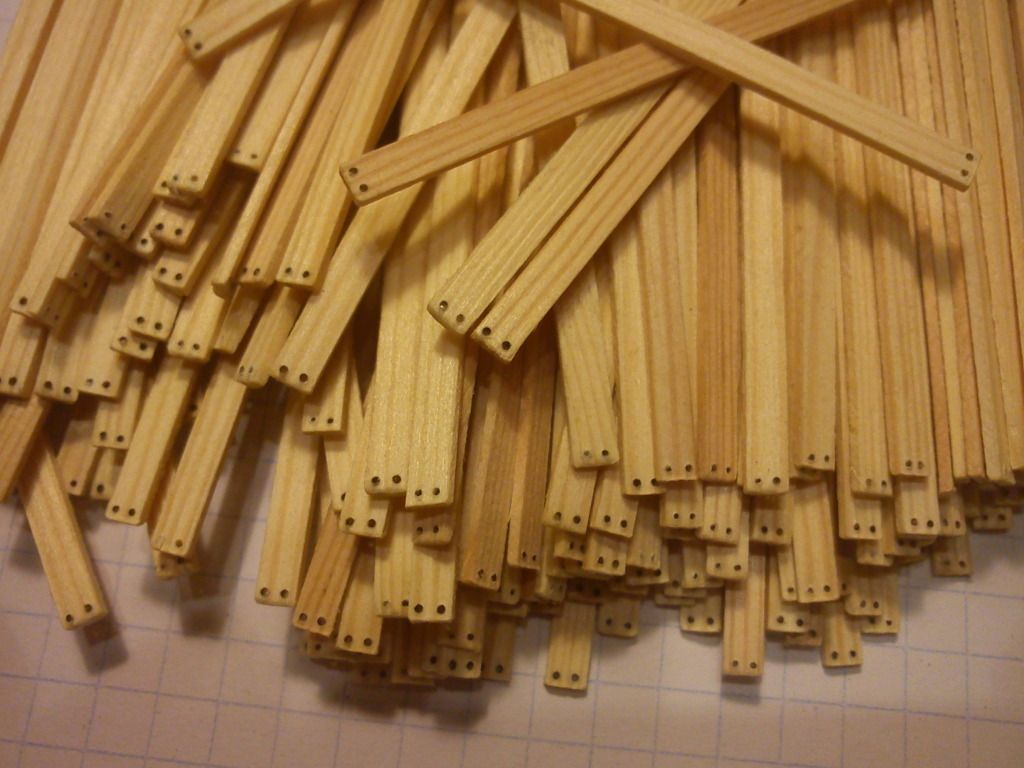 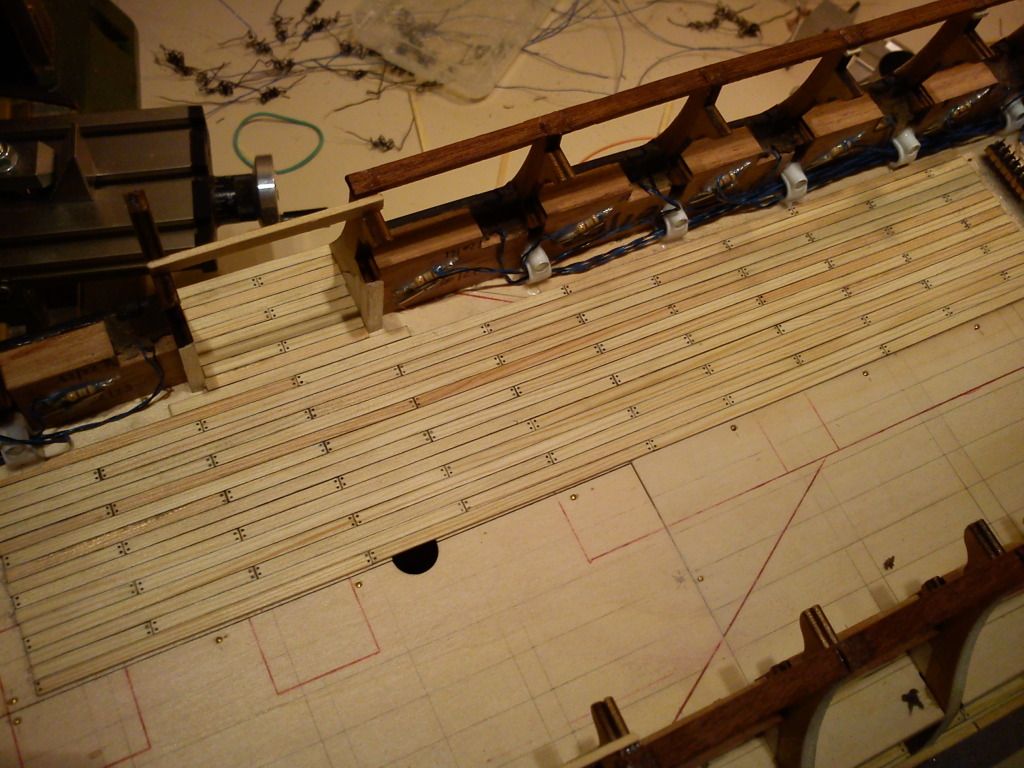 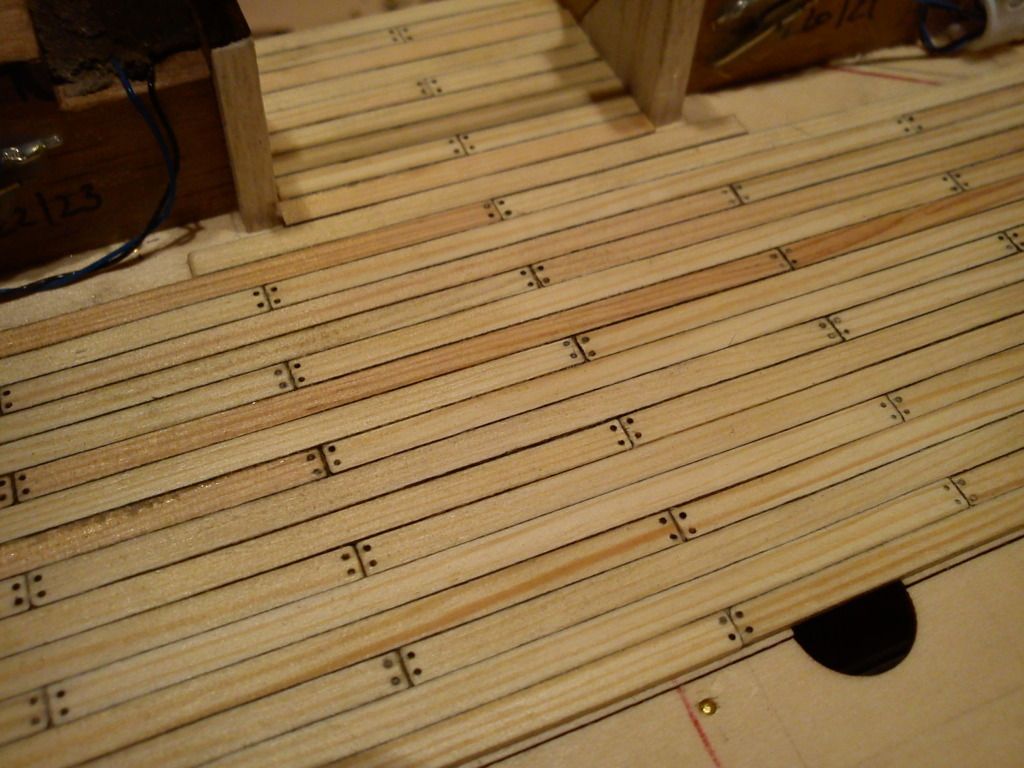
|
|
|
 Rank: Semi-Pro Level 1  Groups: Registered
Joined: 22/07/2012 Posts: 69 Points: 144 Location: Belgium
|
LinwoodKellon wrote: I bought a set of 120 (mains operated) led strip lights solar lights. The "control unit" has 1-8 different programs on it ie. flash, chase, twinkle etc but the problem is I have it on a timer and the default is to go through all the sequences one after another - but I just want the lights to come on LED Fluorescent LED Light Bars permanently and stay on (no flashing, twinkling etc) anyone know how I can modify the control unit to do this (no, the unit doesn't remember the last setting). Happen to have the schematics laying around? It's quite impossible to provide the solution without having the strip laying around here or knowing the circuitry.. Hope you get it working!
|
|
|
|
Guest
|