|
|
 Rank: Beginner Level 2 Groups: Registered
Joined: 04/09/2012 Posts: 15 Points: 45 Location: swansea
|
after careful thought i have decided to do a build diary, and it is about time i learnt how to use my camera properly.
Will begin once i have given my workroom a tidy.
john
|
|
|
 Rank: Master       Groups: Registered
Joined: 05/09/2012 Posts: 1,400 Points: 4,690 Location: Beaminster, Dorset
|
Great idea. What's a tidy Workroom??? 
|
|
|
 Rank: Pro Groups: Joined: 24/08/2009 Posts: 48,827 Points: -13,348
|
That's great news John, and look forward to seeing your model progress 
|
|
|
Rank: Beginner Level 2 Groups: Registered
Joined: 04/09/2012 Posts: 15 Points: 45 Location: swansea
|
lets try for a few pictures of my workbench and tools(finally allowed a hobby in the living room), hopefully showing bow section of keel jig already assembled. I have not decided if the acrylic paints shown are going to be used. My workroom tidy is so far limited to emptying the bin and putting tools back in their cases. hopefully images below. 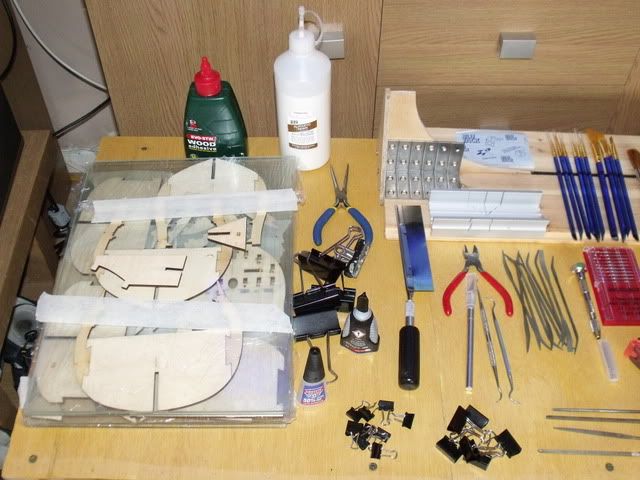   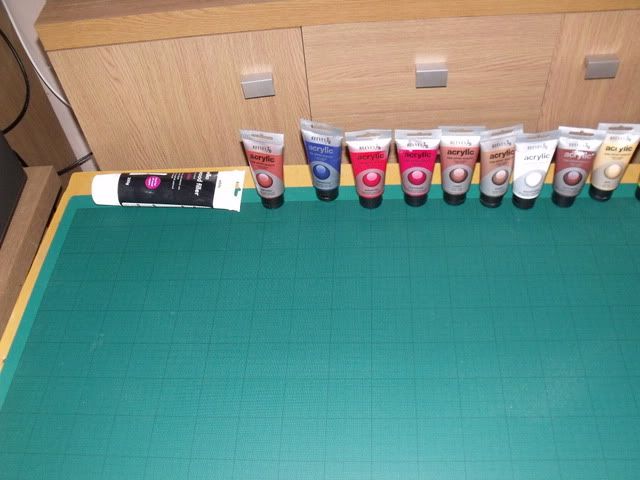 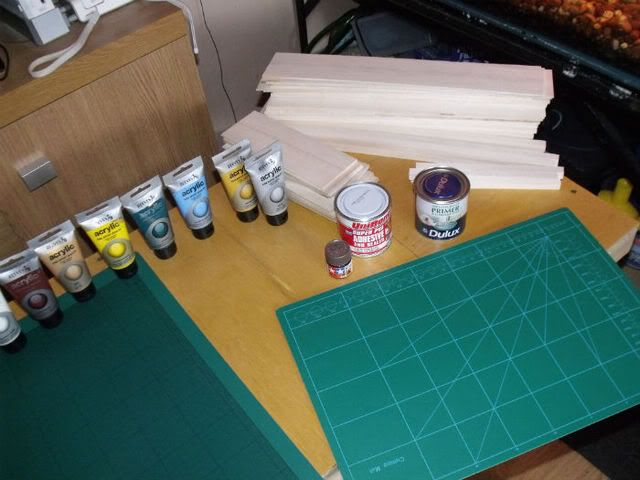
|
|
|
Rank: Beginner Level 2 Groups: Registered
Joined: 04/09/2012 Posts: 15 Points: 45 Location: swansea
|
ok seeing as the image posting worked fine i best get started. i started by dry fitting all the bow parts i had so as to avoid problems when covered in glue, i found using a toothpick to apply the glue to all the mating surfaces saved lots of clean-up time. 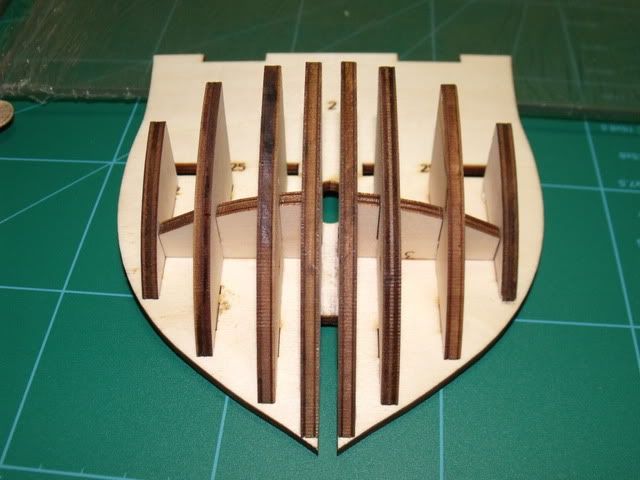 i then gently assembled the first cannon and began painting(still not fully convinced on paints pictured above) 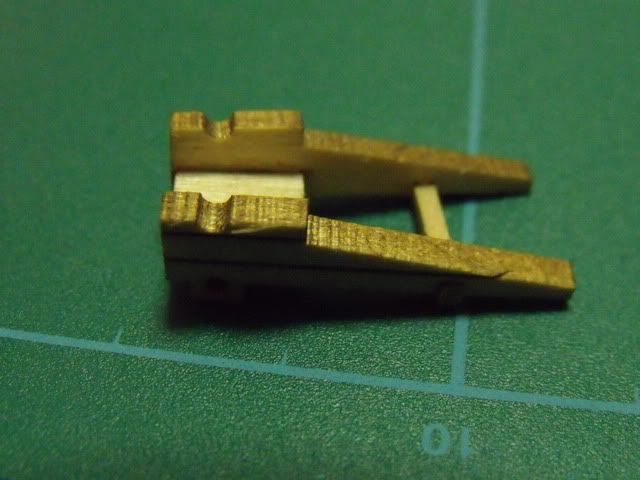 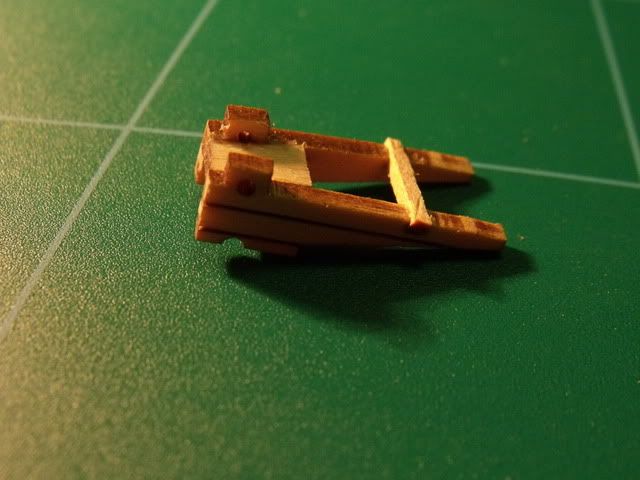 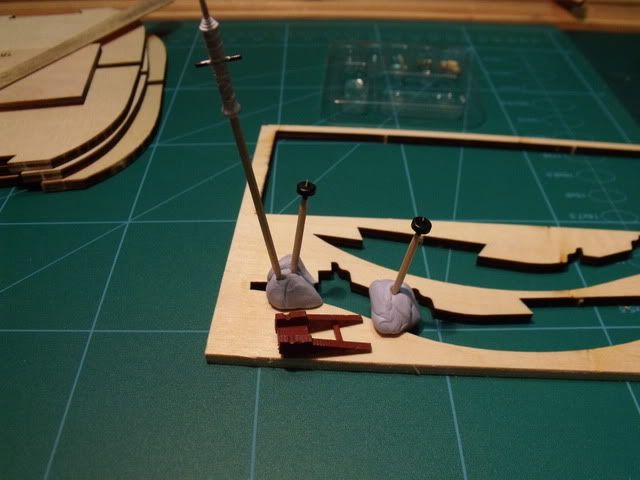 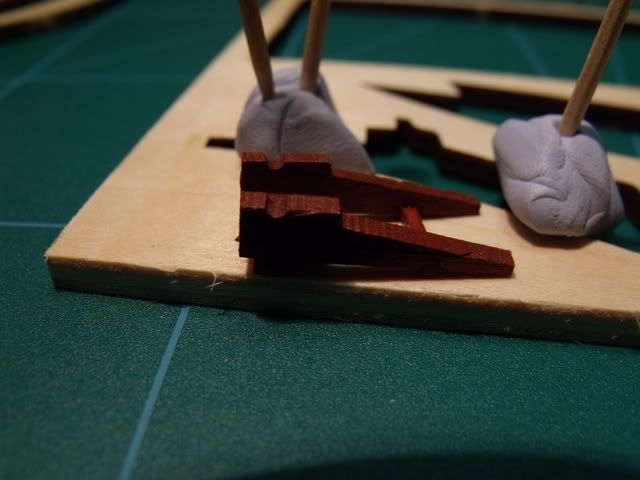 not entirely happy with the cannon carriage i think it may need another coat. i have decided on black wheels and cap squares. john
|
|
|
Rank: Pro  Groups: Registered
Joined: 24/09/2012 Posts: 491 Points: 1,452 Location: London
|
nice work john, might i ask what specific colour you used for the carriage? Processing - Progressing
Previous builds: HMS Victory
Current build: HMS Sovereign of the seas
|
|
|
Rank: Beginner Level 2 Groups: Registered
Joined: 04/09/2012 Posts: 15 Points: 45 Location: swansea
|
thanks admiral. I used red ochre for the carriage, i will try to get a better picture of it.
john
|
|
|
Rank: Pro Groups: Joined: 24/08/2009 Posts: 48,827 Points: -13,348
|
Hi John,
Hate to tell you, but the keel jig you have made appears to be unsuitable for this build.
It should reflect that shown on page 8 of Issue 3, rather than the central channel version shown at step J of Issue 2 which has the central channel strips of wood to create a channel.
Which is because the frames reach all the way to the bottom of the keel, and therforre you will not be able to slot the keel into the central channel created (as per that shown at step i on page 10 of issue 2).
Basically across Issues 2 and 3, two types of keel jig are shown for two different keel types, which is confusing I know, but the idea being to introduce builders to the two types of keel jig for two types of keel build, and only the second version being suitable for this build.
It is the "Straight keel" version shwon in issue 3 that is required, which I noted in my build for issue 2. You would have discovered this anyway when it came to putting your framework into your jig.
|
|
|
Rank: Beginner Level 2 Groups: Registered
Joined: 04/09/2012 Posts: 15 Points: 45 Location: swansea
|
i knew i should have photographed that seperately  the central channel is just a thick black line. it was originaly going to be a a channel but i realised during the first dry fit that is was not needed. i will upload another picture just to make sure. john
|
|
|
Rank: Pro Groups: Joined: 24/08/2009 Posts: 48,827 Points: -13,348
|
That's good news then, it was seeing what looks like two central strips of wood which set alarm bells ringing, but at least it has highlighted this pitfall to anyone else.
Nice start by the way
|
|
|
Rank: Beginner Level 2 Groups: Registered
Joined: 04/09/2012 Posts: 15 Points: 45 Location: swansea
|
managed to get some time in on the sovereign today. I first packed the bow with balsa and got some filler on it. 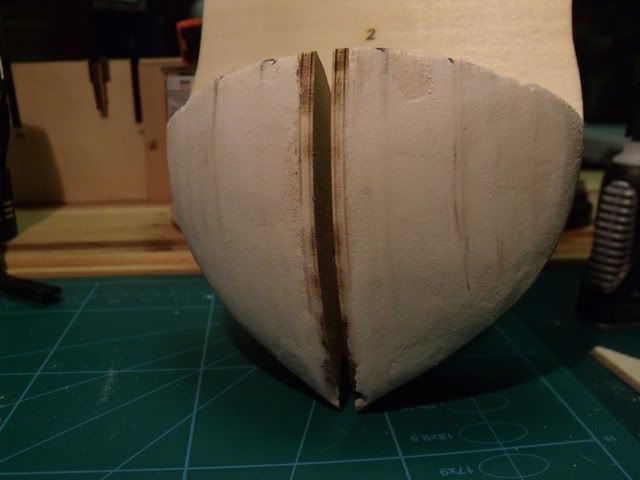 then had a nice time assembling my cannons after playing hunt the wheel i dropped. 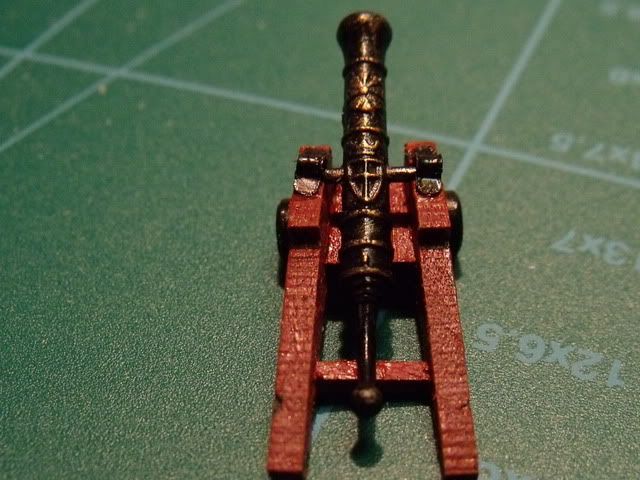 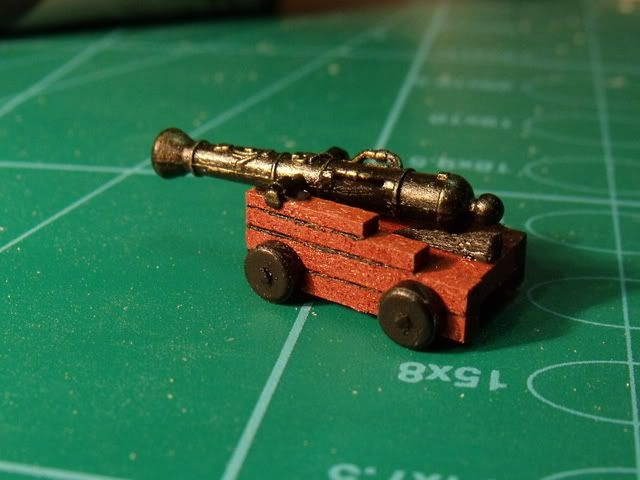 managed to get my anchor done aswell. 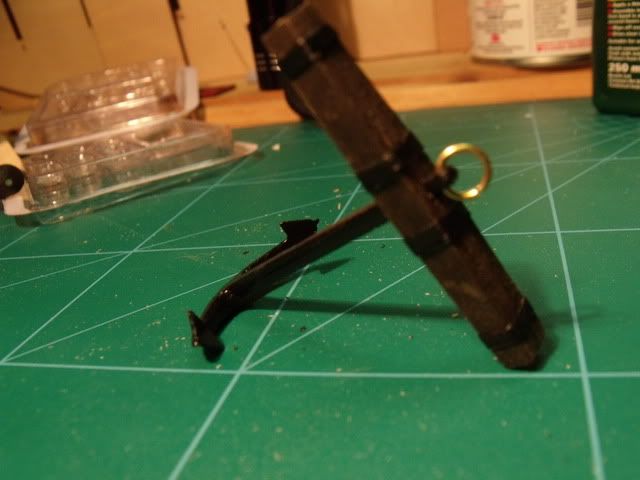 will leave doing the block for today as the first one wasn't bad but need to think about what finish/colour i want them. 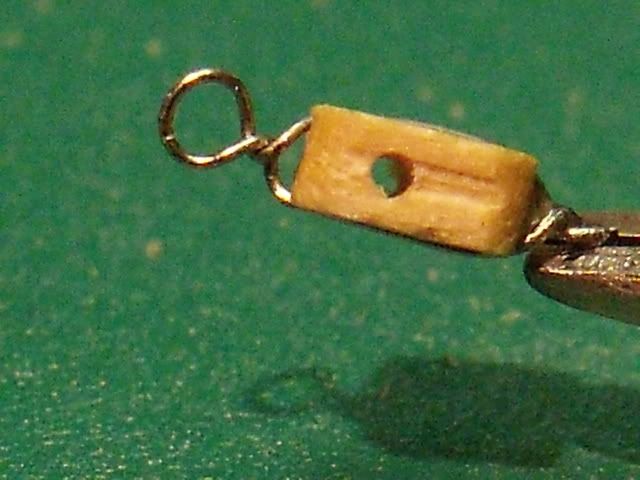 john
|
|
|
|
Guest
|
 US
US

