|
|
 Rank: Pro Groups: Joined: 24/08/2009 Posts: 48,051 Points: -13,308
|
More photos of the Kure museum model Tomick attached the following image(s):
|
|
|
Rank: Pro   Groups: Registered
Joined: 24/01/2010 Posts: 131 Points: 398 Location: North Yorkshire FILEY By The Sea
|
Nice one Tomick, sum good photos of a 1/35 on this site http://www.geocities.jp/yamato_model_guide/ enuf of that started to do the exhaust pipes 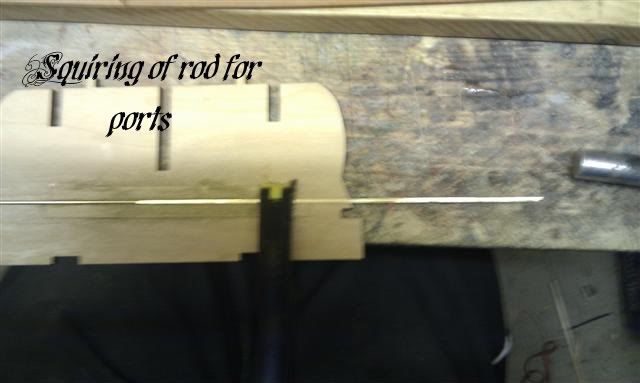 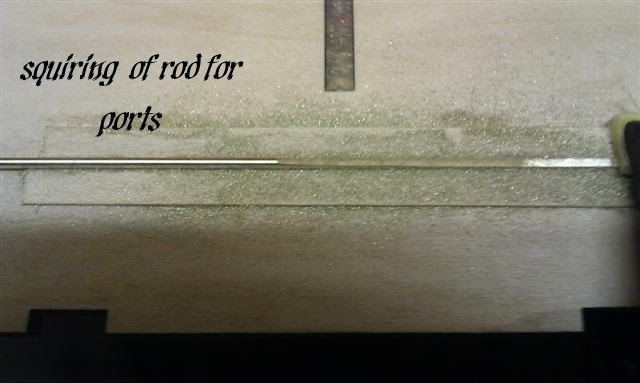 
|
|
|
Rank: Pro Groups: Registered
Joined: 24/01/2010 Posts: 131 Points: 398 Location: North Yorkshire FILEY By The Sea
|
Nice one Tomick, sum good photos of a 1/35 on this site http://www.geocities.jp/yamato_model_guide/ enuf of that started to do the exhaust pipes
|
|
|
Rank: Pro Groups: Registered
Joined: 24/01/2010 Posts: 131 Points: 398 Location: North Yorkshire FILEY By The Sea
|
hi peps eney one out thire going to Warwickshier Exhibition on the 14th will be thire with BMBS would be mice to see sum one and have a chat and compair noats going for the day will be in caff around 12/30
|
|
|
Rank: Pro Groups: Registered
Joined: 24/01/2010 Posts: 131 Points: 398 Location: North Yorkshire FILEY By The Sea
|
|
|
|
Rank: Pro Groups: Joined: 24/08/2009 Posts: 48,051 Points: -13,308
|
Its going to look awesome!
|
|
|
Rank: Pro Groups: Registered
Joined: 24/01/2010 Posts: 131 Points: 398 Location: North Yorkshire FILEY By The Sea
|
Thank you Tomick I think you can not beat a boat on the water late evening all lights on last night had bonfire at club and a nice night a lot of boats with lights on was very impressive
|
|
|
Rank: Pro Groups: Registered
Joined: 24/01/2010 Posts: 131 Points: 398 Location: North Yorkshire FILEY By The Sea
|
|
|
|
Rank: Pro Groups: Registered
Joined: 24/01/2010 Posts: 131 Points: 398 Location: North Yorkshire FILEY By The Sea
|
|
|
|
Rank: Pro Groups: Registered
Joined: 24/01/2010 Posts: 131 Points: 398 Location: North Yorkshire FILEY By The Sea
|
|
|
|
Rank: Pro Groups: Joined: 24/08/2009 Posts: 48,051 Points: -13,308
|
Coming along very nicely, good luck with the pond test though it looks like snow is heading your way!
|
|
|
Rank: Pro  Groups: Registered
Joined: 20/03/2010 Posts: 278 Points: 833 Location: Nottingham
|
Shes looking great jinks  She looks so complicated to build rather you than me. Pam's shipyard is closed for now no more room!
|
|
|
Rank: Pro Groups: Registered
Joined: 24/01/2010 Posts: 131 Points: 398 Location: North Yorkshire FILEY By The Sea
|
sea trials not good the motors move it but far to slow had to do sum modifications motors now she still has 4 but the 2 outside ones are 280tis from Grupner so if sum of you out there are going my way i an sorry but I did say it was an experiment The reason there is no vid was the whether 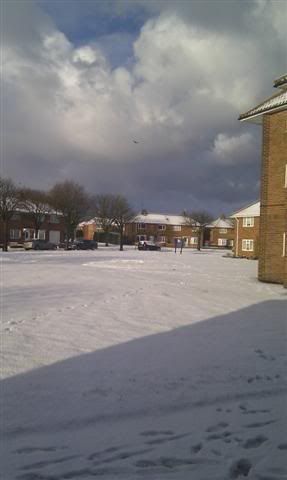 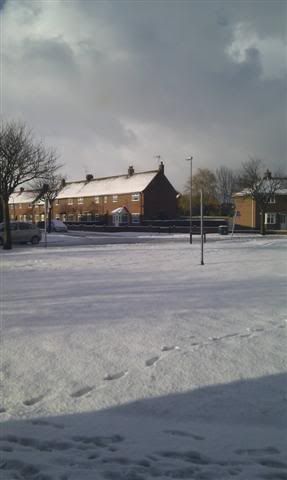 not there long enough to get sum. Now for the modifications as I stated the 2 outer motors are now 280tis 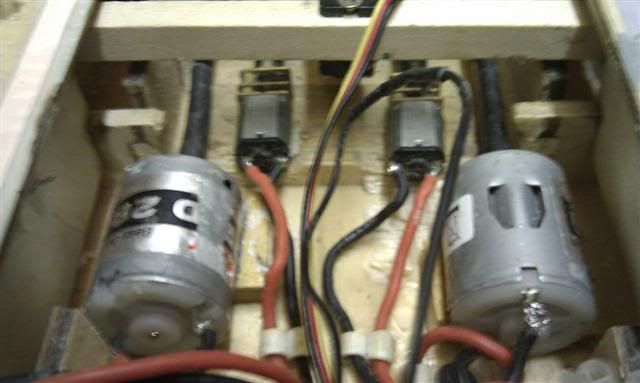 to get them in I had to cut sum of the supports on the port and starboard 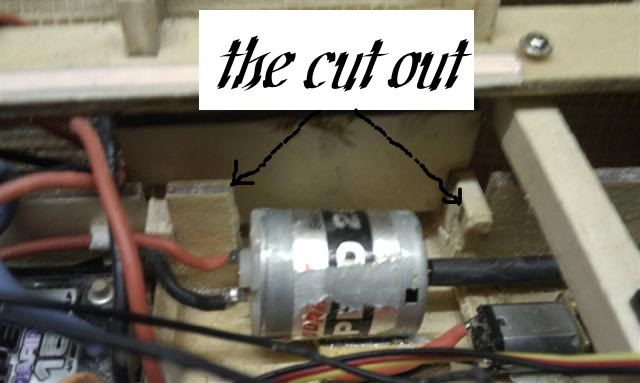 you can see this in the photos because this may weaken the hull put extra supports in to the side 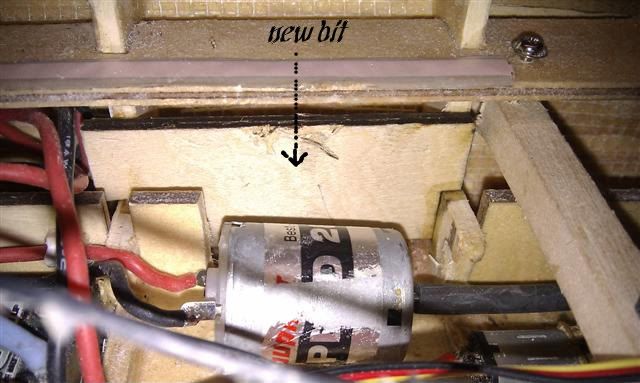 Putting the new motors in the problem was to connect them to the shafts this was done with sum tubing made for the job you can get it and the motors from http://www.alwayshobbies.com [/url] 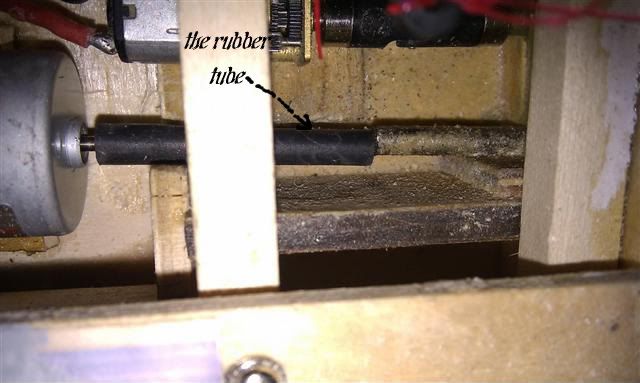 Putting the new motors in the problem was to connect them to the shafts this was done with sum tubing made for the job you can get it and the motors from http://www.alwayshobbies.com The weather was bad snow and windy not a good combo for filming but now the mod’s are dun will try again. Once more sorry to if you have dun it with the small motors the conversion is not hard to do as the 280tis will fit with out having to move the shafts but it must be the 2 outside motors
|
|
|
 Rank: Master   Groups: Registered
Joined: 20/03/2010 Posts: 1,199 Points: 3,473 Location: Glenrothes
|
Hi Jinx thanks for photos coming along very nicely  put motors on hold until i can get rough idea of weight of model local model shop man can do a calculation for motor & gear ratio (like trying to start driving off in a car in 5th gear if wrong ones used)based on weight/size etc of model
|
|
|
Rank: Pro Groups: Registered
Joined: 24/01/2010 Posts: 131 Points: 398 Location: North Yorkshire FILEY By The Sea
|
You will have to forgive this as first time used vid on phone and got it upside down but if you can stand on your head it is ok  copied this of laptop screen  Promise to get it better next time will get grand daughter to come and do the vid bit as it is hard hoalding phone and getting a ship on twin stick to go
|
|
|
Rank: Pro Groups: Registered
Joined: 24/01/2010 Posts: 131 Points: 398 Location: North Yorkshire FILEY By The Sea
|
If you can not get hold of a good primer C+L Fine Scale do one http:///www.finescale.org.uk this is an etching primer for brass and other metals they are mainly for train people but do a lot good stuff.PS, I get most of my sodering bit and bobs from them
|
|
|
Rank: Pro Groups: Registered
Joined: 24/01/2010 Posts: 131 Points: 398 Location: North Yorkshire FILEY By The Sea
|
|
|
|
Rank: Pro Groups: Registered
Joined: 24/01/2010 Posts: 131 Points: 398 Location: North Yorkshire FILEY By The Sea
|
|
|
|
Rank: Pro Groups: Registered
Joined: 24/01/2010 Posts: 131 Points: 398 Location: North Yorkshire FILEY By The Sea
|
|
|
|
Rank: Pro Groups: Joined: 24/08/2009 Posts: 48,051 Points: -13,308
|
Nice idea's for R/C access and she's looking good!
|
|
|
|
Guest
|
 US
US

